CatManD3W SC300 Ongoing Build...


 03-31-15, 11:56 AM
#497
Thanks Gerry it is nice out today and I am in the process of doing the ebrake handle and leather boot cover....as well as putting together my passenger door panel....I have decided to SEM the center console trim as well
Will update later with pics....
Will update later with pics....
03-31-15, 06:48 PM
#498
Well guys my interior is finally all back together......been driving around for about a yr without a passenger door panel....
Broken piece...
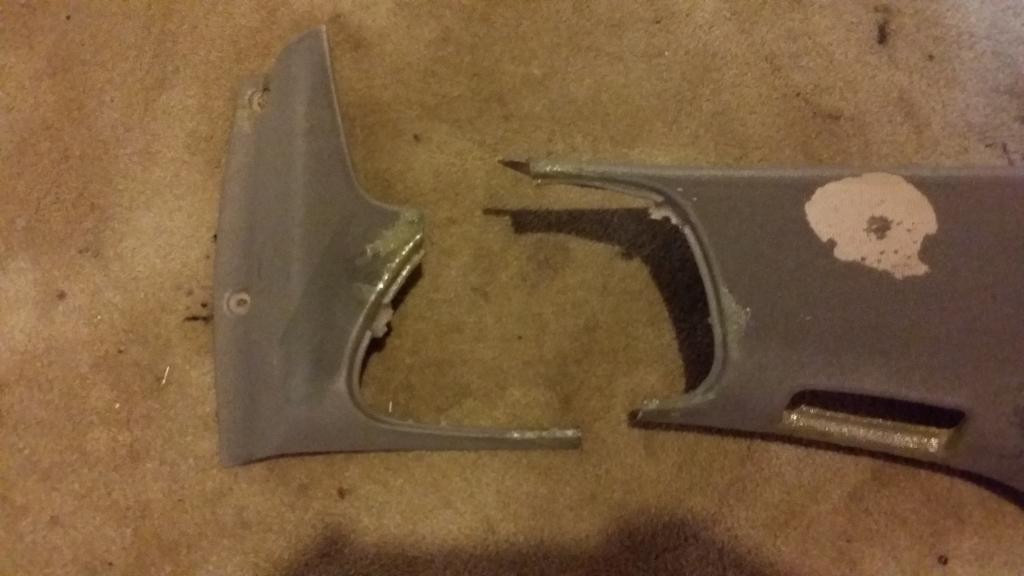
I was able to get a good deal from another member on CL for a door panel....I only needed the lower portion....
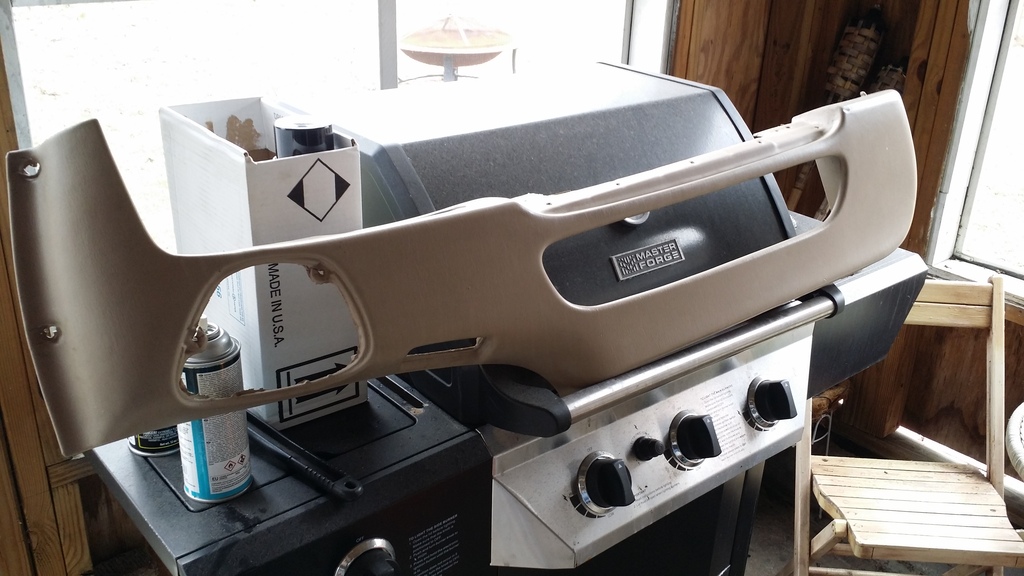
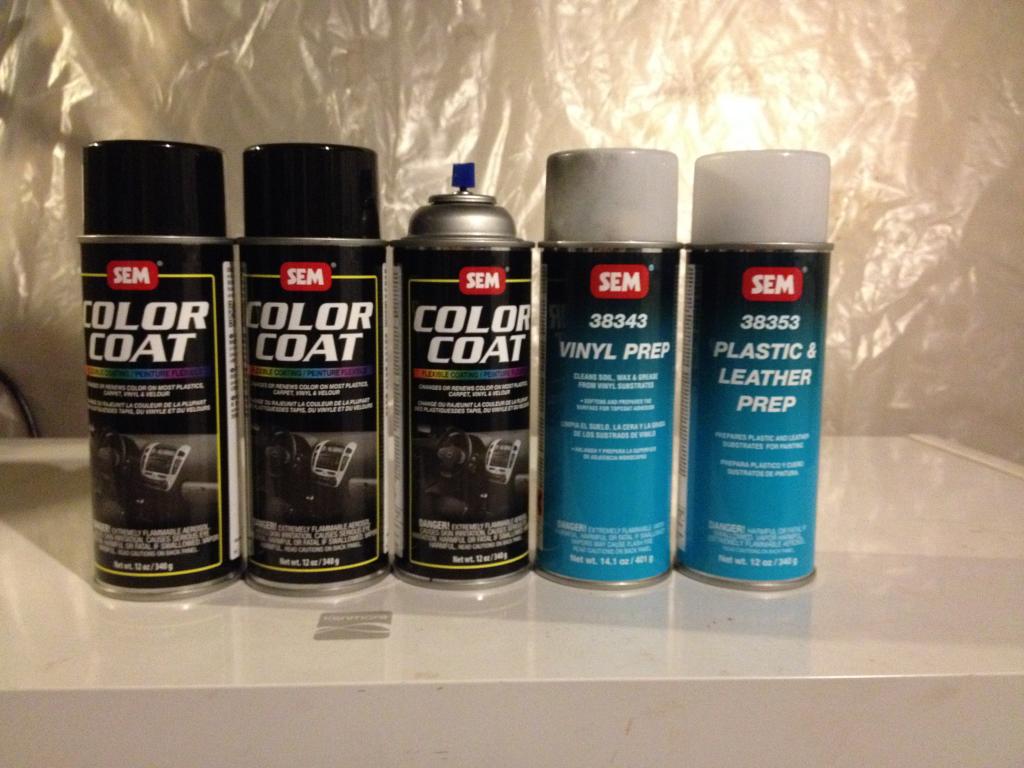
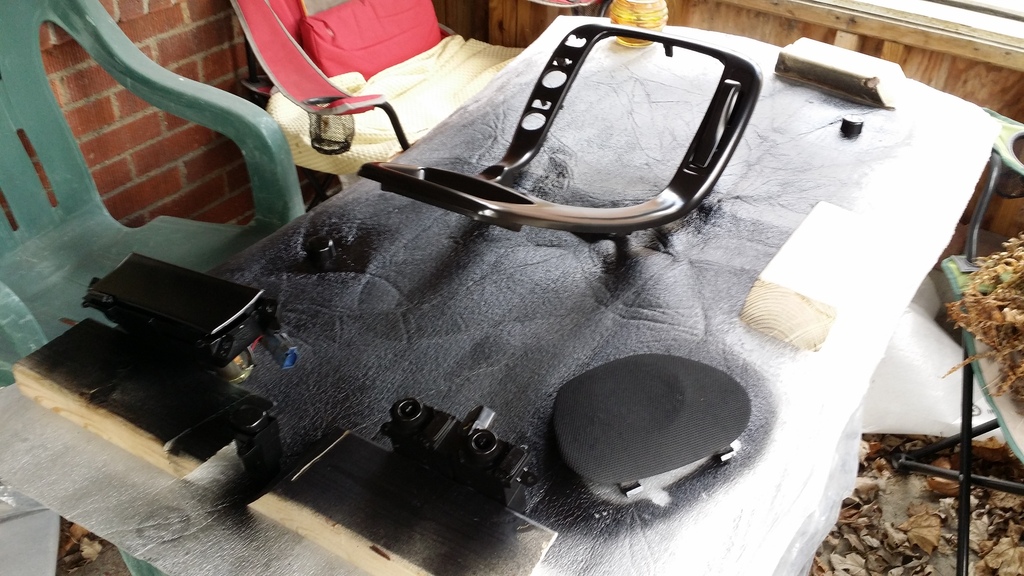
SEM going on...to get a perfect finish you need to use the prep cleaners.....
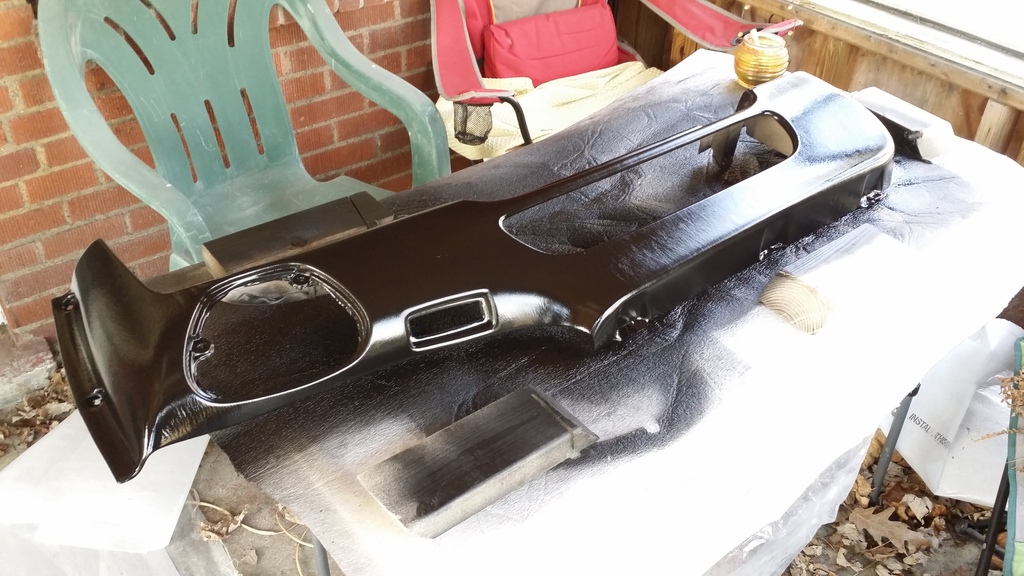
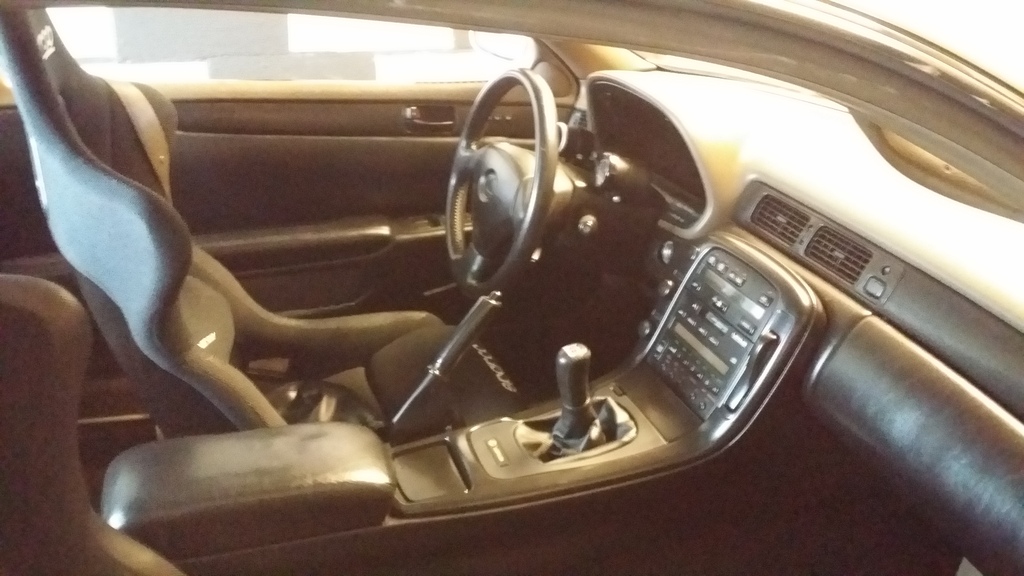
Ended up doing a few other pieces to complete the black out look...
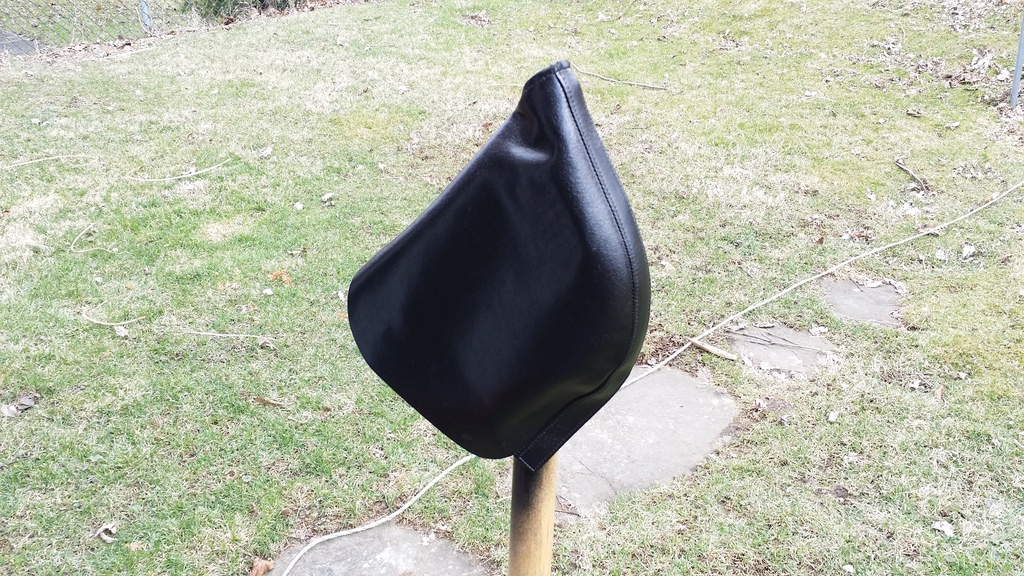
Trusty old shovel....It worked great for the ebrake boot....
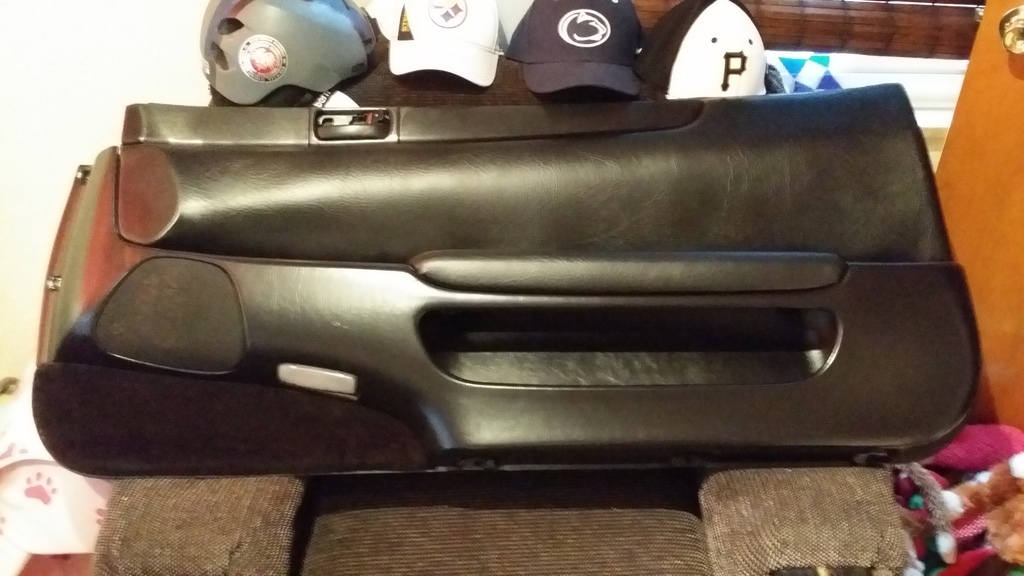
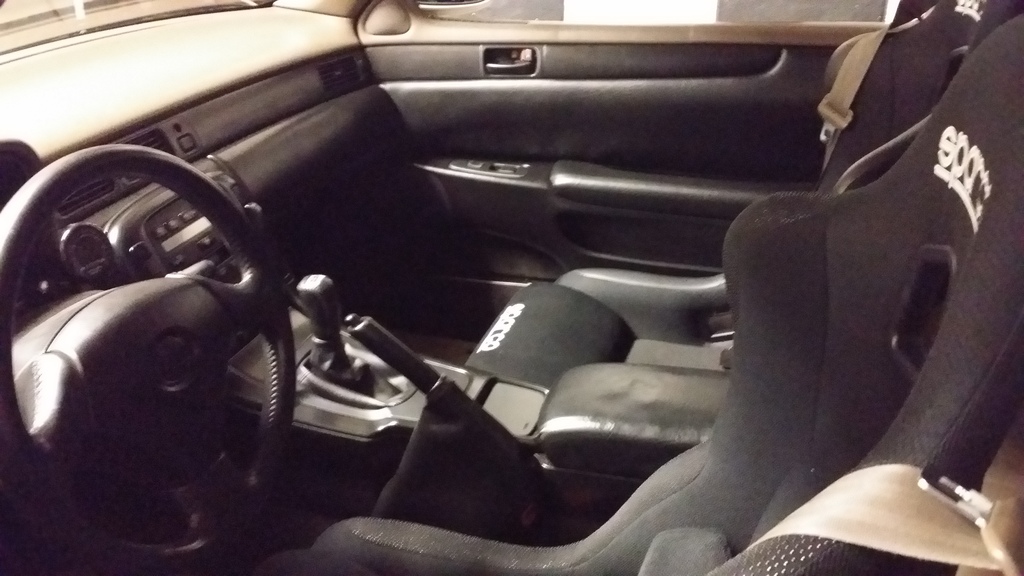
Passenger door panel all back together...
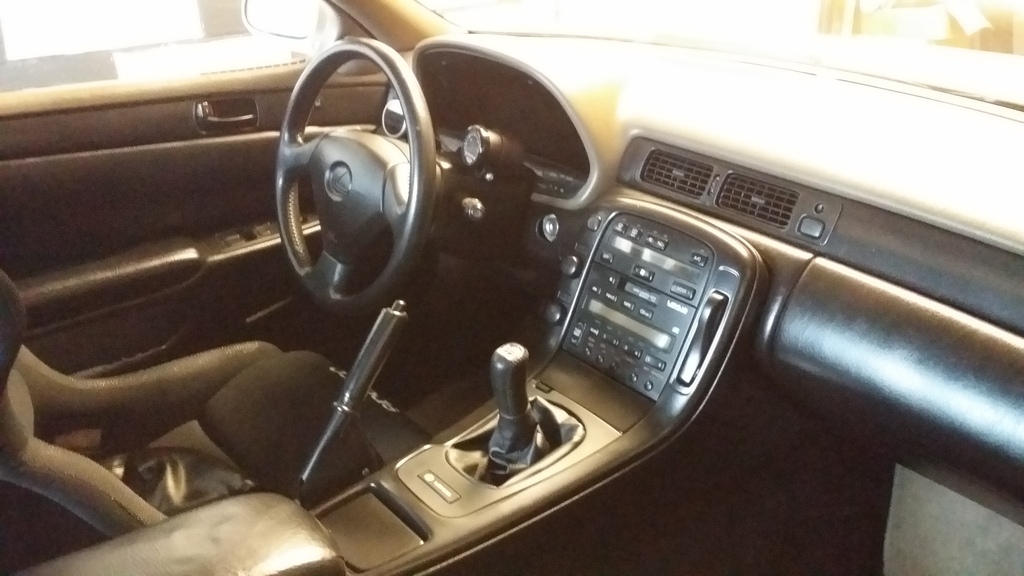
Everything back in place....I really love this look...forgot to put the key ring plastic piece back in...but I also gave it a fresh coat since it got scratched up from key
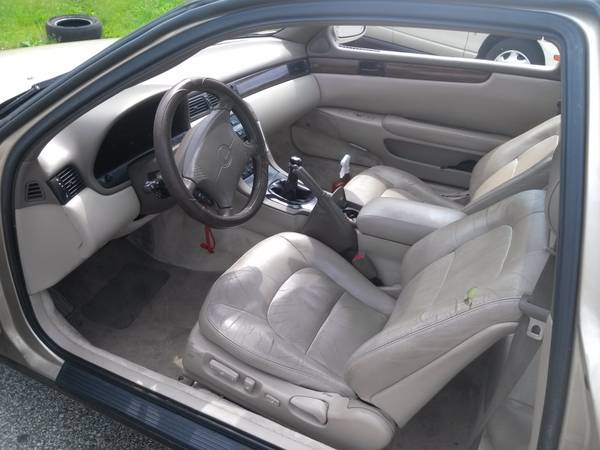
Here is what it looked like when I first bought it....For reference on the dramatic change
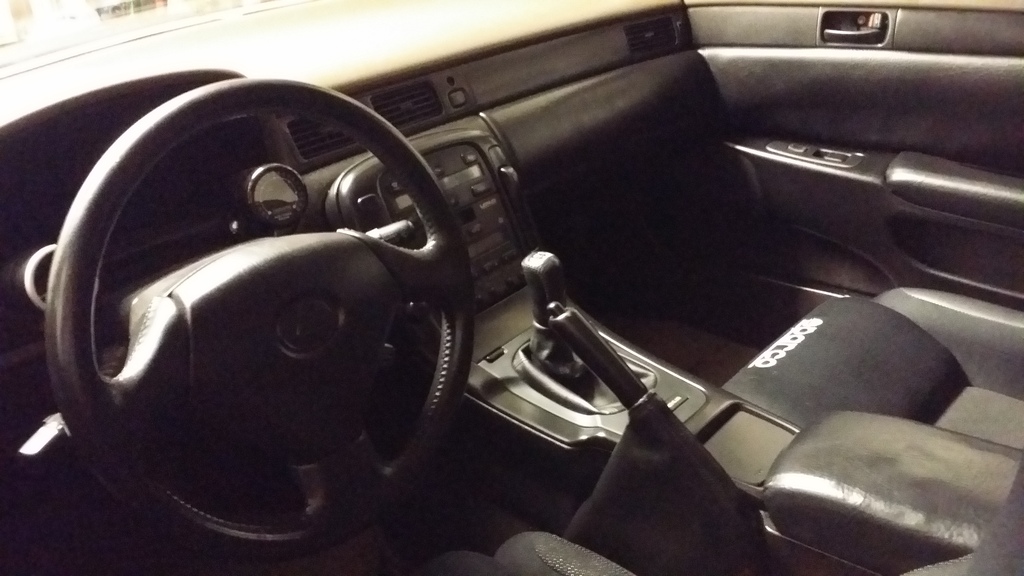
Bye bye rear seats.....I spent a good hr back there with degreaser getting it all cleaned up....

Broken piece...

I was able to get a good deal from another member on CL for a door panel....I only needed the lower portion....

SEM going on...to get a perfect finish you need to use the prep cleaners.....


Ended up doing a few other pieces to complete the black out look...

Trusty old shovel....It worked great for the ebrake boot....

Passenger door panel all back together...

Everything back in place....I really love this look...forgot to put the key ring plastic piece back in...but I also gave it a fresh coat since it got scratched up from key


Here is what it looked like when I first bought it....For reference on the dramatic change

Bye bye rear seats.....I spent a good hr back there with degreaser getting it all cleaned up....

Last edited by CatManD3W; 04-01-15 at 07:06 AM.


 04-01-15, 07:00 AM
#502
Not that bad....I usually try to leave them outside as long as possible before installing them....If you can get them in the sun for a few hrs is your best bet
Also keep in mind I only did the lower trim piece in the pics with SEM....The rest of door panel is wrapped with new vinyl
04-01-15, 12:23 PM
#503
Driver School Candidate

Join Date: Nov 2007
Location: Pennsylvania
Posts: 18
Likes: 0
Received 0 Likes
on
0 Posts
Man I love seeing your progress. It makes me want to go work on my car even though I don't know where to start lol.. My interior is all tan and seeing the transformation on your car is giving me the itch to change some things up on mine.
 04-10-15, 05:07 AM
#506
Well guys my interior is finally all back together......been driving around for about a yr without a passenger door panel....
Broken piece...

I was able to get a good deal from another member on CL for a door panel....I only needed the lower portion....

SEM going on...to get a perfect finish you need to use the prep cleaners.....


Ended up doing a few other pieces to complete the black out look...

Trusty old shovel....It worked great for the ebrake boot....

Passenger door panel all back together...

Everything back in place....I really love this look...forgot to put the key ring plastic piece back in...but I also gave it a fresh coat since it got scratched up from key


Here is what it looked like when I first bought it....For reference on the dramatic change

Bye bye rear seats.....I spent a good hr back there with degreaser getting it all cleaned up....
Broken piece...
I was able to get a good deal from another member on CL for a door panel....I only needed the lower portion....
SEM going on...to get a perfect finish you need to use the prep cleaners.....
Ended up doing a few other pieces to complete the black out look...
Trusty old shovel....It worked great for the ebrake boot....
Passenger door panel all back together...
Everything back in place....I really love this look...forgot to put the key ring plastic piece back in...but I also gave it a fresh coat since it got scratched up from key
Here is what it looked like when I first bought it....For reference on the dramatic change
Bye bye rear seats.....I spent a good hr back there with degreaser getting it all cleaned up....
Thanks
04-18-15, 01:23 PM
#508
Next level of build...taking it up a notch...
Just got back home after driving a total of 8 hrs to Freed Engineering and meeting Omar (99SC42)....
Brought all this back with me...This setup should be pretty much bullet proof....Thanks again Omar....
I couldnt pass this up....Complete package deal to do the swap
Specs on the fully built chaser/soarer tripod r154...was done by Freed engineering (Ben Freed informed me that this has every possible upgrade done to it)
1,2,3,4 and Reverse Gear are all brand new .
Marlin Crawler Rebuild kit with HD bearings
1st, 2nd, 3rd gear
1/2 hub
1/2 slider
New Marlin Crawler thrust washer
Already had Marlin Crawler bearing retainer and fork
Custom built southbend clutch and pressure plate......rated to handle 700 ft lbs of torque

Last edited by CatManD3W; 04-19-15 at 10:17 AM.
04-19-15, 10:15 AM
#510
Thanks man....I cant wait to get the new transmission in and finally be able to push the car a little bit harder....
Now that I have eliminated the weak link in my setup I can start to turn up the boost.....
Im not going for any crazy high hp numbers....I would be satisfied if I could get close to 500hp
Now that I have eliminated the weak link in my setup I can start to turn up the boost.....
Im not going for any crazy high hp numbers....I would be satisfied if I could get close to 500hp
Last edited by CatManD3W; 04-19-15 at 10:19 AM.