
Farpetrads build thread
 01-27-13, 09:32 AM
#1
Pole Position
Thread Starter

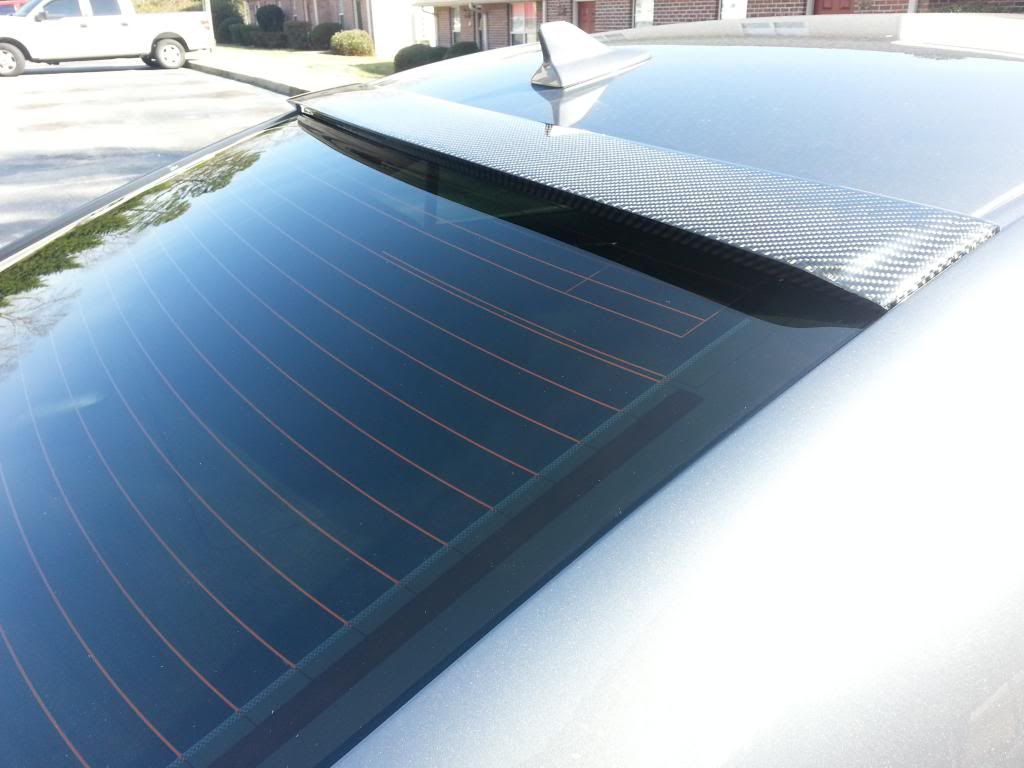
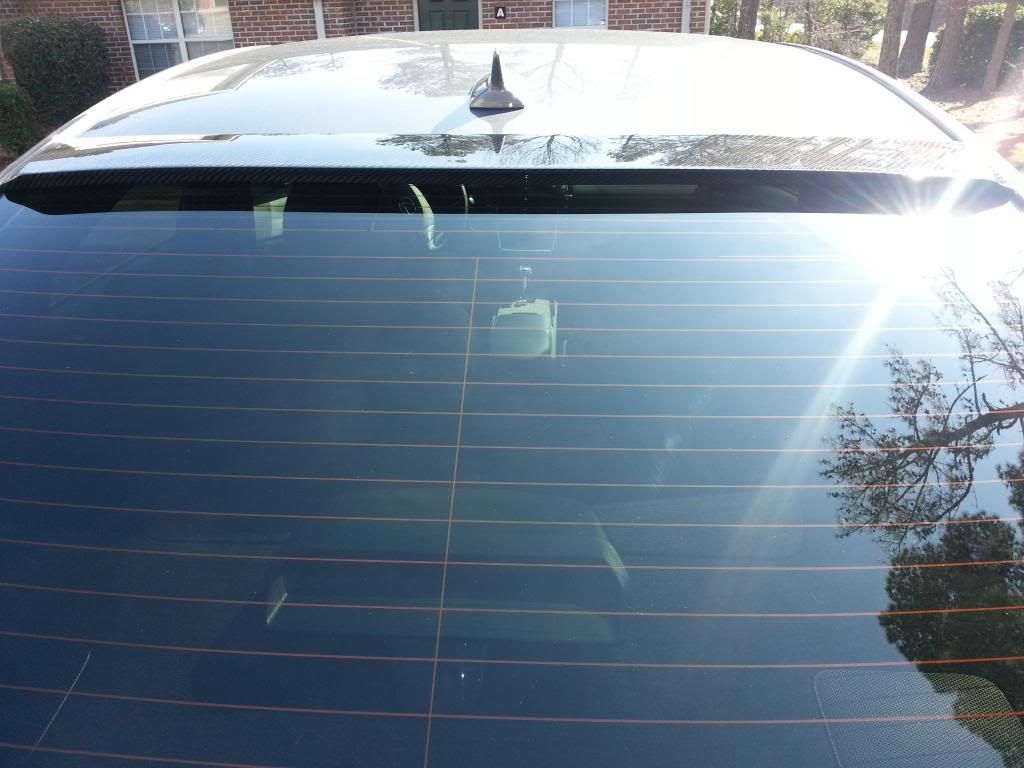
So decided that its time to start this and put all this in one place. Just installed my carbon fiber roof spoiler. Also it seems this second Lexus dealership finally fixed my water problems even though they said they found no problem so I will assume that them taking things apart and putting it back together fixed some seal somewhere!
I used 3M Automotive Acrylic Plus to attach it to the car, but couldnt find how long it takes to really set, so anyone have any clue?
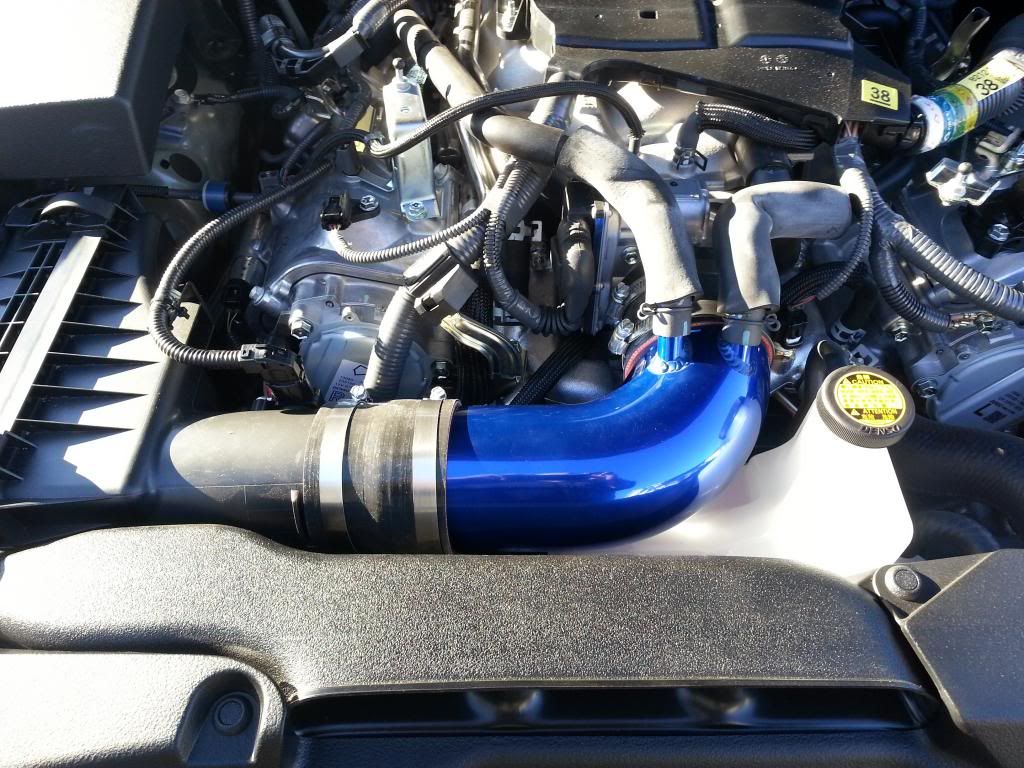
JoeZ intake
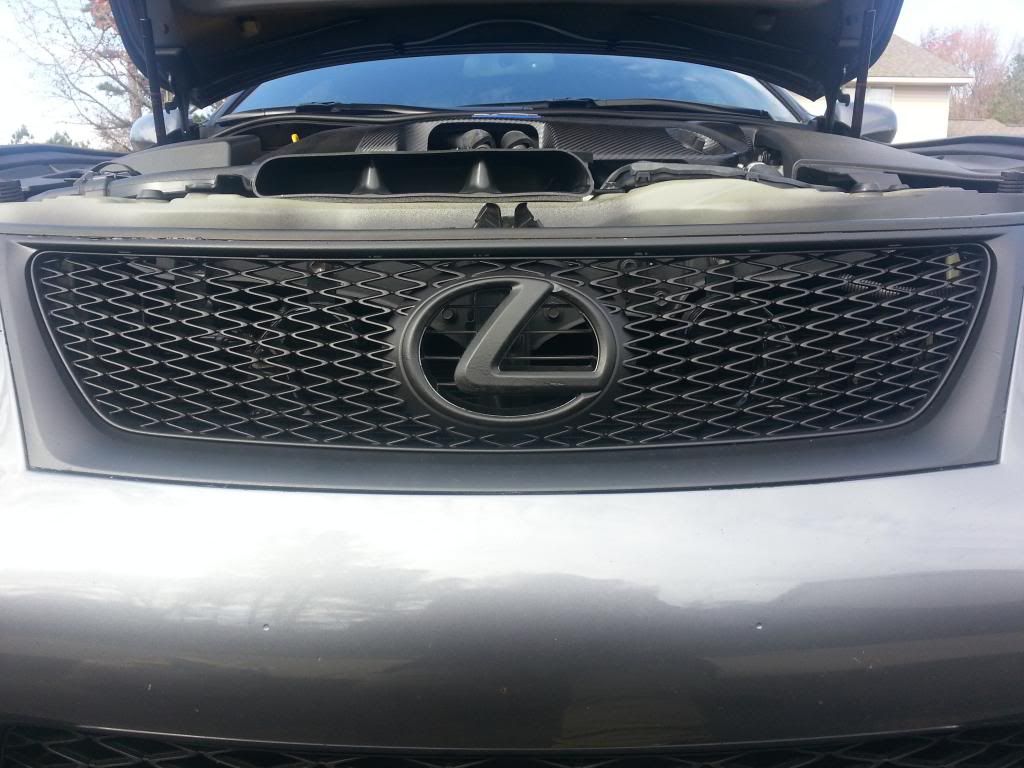
Plasti dip front grill, which needs to be redone as it peeled a tiny bit after the last wash and wax, the extra bit on the left in the pic just needed an exacto knife to remove
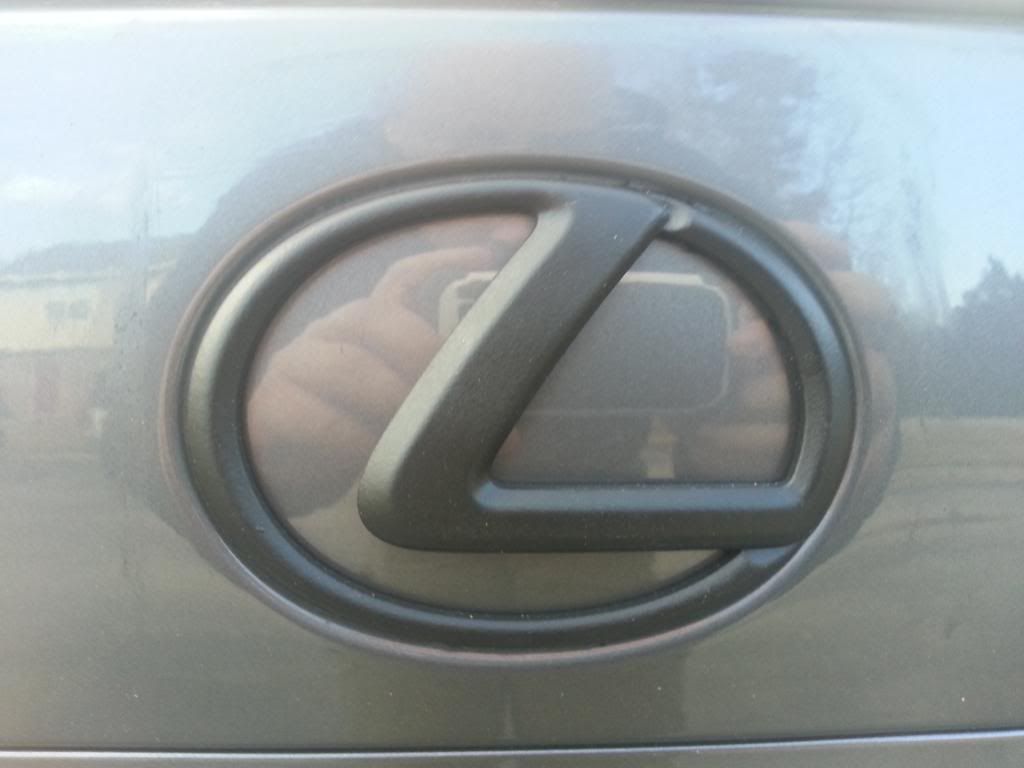
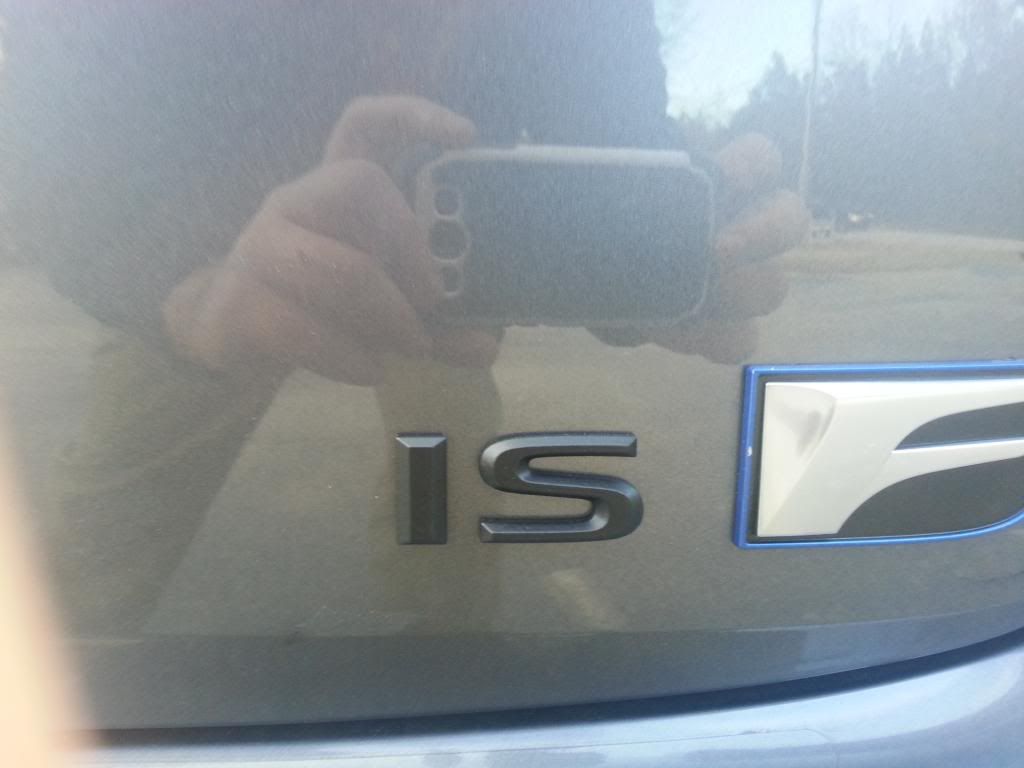
Plasti dipped rear emblems
Next up will be exhaust and headers just can't do it now as I'm in the process of looking for a house to buy and about to change jobs with a big pay increase
I used 3M Automotive Acrylic Plus to attach it to the car, but couldnt find how long it takes to really set, so anyone have any clue?
JoeZ intake
Plasti dip front grill, which needs to be redone as it peeled a tiny bit after the last wash and wax, the extra bit on the left in the pic just needed an exacto knife to remove
Plasti dipped rear emblems
Next up will be exhaust and headers just can't do it now as I'm in the process of looking for a house to buy and about to change jobs with a big pay increase
 01-27-13, 10:43 AM
#3
Congrats on the new job! The CF roof spoiler looks good. With the 3M tape alongside the sun heating it down a bit, it shouldn't have taken long for it to set. 3M is pretty strong and bonds quickly.
01-27-13, 10:49 AM
#4
Pole Position
Thread Starter
 What does is ACTUALLY say? Cheers.

Trending Topics
01-27-13, 12:26 PM
#8
Pole Position
Thread Starter
Lol no offense taken. Well a LONG time ago I used to love playing Everquest and it was a randomly generated name that just stuck with me and I've used it over the years to play other games and online forums.
 01-27-13, 07:51 PM
#13
Pole Position
Thread Starter
 . And my exhaust and mesh around are plasti dipped also will add those to this thread or just look for my plasti dip post.
02-09-13, 07:01 PM
. And my exhaust and mesh around are plasti dipped also will add those to this thread or just look for my plasti dip post.
02-09-13, 07:01 PM
#14
Pole Position
Thread Starter
So was headed to my sisters this morning to hang out and see my nephew who just turned 6 months old and as I was turning onto her street, going about 5mph a kid darts in front of me, I swerve and miss him but my rear right wheel caught the curb, tiny scratch on the rim and the rubber on the side of the tire got torn but no major damage that I can tell. 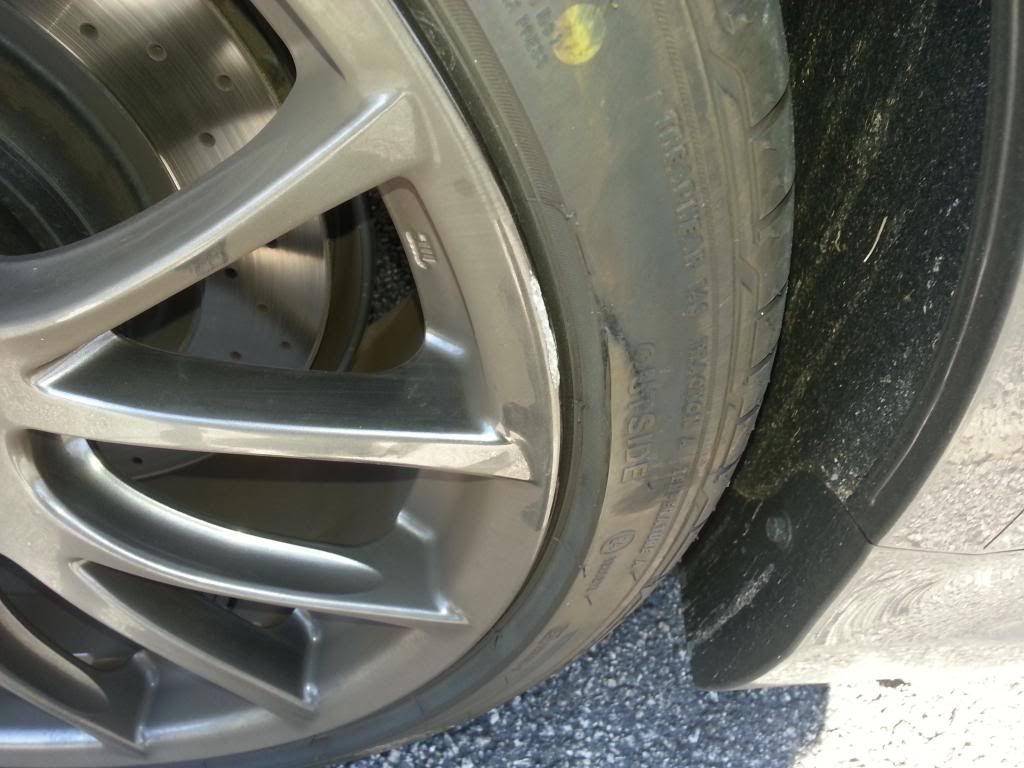
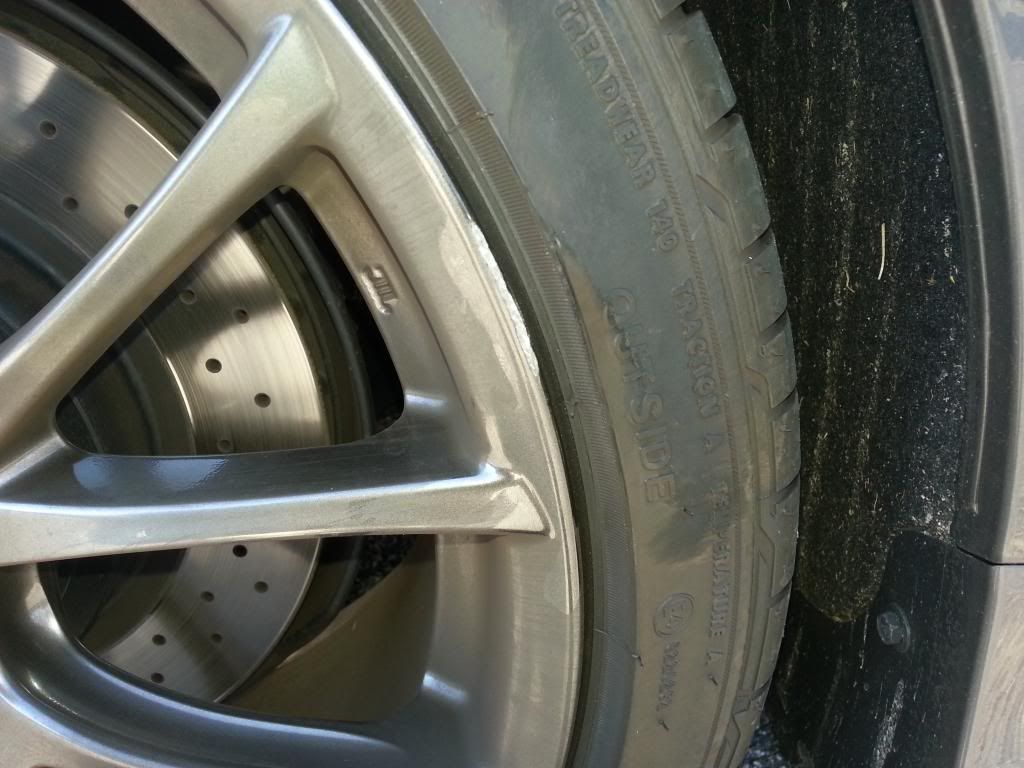
Was pretty pissed but rather get some damage then run someones kid over, however a kid that young should of been watched by his parents, looked no older than 5! Out of all my cars I've never damaged a rim so what are the chances that it bent? To me it looks fine other then the scratch which I will get refinished to get rid of. I've also posted this to a thread in the SE forums for rim repair to see if anyone had an idea of cost of repair.
Was pretty pissed but rather get some damage then run someones kid over, however a kid that young should of been watched by his parents, looked no older than 5! Out of all my cars I've never damaged a rim so what are the chances that it bent? To me it looks fine other then the scratch which I will get refinished to get rid of. I've also posted this to a thread in the SE forums for rim repair to see if anyone had an idea of cost of repair.
02-09-13, 07:35 PM
#15
Ouch.. it's a horrible feeling getting curb rash but it is a relatively easy diy fix.
From the pictures I doubt the rim got bent or anything that requires professional work. If you're willing to do the work yourself, you will need some Phantom Gray Pearl Metallic (Toyota 1E3) touch-up paint, clear touch-up paint, wet/dry sandpapers with grits ranging from 400 to 2000 (preferably up to 3000 if you can find some), a small sanding block, painter's tape, a solution of equal parts dish soap and water, rubbing alcohol, and a polishing compound.
Clean and strip the wheel of any gunk as much as you can. Tape off the surrounding area and any parts of the wheel that you don't want the sandpaper to touch. Using the sanding block, carefully sand away the rash starting with 400 grit and working your way up in grit until it looks smooth. Use small strokes to prevent sanding too much off but gradually use longer strokes when you use higher grits. Clean the area well using rubbing alcohol. You will reveal the white undercoat which you will then proceed to paint over using the touch-up paint. Do a couple coats and wet sand with the highest grit sandpaper you have until it is smooth and uniform with the surrounding surface. Don't do it too much or you might have to redo it. Do the same with the clear coat and wet sand. Remember to let the coats of paint to dry, let's say 30 minutes to an hour just to be safe. After it dries completely use a microfiber towel and apply the rubbing compound vigorously until it is shiney.
That's all there is to it. I'm sure my post is useless without pictures but it is basically the process in a nutshell. Do a quick search here and you can find the original post I paraphrased, complete with pictures. Good luck!