Jay's 93 SC300 2JZGTE, Interior Redone by your's truly, 1JZPWRD !!
 02-20-13, 06:44 PM
#271
1JZ Single SC400
Thread Starter
iTrader: (59)
Join Date: Jan 2009
Location: Alabama, Roll Tide!
Posts: 8,518
Likes: 0
Received 15 Likes
on
12 Posts
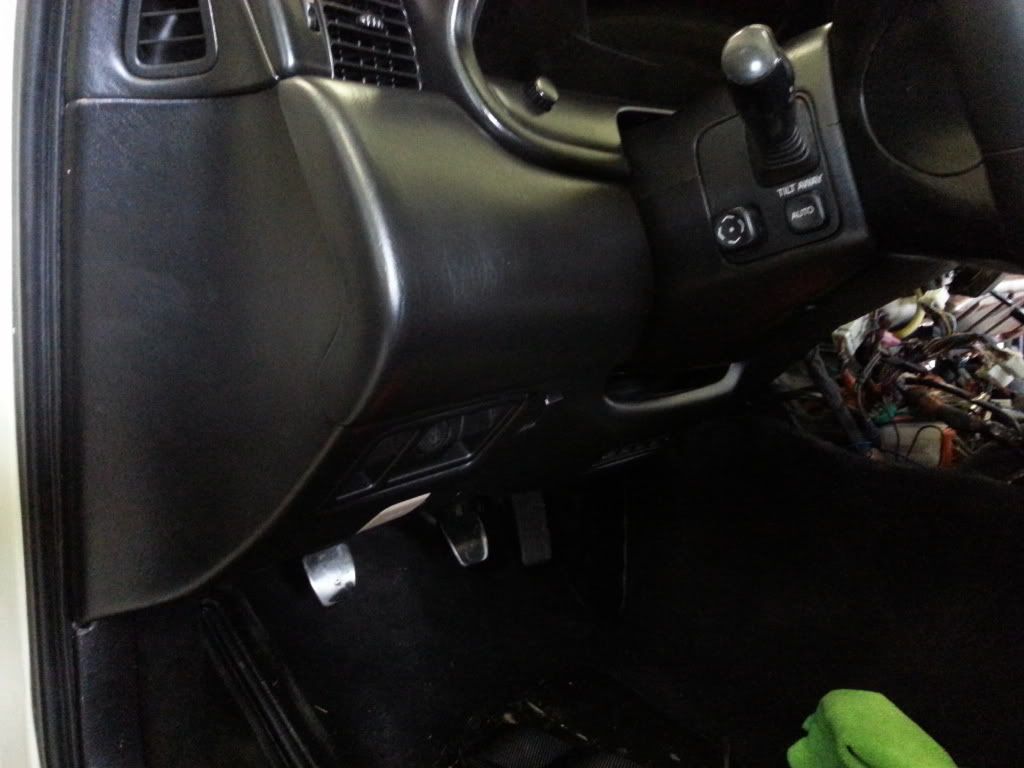
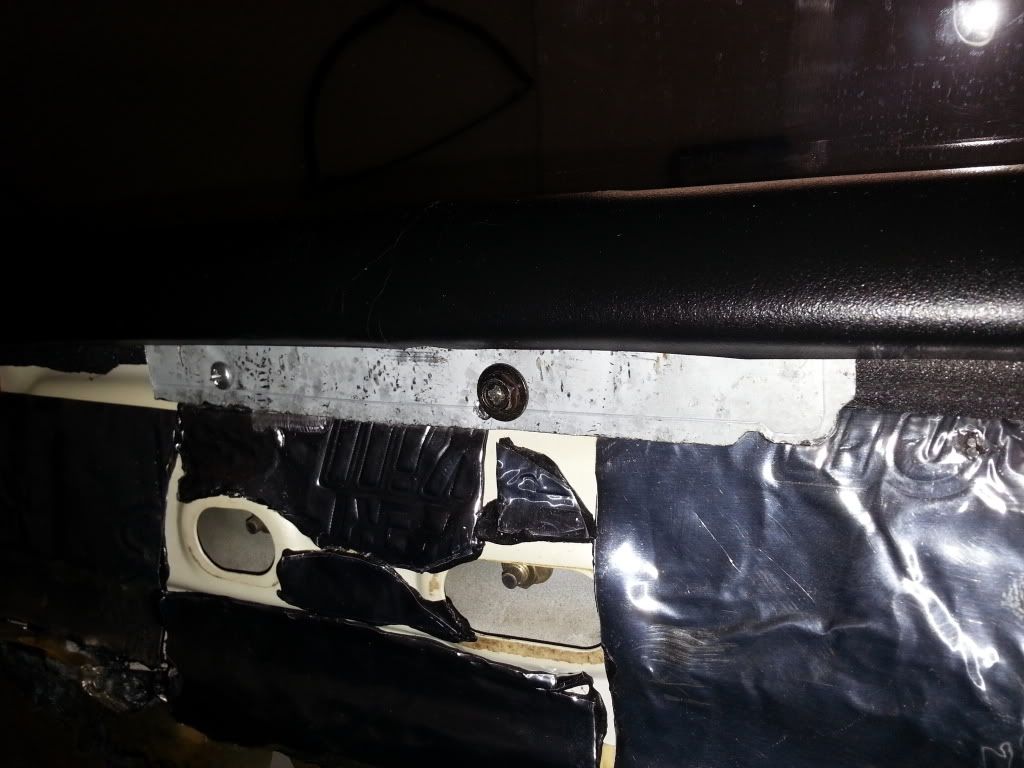
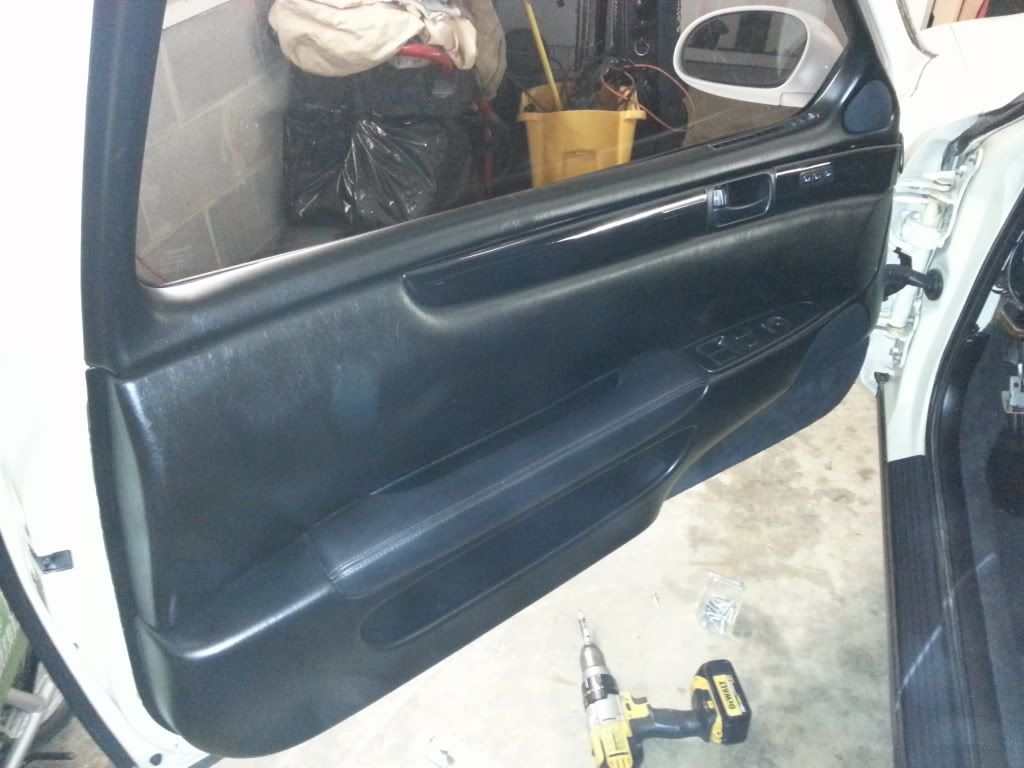
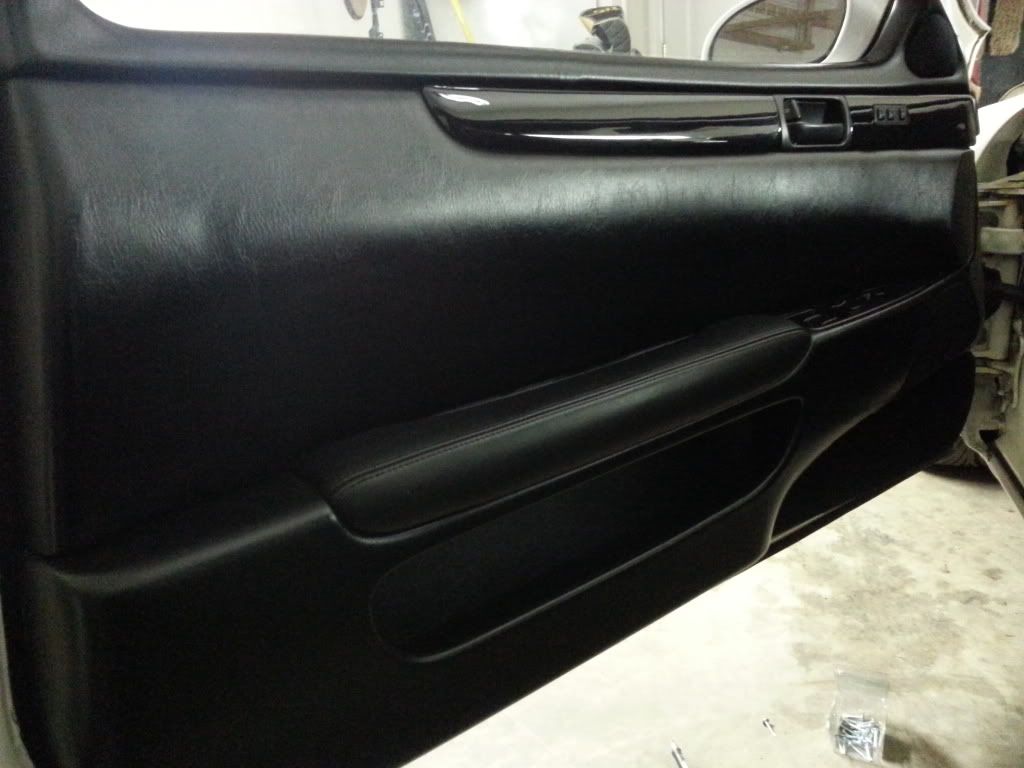
Went and picked up the other door trim piece this afternoon. Installed the driver side door the same way I did the passenger side. Used the plastic tabs on the bottom. Also fixed the upper trim with extra support. Not the best looking but it works and it will hold the weight of any arm on there resting.
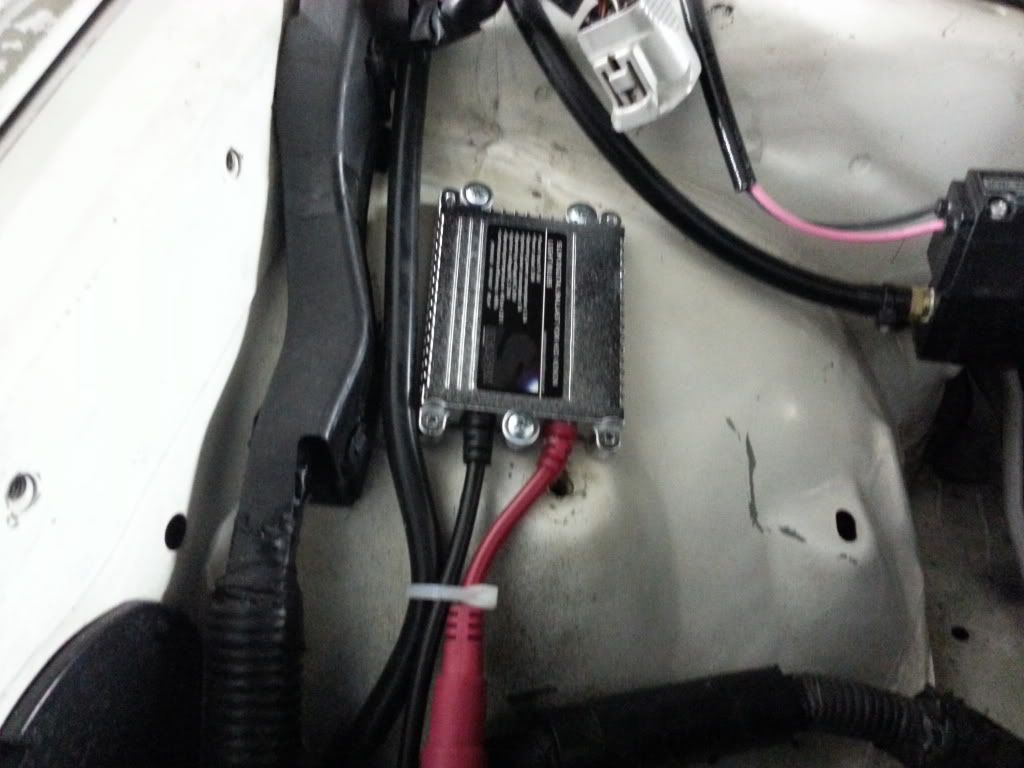
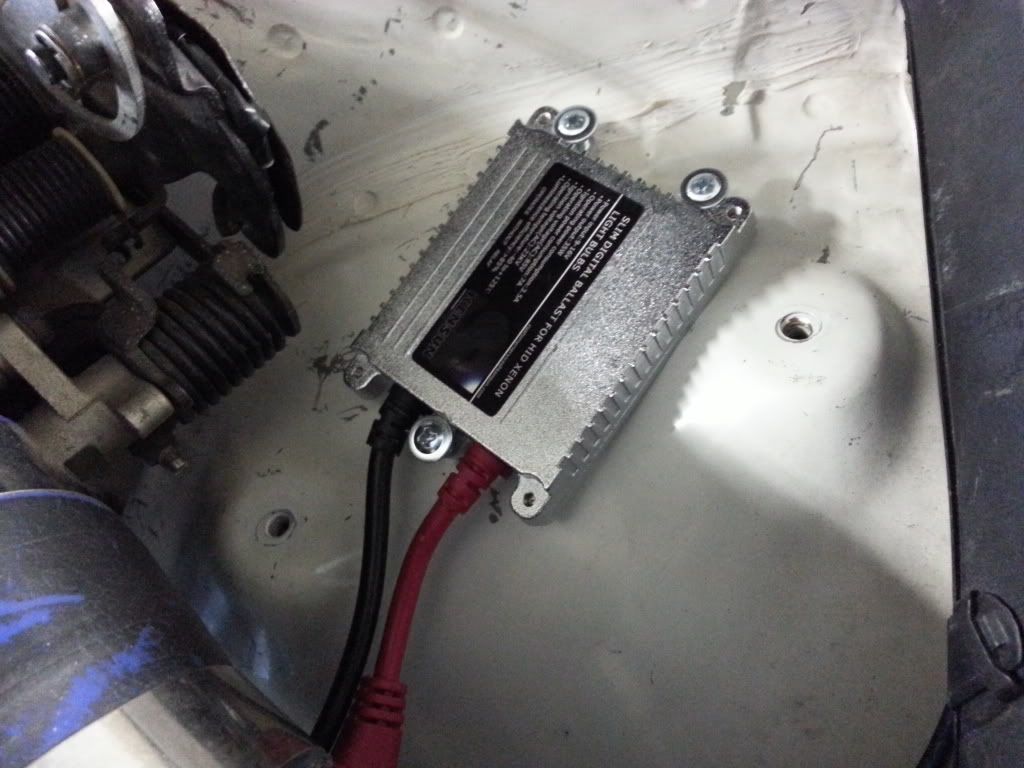
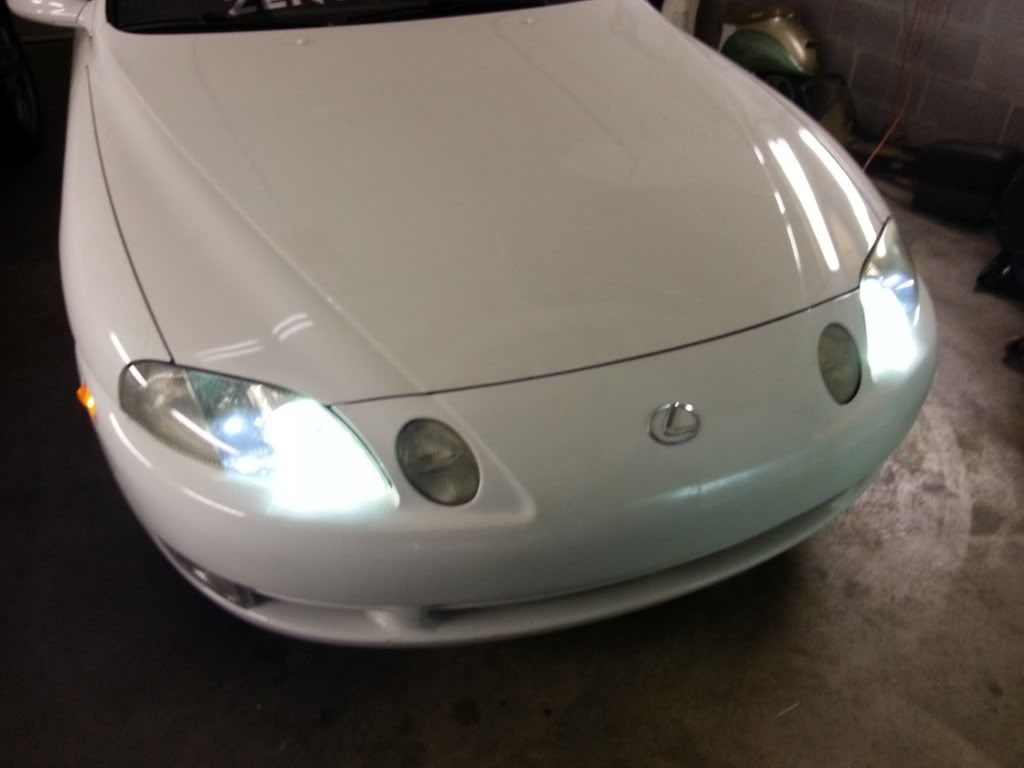
Installed the new HID light kit. Man I found some problems from whomever did it before. The ballast on the passenger side was loose, the driver side was resting on the original auto tranny cooler behind the front bumper, the rubber seals around the connections were loose and dangling, and the wires were just dangling and not secured from the lights themselves. Well I fixed all of that and secured the new ballast with sheet metal screws. I was careful not to go all the way through into the wheel well.
Next up was the crappy install of the front bumper and the way the headlights, both main and high beams rested in there. I worked on this for over 2 hours trying to get the high beams to sit properly and I got it as close as I could. I am still not happy with it. I will research it further and see if there is something that Jay is missing, but I didn't see anything. The flickering that Jay was having in the headlights I dont was caused by the ballasts, it was because the actual lights were just laying in there. Both had broken tabs on top and both had missing 10mm bolts on the back of each lights. I fixed all of that tonight also. I made a small bracket for the driver side cause there was nothing to secure the top bolt to. It was completely gone except towards the very bottom of the light. I drilled into this and reused the top 10mm bolt ion the OEM location. No more moving on either headlight. The bottom line is that I still dont like the way the lights sit and the way the front bumper is looking.
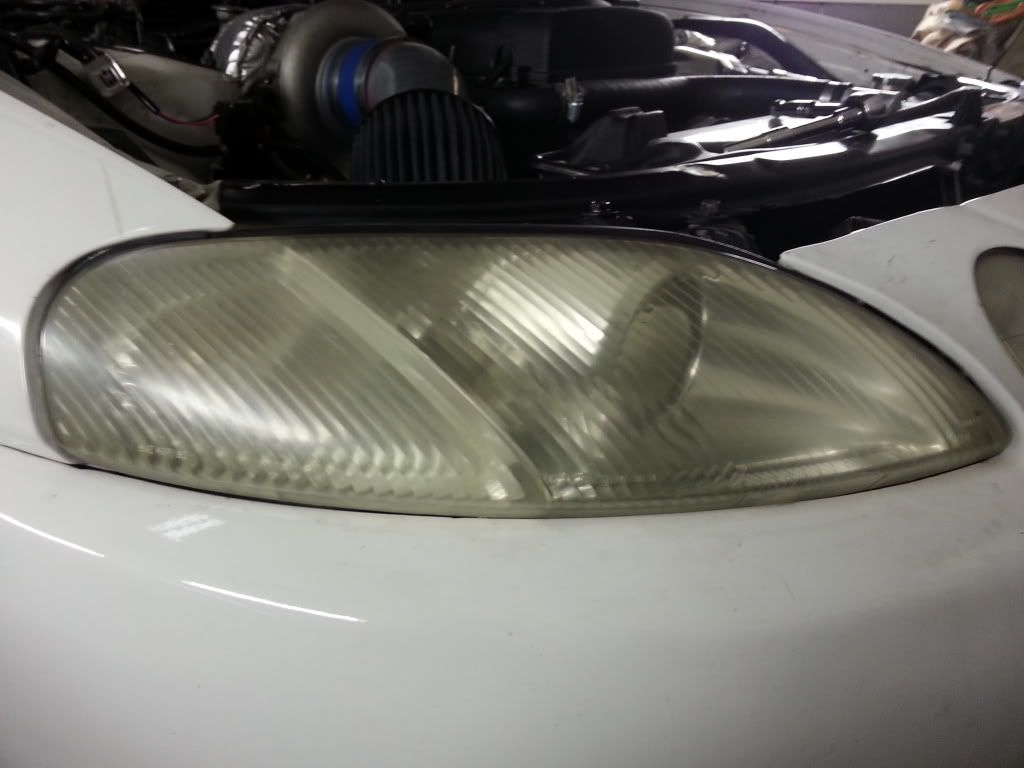
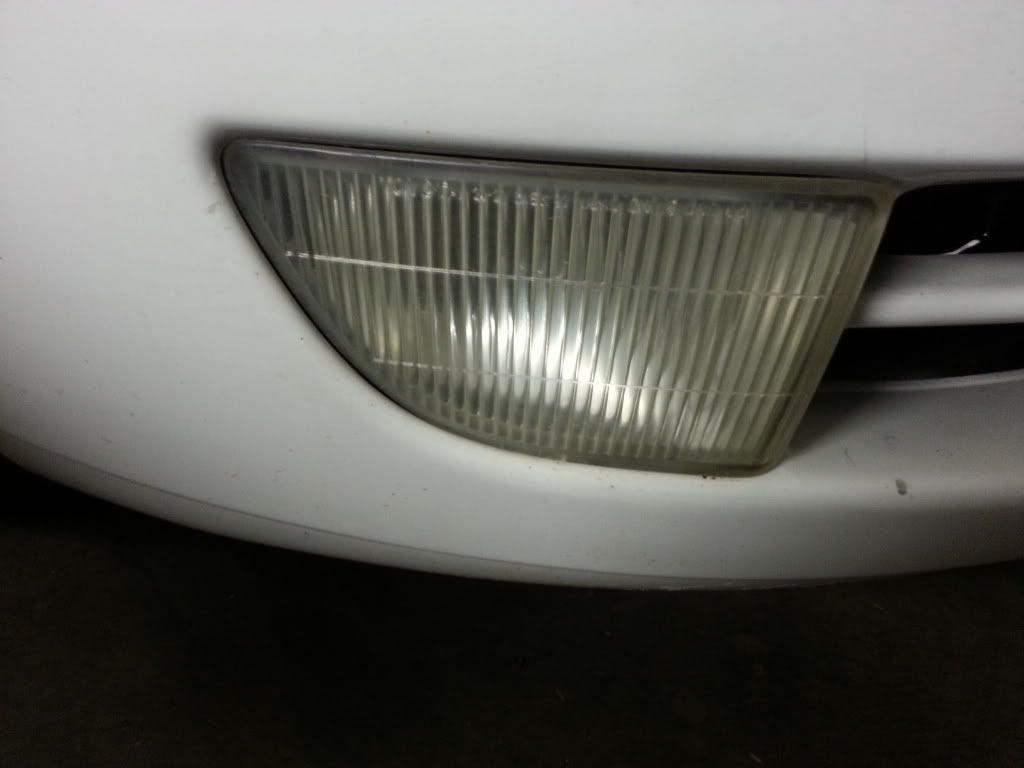
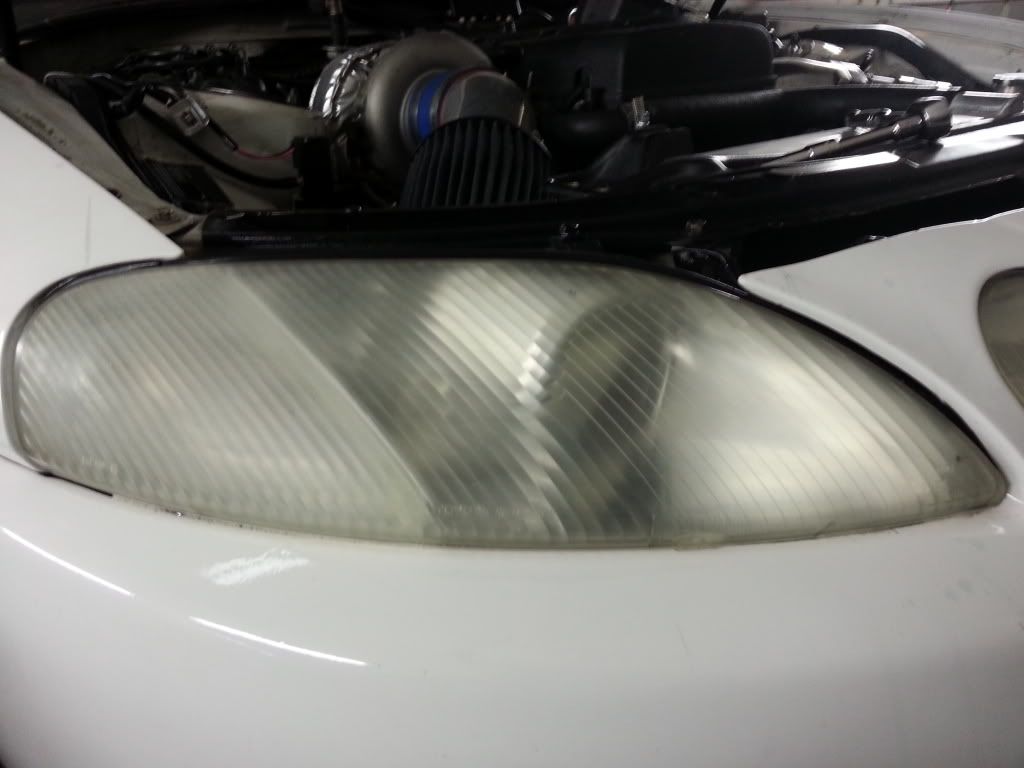
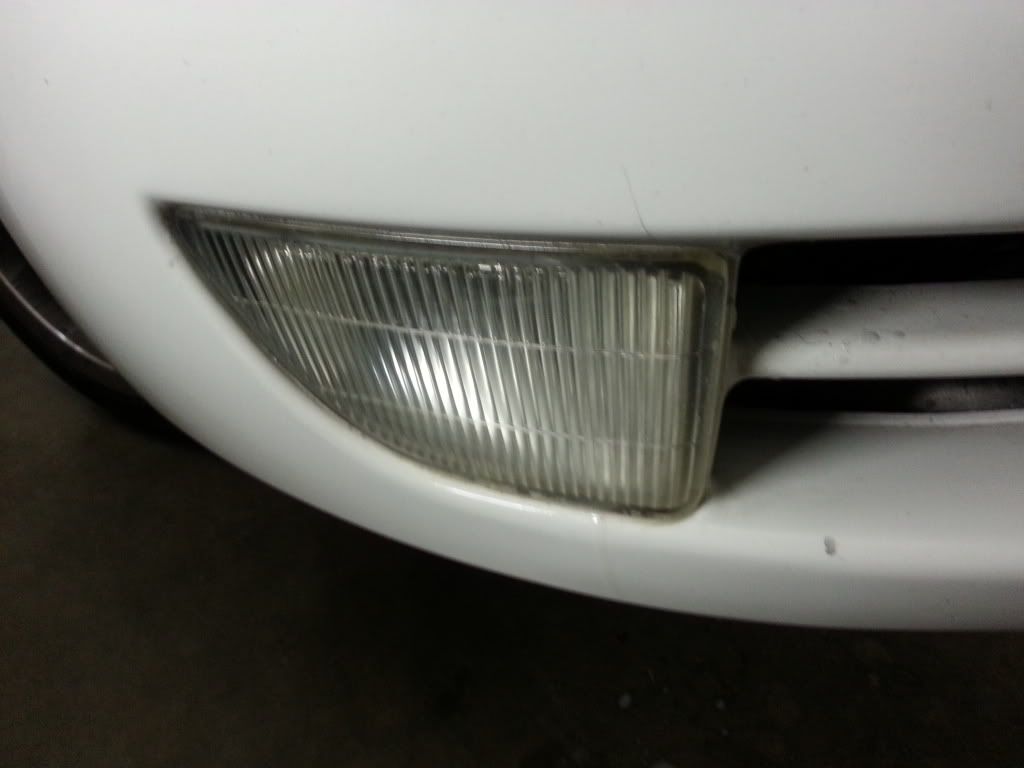
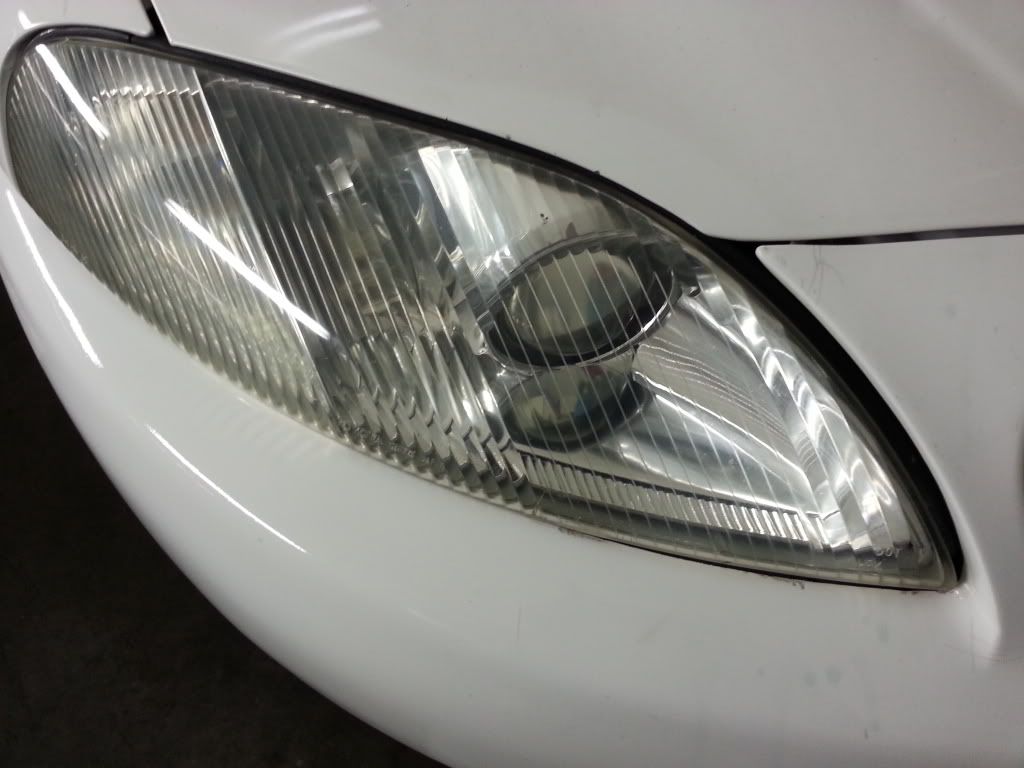
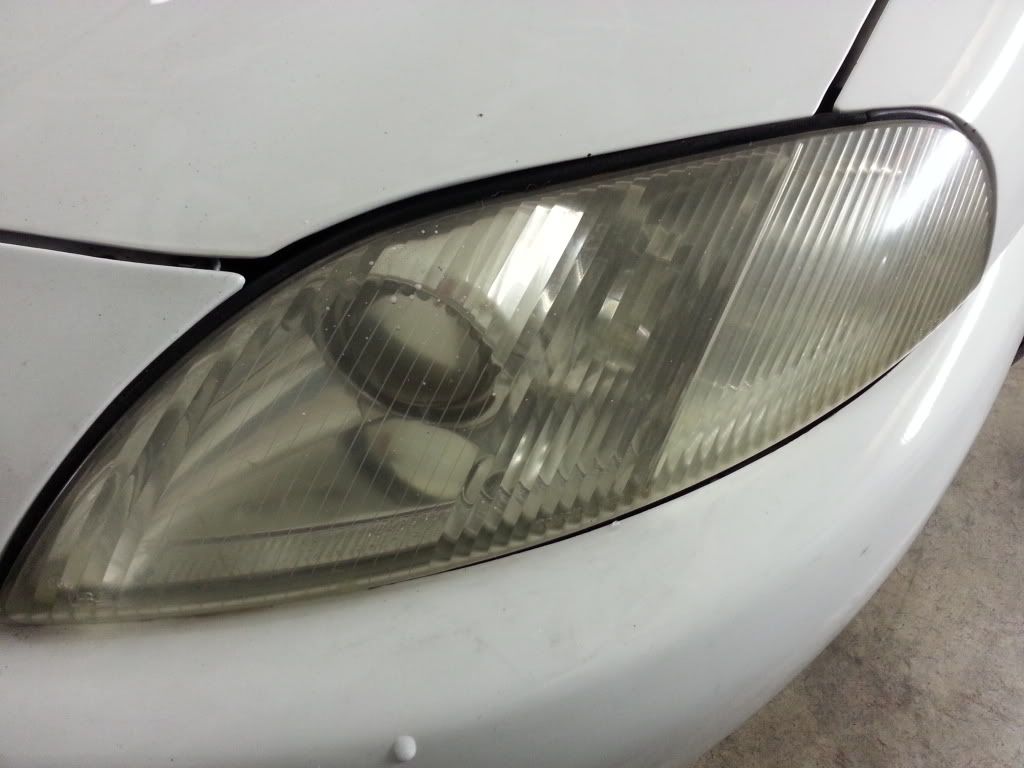
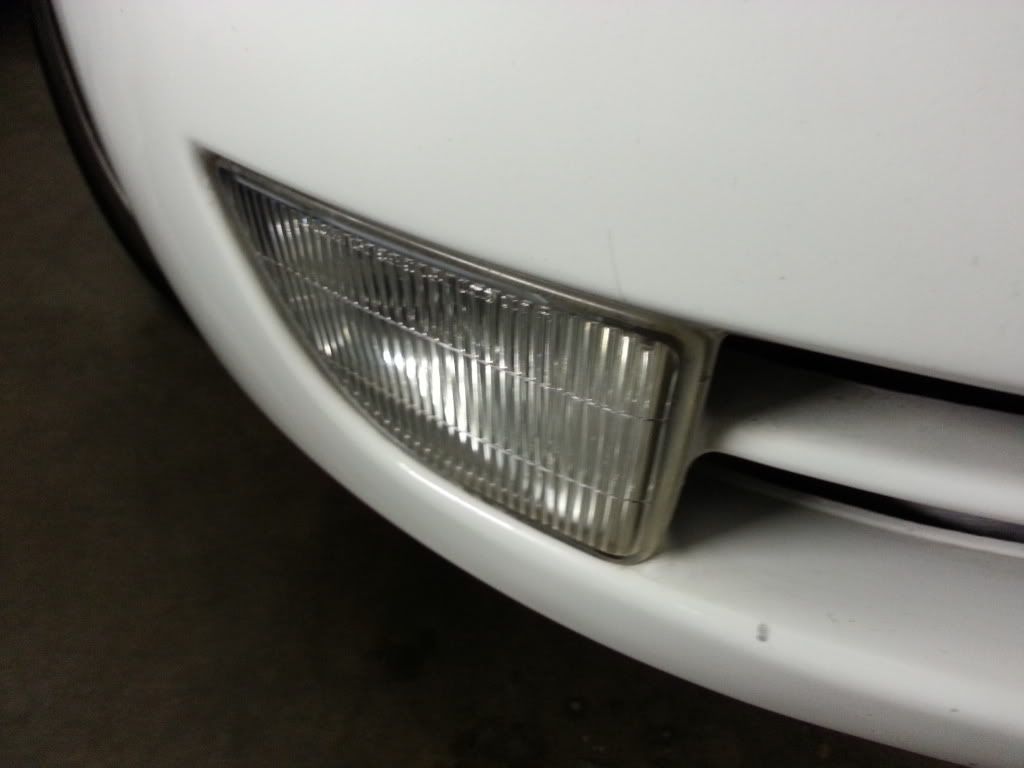
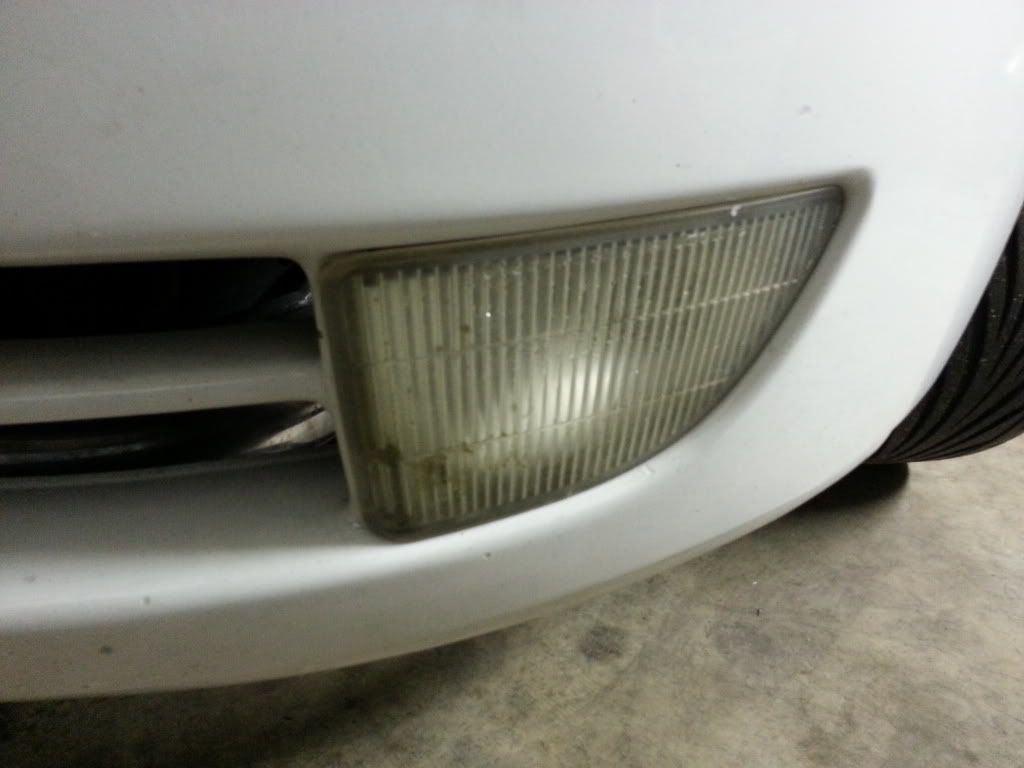
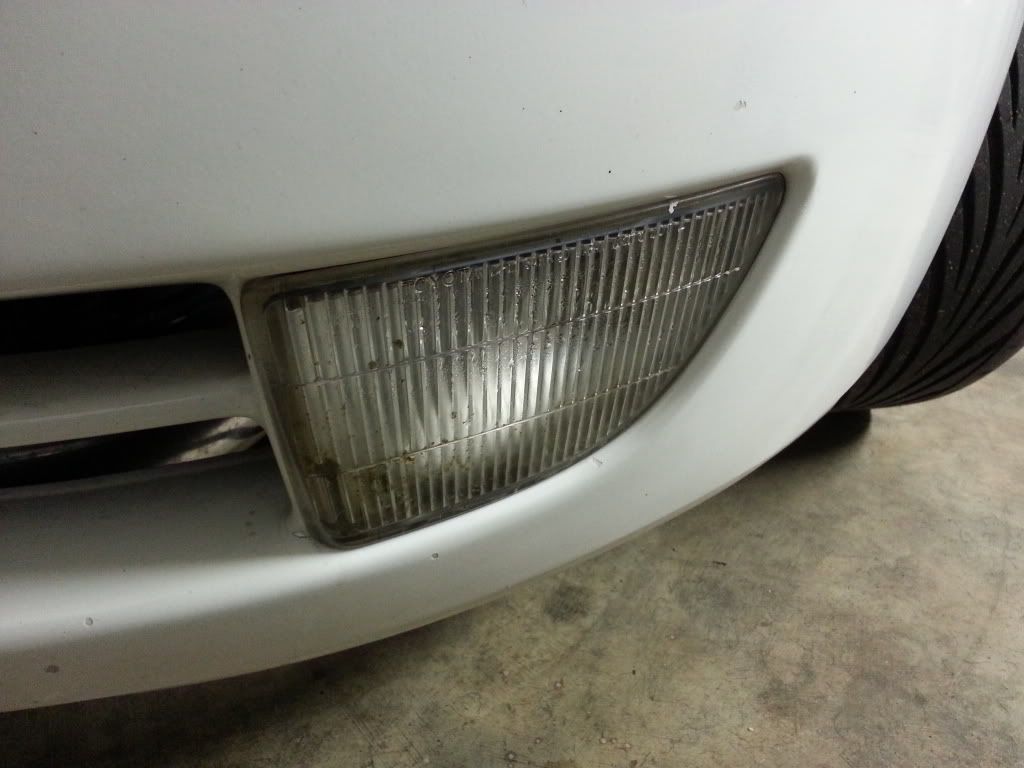
After this, I decided to wetsand his main headlights and the running turn signal lights. He didn't want me to convert them just yet. I could have tonight. For the headlights, I used 1500 grit sandpaper, with soap and water, then used a wool pad on a high speed buffer, set at 1700 rpm to finish it up. Here are the before and after.

Installed the new HID light kit. Man I found some problems from whomever did it before. The ballast on the passenger side was loose, the driver side was resting on the original auto tranny cooler behind the front bumper, the rubber seals around the connections were loose and dangling, and the wires were just dangling and not secured from the lights themselves. Well I fixed all of that and secured the new ballast with sheet metal screws. I was careful not to go all the way through into the wheel well.
Next up was the crappy install of the front bumper and the way the headlights, both main and high beams rested in there. I worked on this for over 2 hours trying to get the high beams to sit properly and I got it as close as I could. I am still not happy with it. I will research it further and see if there is something that Jay is missing, but I didn't see anything. The flickering that Jay was having in the headlights I dont was caused by the ballasts, it was because the actual lights were just laying in there. Both had broken tabs on top and both had missing 10mm bolts on the back of each lights. I fixed all of that tonight also. I made a small bracket for the driver side cause there was nothing to secure the top bolt to. It was completely gone except towards the very bottom of the light. I drilled into this and reused the top 10mm bolt ion the OEM location. No more moving on either headlight. The bottom line is that I still dont like the way the lights sit and the way the front bumper is looking.
After this, I decided to wetsand his main headlights and the running turn signal lights. He didn't want me to convert them just yet. I could have tonight. For the headlights, I used 1500 grit sandpaper, with soap and water, then used a wool pad on a high speed buffer, set at 1700 rpm to finish it up. Here are the before and after.
 02-20-13, 07:27 PM
#273
1JZ Single SC400
Thread Starter
iTrader: (59)
Join Date: Jan 2009
Location: Alabama, Roll Tide!
Posts: 8,518
Likes: 0
Received 15 Likes
on
12 Posts
Thanks Jwin. I just wish the front bumper would work out better. I am just **** about something things like that. I am sorry the pictures arent as good as should be. When I am finished, I will take better ones. These in the garage are just pure crap...
02-20-13, 08:35 PM
#274

Two questions........
1: What is your minimum charge you spoke of on the last page. I want my interior redone in the tan or some color like the tan. Not sure which one I like as of yet.
2: When is the meet you spoke of that you and Jay are going to? I may want to meet up with you guys and caravan over....................if you don't make fun of my "stock" interior...........lol
Also, car looks amazing. You've done one hell of a job with everything.
02-20-13, 08:53 PM
#275
I found the answer to question 2 already. I didn't really see much to do while there except for meet people and drool over their cars. I would like to ride out for friday and saturday but I'll be coming home sunday. I host a holdem game every sunday evening and I'd hate to miss it........lol
02-21-13, 12:38 AM
#276
Hey the SEMS paint says its for vinyl and stuff but doesn't say anything about leather. If you use it on leather will it come off? Are you using the Classic coat or the color coat? The color is Laudau Black right? I don't see that for the classic coat which is made for leather.
Last edited by jwin; 02-21-13 at 12:49 AM.
02-21-13, 06:08 AM
#277
1JZ Single SC400
Thread Starter
iTrader: (59)
Join Date: Jan 2009
Location: Alabama, Roll Tide!
Posts: 8,518
Likes: 0
Received 15 Likes
on
12 Posts
I found the answer to question 2 already. I didn't really see much to do while there except for meet people and drool over their cars. I would like to ride out for friday and saturday but I'll be coming home sunday. I host a holdem game every sunday evening and I'd hate to miss it........lol
02-21-13, 06:12 AM
#278
1JZ Single SC400
Thread Starter
iTrader: (59)
Join Date: Jan 2009
Location: Alabama, Roll Tide!
Posts: 8,518
Likes: 0
Received 15 Likes
on
12 Posts
Hey the SEMS paint says its for vinyl and stuff but doesn't say anything about leather. If you use it on leather will it come off? Are you using the Classic coat or the color coat? The color is Laudau Black right? I don't see that for the classic coat which is made for leather.
02-22-13, 06:12 PM
#279
1JZ Single SC400
Thread Starter
iTrader: (59)
Join Date: Jan 2009
Location: Alabama, Roll Tide!
Posts: 8,518
Likes: 0
Received 15 Likes
on
12 Posts
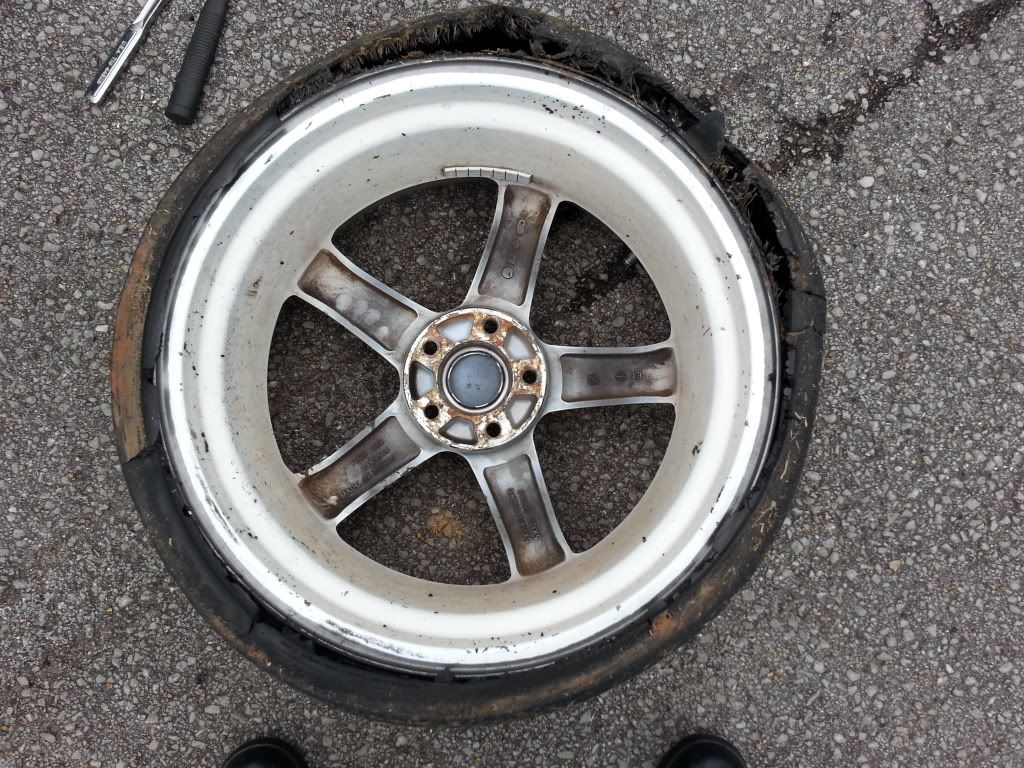
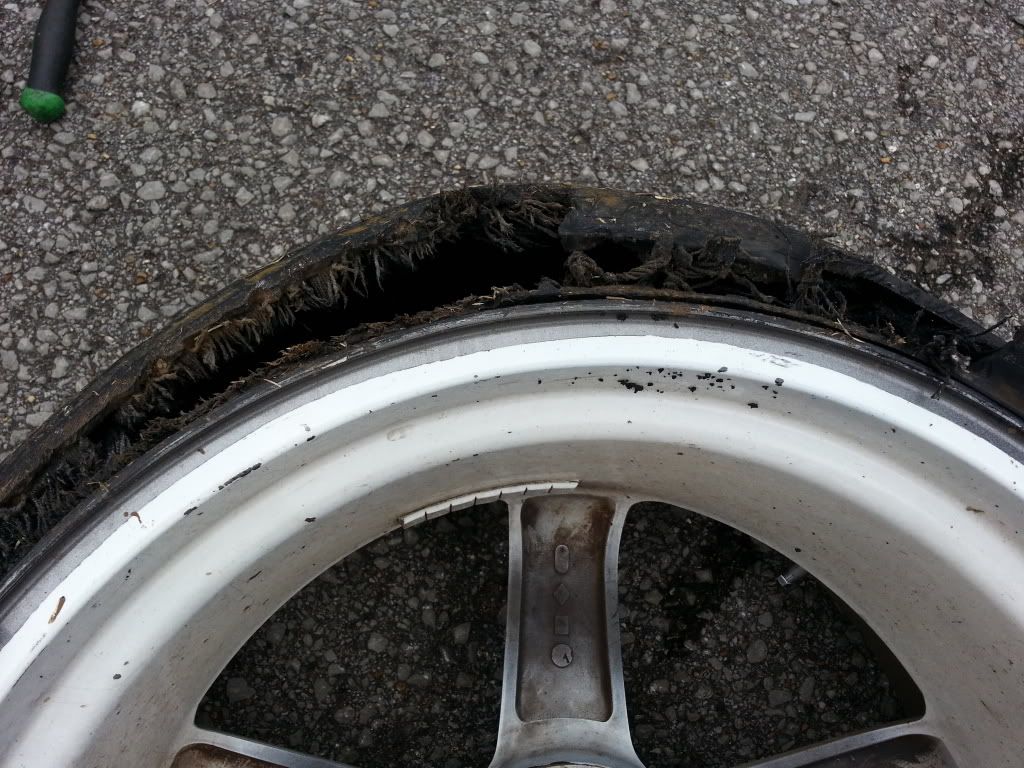
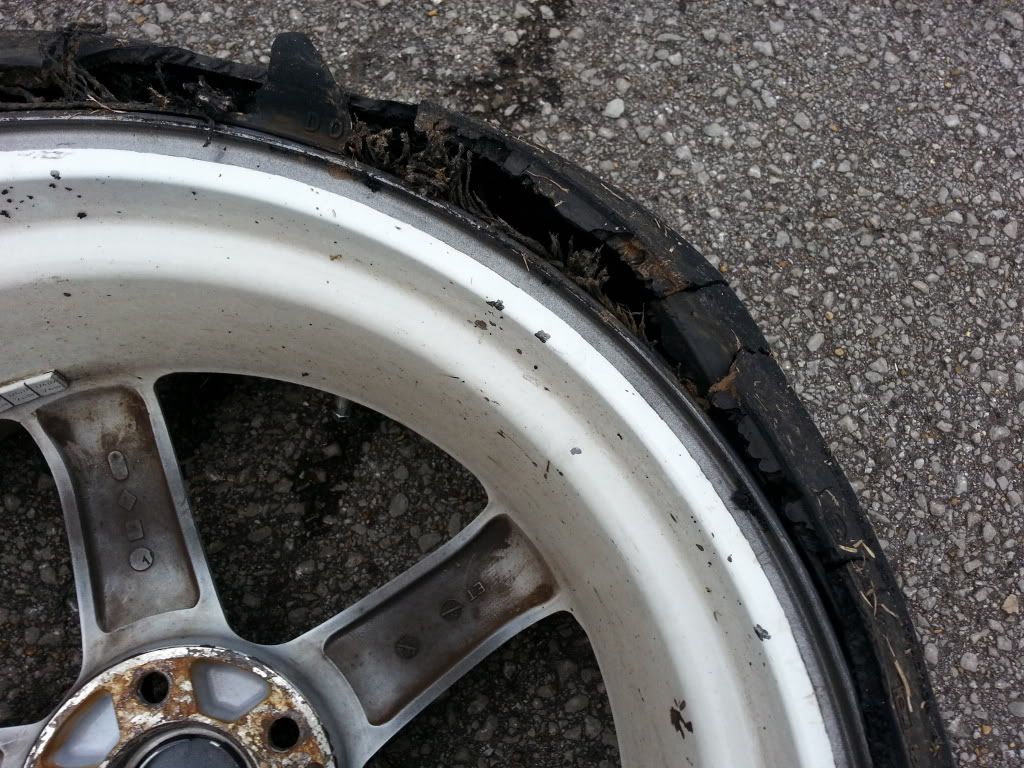
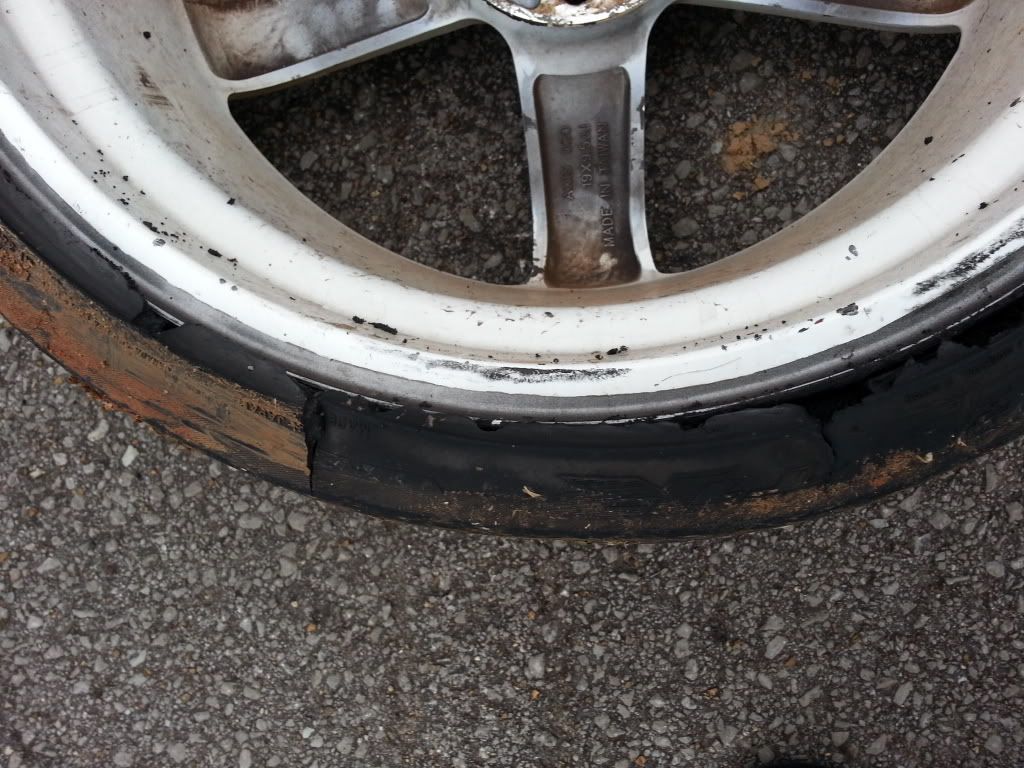
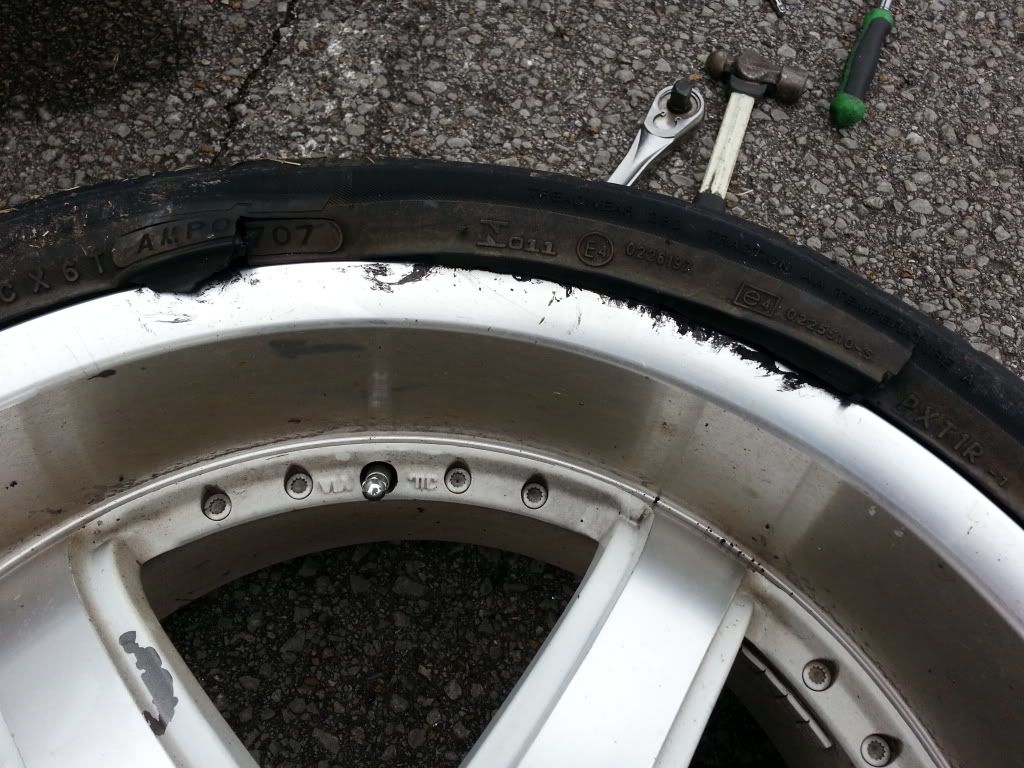
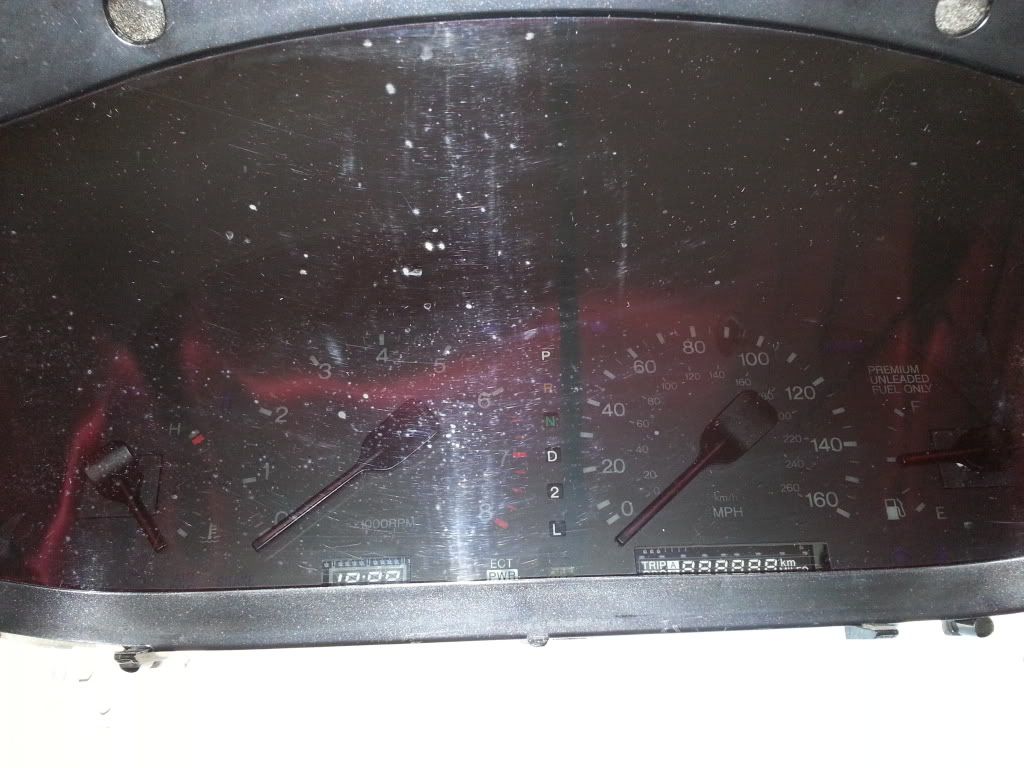
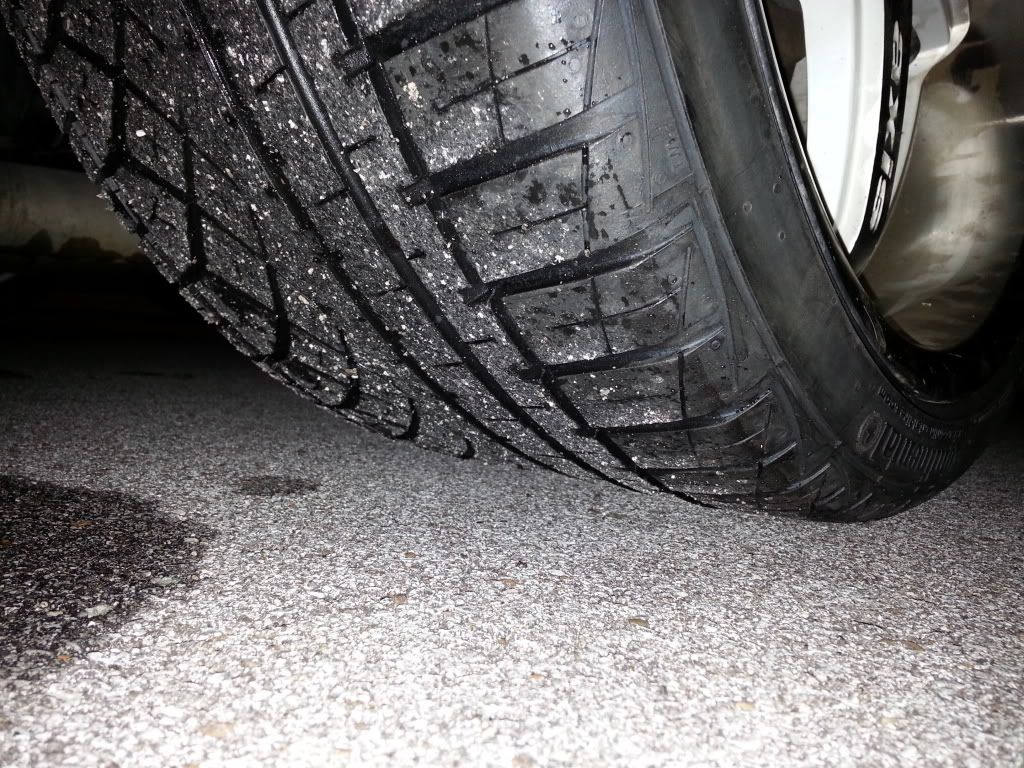
Well it didnt start off to a good day. I jumped in jays car this morning and drove it to work. Well let me rephrase that, almost made it to work. I started to smell rubber burning, not from boost (LOL), and pulled over. I was already about 20 miles away from home. The right rear tire was very low. It has been getting low for awhile, I think from sitting. Anyway, continued on to the next gas station, and tried to put air in it. It was a no go, air was trying but going somewhere in the atmosphere. LOL.. I decided to continue to try and make to work, which was only about 10 miles or less. I made it to the gate and then went completely flat. I had to call a wrecker company and get it towed to my work. After that went to change the tire and this is what I found after I beat the lug nuts off. The lug nut remover that Jay had, three of them, none of them worked.
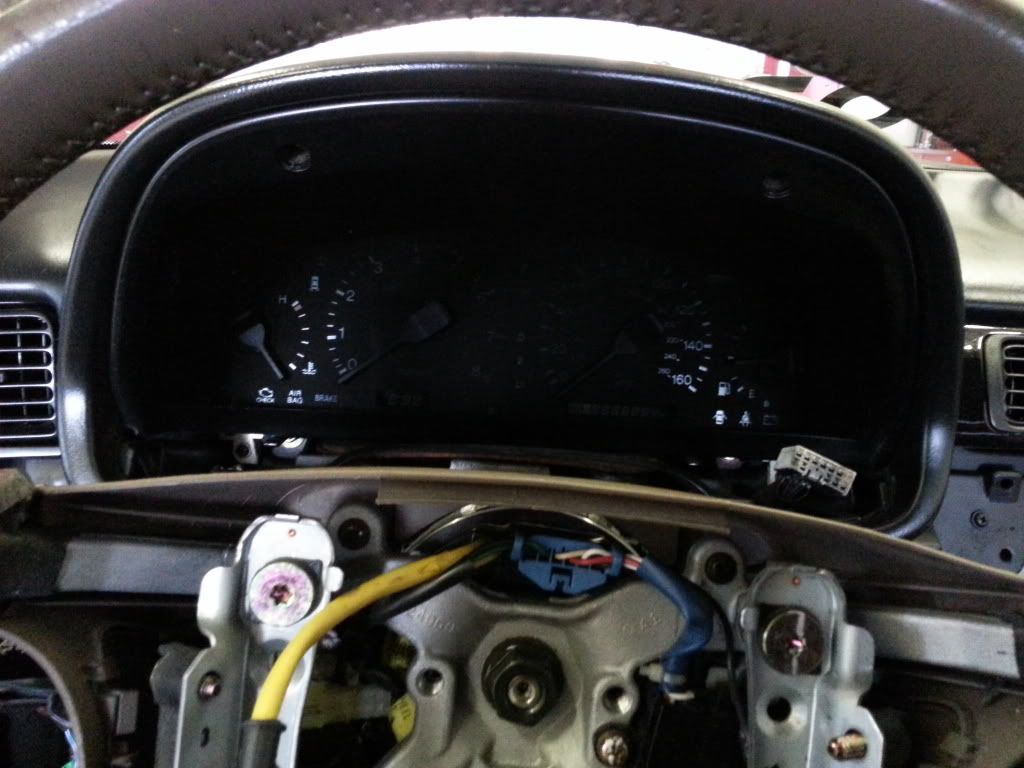
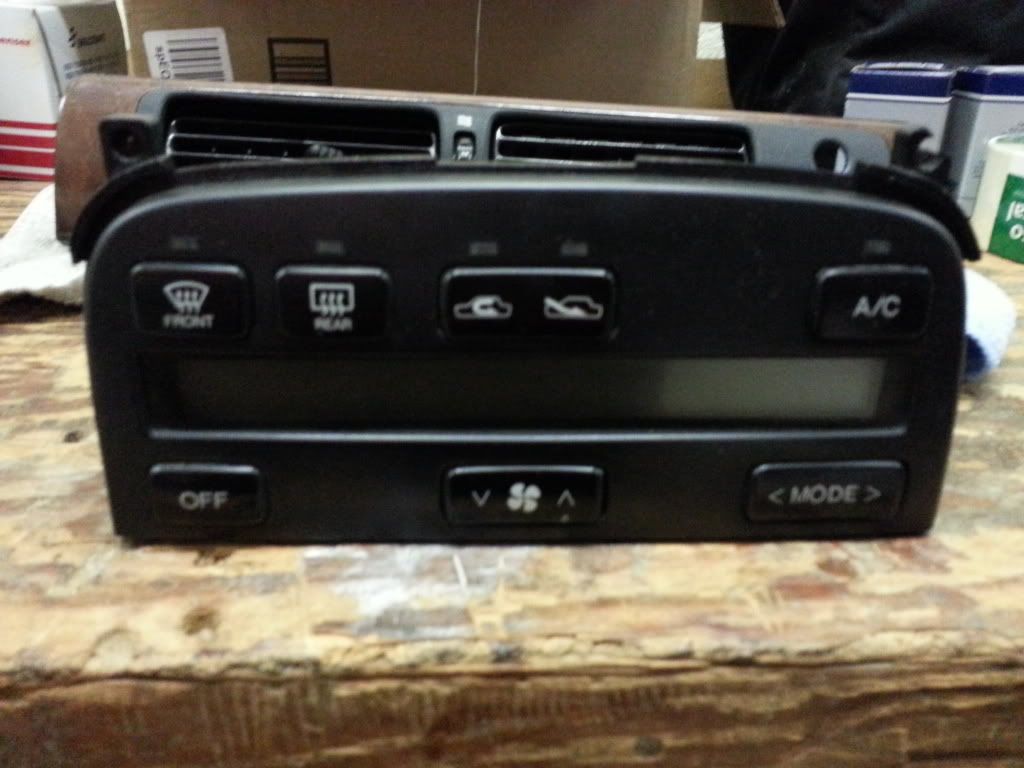
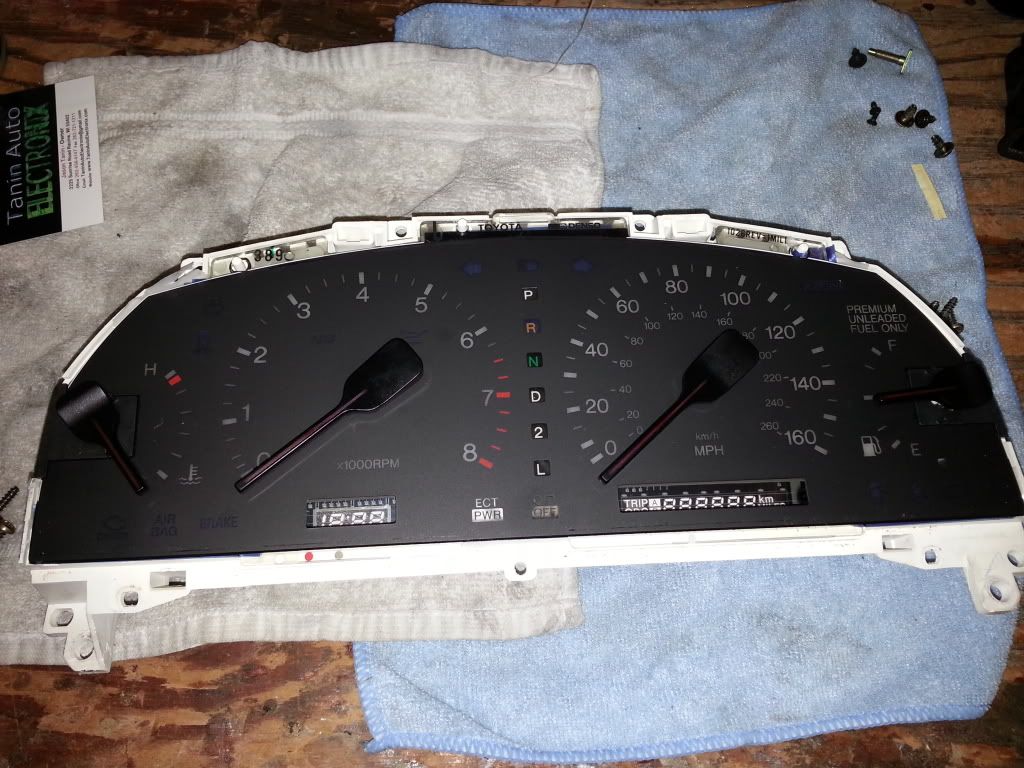
Then the wife called and said the box from Lextech was in. This was what I was waiting on. I opened the package and found this:
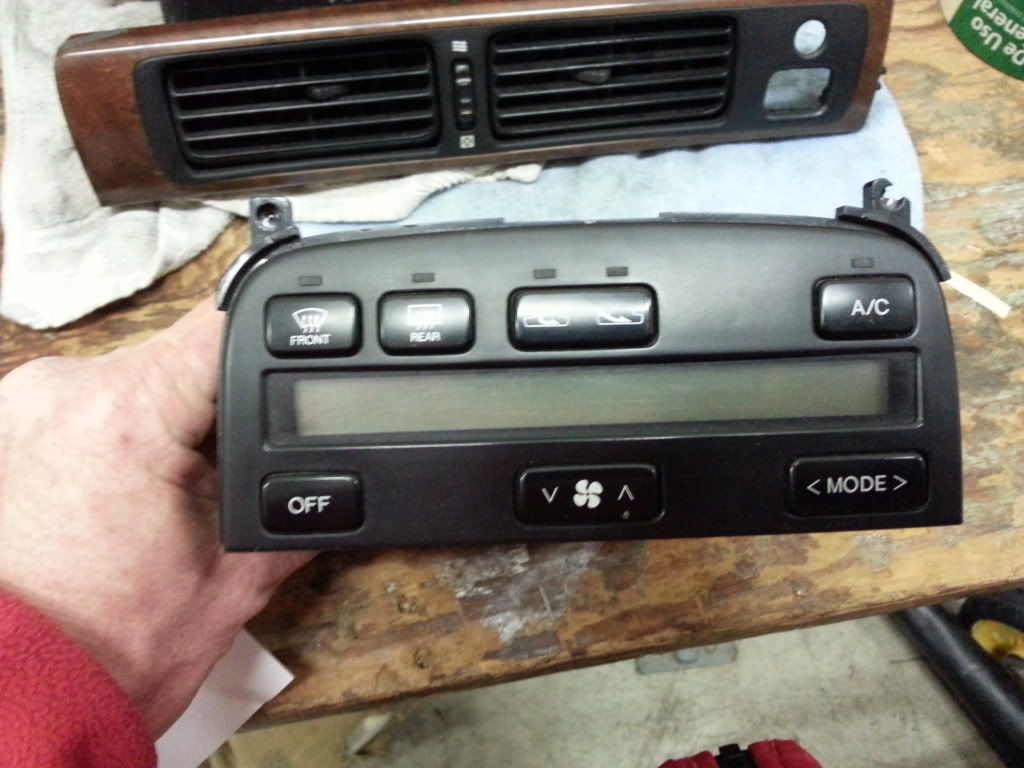
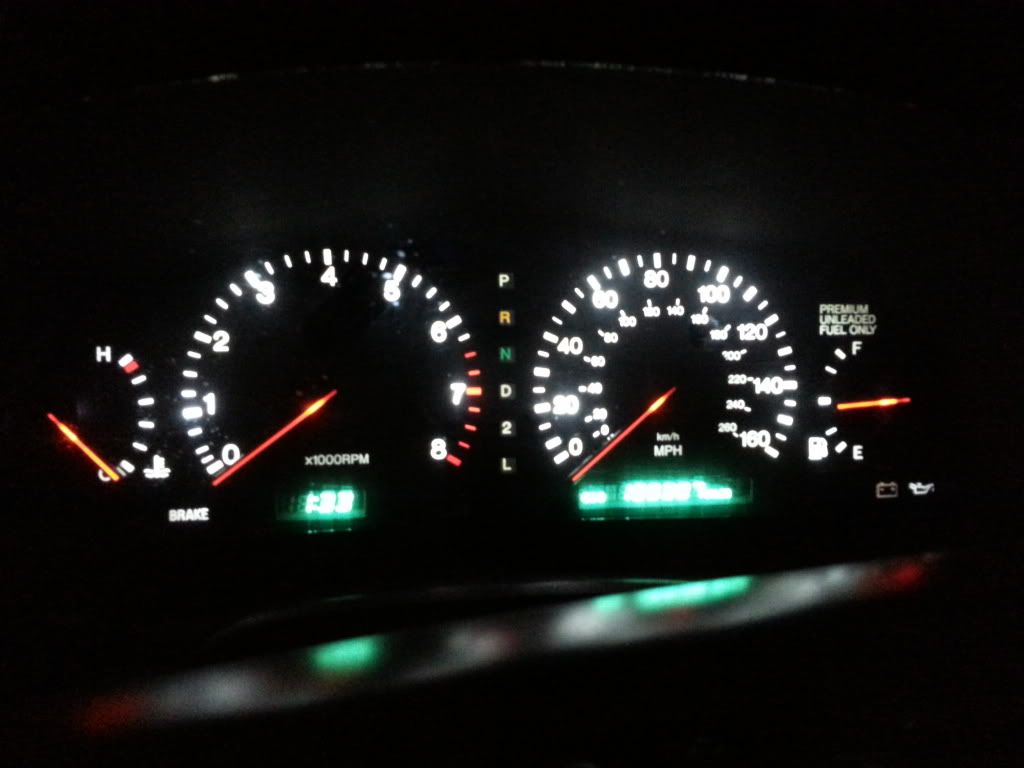
New LCD installed:
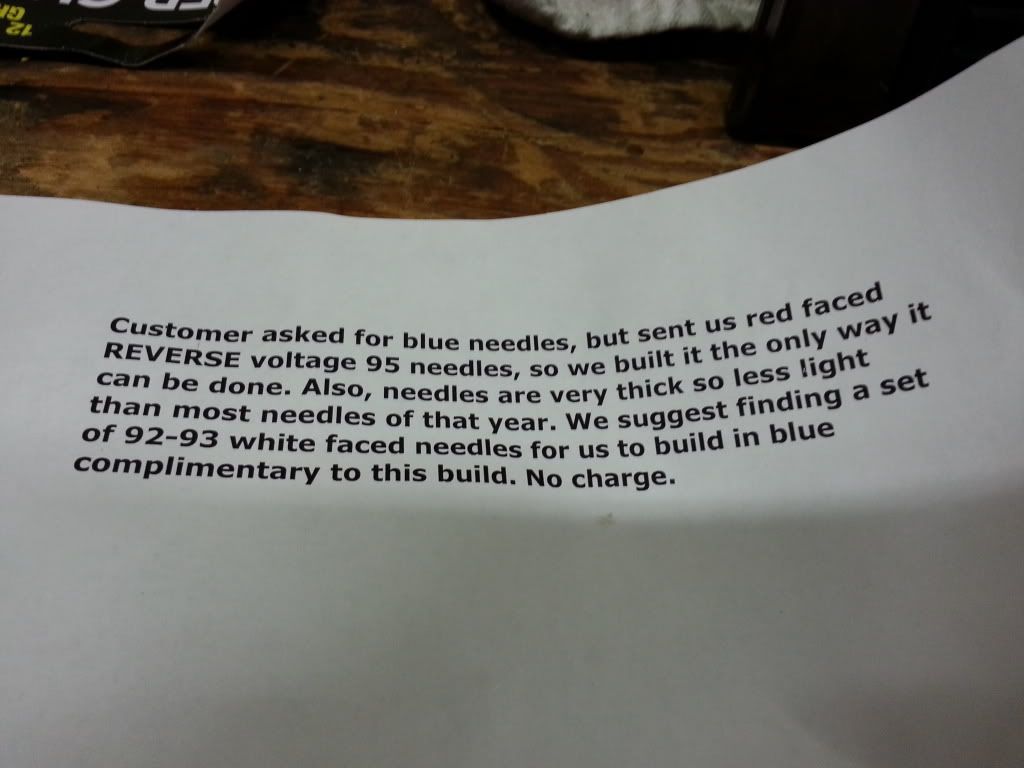
Then this letter, which by the way, I learned something. I didnt know they cant convert 95 red needles to blue. Should have done more research. Sorry Jay. The good news is that all the needles work and they are bright.
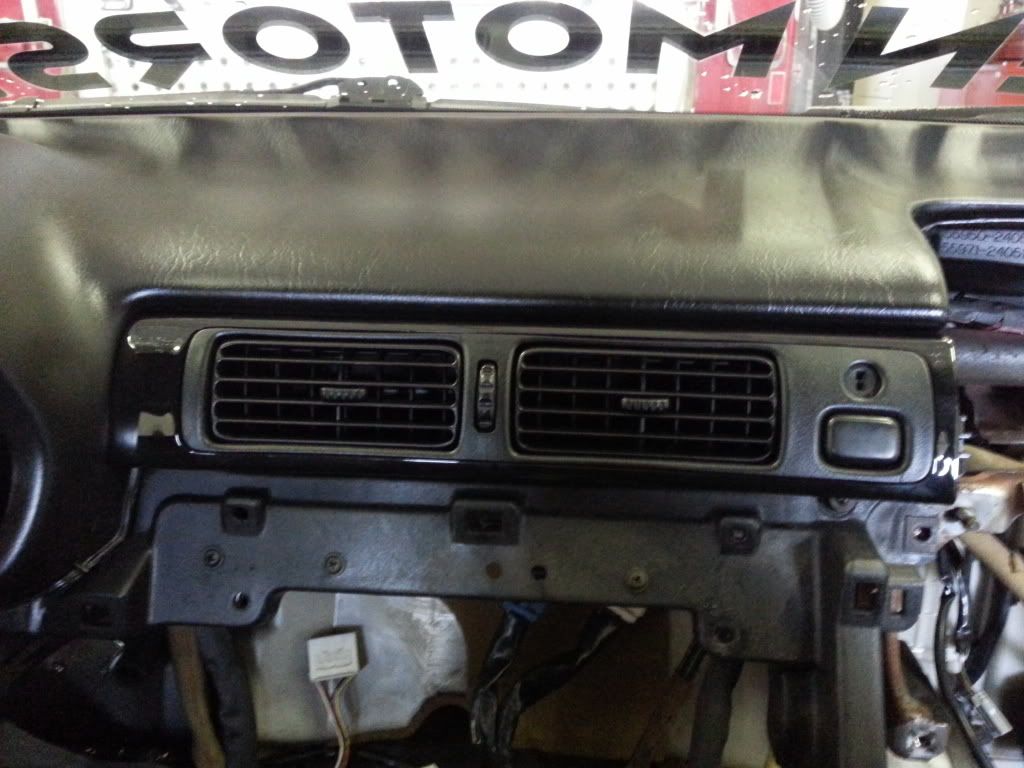
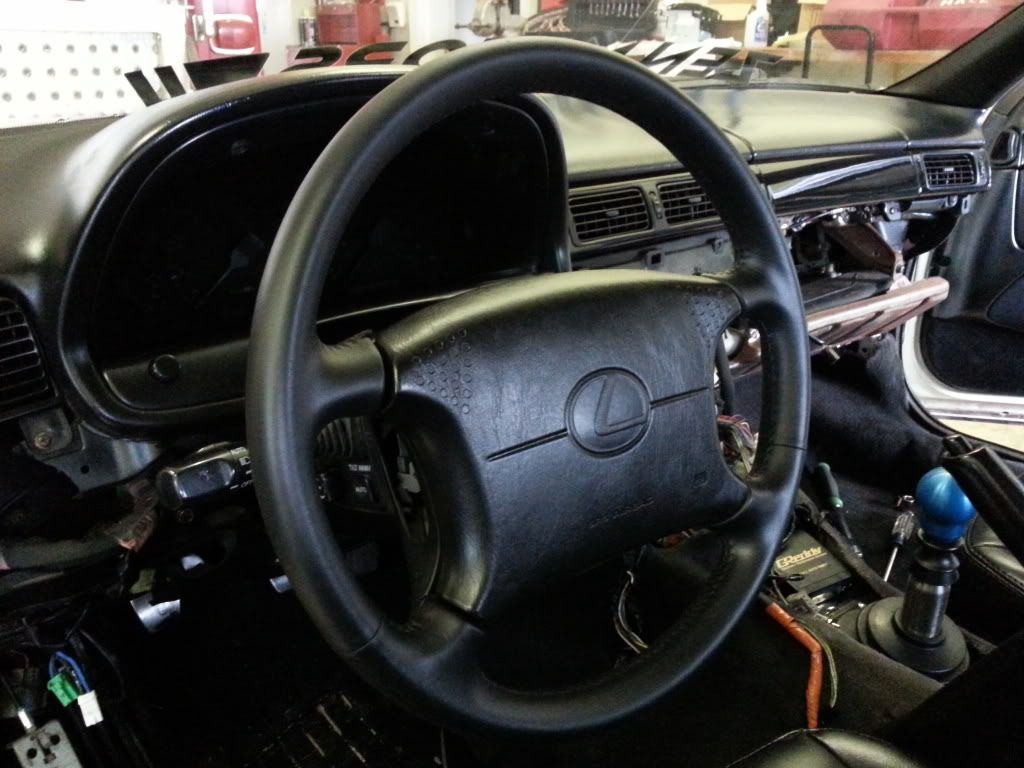
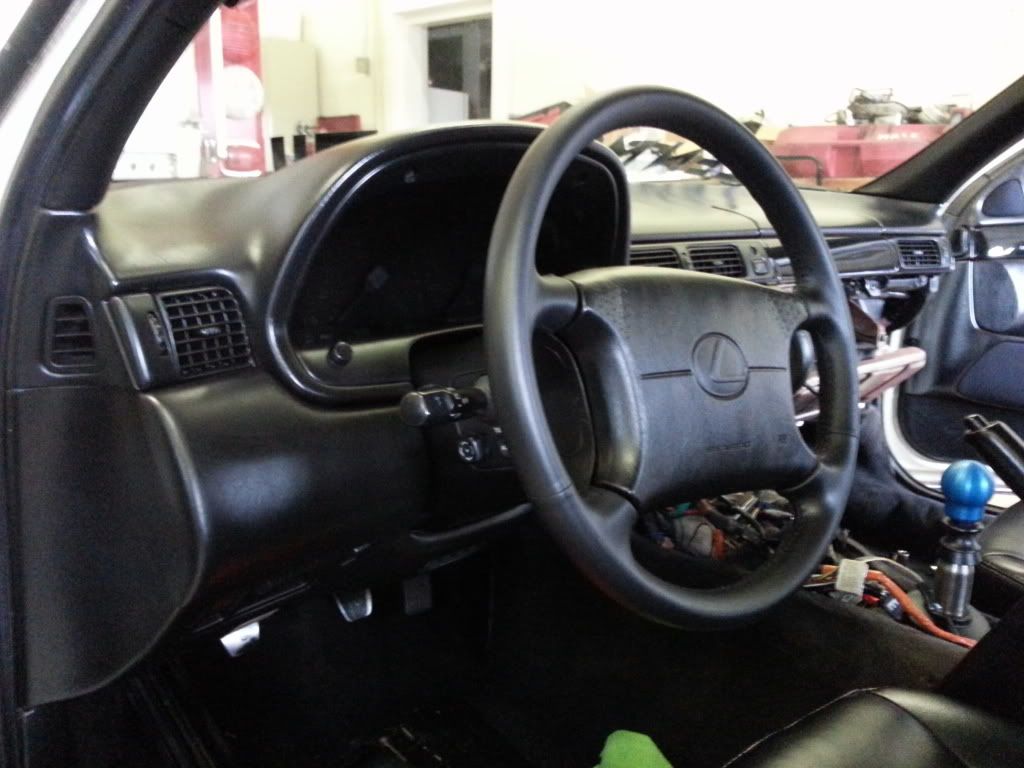
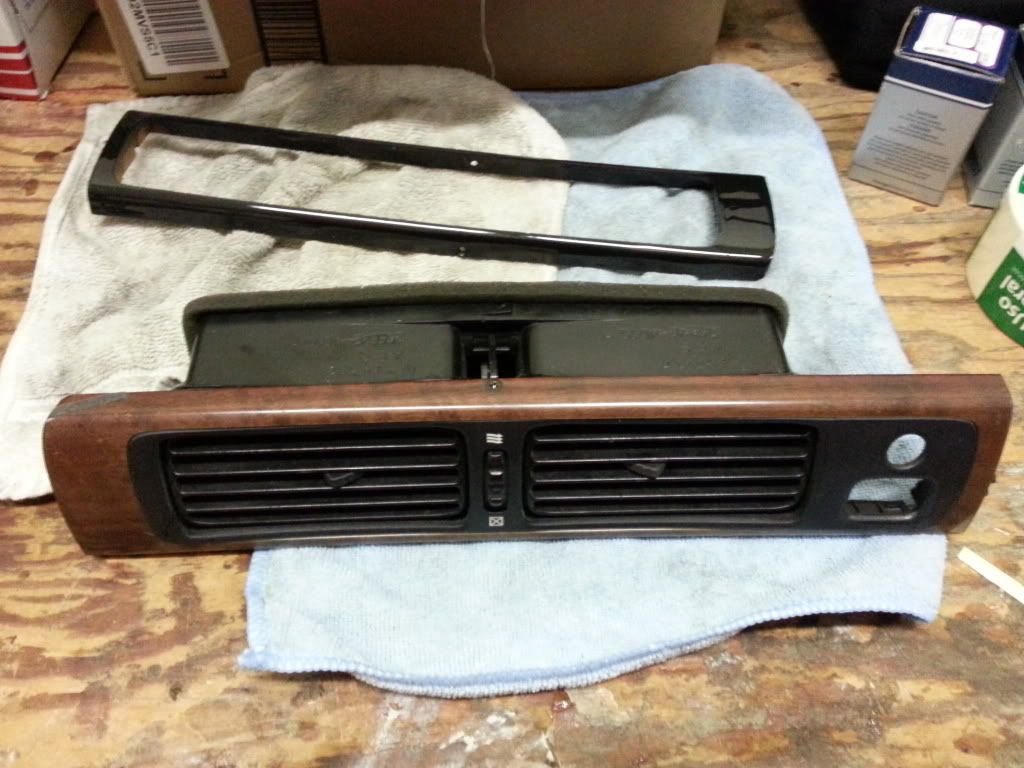
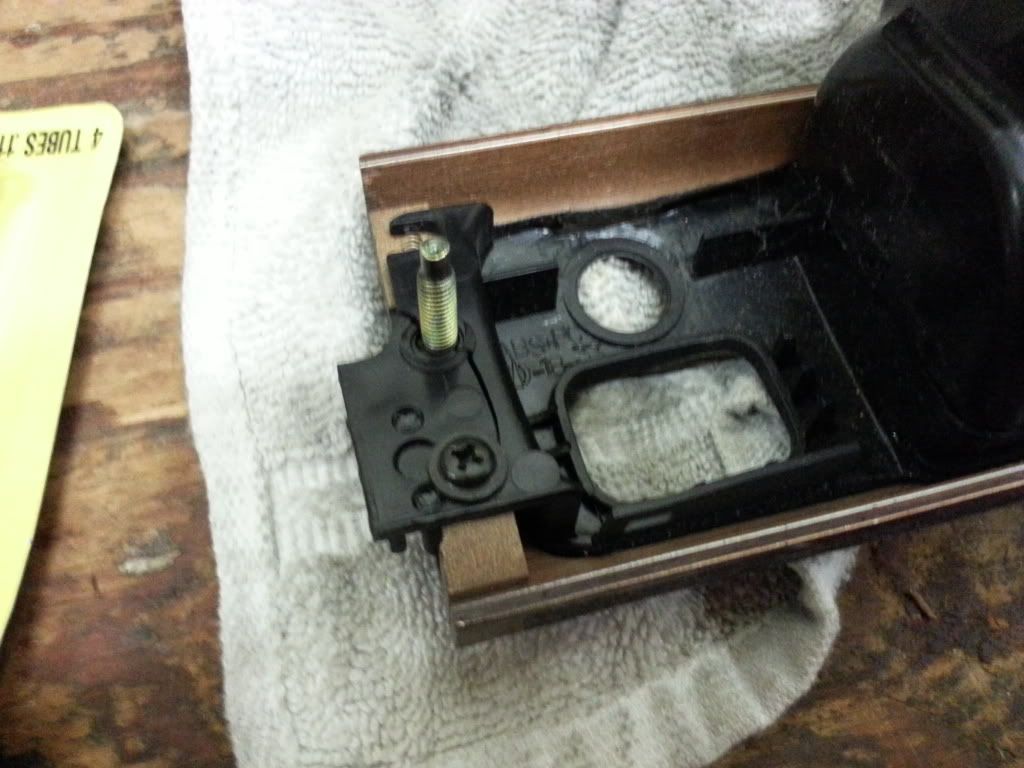
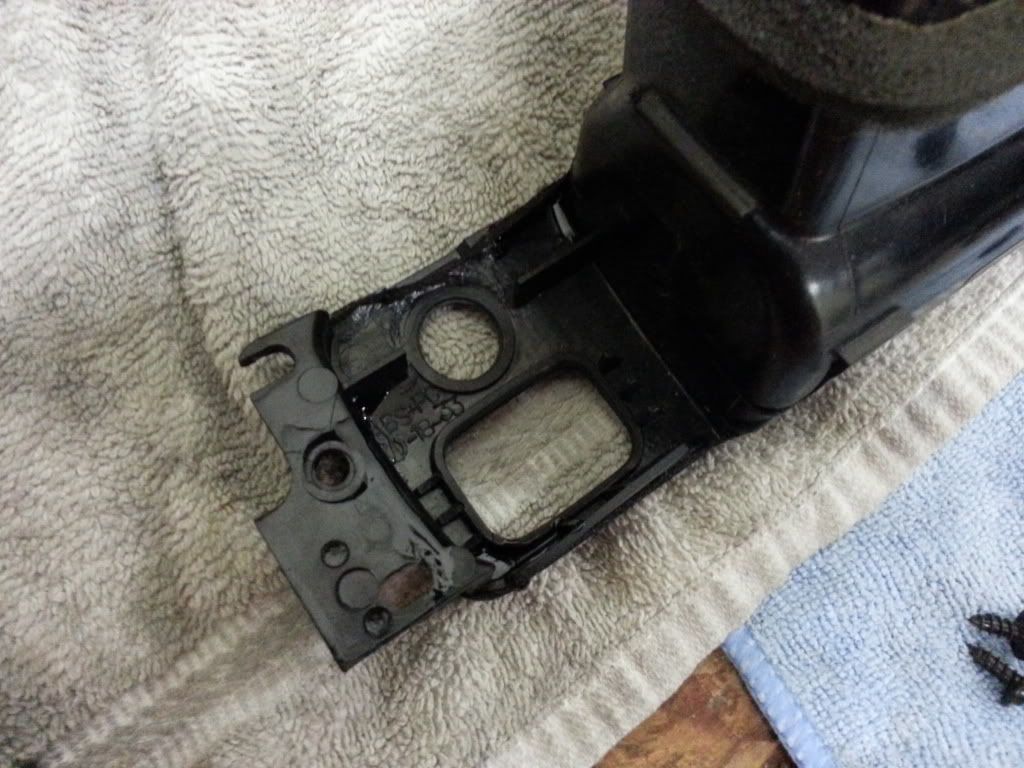
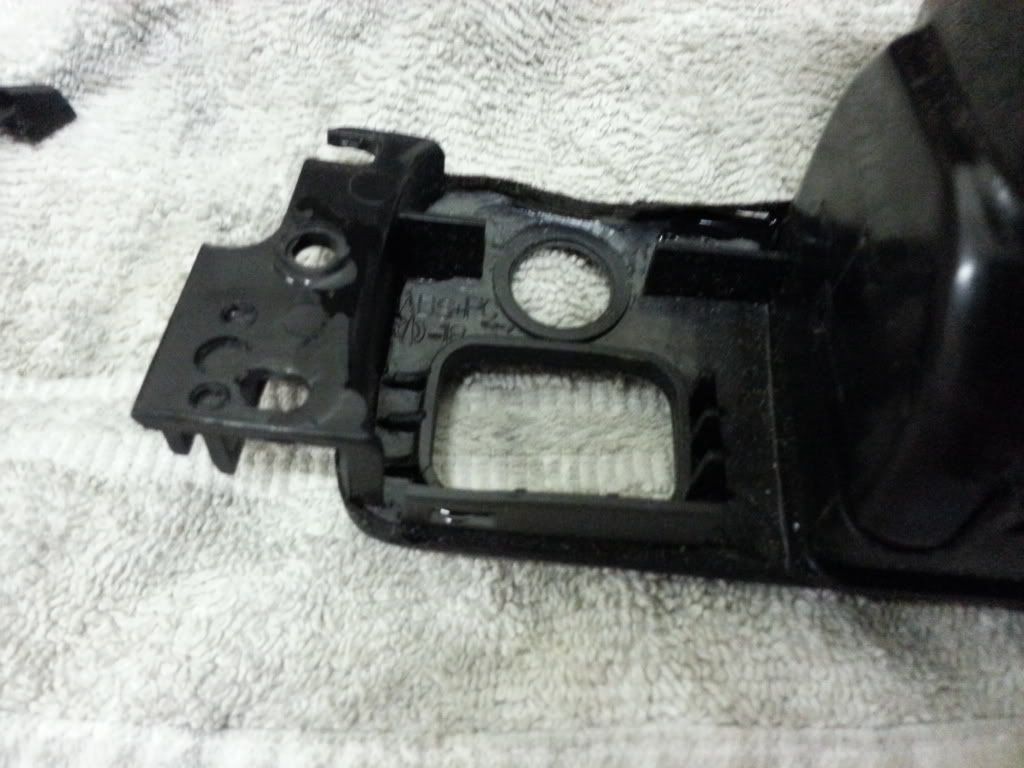
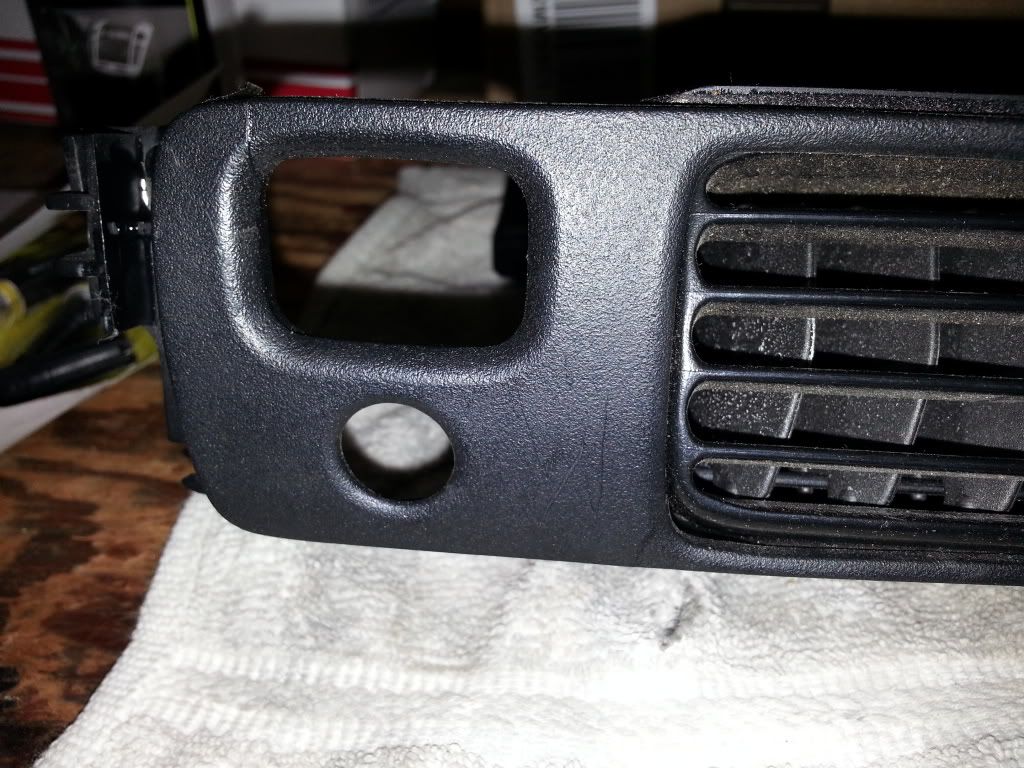
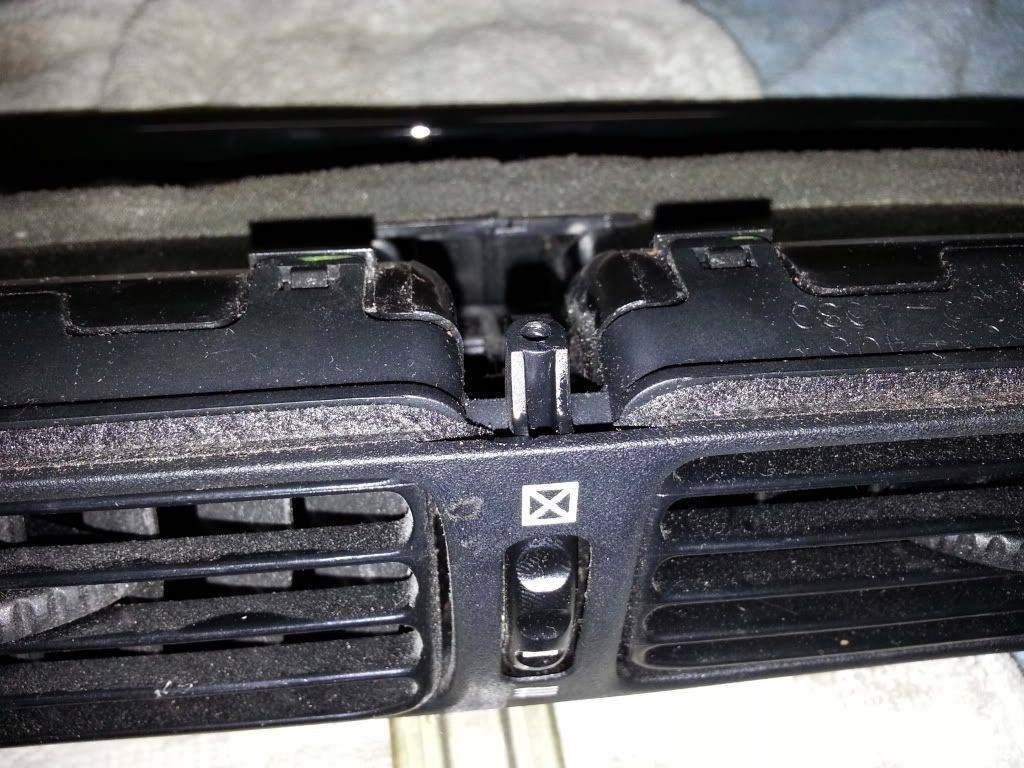
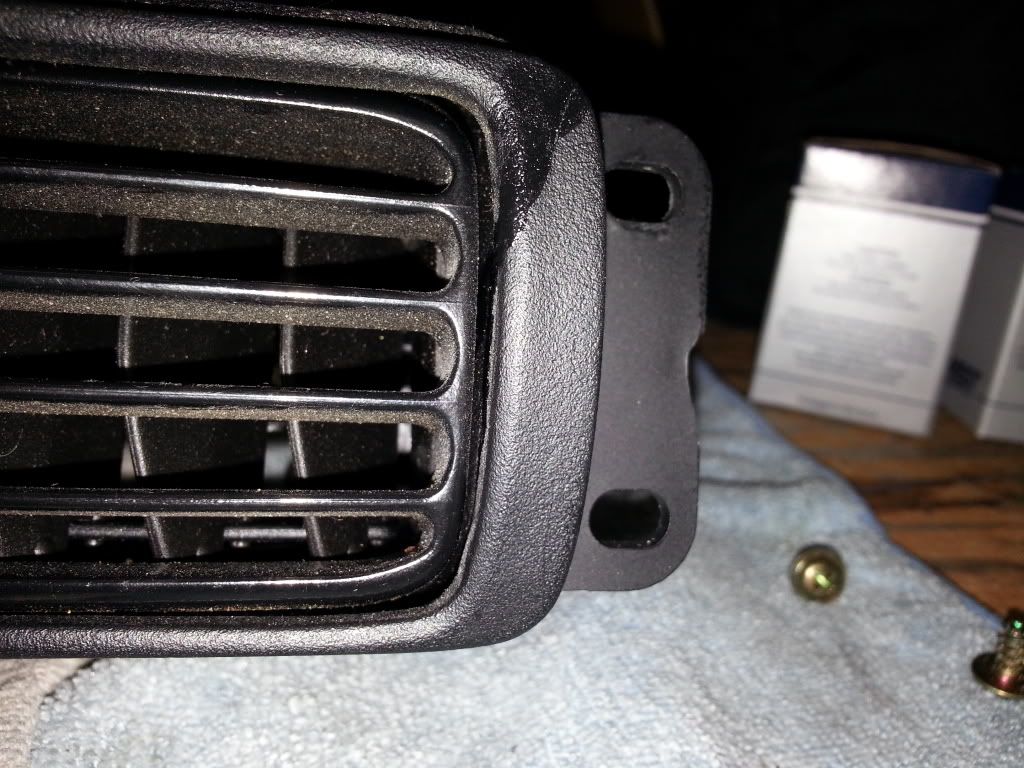
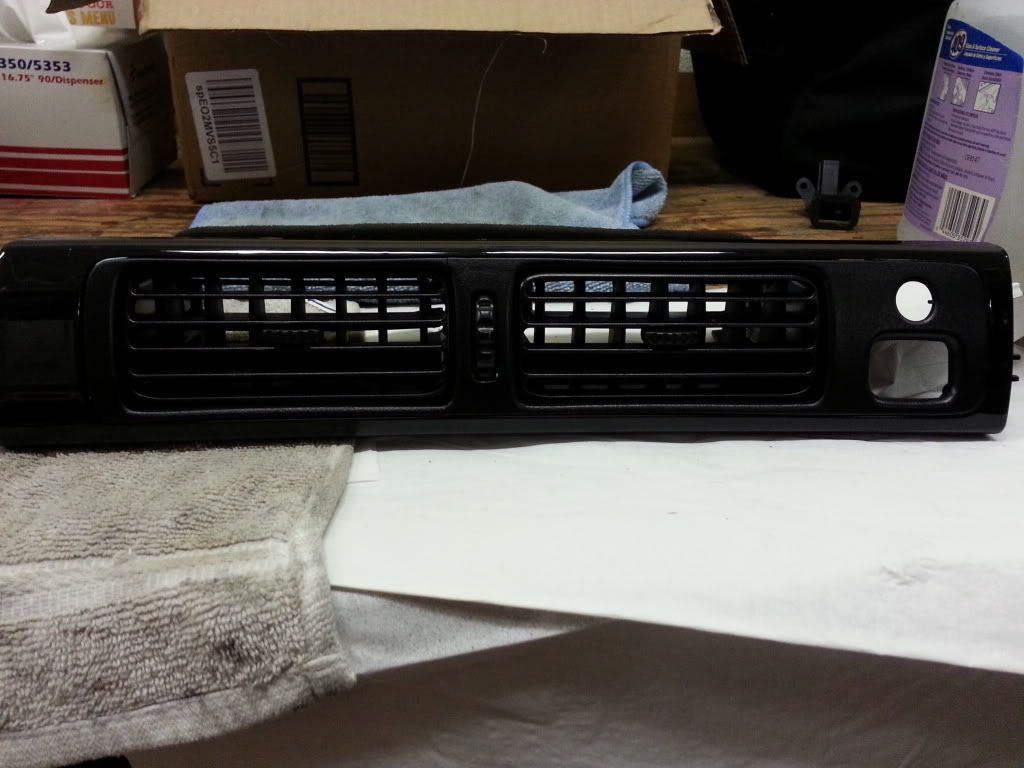
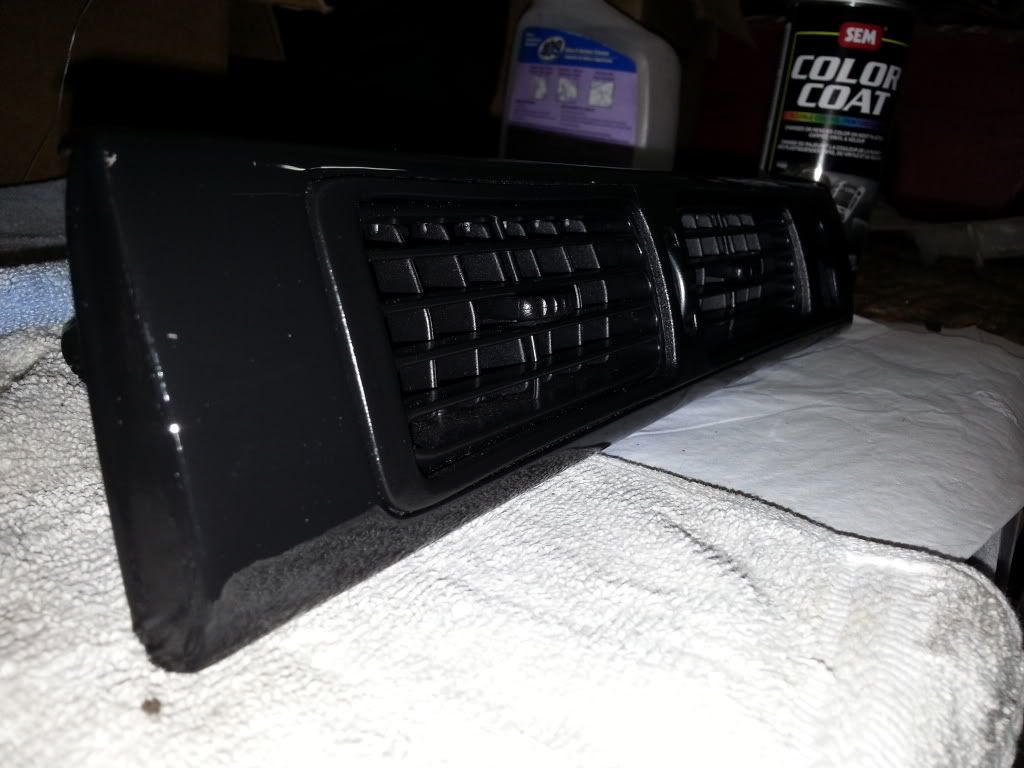
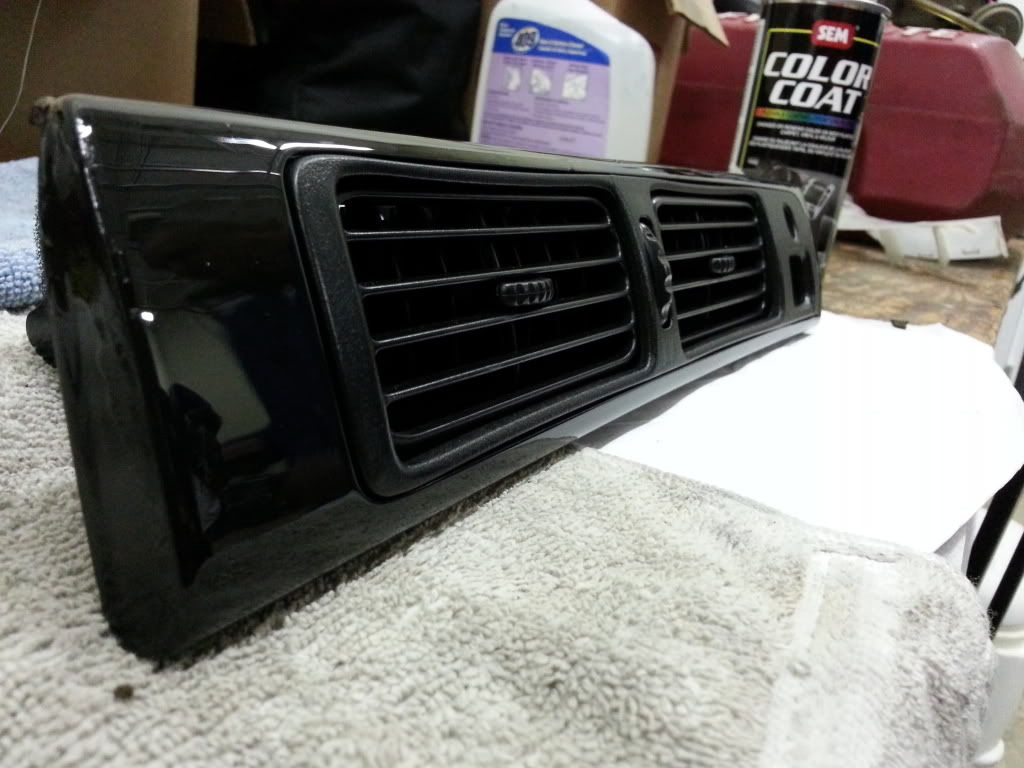
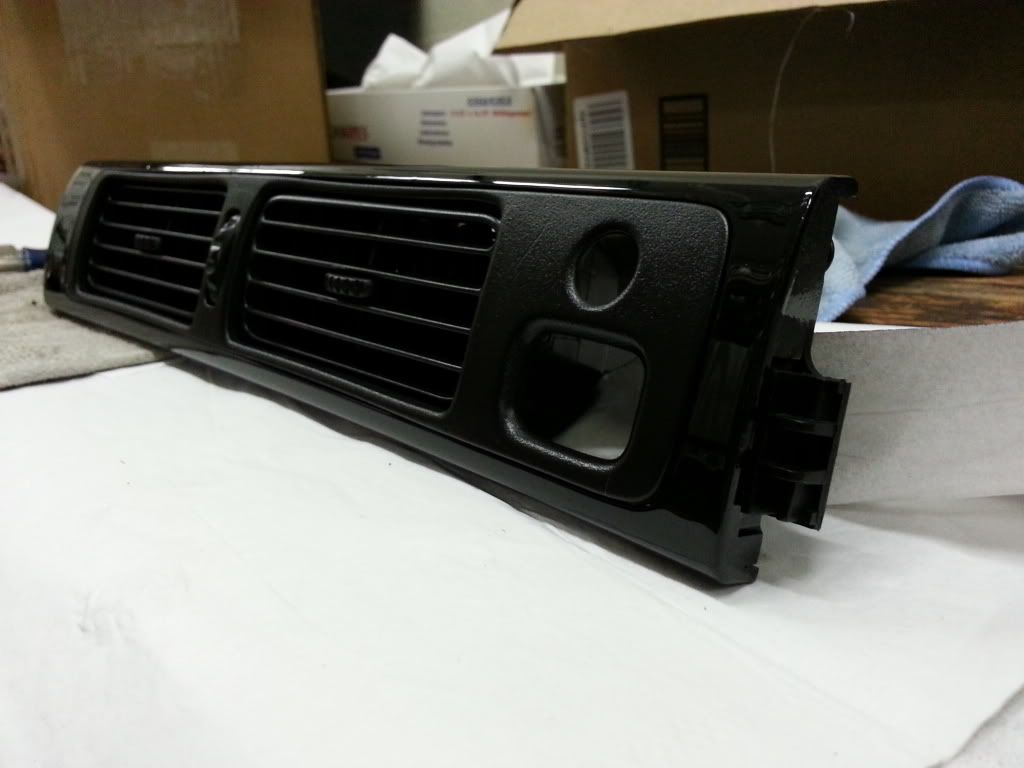
I went to work removing the old wood grain to the new piece. I superglued all the broken tabs and which worked out great. I allowed to dry, then I sanded with sandpaper, then painted with SEM and allowed to dry.
Then the wife called and said the box from Lextech was in. This was what I was waiting on. I opened the package and found this:
New LCD installed:
Then this letter, which by the way, I learned something. I didnt know they cant convert 95 red needles to blue. Should have done more research. Sorry Jay. The good news is that all the needles work and they are bright.
I went to work removing the old wood grain to the new piece. I superglued all the broken tabs and which worked out great. I allowed to dry, then I sanded with sandpaper, then painted with SEM and allowed to dry.
02-22-13, 06:16 PM
#280
1JZ Single SC400
Thread Starter
iTrader: (59)
Join Date: Jan 2009
Location: Alabama, Roll Tide!
Posts: 8,518
Likes: 0
Received 15 Likes
on
12 Posts
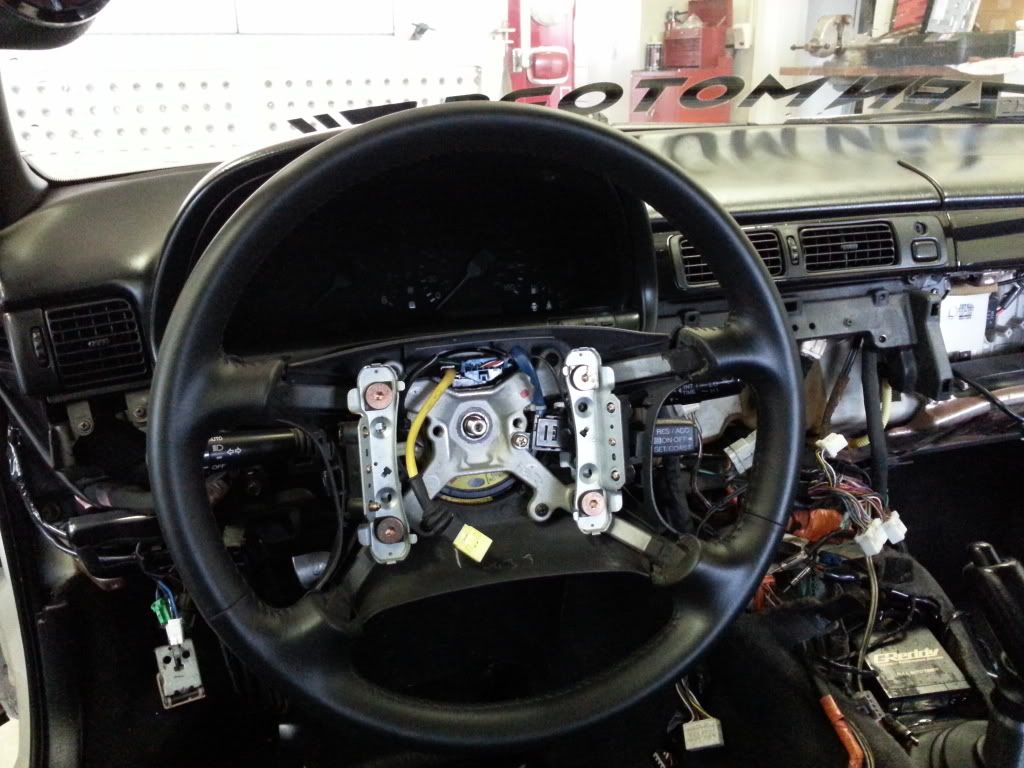
Then I went to work on the new needles.
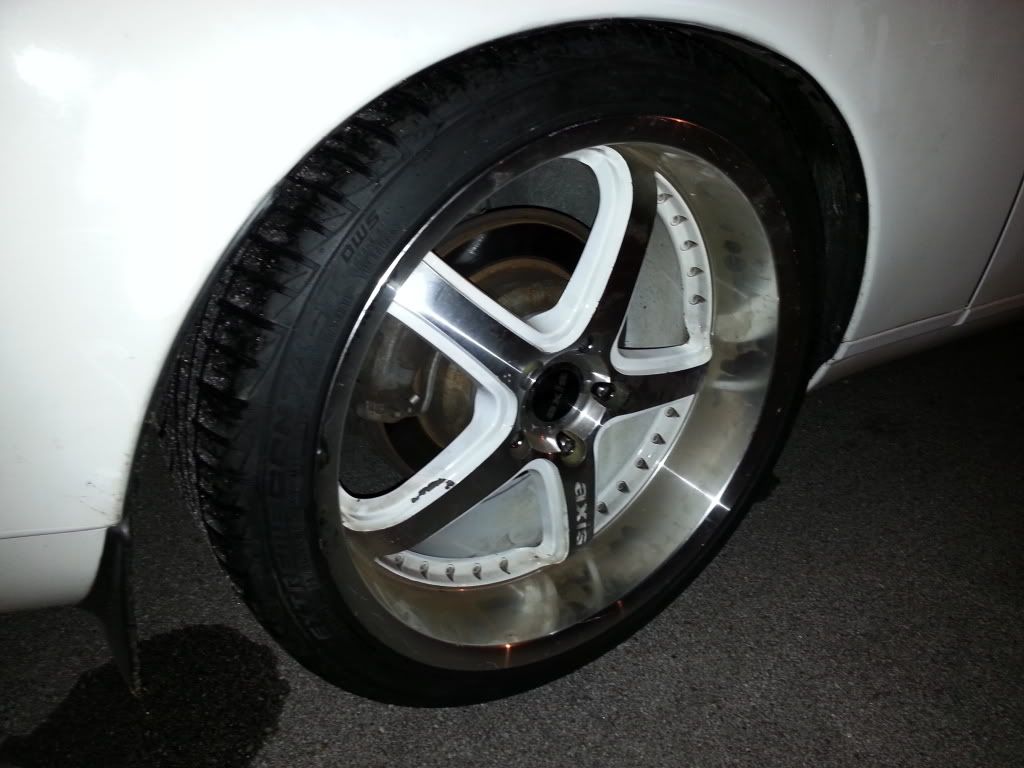
Jays new wheel installed and new lug nuts. There is only four for now, just to get me home.

The car should be finished tomorrow. I will better pictures of the finsihed product. It is close, very close. Stay tuned.
Jays new wheel installed and new lug nuts. There is only four for now, just to get me home.
The car should be finished tomorrow. I will better pictures of the finsihed product. It is close, very close. Stay tuned.
 02-23-13, 06:39 AM
#282
1JZ Single SC400
Thread Starter
iTrader: (59)
Join Date: Jan 2009
Location: Alabama, Roll Tide!
Posts: 8,518
Likes: 0
Received 15 Likes
on
12 Posts
More to follow today, if all goes well. Jay, it will be done soon enough. !!!!!!!!!!!!!!!!
Jay, do you want me to leave the Zen Motors stickers on or remove them?
If so, which one/s?
Jay, do you want me to leave the Zen Motors stickers on or remove them?
If so, which one/s?