
Jay's 93 SC300 2JZGTE, Interior Redone by your's truly, 1JZPWRD !!
 01-31-13, 03:41 PM
#181
1JZ Single SC400
Thread Starter
iTrader: (59)
Join Date: Jan 2009
Location: Alabama, Roll Tide!
Posts: 8,518
Likes: 0
Received 15 Likes
on
12 Posts
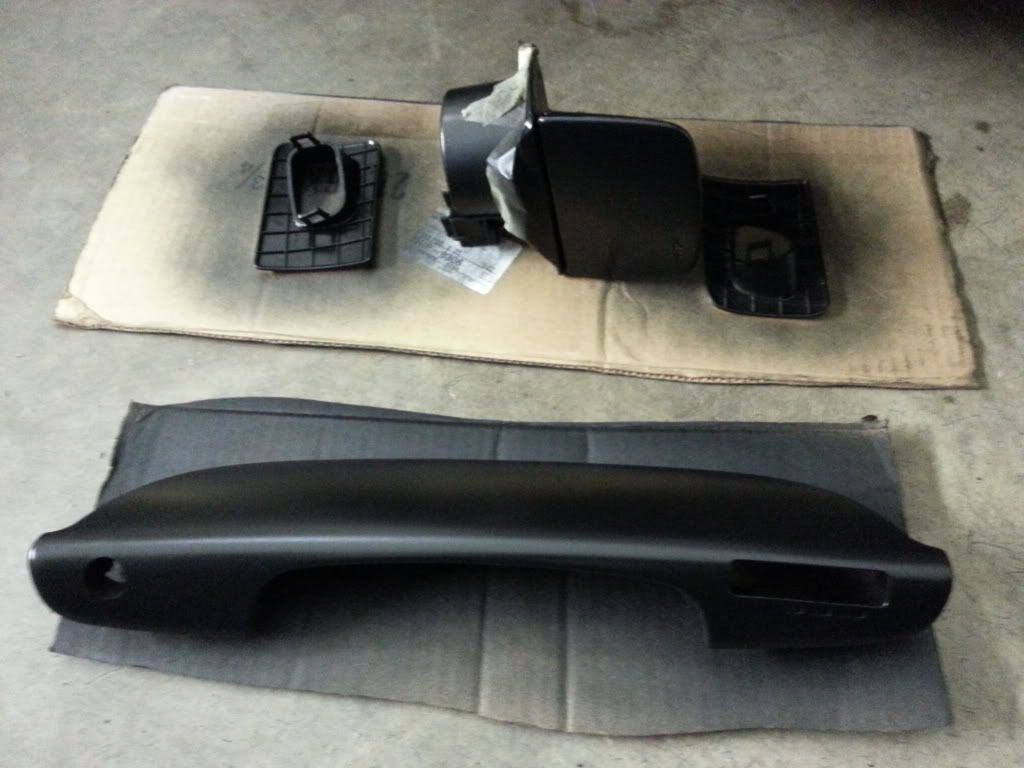
Ordered more parts or I should say found some. Ebay and the classifieds section has been my best friend all day. Ordered the seat belts in black, driver side buckle, shifter bezel from DM, and a complete set of SC300 emblems with tabs. Alot of stuff will be coming in the next week or so.
Found time to sand and prep the woodgrain today and will dropped off for paint soon:

Found time to sand and prep the woodgrain today and will dropped off for paint soon:
Last edited by 1JZPWRD; 01-31-13 at 05:00 PM.
 01-31-13, 04:17 PM
#182
Lexus Champion
The wood is fairly thin veneer which is stained and then a polyethene varnish applied. Your photos look a bit shiny like the varnish is not completely removed. It must be removed before it can be stained properly, and a varnish remover might be safer than trying to sand what with the rounded areas and corners.
The colors seem a bit mismatched. Would recommend that you bleach the wood after varnish removal and then you can stain and they will all match. Looks like a big job. Wish you the best.
The colors seem a bit mismatched. Would recommend that you bleach the wood after varnish removal and then you can stain and they will all match. Looks like a big job. Wish you the best.
Last edited by jayclapp; 02-01-13 at 12:33 PM. Reason: Misspelled thin, had "think"
01-31-13, 05:04 PM
#183
1JZ Single SC400
Thread Starter
iTrader: (59)
Join Date: Jan 2009
Location: Alabama, Roll Tide!
Posts: 8,518
Likes: 0
Received 15 Likes
on
12 Posts
The wood is fairly think veneer which is stained and then a polyethene varnish applied. Your photos look a bit shiny like the varnish is not completely removed. It must be removed before it can be stained properly, and a varnish remover might be safer than trying to sand what with the rounded areas and corners.
The colors seem a bit mismatched. Would recommend that you bleach the wood after varnish removal and then you can stain and they will all match. Looks like a big job. Wish you the best.
The colors seem a bit mismatched. Would recommend that you bleach the wood after varnish removal and then you can stain and they will all match. Looks like a big job. Wish you the best.
 01-31-13, 05:28 PM
#185

1J, you're an artist working in the mechanical medium. Where Raphael, da Vinci and Dali only had paints and rock, your palette is filled with caulk, SEM dye, Dynamat and the like. And they say cars aren't art.. Philistines...
01-31-13, 05:31 PM
#186
1JZ Single SC400
Thread Starter
iTrader: (59)
Join Date: Jan 2009
Location: Alabama, Roll Tide!
Posts: 8,518
Likes: 0
Received 15 Likes
on
12 Posts

Last edited by 1JZPWRD; 02-02-13 at 09:15 PM.
01-31-13, 05:38 PM
#187
1JZ Single SC400
Thread Starter
iTrader: (59)
Join Date: Jan 2009
Location: Alabama, Roll Tide!
Posts: 8,518
Likes: 0
Received 15 Likes
on
12 Posts
The Pursuit of perfection.
Did I tell everyone that I will have arthritus from holding the paint can too long? My hands and fingers actually ache after doing this for hours. I have tried to do what jay has requested and that is, "DO THIS CAR, LIKE IT WAS YOUR OWN". With this being said, you really need to know the history from the very beginning since he purchased the car. It has been through alot and has alot more coming. Jay advised me yesterday that the suspension, and new wheels and tires are next. He said then it will be done. I dont think this pursuit is ever completely done is it? I have said this about mine, but I have actually slowed down a bit. I just drive mine around now enjoying it. Jay wants to be at this point with it. I also might surprise him with a custom made aluminum box/shield for the fuel pump. Oooopps, did I just say that out loud? The bottom line is that I not only want to meet Jay's request but exceed his expectations when he picks it up.
 02-01-13, 06:00 AM
#188

Jayclapp brought up a lot of good points about staining the wood trim, and he was 100% correct, but you made them all invalid since you're painting the trim instead of staining them. It's good to have people watching out for you though since we all want this thing to be perfect. Seems like Jay has spent lots of money and time into a project where people keep dropping the ball...........until now. Kind of reminds me of The Replacements where Clifford Franklin had that glue on his hands. I don't see you dropping the ball on this project.
"The football is like a one man cold to Clifford Franklin, Clifford Franklin the only one catching it, Clifford Franklin the only one coming down with it.".............Keanu Reaves sucks as an actor, but I love that movie......lol
"The football is like a one man cold to Clifford Franklin, Clifford Franklin the only one catching it, Clifford Franklin the only one coming down with it.".............Keanu Reaves sucks as an actor, but I love that movie......lol
02-02-13, 08:31 AM
#189
1JZ Single SC400
Thread Starter
iTrader: (59)
Join Date: Jan 2009
Location: Alabama, Roll Tide!
Posts: 8,518
Likes: 0
Received 15 Likes
on
12 Posts
I know you all are bored with seeing the same ol crap but it will get better. Lol
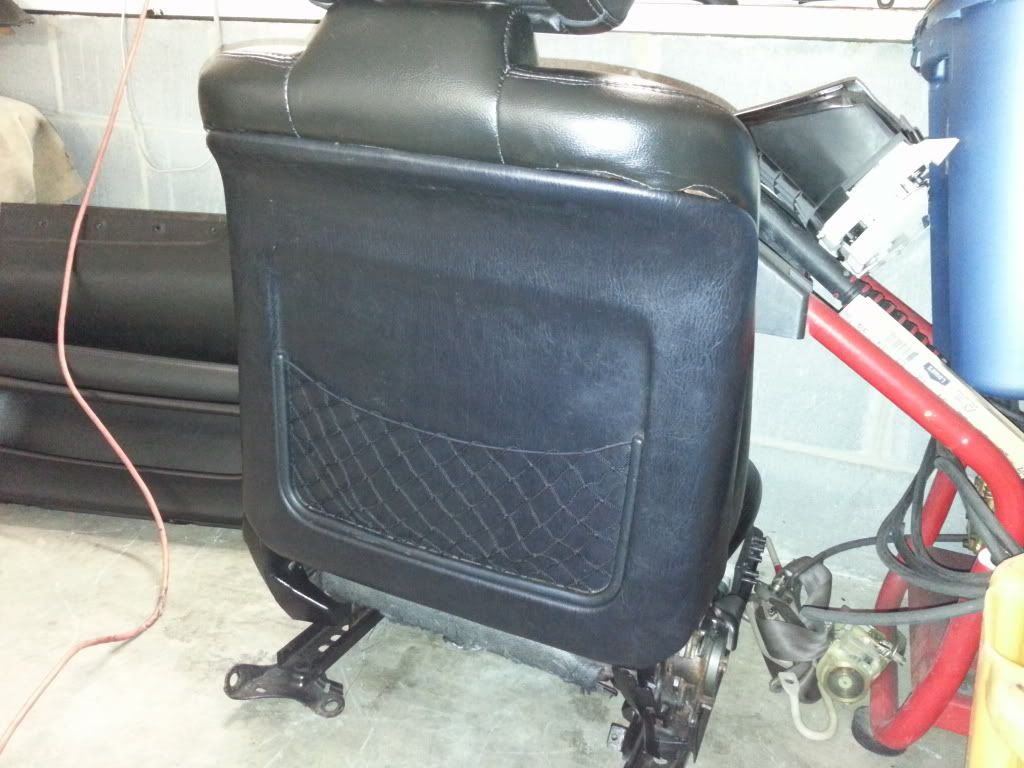
Backing of the seats came in and I must say these are like new money. Thanks alpinejohn off of Ebay.
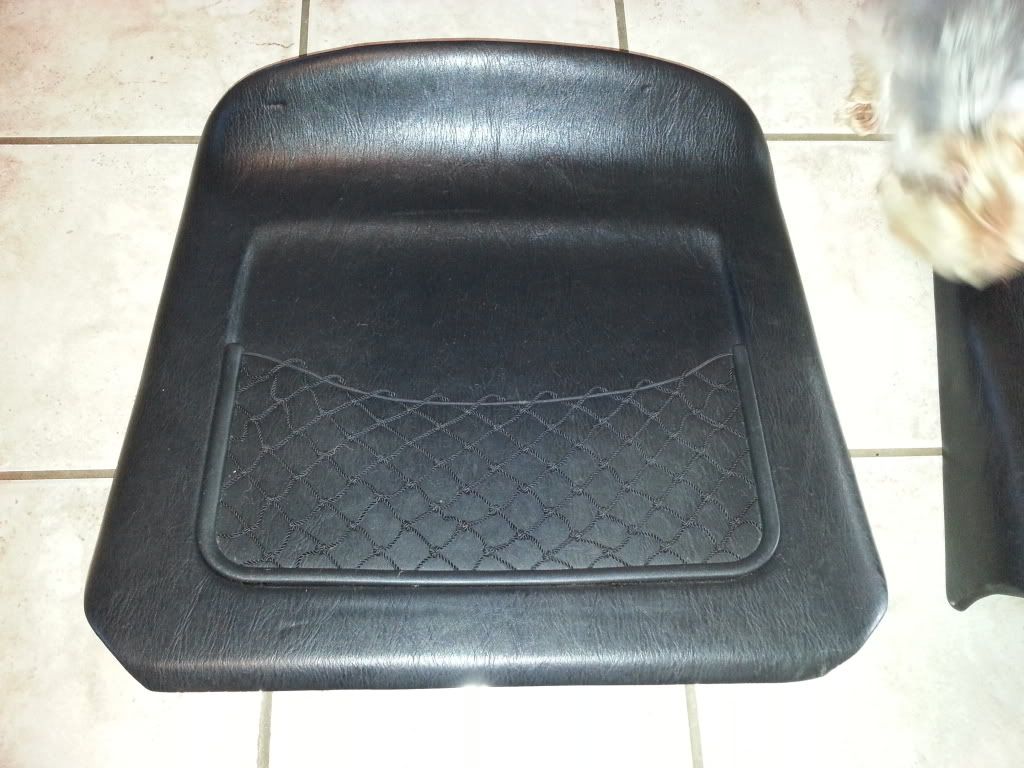
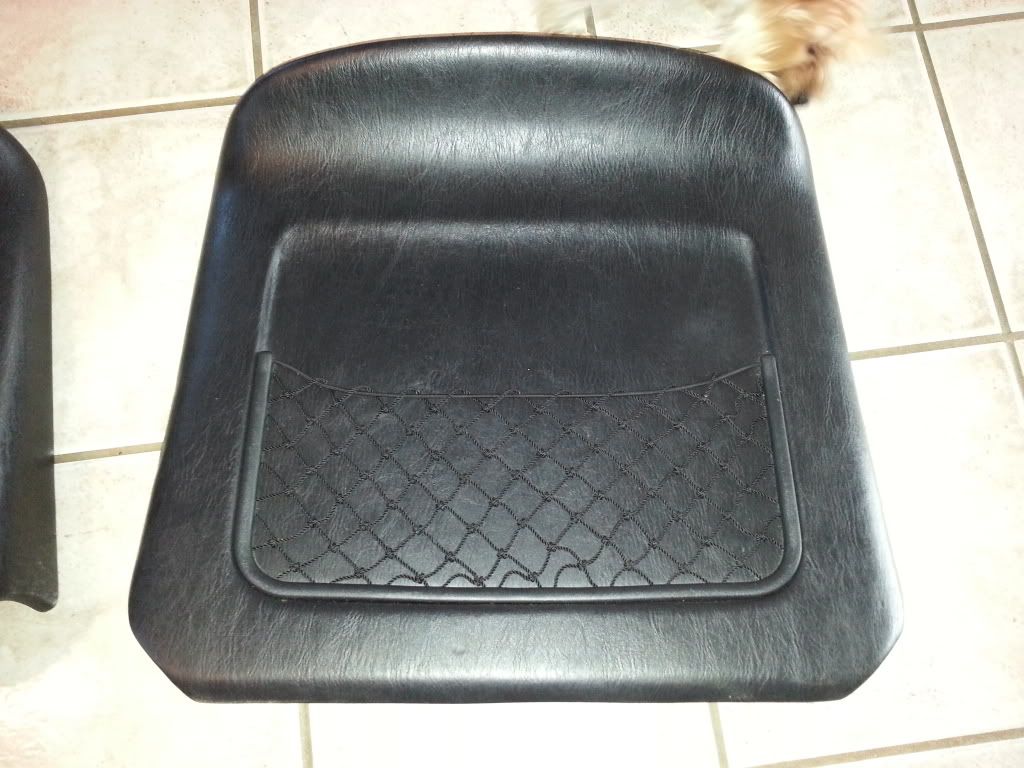
No broken tabs anywhere. My dog Bella was making sure they were safe to be in the house. She needs to work for the EOD people. Lol
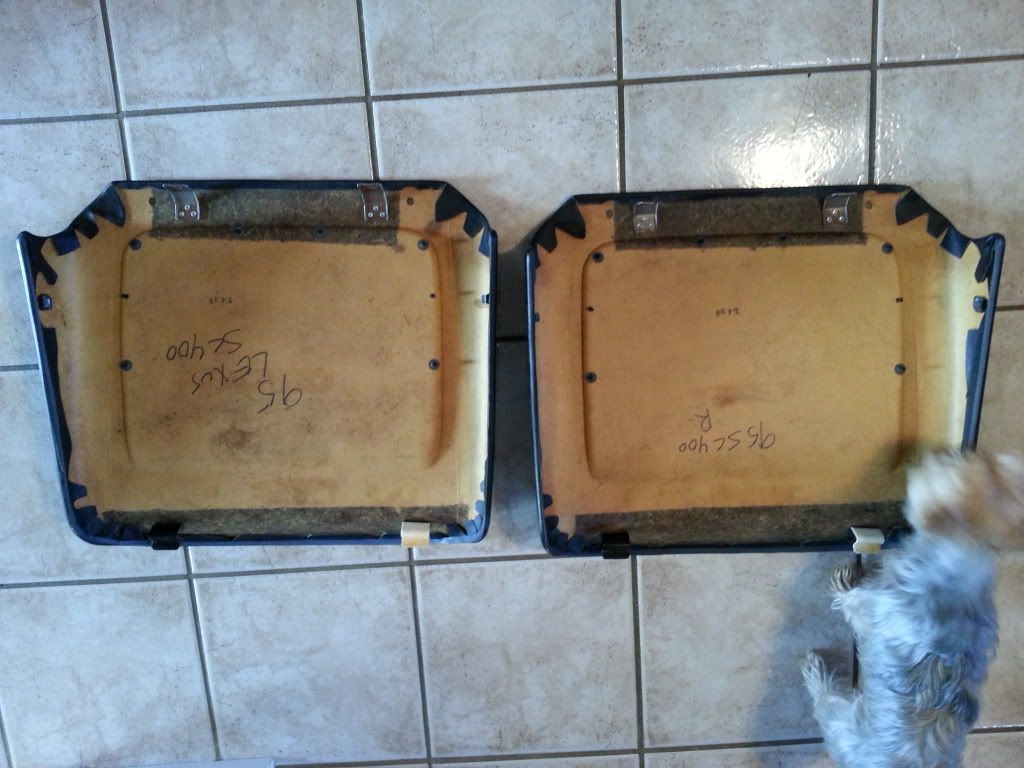
I will update as parts come in.
Backing of the seats came in and I must say these are like new money. Thanks alpinejohn off of Ebay.
No broken tabs anywhere. My dog Bella was making sure they were safe to be in the house. She needs to work for the EOD people. Lol
I will update as parts come in.
 02-02-13, 11:39 AM
#191
1JZ Single SC400
Thread Starter
iTrader: (59)
Join Date: Jan 2009
Location: Alabama, Roll Tide!
Posts: 8,518
Likes: 0
Received 15 Likes
on
12 Posts
This is the DIY thread that I am going to be using. Keep in mind who did this thread originally. LOL
I will be taking pictures of the way I will do this, this time. More details and so on. This below thread is ok, but will be better this go around.
https://www.clublexus.com/forums/lex...-speakers.html
I will be taking pictures of the way I will do this, this time. More details and so on. This below thread is ok, but will be better this go around.
https://www.clublexus.com/forums/lex...-speakers.html
02-02-13, 12:02 PM
#192
1JZ Single SC400
Thread Starter
iTrader: (59)
Join Date: Jan 2009
Location: Alabama, Roll Tide!
Posts: 8,518
Likes: 0
Received 15 Likes
on
12 Posts
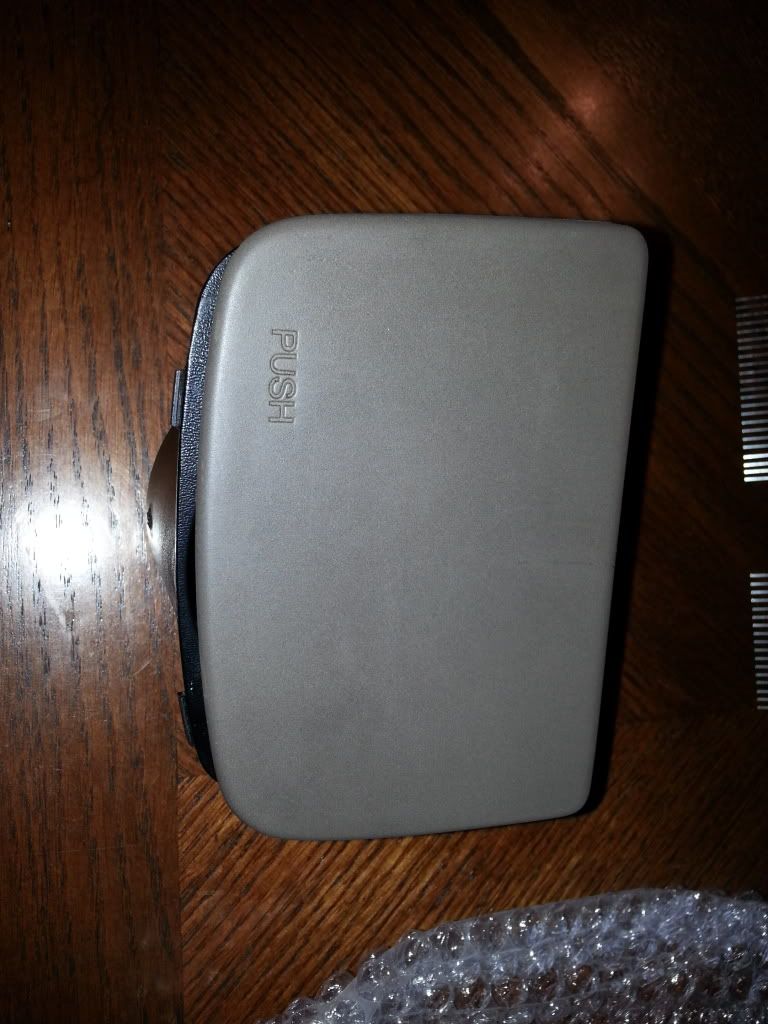
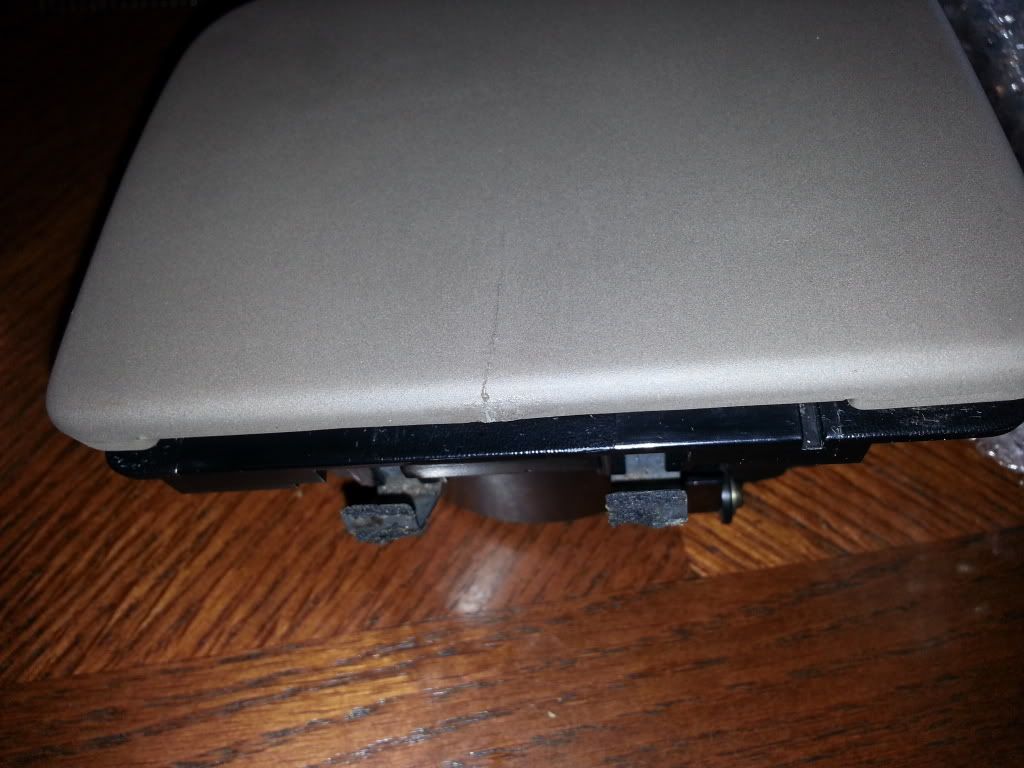
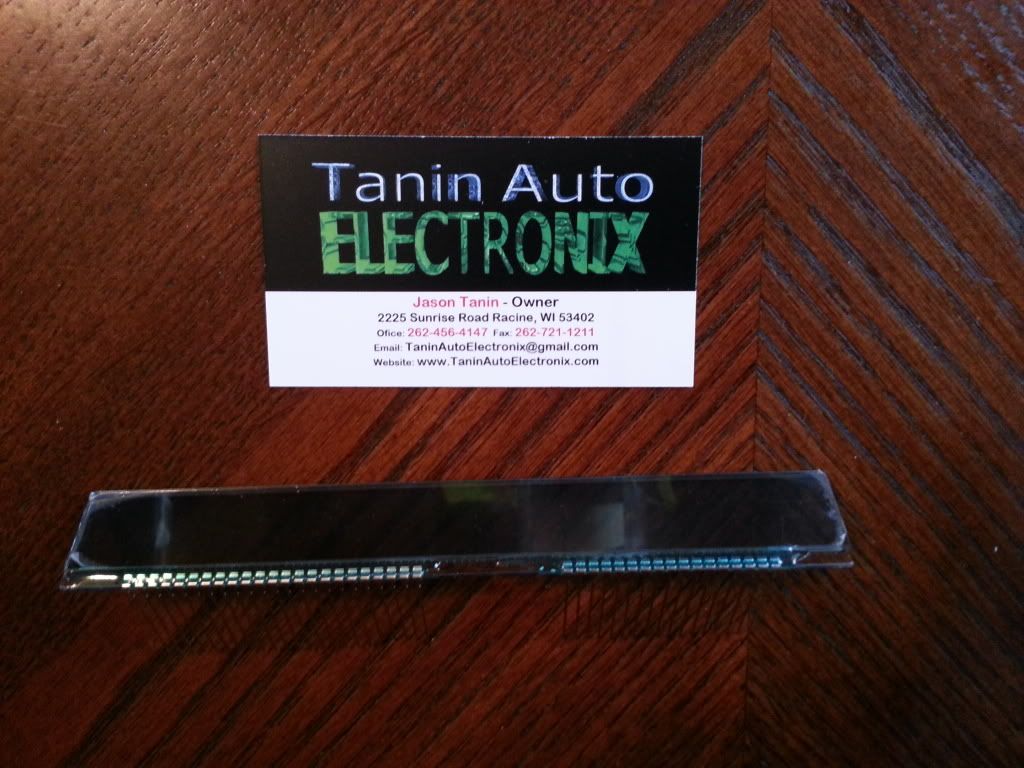
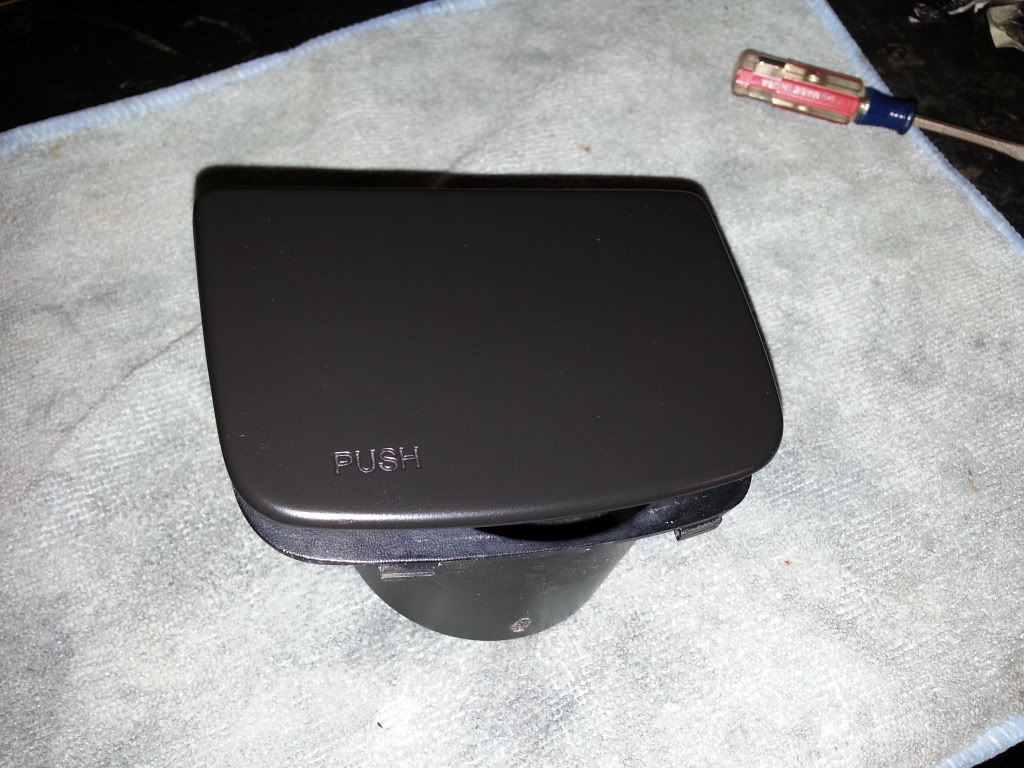
More has arrived by usps this afternoon. The tan cupholder. This has a small crack in it that has been glued. The Ebay didnt say anything about this. I will sand it down and paint it. No worries Jay. The LCD came in also. It looks like quality workmanship. This along with the needles and climate will be mailed off on Monday. OLT be on the look out.
02-02-13, 06:48 PM
#193
1JZ Single SC400
Thread Starter
iTrader: (59)
Join Date: Jan 2009
Location: Alabama, Roll Tide!
Posts: 8,518
Likes: 0
Received 15 Likes
on
12 Posts
1000 views and no post??????
I am locking this thread, unless we pick it up a notch people. !!!!! JK
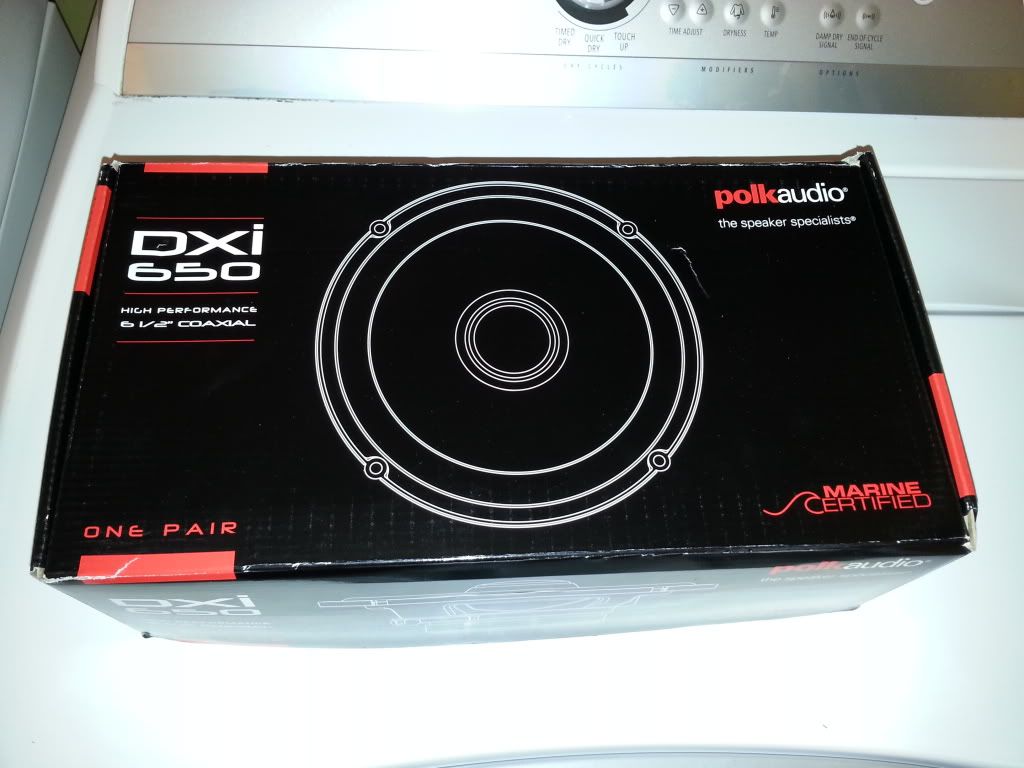
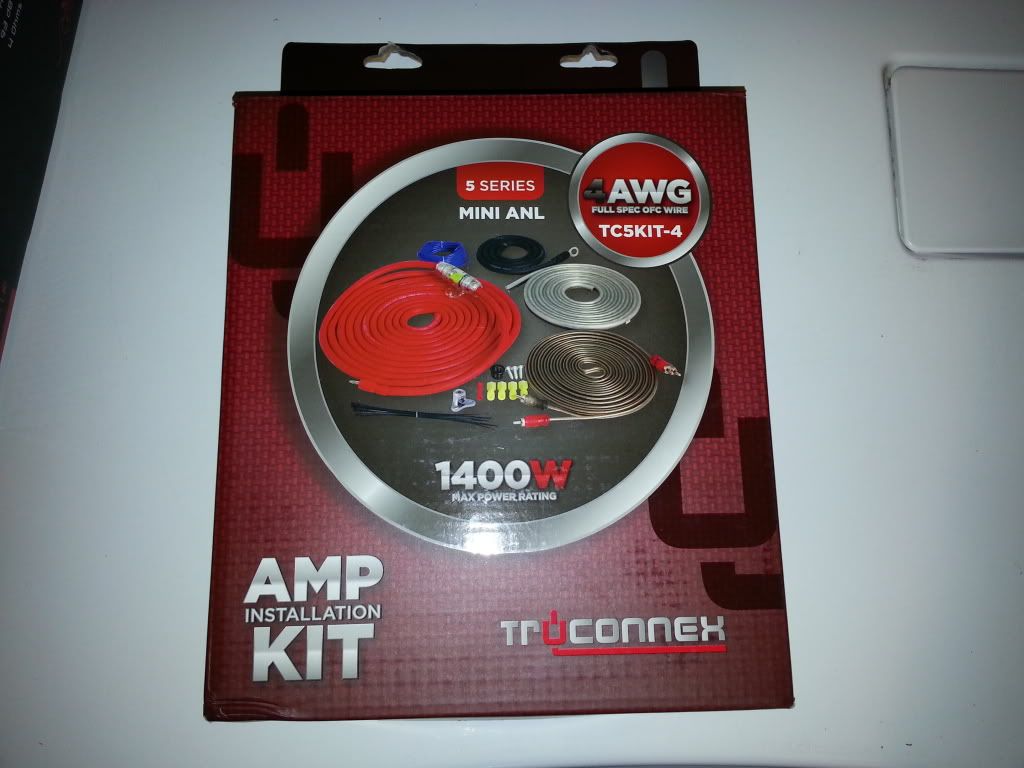
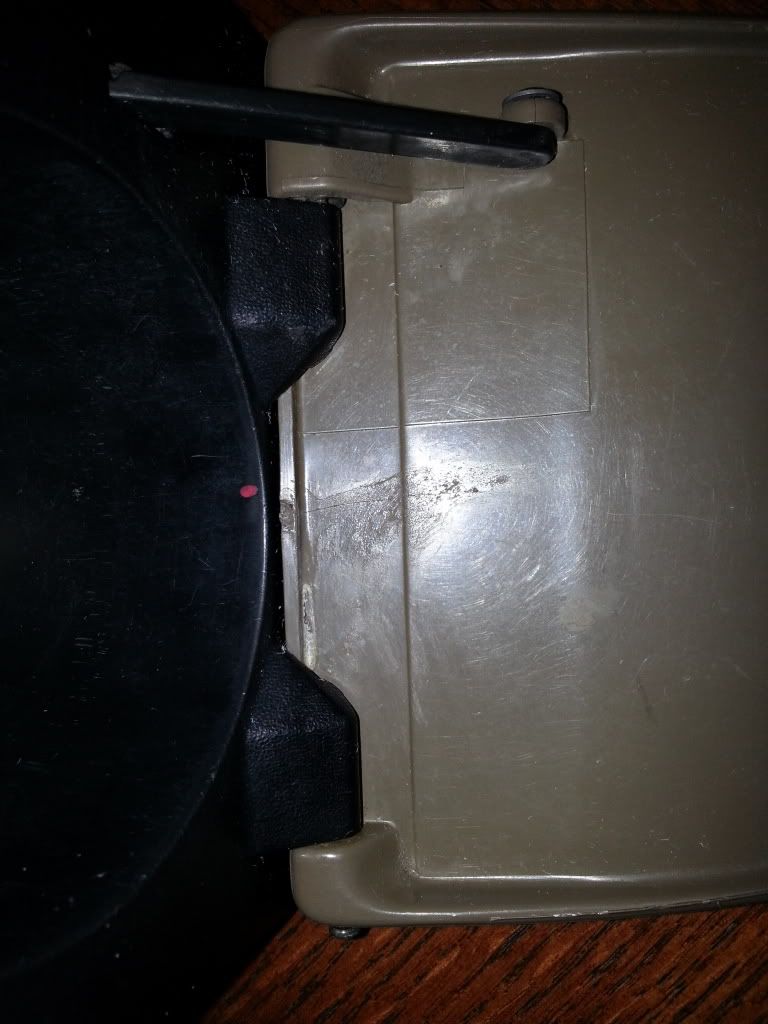
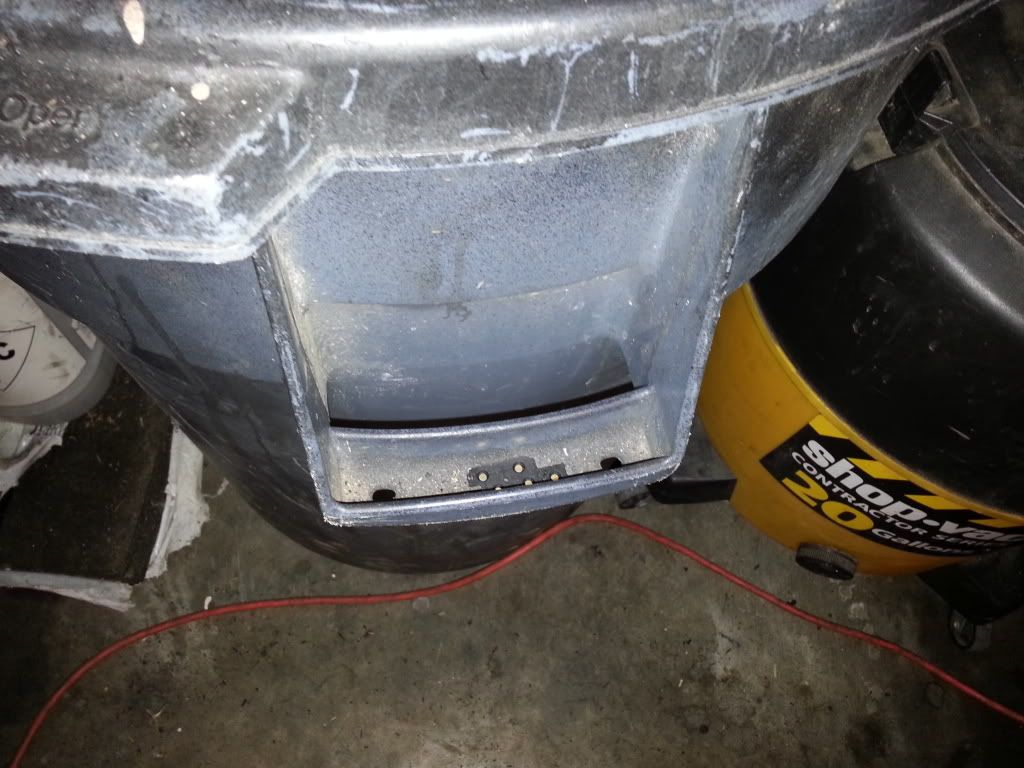
I worked my butt off on these front door speaker pods. These were different than mine on my 1992 completely. I had to modify just about everything to get it to fit and fit correctly.
Applied the passenger side seat backing. These looked brand new.
Sanded down the cup holder with 600 grit sandpaper:
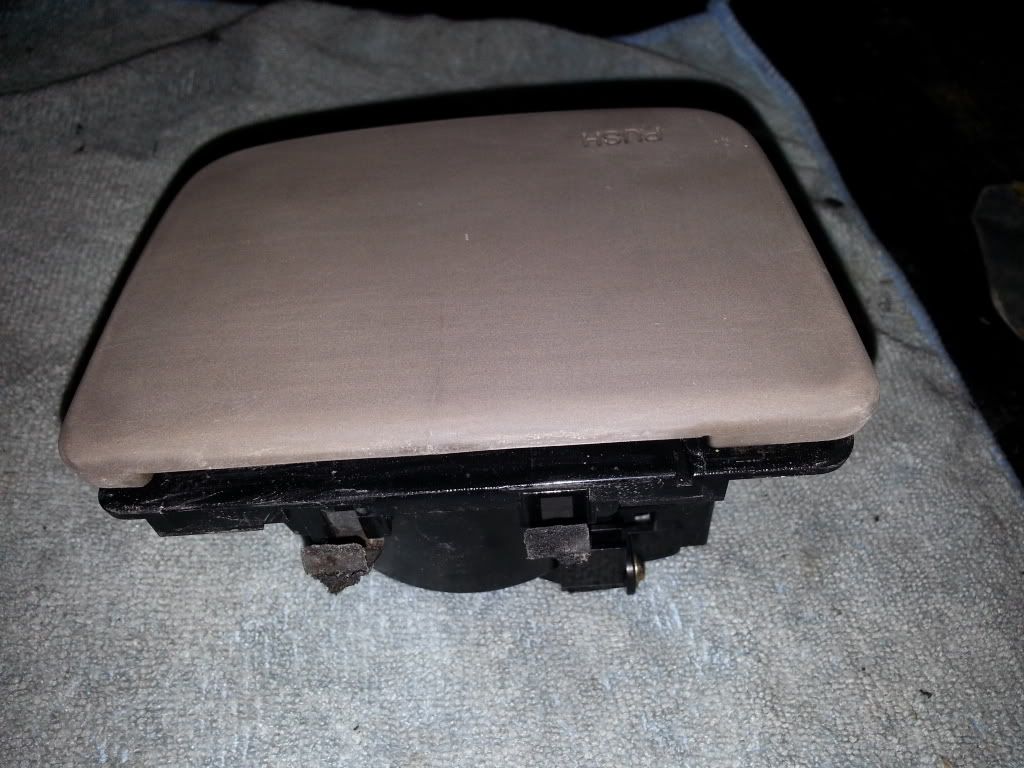
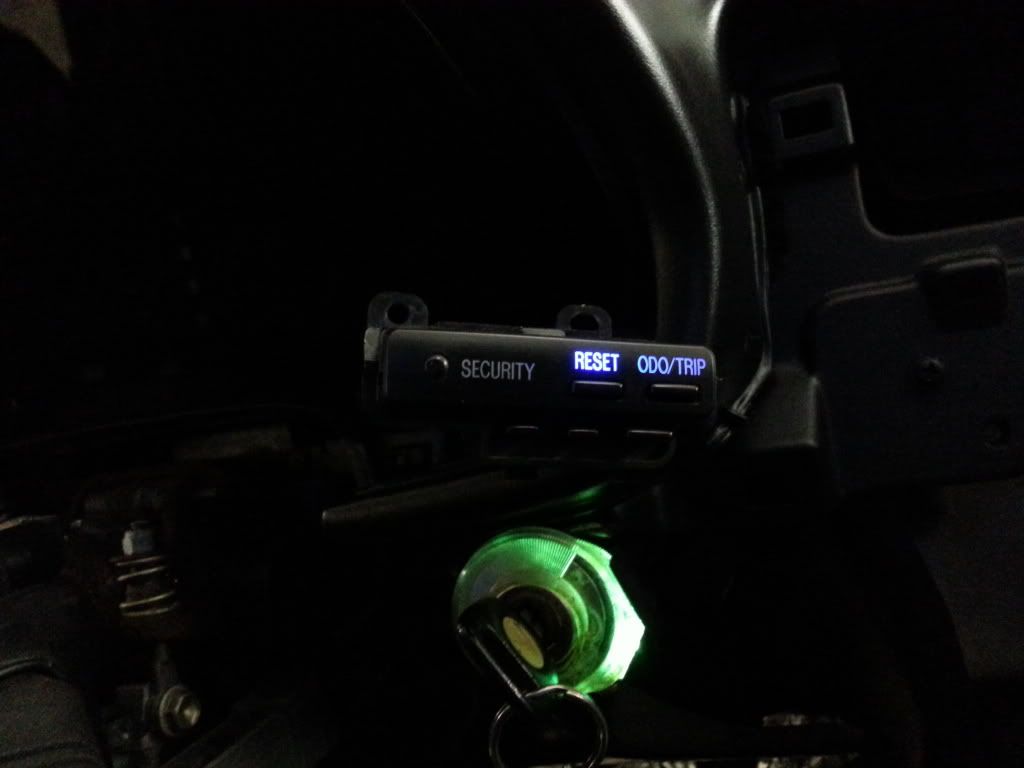
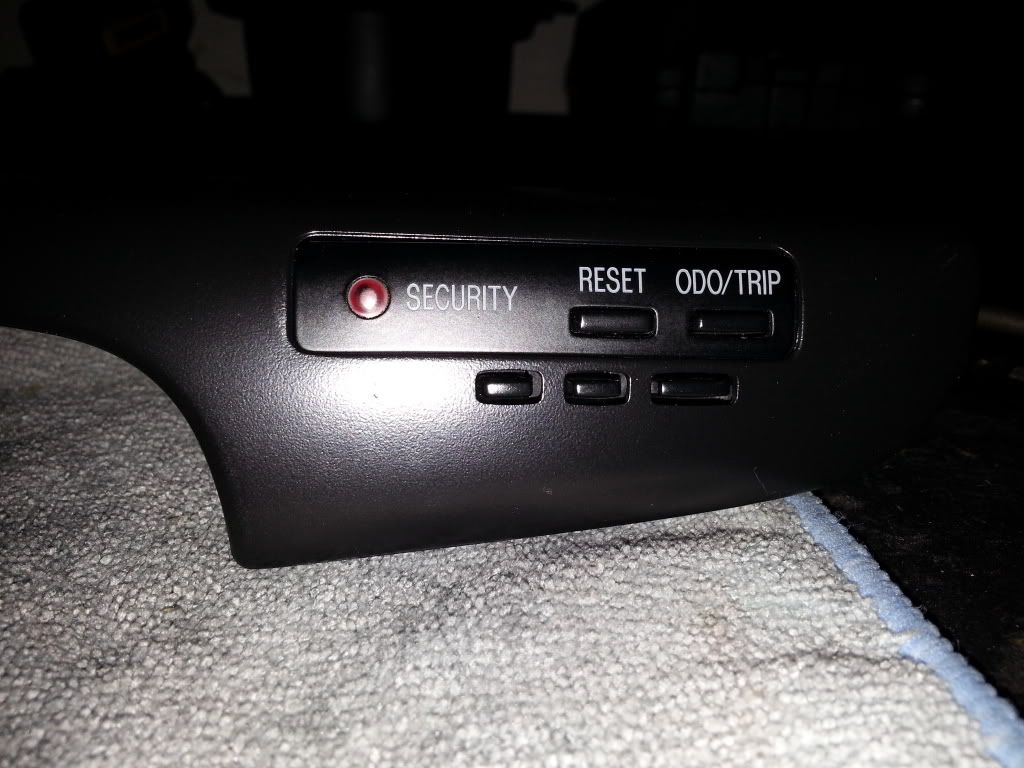
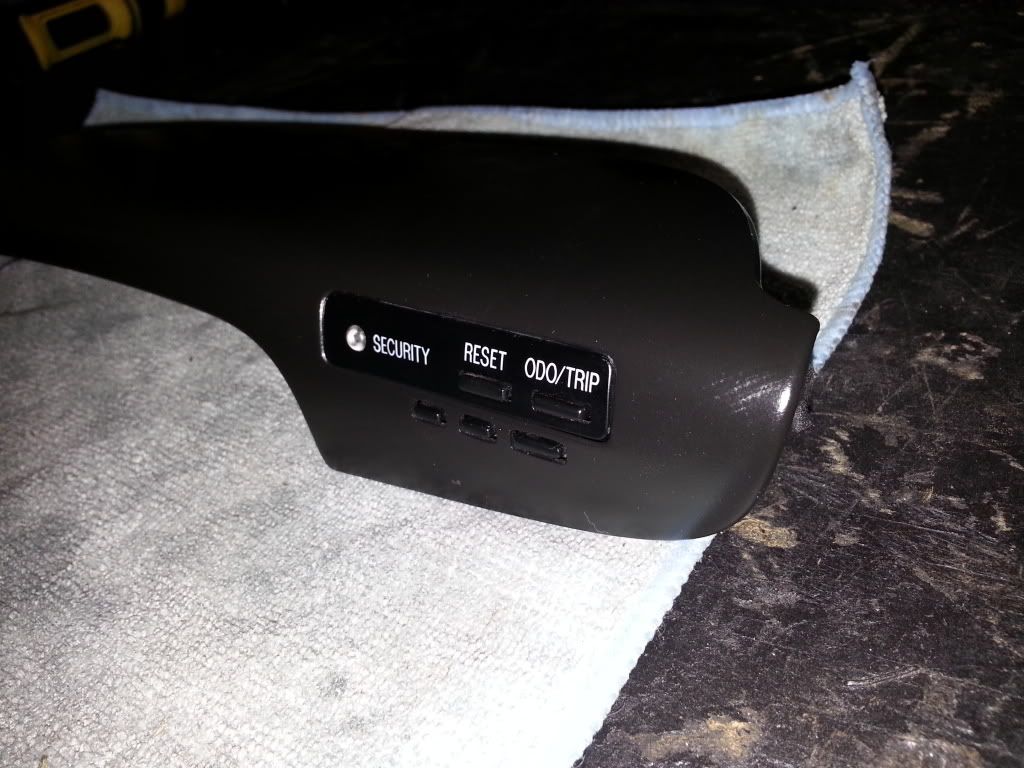
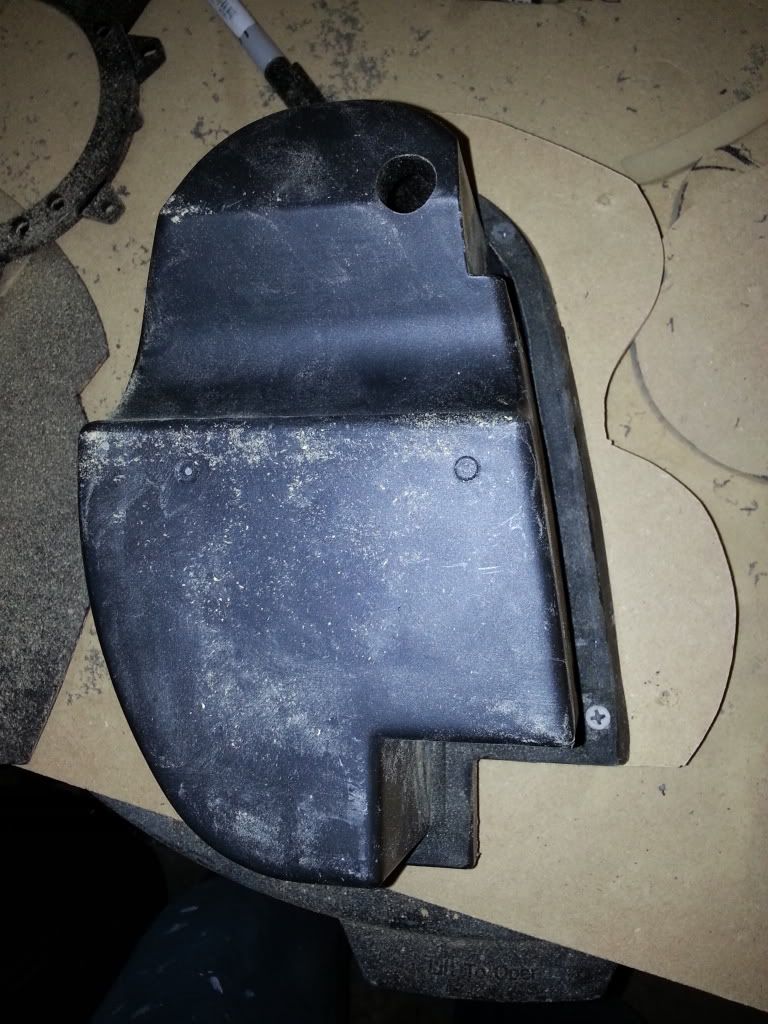
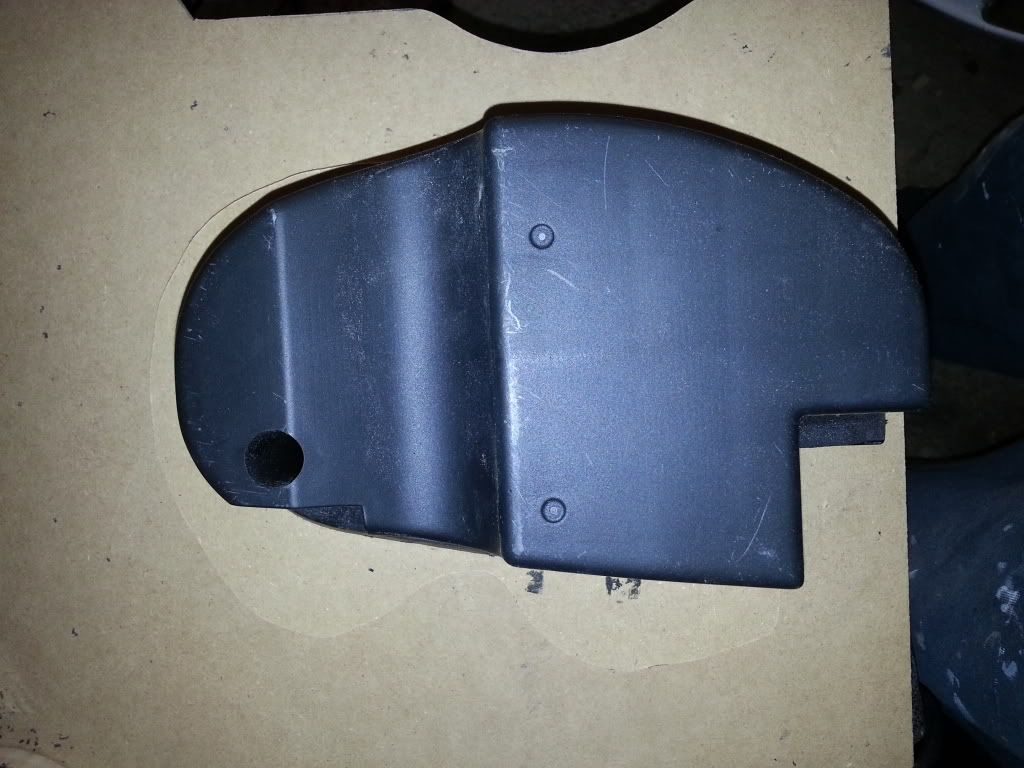
Went ahead and painted the cluster trim piece, it just didn't look good to me:
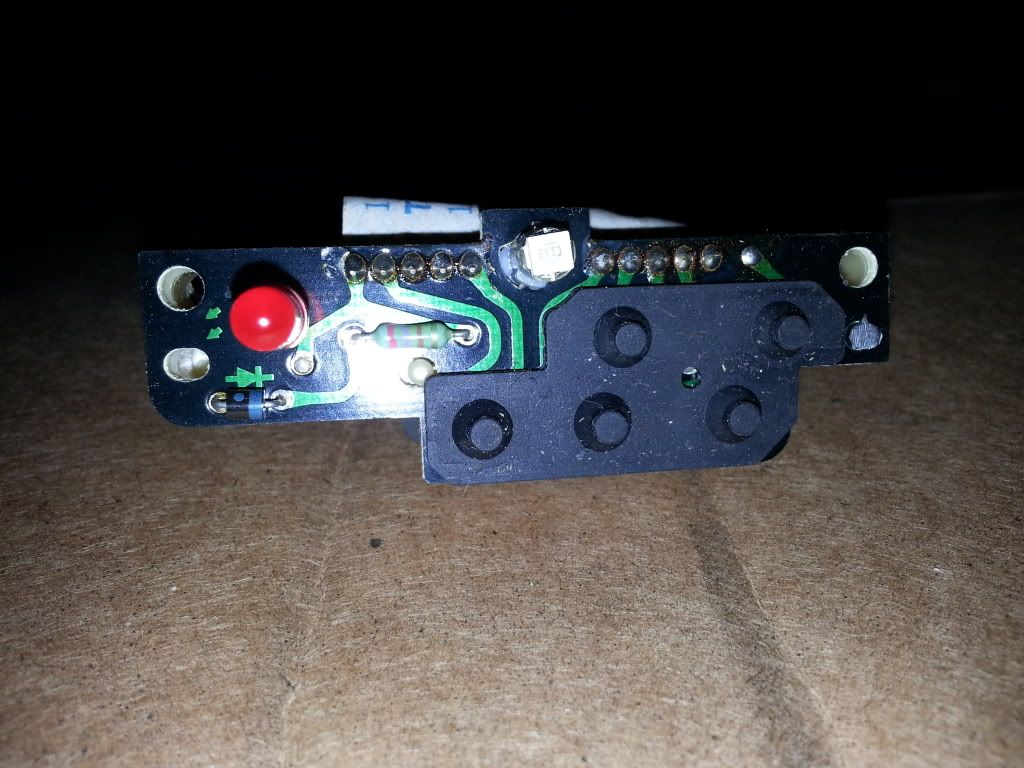
While I had the cluster trim piece apart, I changed out the bulb to a blue LED 120 degree to match the others:
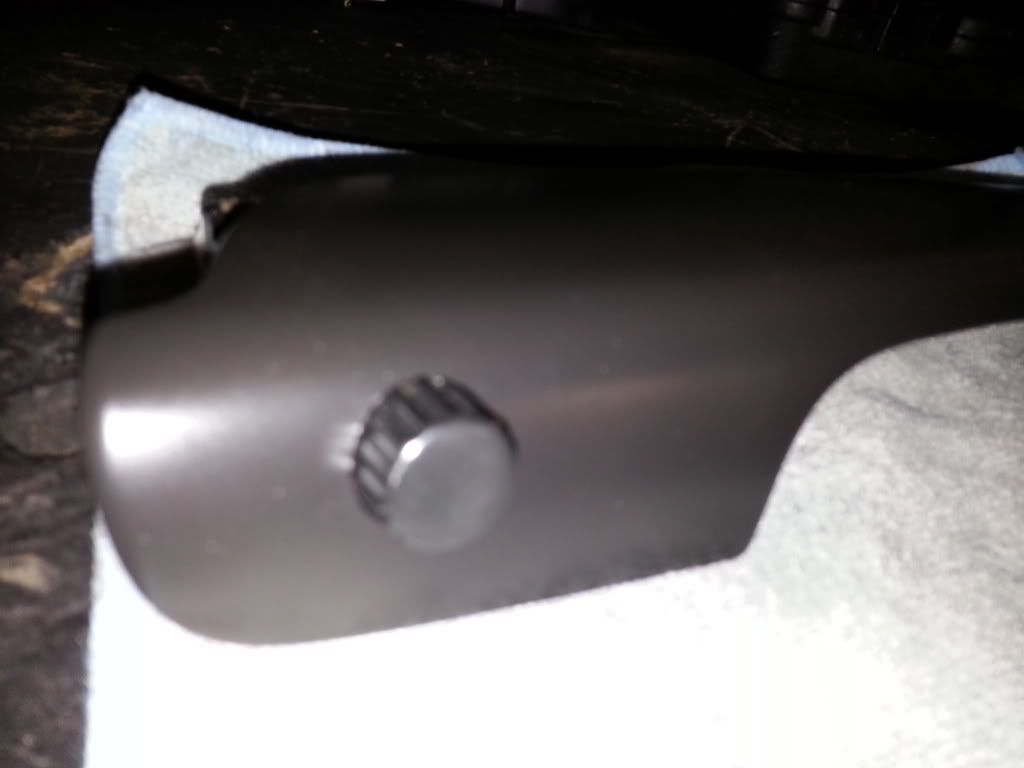
Then I lost this piece:
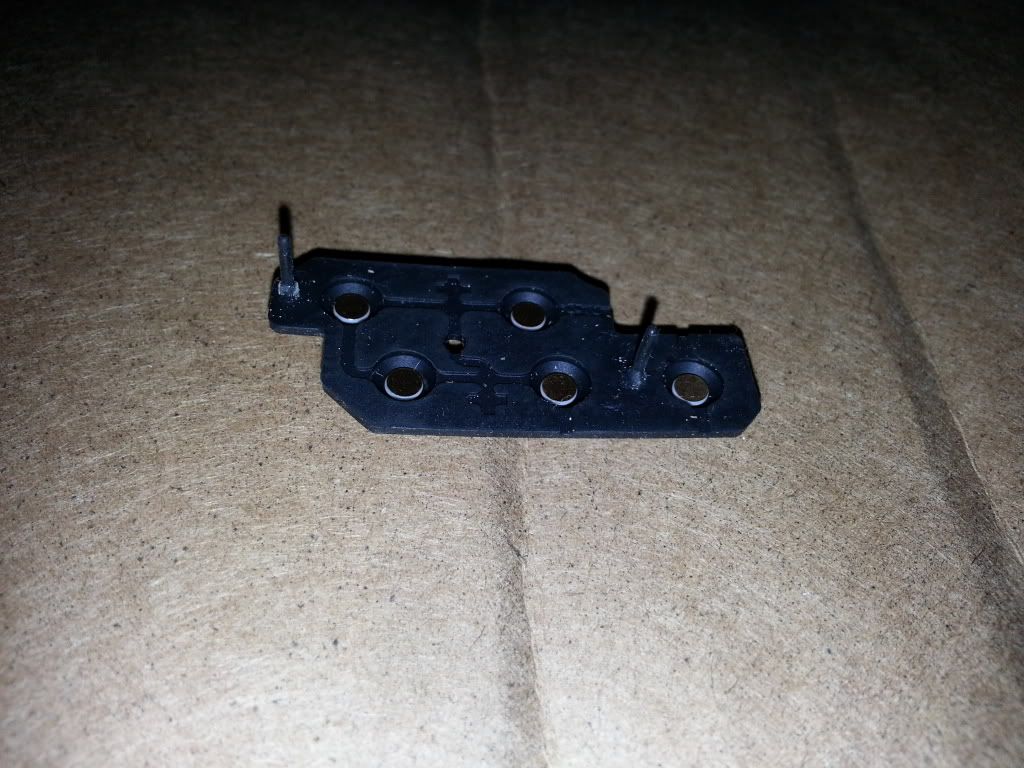
It fell here, anyone see it?
Checked to see that it worked. I also had to file down the white trim piece on the inside of it to get the new LED to clear. It is very long compared to the small factory bulb.
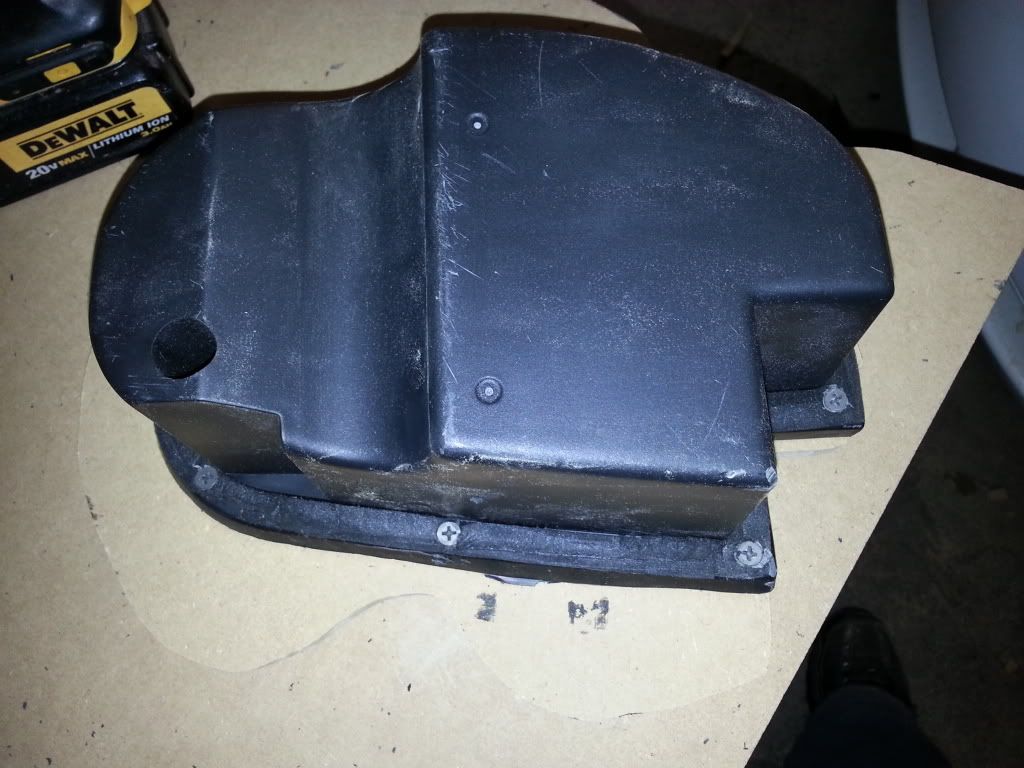
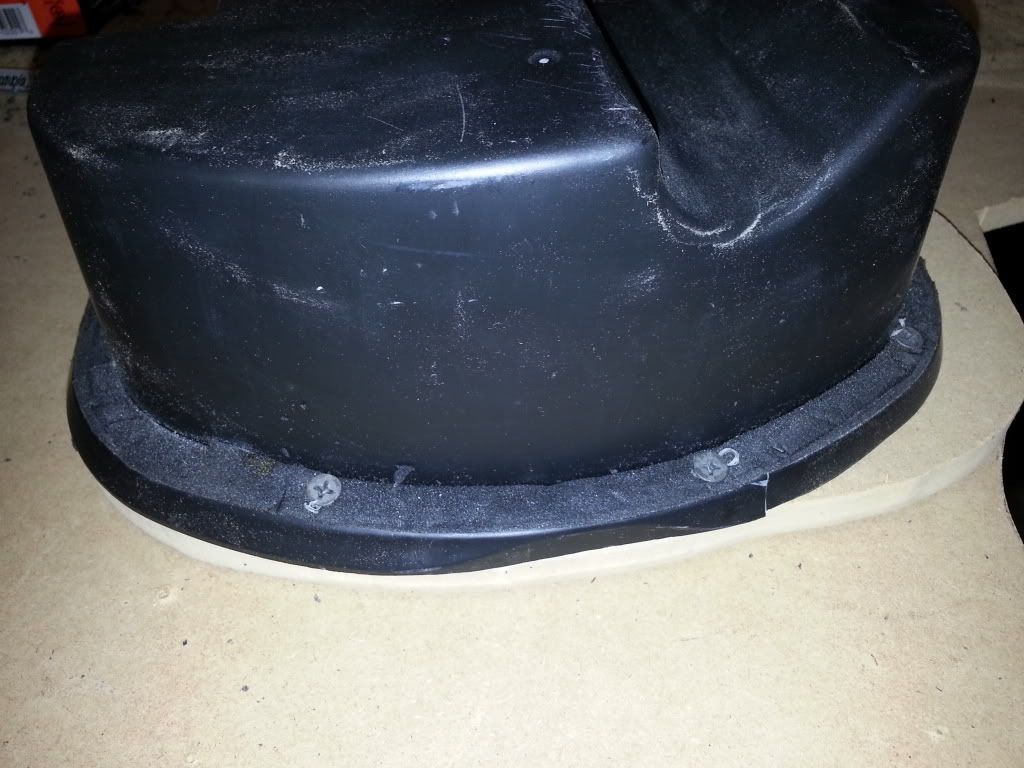
Installed back together after paint dried:
And now for the door speakers. First remove them from the car. Take these screws off of the back.
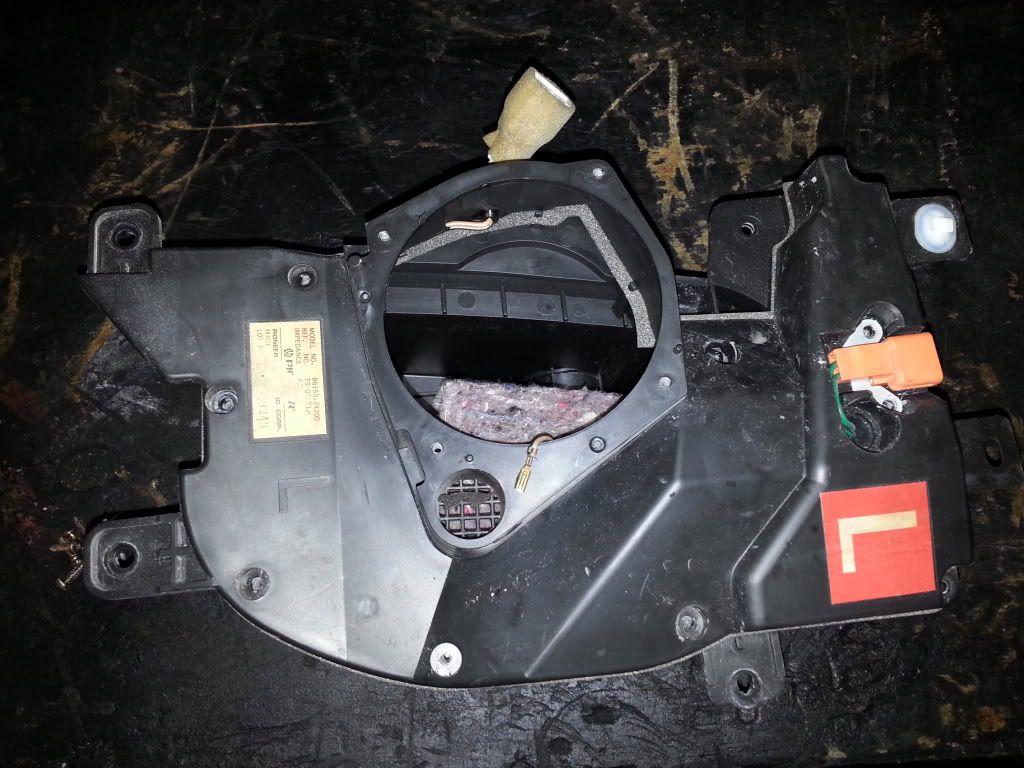
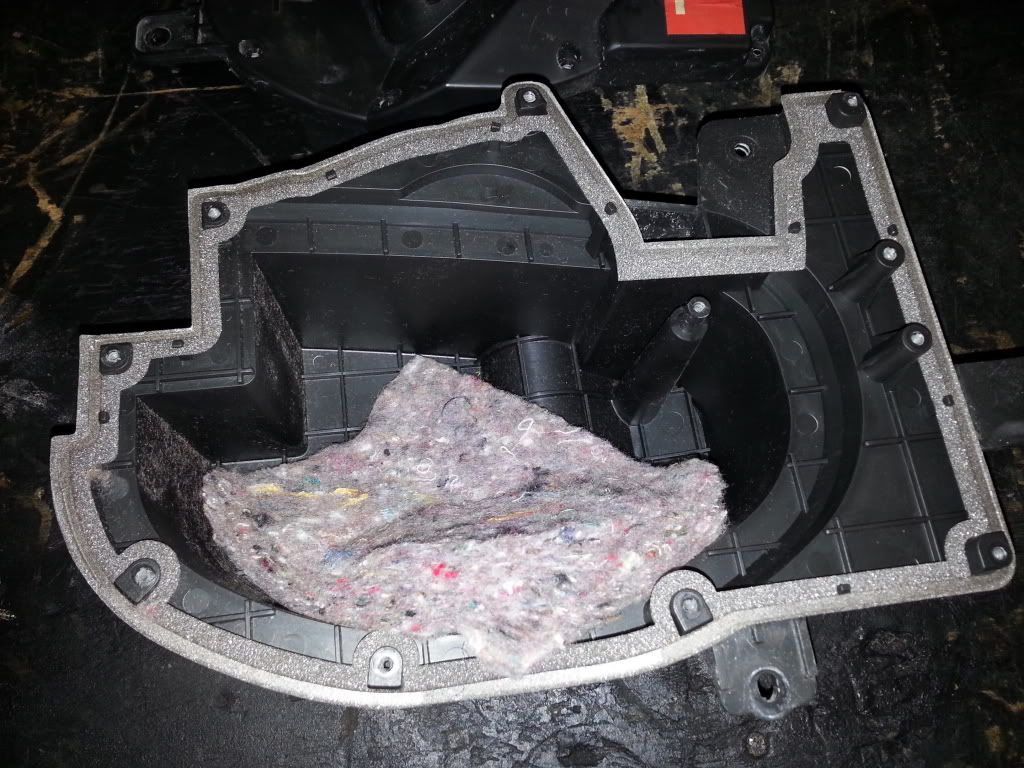
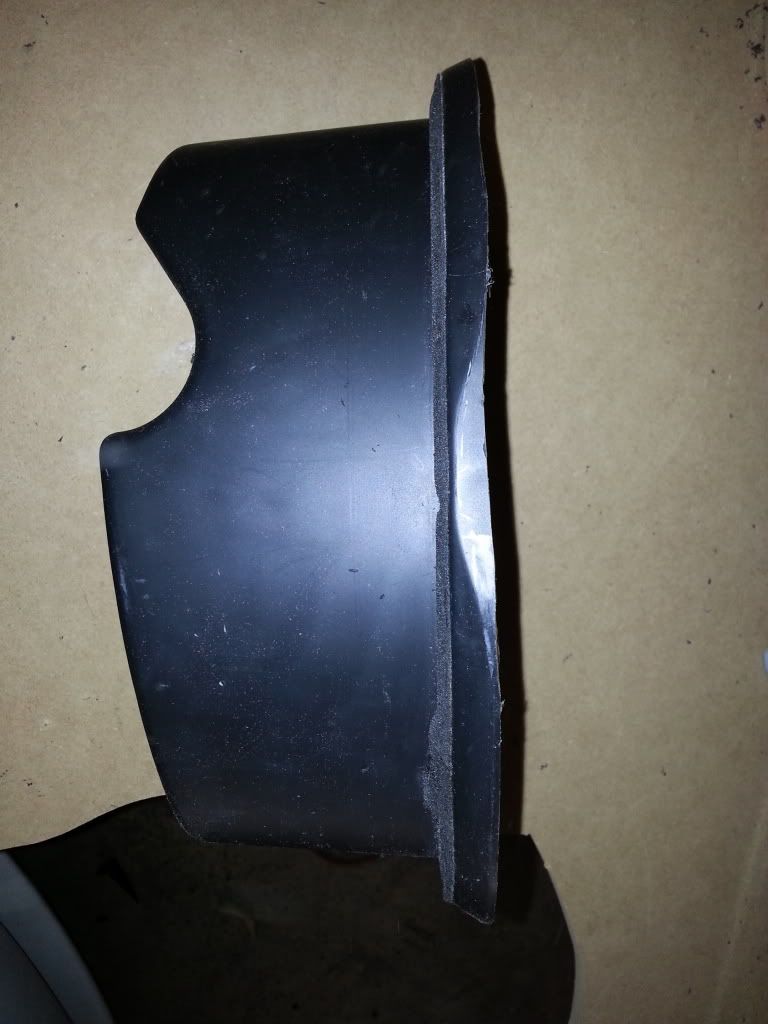
Remove the factory seal and stuffing:
Undo this screw at the crossover:
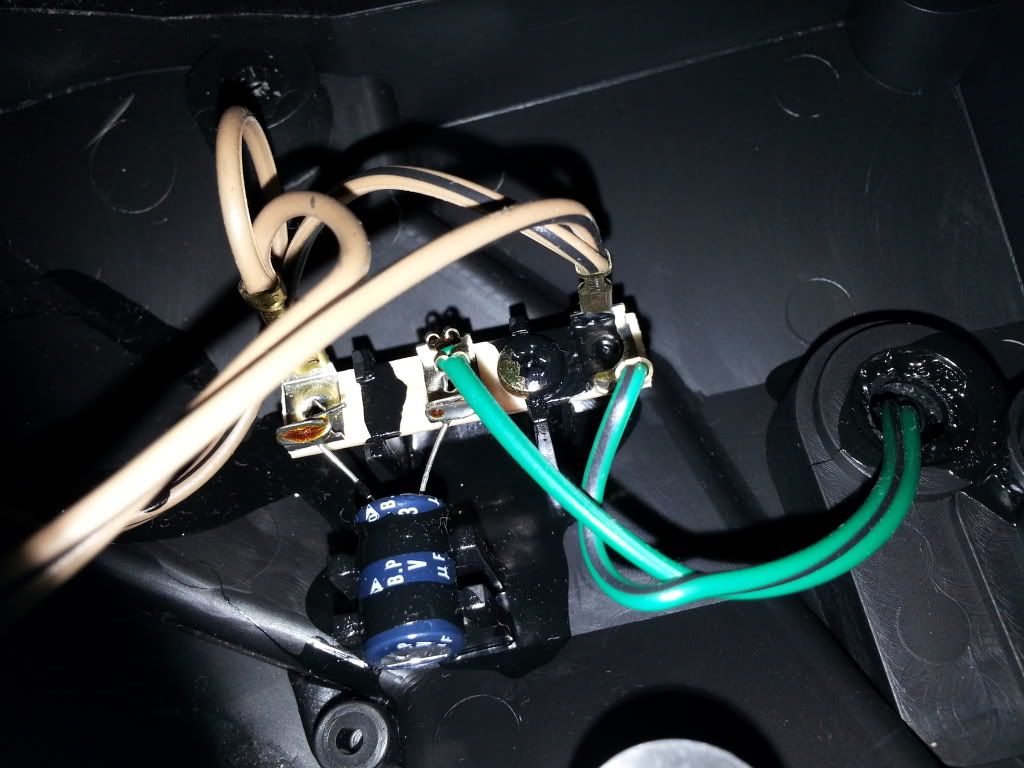
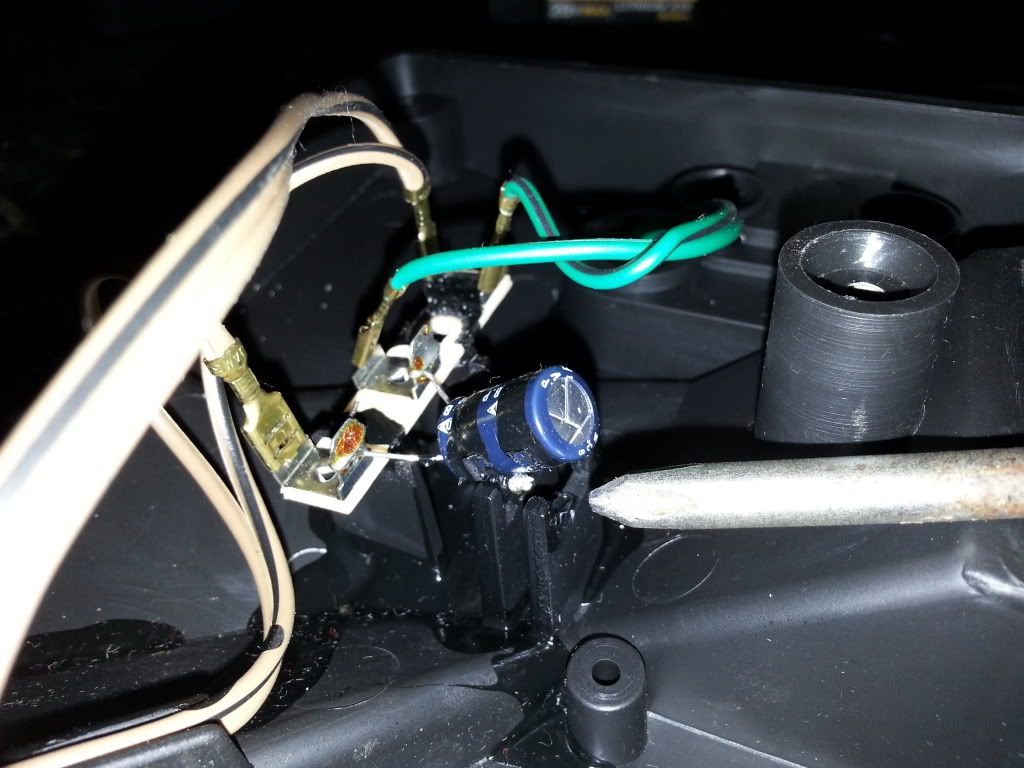
Carefully pull up on the capacitor. I used a screwdriver:
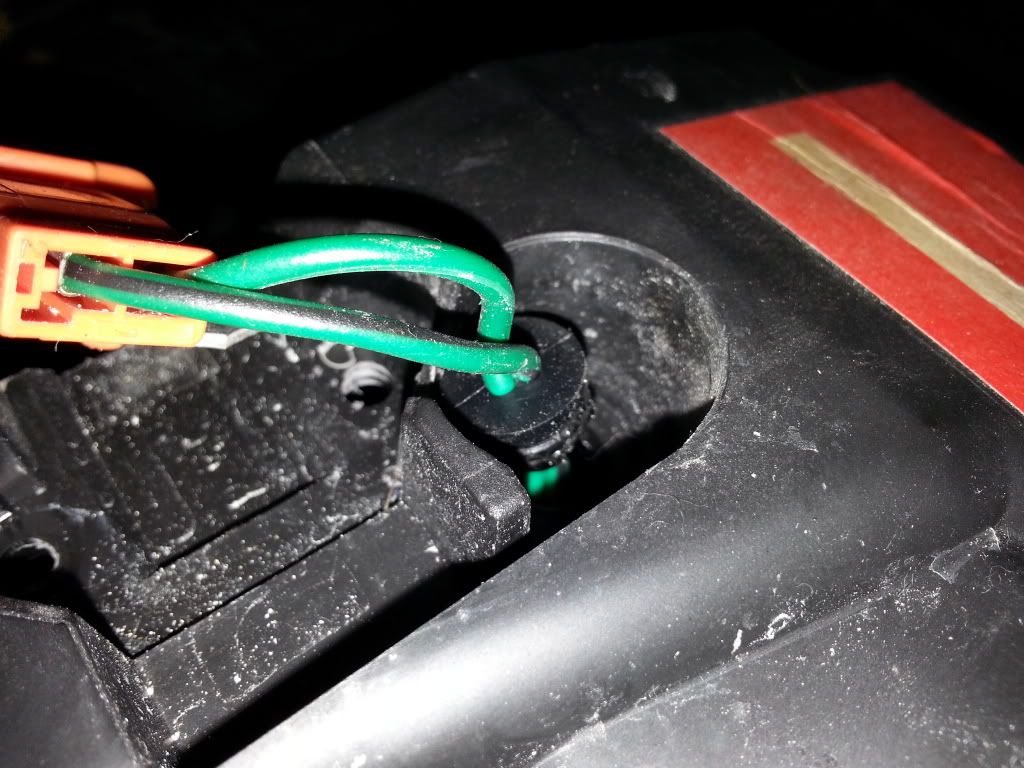
Pull up on the plastic seal tab:
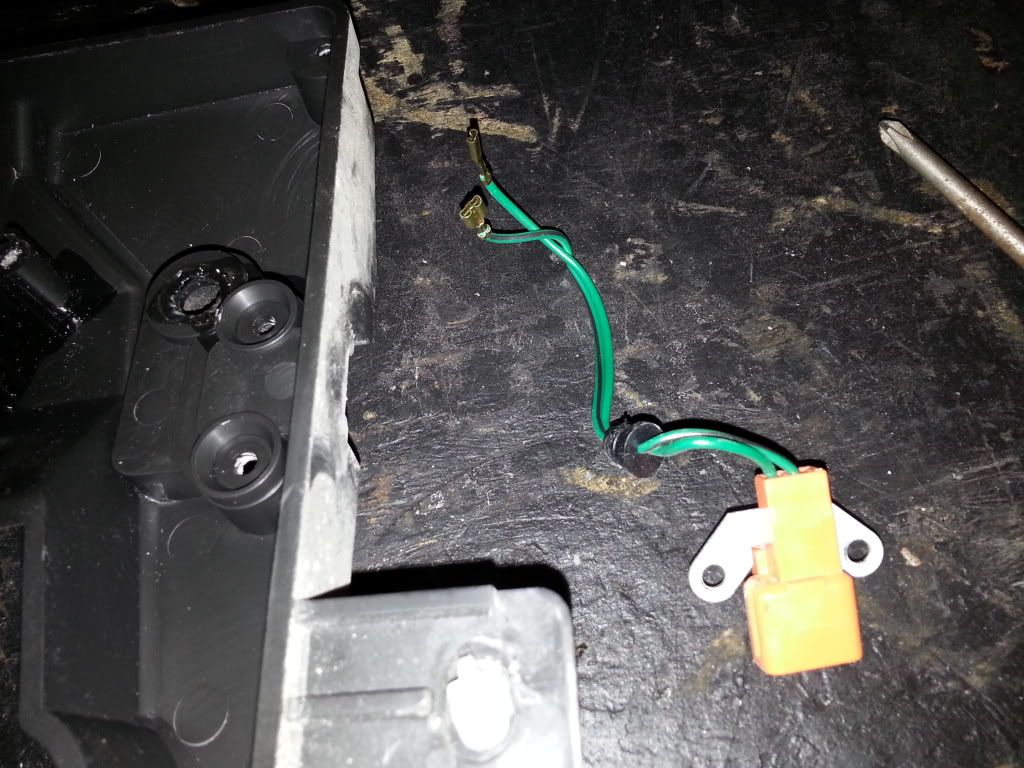
Unplug from crossover, remember where it goes:
Pull through like shown:
Pull on the inside of the factory wire:
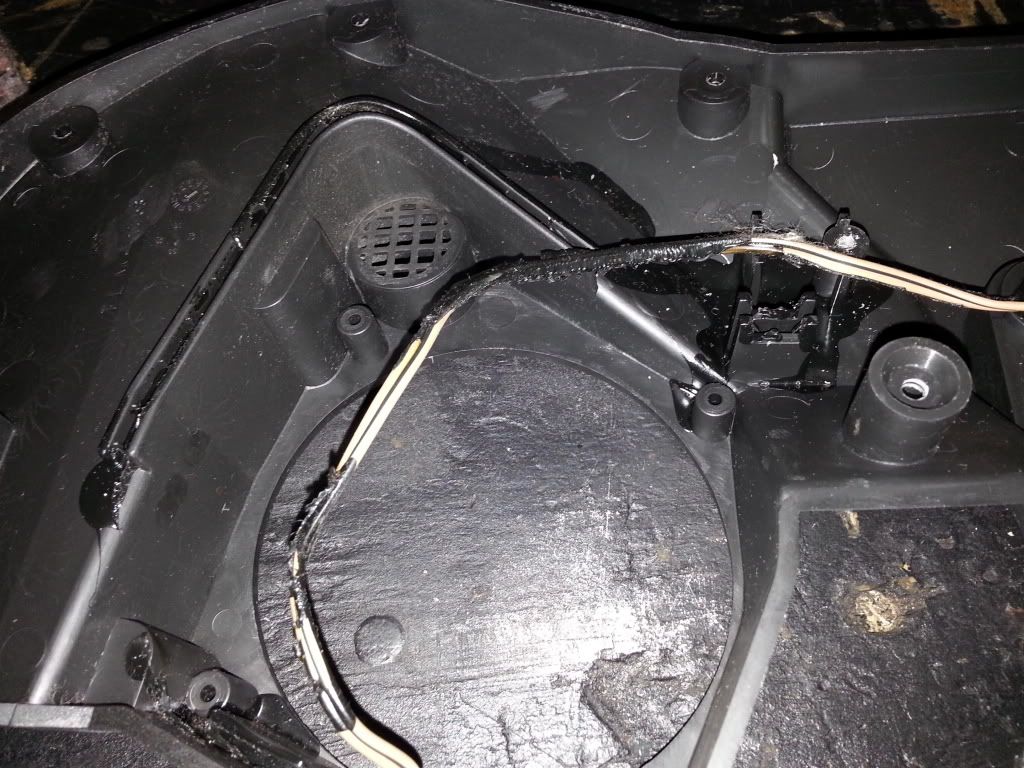
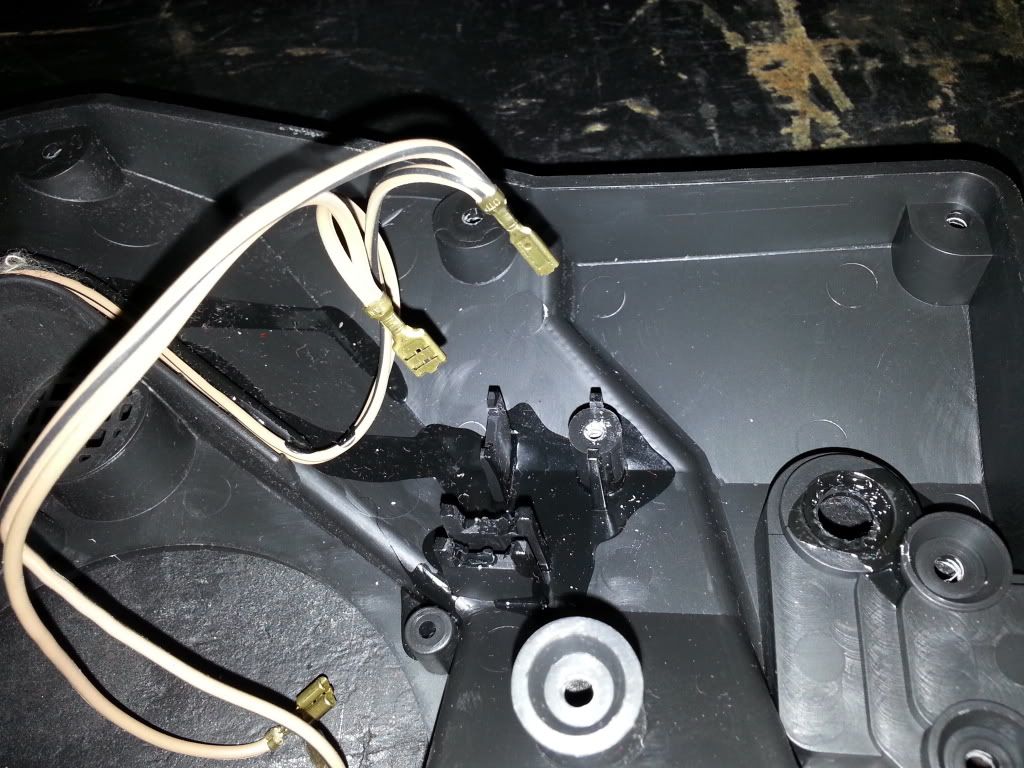
Pull this wire through, one side of the terminal at a time and lay aside:
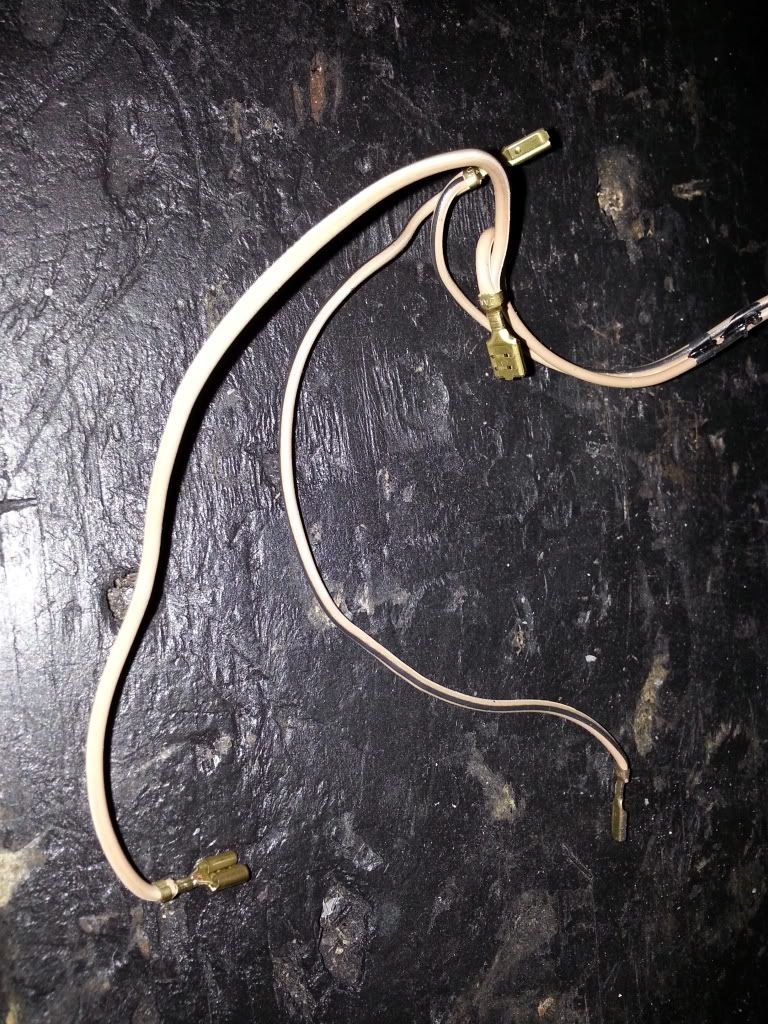
Throw in the garbage:
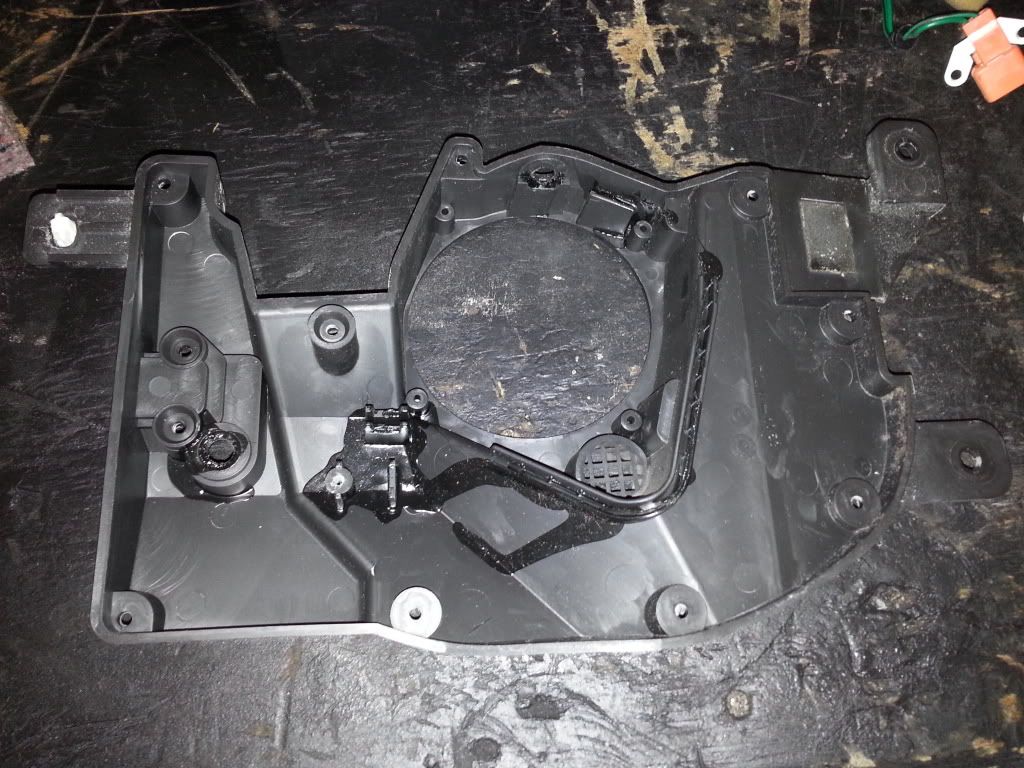
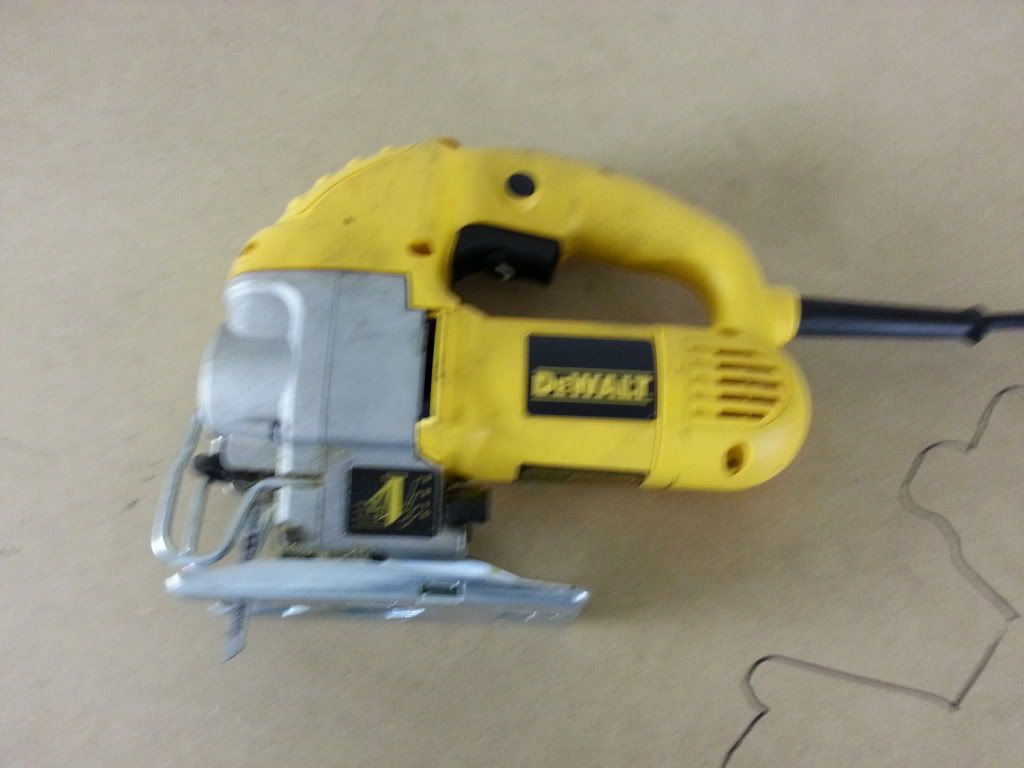
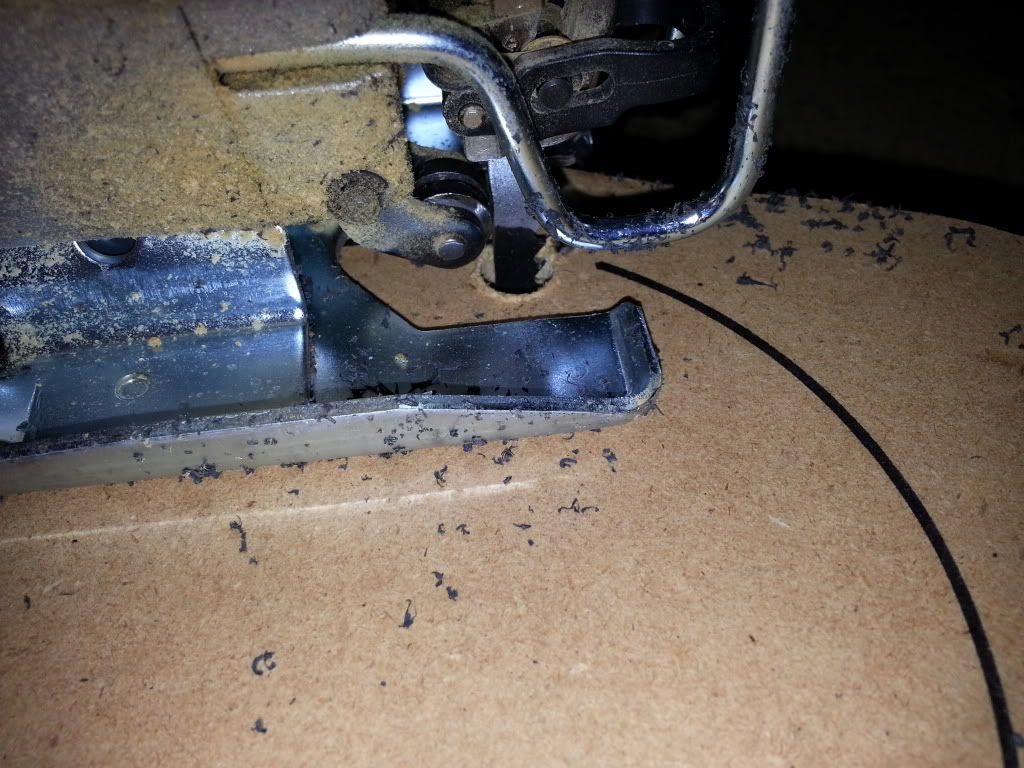
Grab this jigsaw and nice new blade for the mdf:
Carefully break these tabs off, you don't need these anymore:
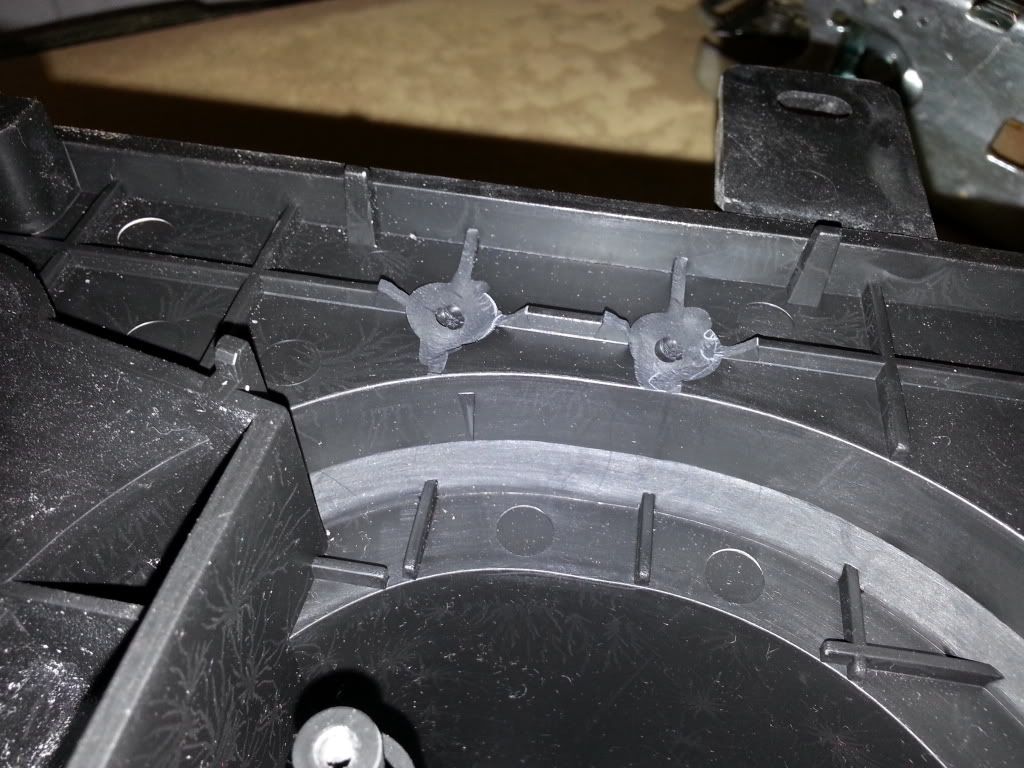
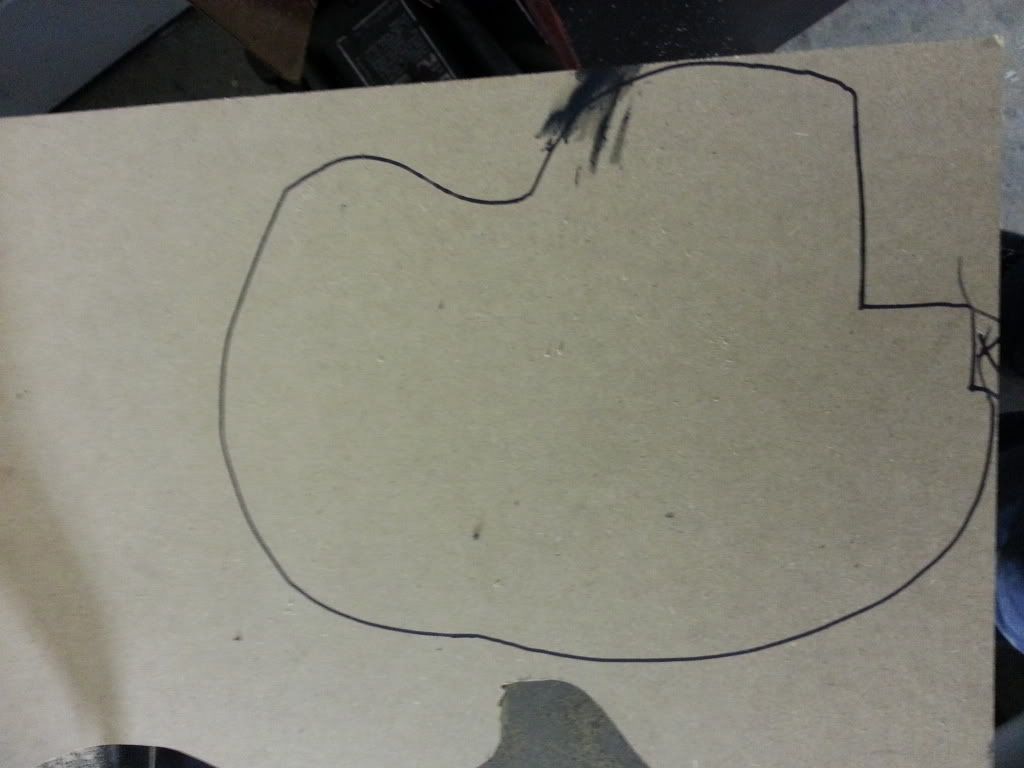
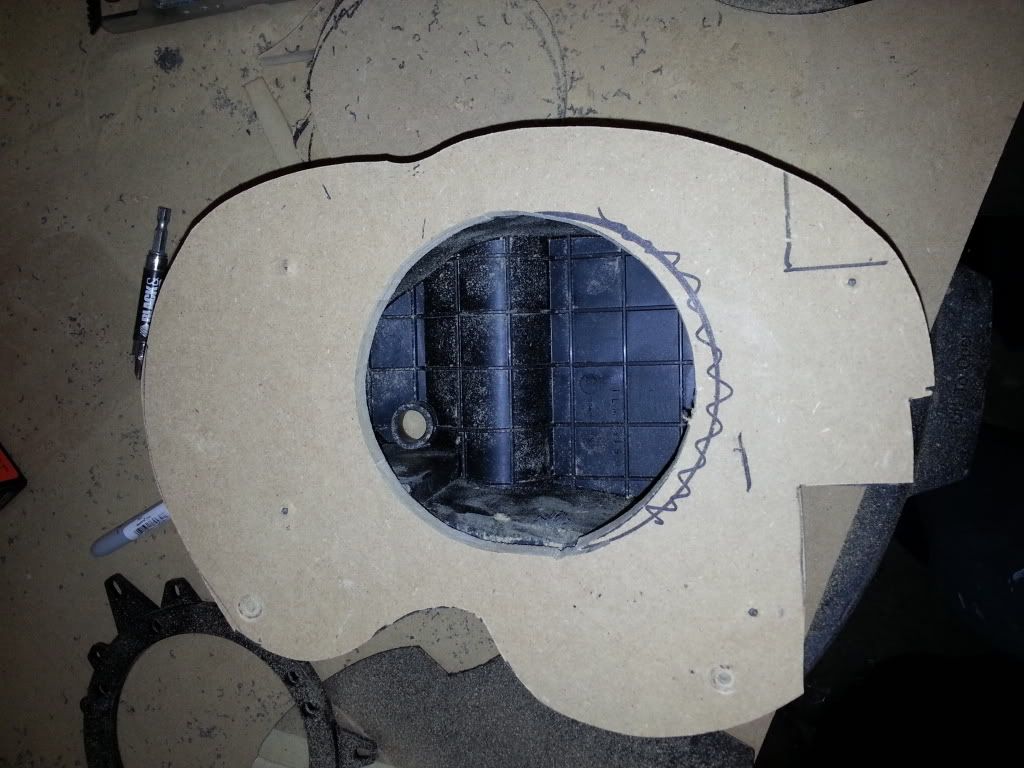
Shape the piece of mdf like this, you get the idea:
You need trim the bottom piece off all of these tabs and make flat. You will have to do all of the plastic that is sticking up and in the way. I didn't take any pictures. Most of the plastic can be easily broken.
I am locking this thread, unless we pick it up a notch people. !!!!! JK
I worked my butt off on these front door speaker pods. These were different than mine on my 1992 completely. I had to modify just about everything to get it to fit and fit correctly.
Applied the passenger side seat backing. These looked brand new.
Sanded down the cup holder with 600 grit sandpaper:
Went ahead and painted the cluster trim piece, it just didn't look good to me:
While I had the cluster trim piece apart, I changed out the bulb to a blue LED 120 degree to match the others:
Then I lost this piece:
It fell here, anyone see it?
Checked to see that it worked. I also had to file down the white trim piece on the inside of it to get the new LED to clear. It is very long compared to the small factory bulb.
Installed back together after paint dried:
And now for the door speakers. First remove them from the car. Take these screws off of the back.
Remove the factory seal and stuffing:
Undo this screw at the crossover:
Carefully pull up on the capacitor. I used a screwdriver:
Pull up on the plastic seal tab:
Unplug from crossover, remember where it goes:
Pull through like shown:
Pull on the inside of the factory wire:
Pull this wire through, one side of the terminal at a time and lay aside:
Throw in the garbage:
Grab this jigsaw and nice new blade for the mdf:
Carefully break these tabs off, you don't need these anymore:
Shape the piece of mdf like this, you get the idea:
You need trim the bottom piece off all of these tabs and make flat. You will have to do all of the plastic that is sticking up and in the way. I didn't take any pictures. Most of the plastic can be easily broken.
02-02-13, 06:49 PM
#194
1JZ Single SC400
Thread Starter
iTrader: (59)
Join Date: Jan 2009
Location: Alabama, Roll Tide!
Posts: 8,518
Likes: 0
Received 15 Likes
on
12 Posts
Reserved....
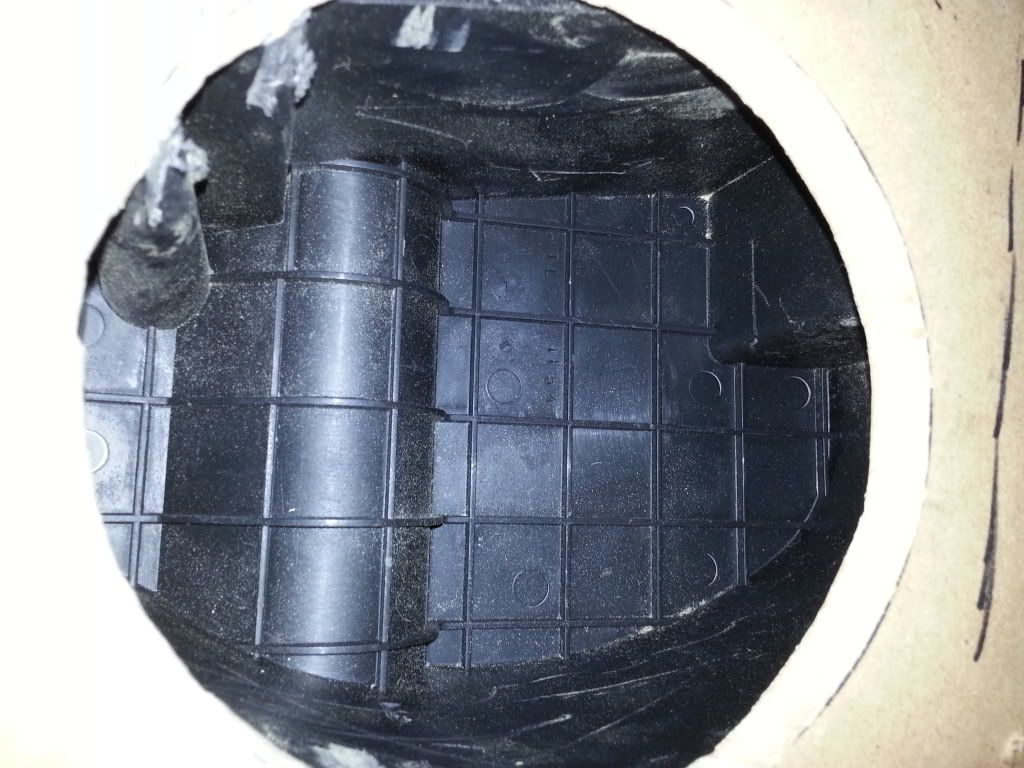
Once done, it should look like this:
Lay it on the piece you just cut out, like shown:
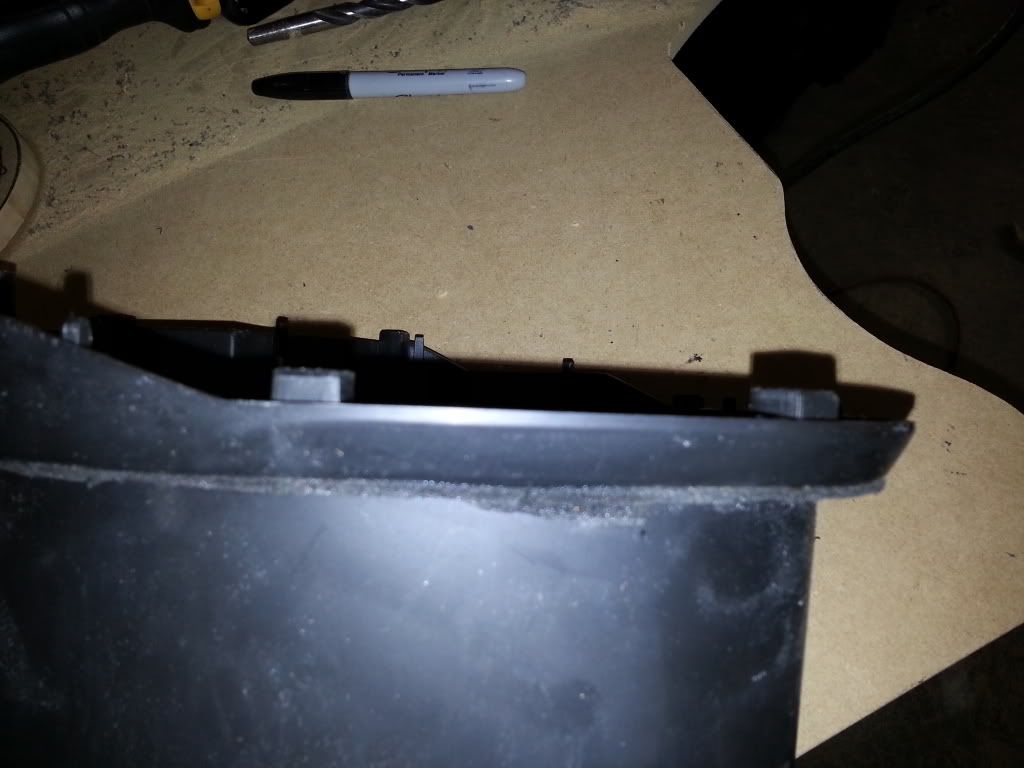
The secure it to the new piece from bottom side with wood screws:
After you put it in and out like a 1000 times, it will fit like this:
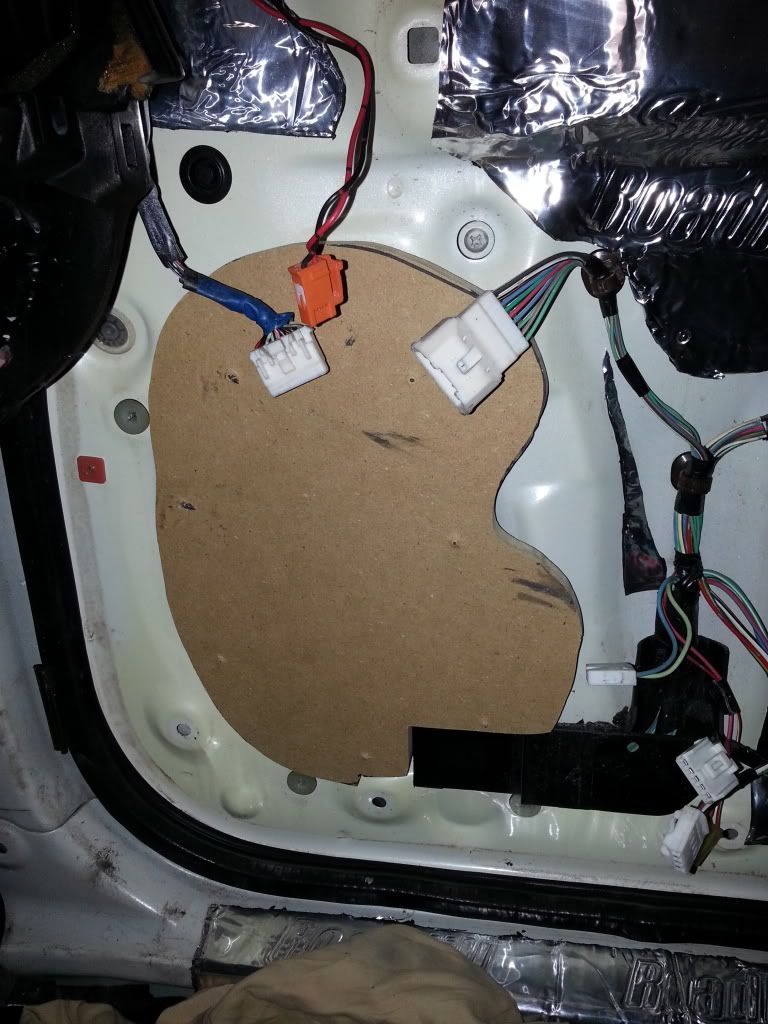
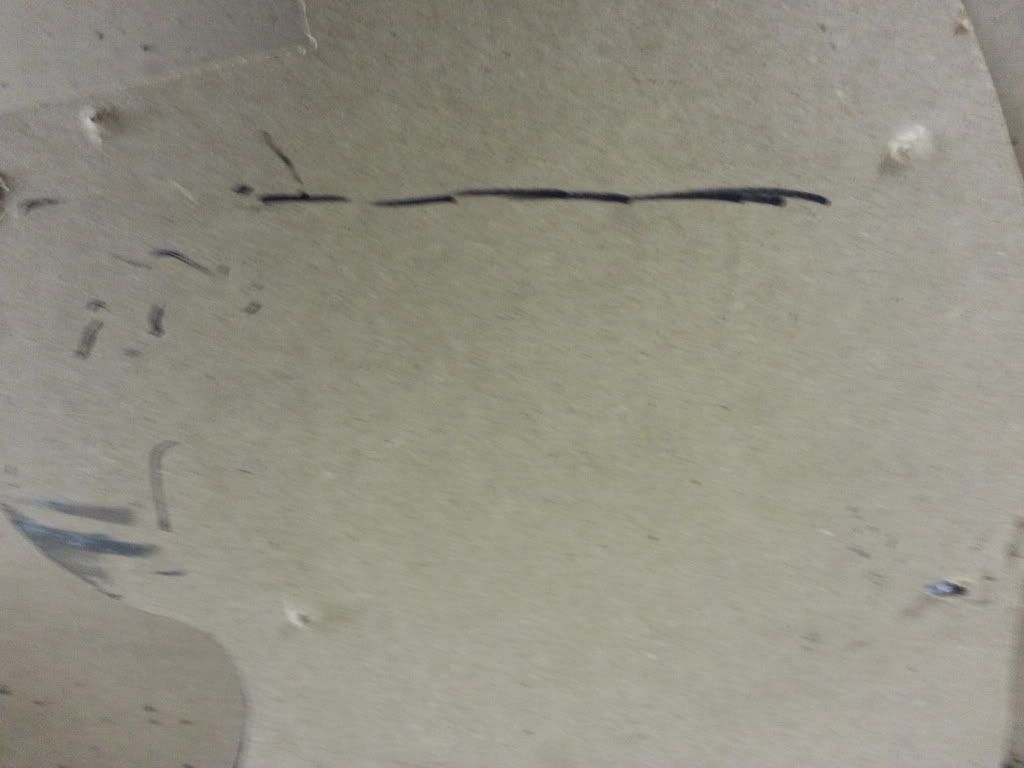
While it is in the door, secure it temporary and grab the door panel. Make sure the new speaker will NOT hit the inside of the door. Draw a line from the inside door meets the bottom of the speaker.
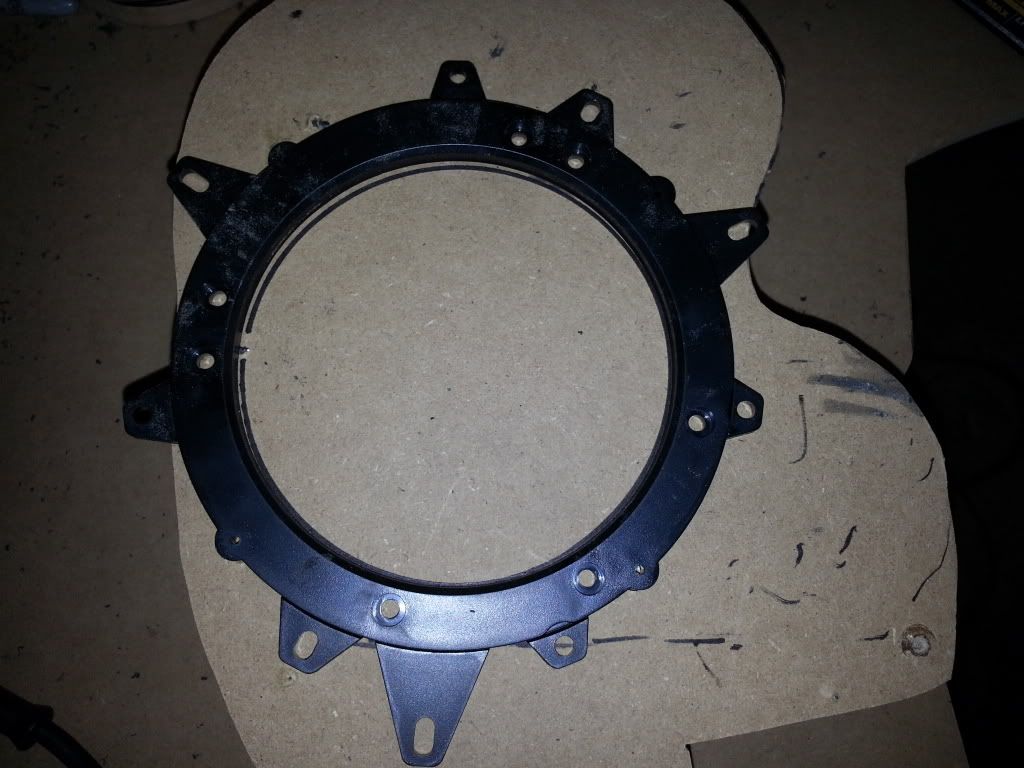
Grab the new ring, and place where it will fit above the line and inside the factory bottom cover:
Draw a circle:

Grab the drill and place a big ol bit in there and drill a hole big enough for the saw to fit in like shown:
Remove the piece cut and throw away, then vacuum out the saw dust from inside:
Reinstall the factory crossover if using it again. Place anywhere out of the way of the door panel. This is why I left this piece cut like shown to give me somewhere to mount it back.
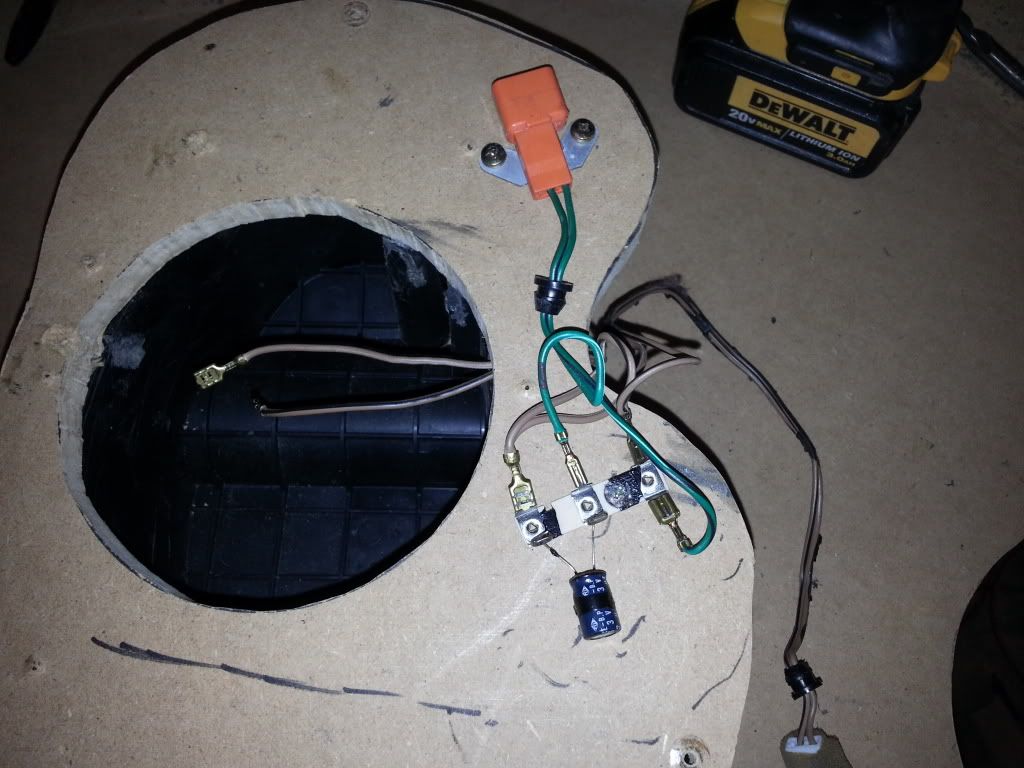
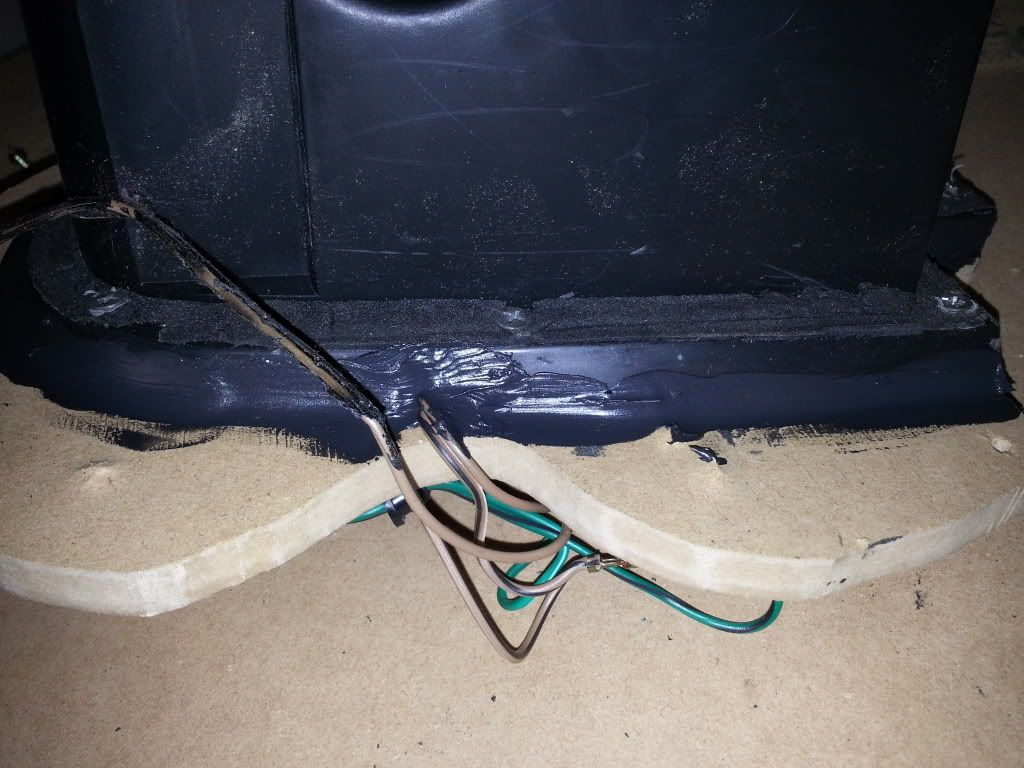
Once this is done with wiring the inside of the new speaker, apply a thin coat of silicone around the whole setup and let sit overnight. This is where I am right now.
More to come tomorrow. I will finish installing and start a DIY for 6x9 for the rear. Stay Tuned!!!!!!
Once done, it should look like this:
Lay it on the piece you just cut out, like shown:
The secure it to the new piece from bottom side with wood screws:
After you put it in and out like a 1000 times, it will fit like this:
While it is in the door, secure it temporary and grab the door panel. Make sure the new speaker will NOT hit the inside of the door. Draw a line from the inside door meets the bottom of the speaker.
Grab the new ring, and place where it will fit above the line and inside the factory bottom cover:
Draw a circle:
Grab the drill and place a big ol bit in there and drill a hole big enough for the saw to fit in like shown:
Remove the piece cut and throw away, then vacuum out the saw dust from inside:
Reinstall the factory crossover if using it again. Place anywhere out of the way of the door panel. This is why I left this piece cut like shown to give me somewhere to mount it back.
Once this is done with wiring the inside of the new speaker, apply a thin coat of silicone around the whole setup and let sit overnight. This is where I am right now.
More to come tomorrow. I will finish installing and start a DIY for 6x9 for the rear. Stay Tuned!!!!!!
Last edited by 1JZPWRD; 02-02-13 at 06:58 PM.
