Dengman's '99 LS400 build thread
 02-05-13, 09:17 AM
#31
Lead Lap
Thread Starter

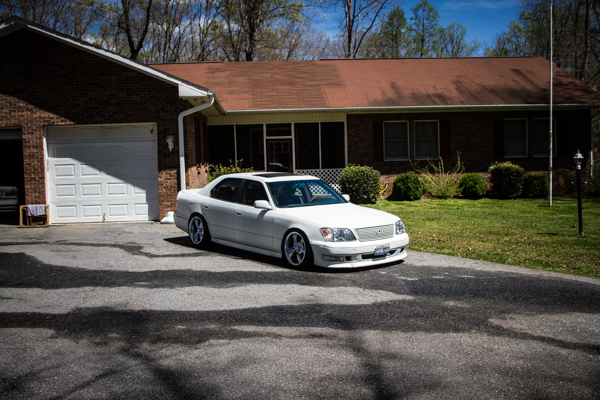
Slammed being static is nice and all.. but its not all that great.. If you like to travel. I've been debating about buying another car for traveling or keep the car in winter mode and sell my 18s. and go with a softer spring rate.
I could just sell the car but it gets great MPG for a v8 and its roomy... SOO comfortable.. I slept in the driver seat at a rest stop for 6hrs before..

 03-11-13, 07:54 AM
#32
Lead Lap
Thread Starter
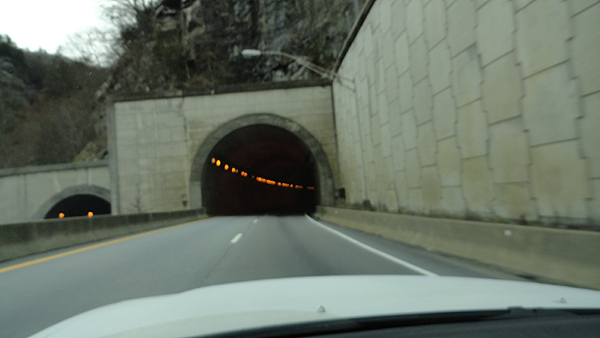
Picture from road trip.
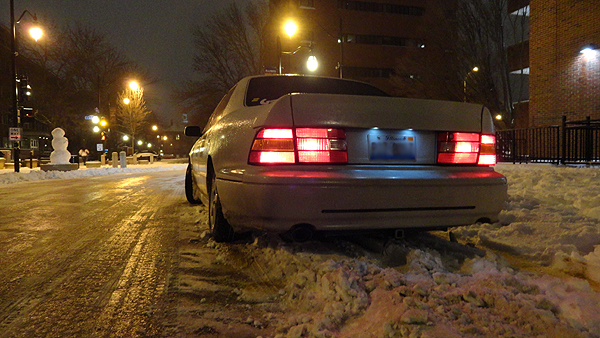
UIUC campus got stuck in the snow for about a minute
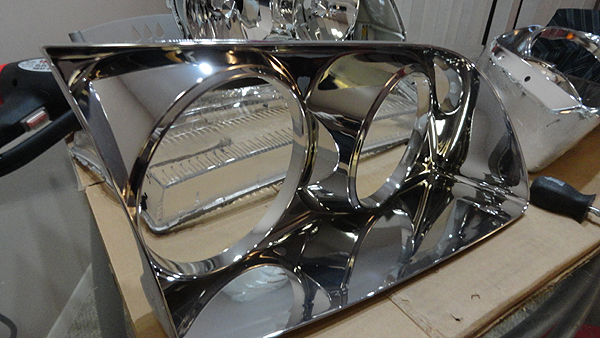
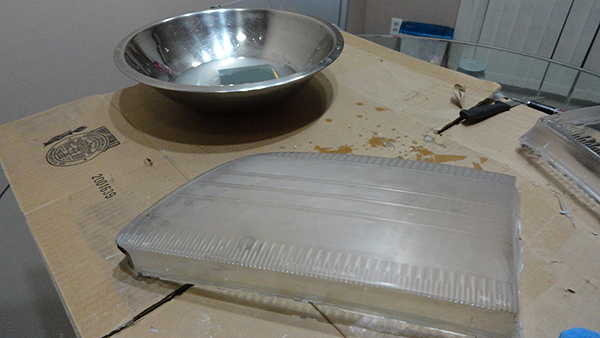
Head light disassembly
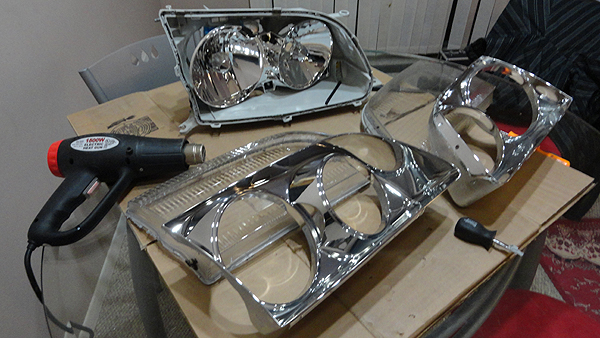
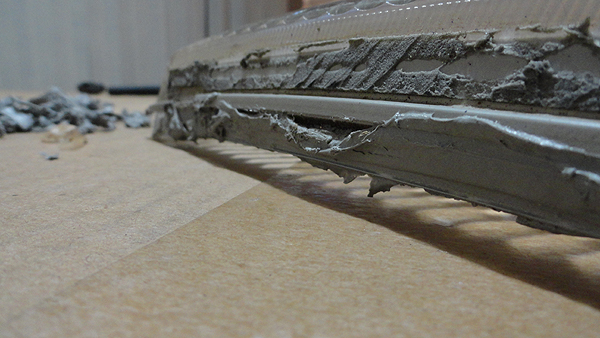
Make sure to cut out all the old grey sealant in the housing
Be careful no to get the grey sealant on the chrome housing when prying the lens out of the housing
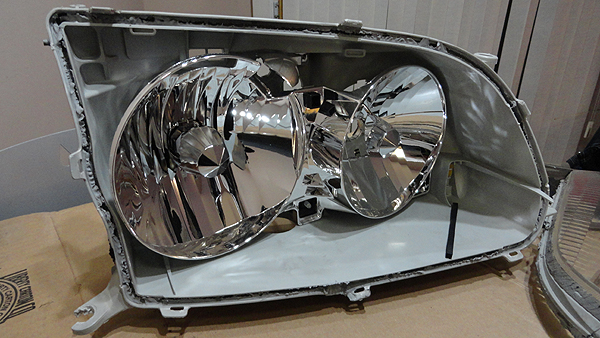
Clear
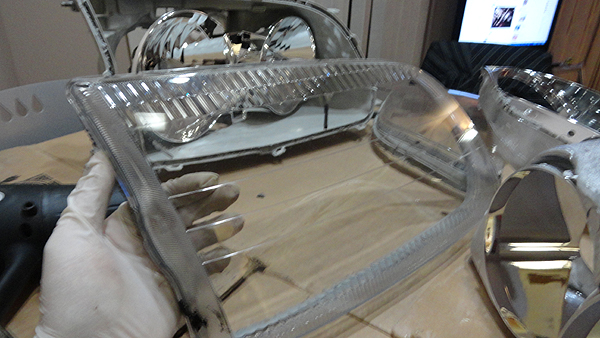
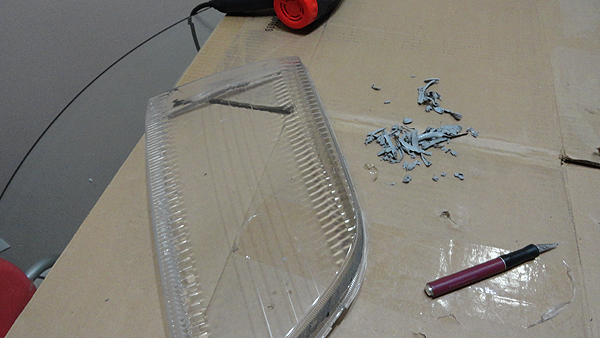
Use an exacto knife or utility knife and cut away the grey sealant after it cools off. It will chip away in pieces if its cold and hard.
2000grit to clean up some blemishes. Polish afterwards
Happily driving at night now.
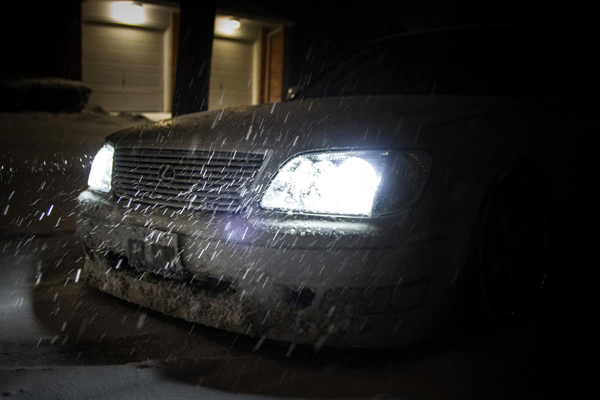
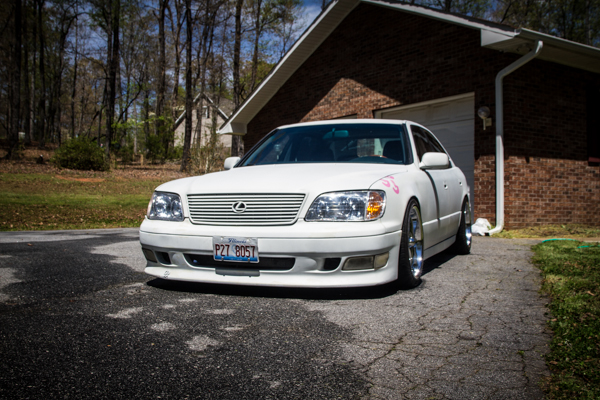
My original head light lenses were cracked and yellow if you look in my previous pictures you can tell. Instead of buying aftermarket head lights I waited several months of ebay shopping to get the right price I wanted to spend on lights that had cracked mounting points but clear un cracked lenses.
$60 right side
$126 leftside
$4 2000grit sand paper
$5 100% silicone
$10 head light polishing and sealant stuff.
$205 total VS aftermarket
Aftermarket hid headlights from what I hear do not self level like OEM. $420 is the cheapest on Ebay
Non HID $331 cheapest on ebay.
I could have bought the non HID and taken them apart for the lenses.
UIUC campus got stuck in the snow for about a minute
Head light disassembly
Make sure to cut out all the old grey sealant in the housing
Be careful no to get the grey sealant on the chrome housing when prying the lens out of the housing
Clear
Use an exacto knife or utility knife and cut away the grey sealant after it cools off. It will chip away in pieces if its cold and hard.
2000grit to clean up some blemishes. Polish afterwards
Happily driving at night now.
My original head light lenses were cracked and yellow if you look in my previous pictures you can tell. Instead of buying aftermarket head lights I waited several months of ebay shopping to get the right price I wanted to spend on lights that had cracked mounting points but clear un cracked lenses.
$60 right side
$126 leftside
$4 2000grit sand paper
$5 100% silicone
$10 head light polishing and sealant stuff.
$205 total VS aftermarket
Aftermarket hid headlights from what I hear do not self level like OEM. $420 is the cheapest on Ebay
Non HID $331 cheapest on ebay.
I could have bought the non HID and taken them apart for the lenses.
 03-11-13, 11:16 AM
#35
good work on the headlight restore. i find it easier to sand and polish when the headlights are on the car. just mask around the headlights where the buffer can touch the paint to protect.
what prompted you to replace the trans mount? i suppose it's easy to get to and since you were doing the engine mounts anyway.
what prompted you to replace the trans mount? i suppose it's easy to get to and since you were doing the engine mounts anyway.
03-11-13, 12:13 PM
#36
Lead Lap
Thread Starter
good work on the headlight restore. i find it easier to sand and polish when the headlights are on the car. just mask around the headlights where the buffer can touch the paint to protect.
what prompted you to replace the trans mount? i suppose it's easy to get to and since you were doing the engine mounts anyway.
what prompted you to replace the trans mount? i suppose it's easy to get to and since you were doing the engine mounts anyway.
I changed the trans mount since I bought all three mounts and the car was in the air on a lift. I figured the mount was bad anyways 200k on the original.
03-11-13, 06:00 PM
#37

I hope you threw some clearcoat paint on those lenses after you polished them out. When you sand them or polish them you finish removing the top layer of UV protection along with the oxidized plastic, makes them haze up again MUCH faster if you don't seal them.
03-11-13, 06:58 PM
#38
Lead Lap
Thread Starter
My original head light lenses were cracked and yellow if you look in my previous pictures you can tell. Instead of buying aftermarket head lights I waited several months of ebay shopping to get the right price I wanted to spend on lights that had cracked mounting points but clear un cracked lenses.
$60 right side
$126 leftside
$4 2000grit sand paper
$5 100% silicone
$10 head light polishing and sealant stuff.
$205 total VS aftermarket
Aftermarket hid headlights from what I hear do not self level like OEM. $420 is the cheapest on Ebay
Non HID $331 cheapest on ebay.
I could have bought the non HID and taken them apart for the lenses.
03-11-13, 07:35 PM
#39

nice. when i first got my car, the headlight was really dirty from inside the housing since there was a missing cap for the high beam, so i did what you did. opened it up, cleaned the whole housing carefully with several products to get the chrome shining again, and then resealed it back up. looks good as new!
04-14-13, 10:29 AM
#40
Lead Lap
Thread Starter

Last edited by dengman; 04-14-13 at 10:38 AM.
04-22-13, 10:09 AM
#42
Lead Lap
Thread Starter
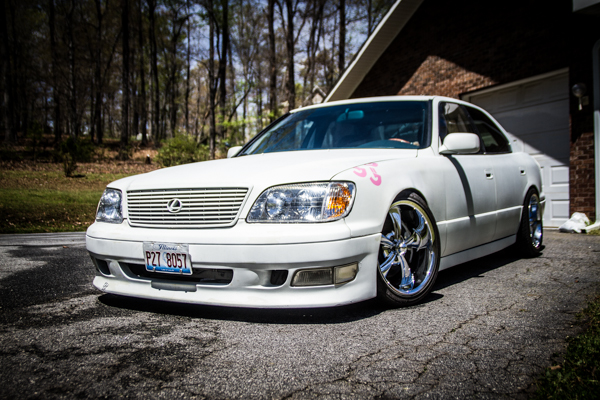
The day i decide to actually purchase another car for driving distances and possibly daily I'll go with 20s.
Currently daily driving a 06 acura mdx MPG sucks but I barely make it into the family restaurant parking lot with the LS400 and i nailed a possum or racon on the highway going 70mph the other night. Hopefully I didnt do any major damages under the car.
Parts to rebuild my power steering pump came in.
Figs universal RCA's came in today.
04-22-13, 11:19 AM
#44
Lead Lap
Thread Starter

No oil leaks so thats a good sign. Hopefully the radiator support or what ever its called for the ls400 isnt bent.

