8052JZ's NA-T Build
 11-06-15, 09:20 AM
#931

Well I hope to run it soon, just working out the tune right now. I need to order a dry NOS kit so I can hold the converter at 16psi for launch.
Going on vacation next week and the day I get back I have to fix an exhaust leak from head to manifold. When i tighten the studs, they are pulling out from the head
 So i have to pull the turbo and manifold and heil coil those two holes. Not sure how and why this happened but not much I can do about it. After that I should be good to go for the track. The closest one to me is about 3 hours away so its more of planning a weekend trip to the track.
 11-06-15, 10:04 AM
#932

I would do the cage first and then paint, cage work might scratch up the new paint if you do it the other way.
Instead of Heli-coiling it, consider going to the next size up metric so from m10 to m12, and then using m12 hardware on those or they have step down studs from m12 to m10.
Some will swear by helicoil, others say to go the next size up, you can research more on it.
Instead of Heli-coiling it, consider going to the next size up metric so from m10 to m12, and then using m12 hardware on those or they have step down studs from m12 to m10.
Some will swear by helicoil, others say to go the next size up, you can research more on it.
 11-16-15, 11:16 AM
#934
I would do the cage first and then paint, cage work might scratch up the new paint if you do it the other way.
Instead of Heli-coiling it, consider going to the next size up metric so from m10 to m12, and then using m12 hardware on those or they have step down studs from m12 to m10.
Some will swear by helicoil, others say to go the next size up, you can research more on it.
Instead of Heli-coiling it, consider going to the next size up metric so from m10 to m12, and then using m12 hardware on those or they have step down studs from m12 to m10.
Some will swear by helicoil, others say to go the next size up, you can research more on it.
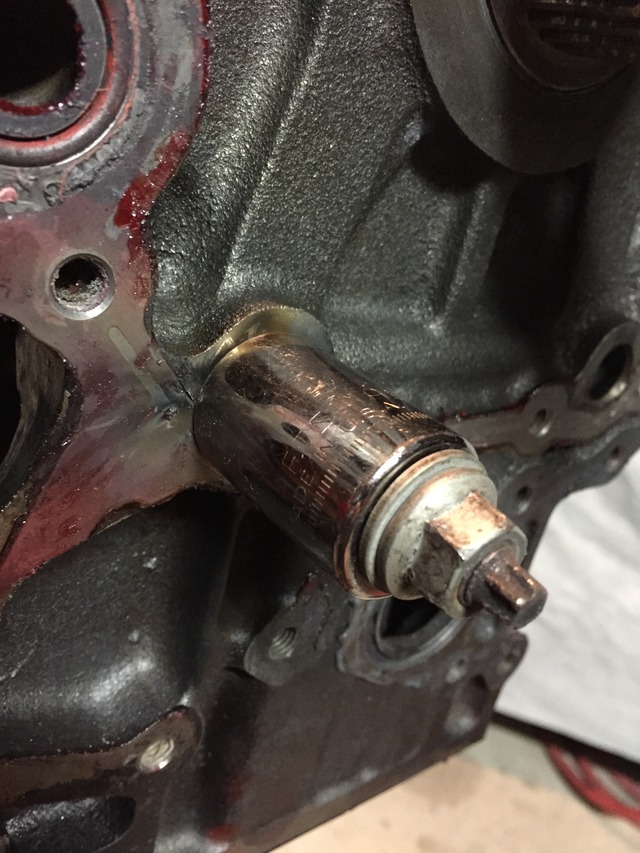
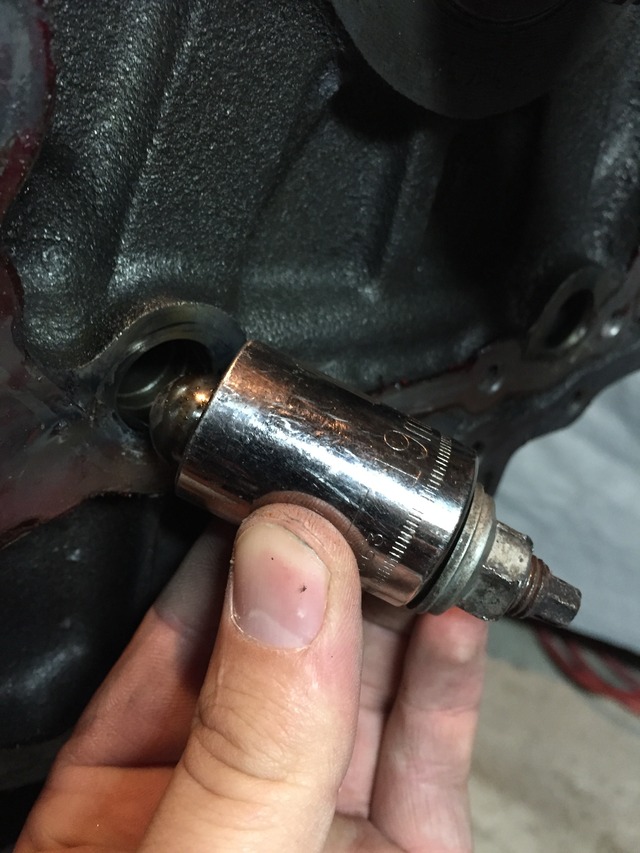
When you open up the the 7m CPS there are a few magnets inside there that can be adjusted. Clean those up and move them as close as possible with out them touching. I used a piece of paper to make the gap as tight as possible.
11-16-15, 11:19 AM
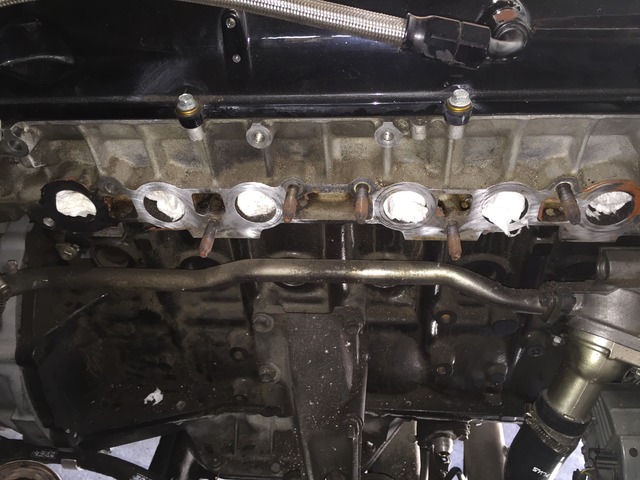
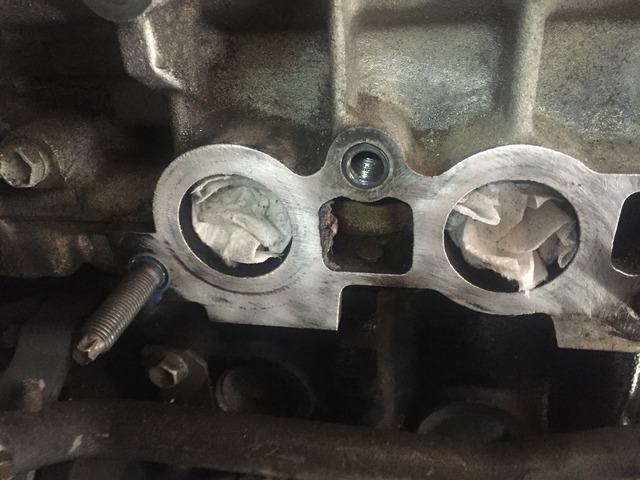
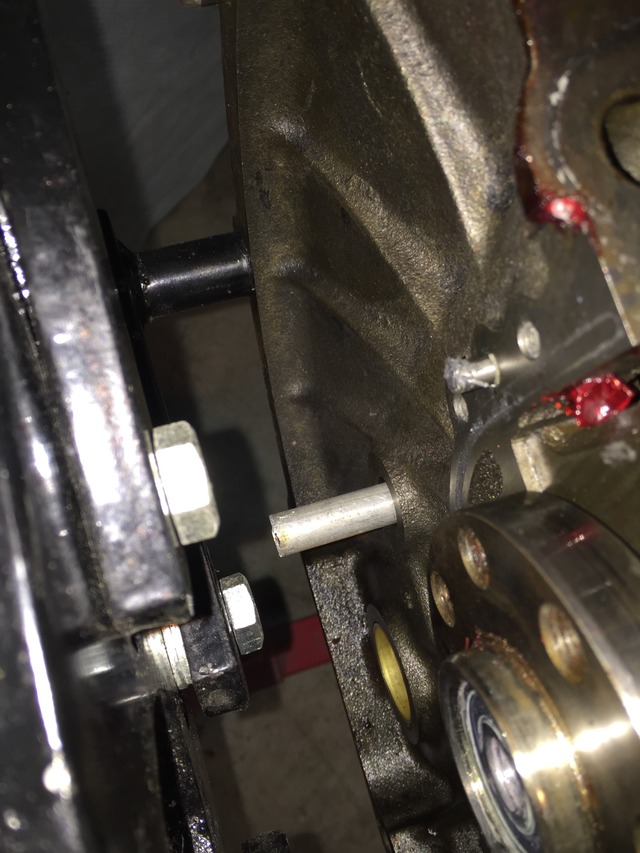
#935
Here is all the turbo things off. You can see where runner #6 was leaking pretty bad.
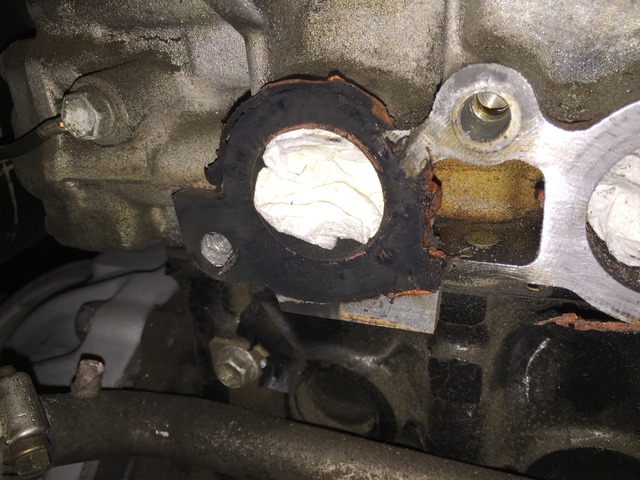
Now with the Time-Cert in the studs go back in and hold great.
Instead of using silicone like the last time I put in a metal exhaust gasket, tighten it all down and its now its good to go. No more ticking exhaust leak.


Now with the Time-Cert in the studs go back in and hold great.

Instead of using silicone like the last time I put in a metal exhaust gasket, tighten it all down and its now its good to go. No more ticking exhaust leak.
11-25-15, 10:21 AM
#936
Well since the car is runing fairly good, I think ill start posting what I've been doing on the side.
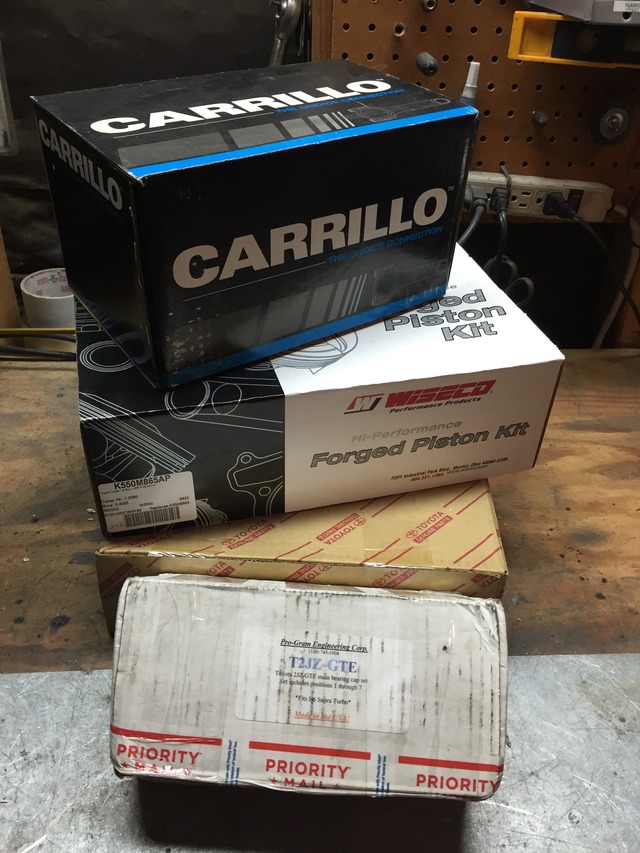
NEW MOTOR! quest to 1200hp... I hope
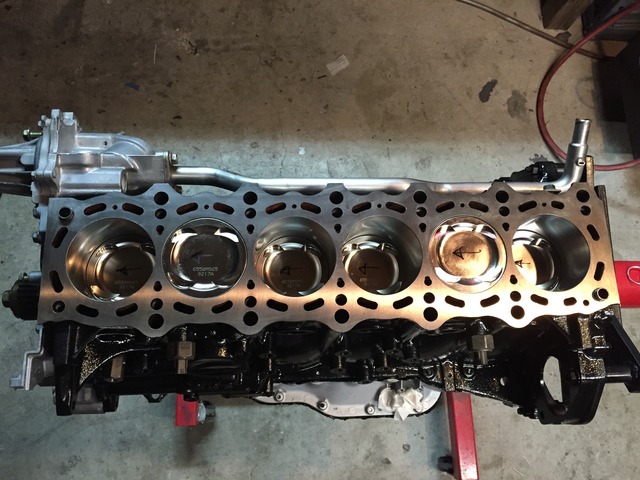
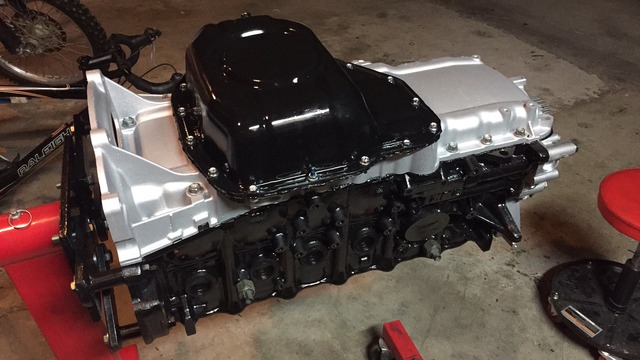
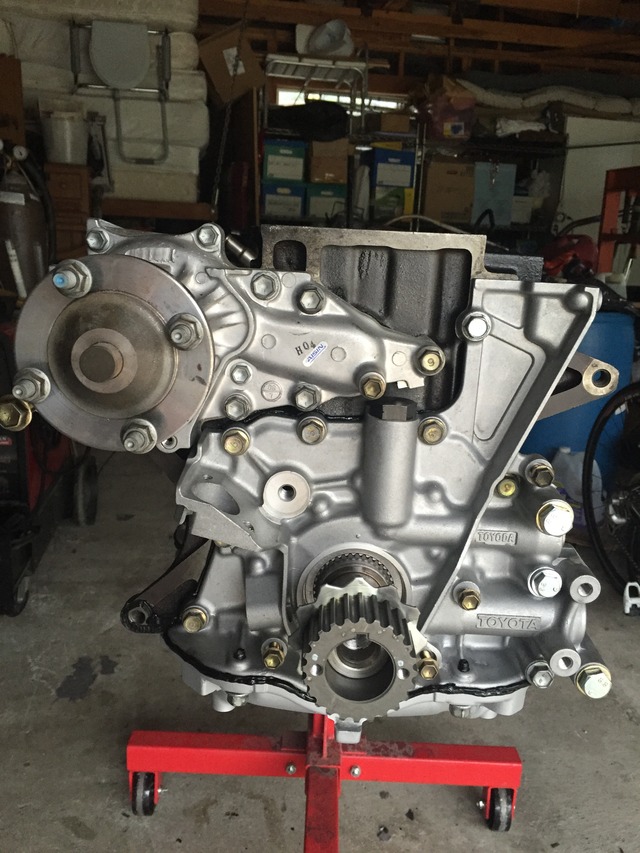
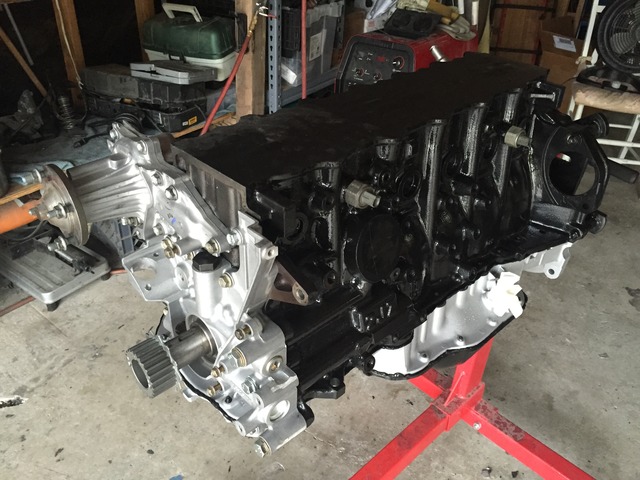
GE Block
Corrilo HD Rods upgraded pins and hardware.
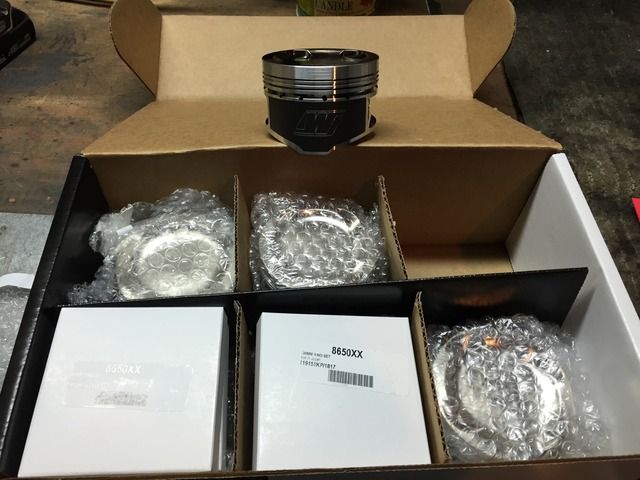
Wiesco GTE Forged Pistons with upgraded pins
Program billet main caps and ARP main studs
Balanced and micro Polished GE crank
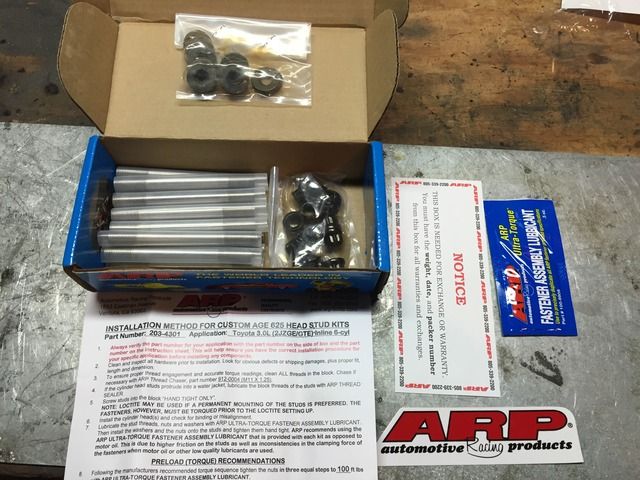
625+ ARP head studs
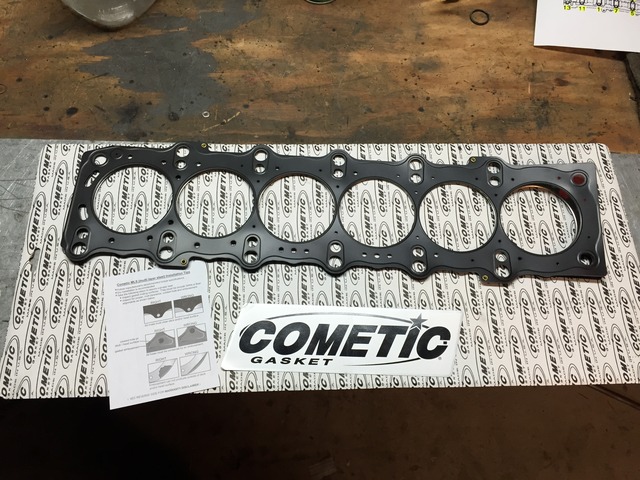
GE Cometic ML Head gasket, Compression ration should be around 9.5
GE Head
Full Race port
GSC S3 big boy Cams
GSC Behive Springs
GSC Valve guids and seals
GSC +1 over Valve's
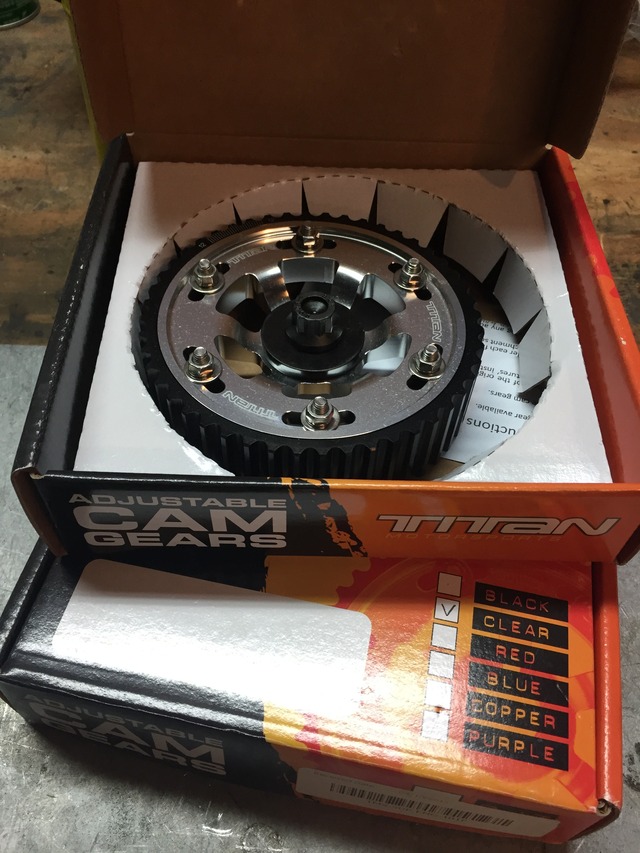
Titan Adjustable cam Gears with ARP cam bolts
Shimless buckets
Started by collecting all the goods
For the life of me I cant seem to find the pics of the valve train :/ aw well
NEW MOTOR! quest to 1200hp... I hope
GE Block
Corrilo HD Rods upgraded pins and hardware.
Wiesco GTE Forged Pistons with upgraded pins
Program billet main caps and ARP main studs
Balanced and micro Polished GE crank
625+ ARP head studs
GE Cometic ML Head gasket, Compression ration should be around 9.5
GE Head
Full Race port
GSC S3 big boy Cams
GSC Behive Springs
GSC Valve guids and seals
GSC +1 over Valve's
Titan Adjustable cam Gears with ARP cam bolts
Shimless buckets
Started by collecting all the goods


For the life of me I cant seem to find the pics of the valve train :/ aw well
Last edited by 8052JZ; 11-25-15 at 01:48 PM.
11-25-15, 10:32 AM
#937
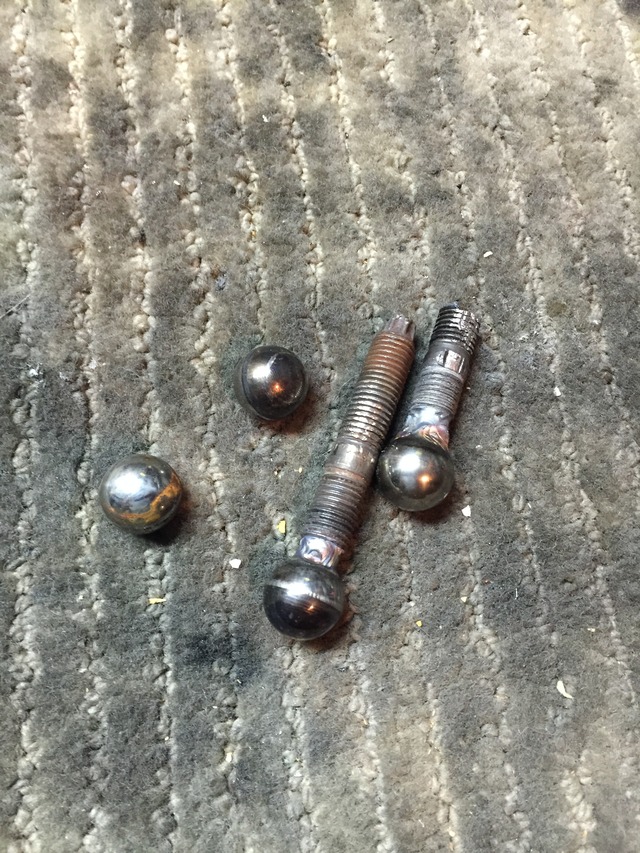
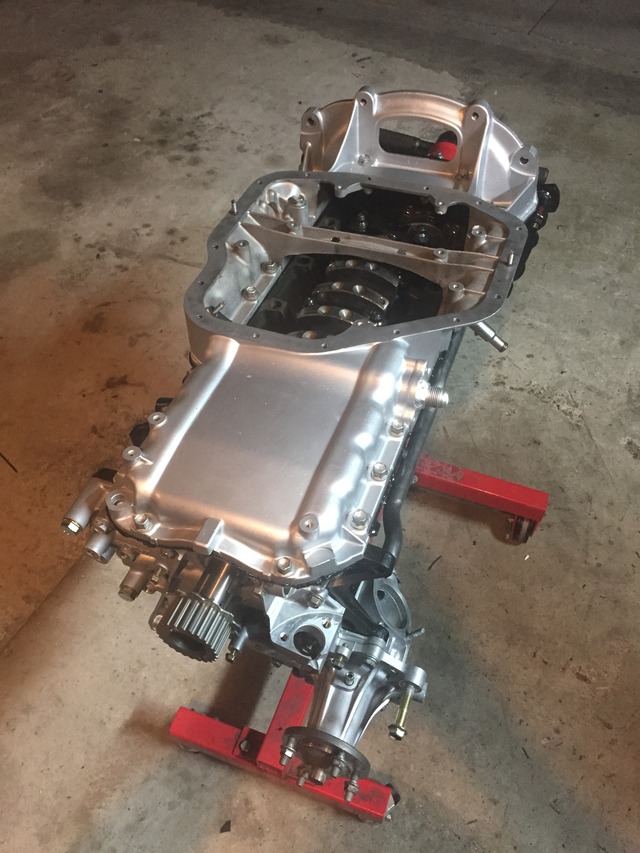
Before Sending out the block i removed the oil galley plugs to ensure the block gets a good cleaning.
Welded an exhaust stud to the galley plugs and wrenched out the front two.
Than poked a rod through the block to get the back two out. Hammered them out.
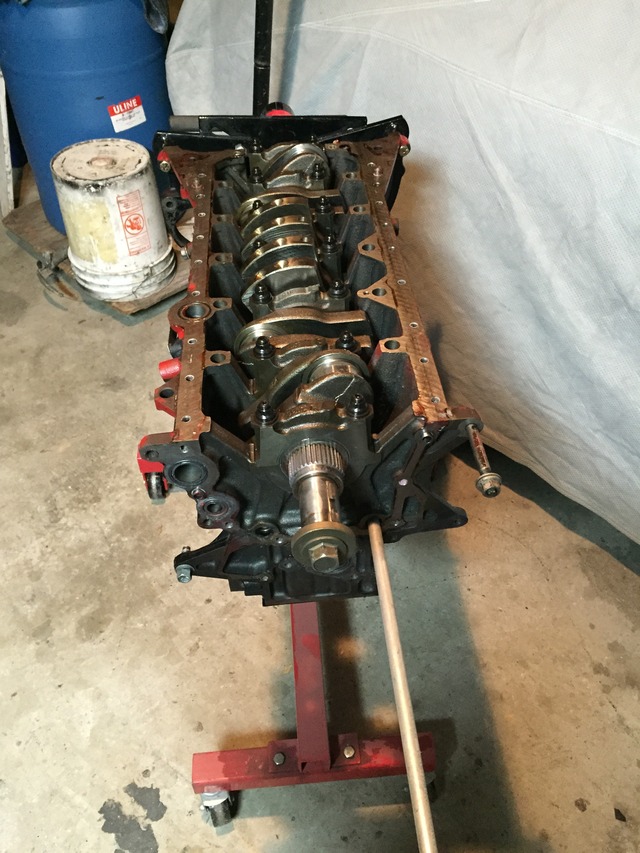
After dropping off the block, I later received the block machined and internals properly gaped, torqued down and installed.
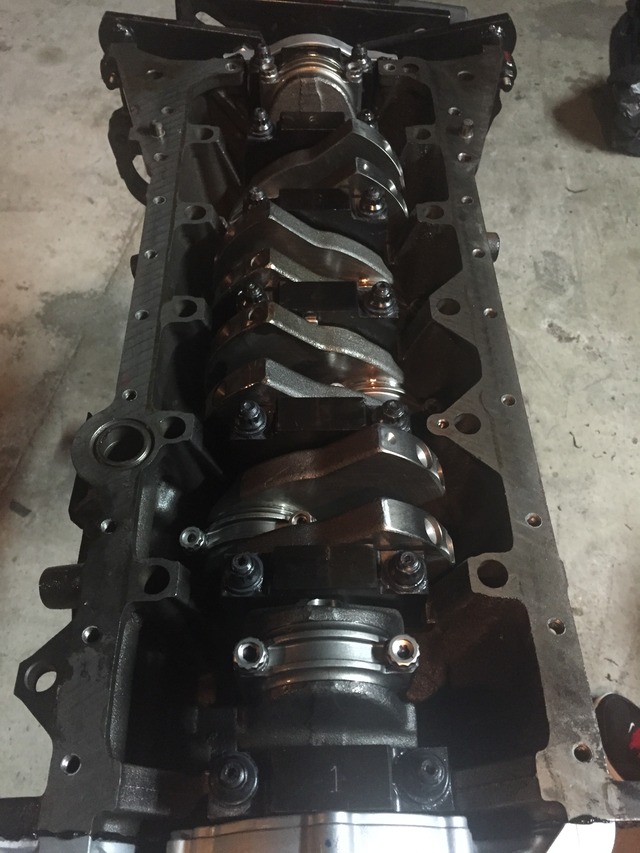
Onto finishing the block assembly.
Welded an exhaust stud to the galley plugs and wrenched out the front two.


Than poked a rod through the block to get the back two out. Hammered them out.


After dropping off the block, I later received the block machined and internals properly gaped, torqued down and installed.


Onto finishing the block assembly.


Last edited by 8052JZ; 11-25-15 at 10:36 AM.


 11-25-15, 01:38 PM
#942
I would have gone high compression but my engine builder recommended and convinced me to stay in the 9.0 range. He's built a 2jzge with TRD that made over 60psi of boost back in the day so I took his word. But after seeing that High comp 2j's are becoming more popular with great results, I too wished I went high comp. But than again, these are GTE's motors running high compression. I haven't really seen much about the GE and high compression.
E85 is about a 40min drive for me. I have a 30 gallon barrel I truck to the station to have filled along with a couple 5 gallon tanks. Usually the almost 50 gallons of fuel will last me almost 3 weeks depending how much fun I want to have on the weekends.
E85 is about a 40min drive for me. I have a 30 gallon barrel I truck to the station to have filled along with a couple 5 gallon tanks. Usually the almost 50 gallons of fuel will last me almost 3 weeks depending how much fun I want to have on the weekends.
Last edited by 8052JZ; 11-25-15 at 01:42 PM.
12-03-15, 08:34 AM
#943
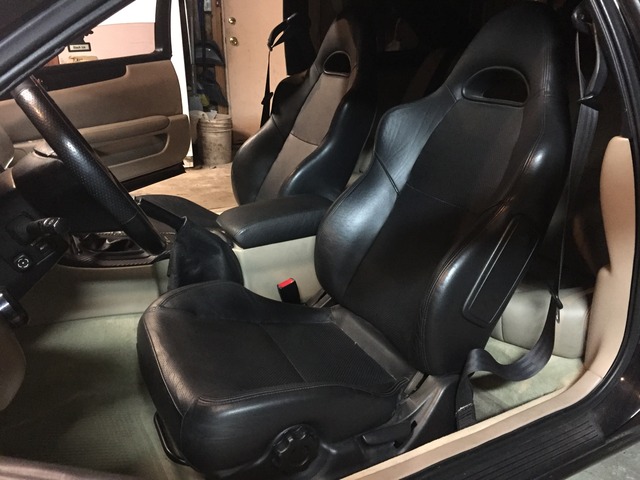
Stripped the interior out of the car to make way for the Fab guy to build the cage. Dropping her off tomorrow night so he can get started and be ready buy next week!
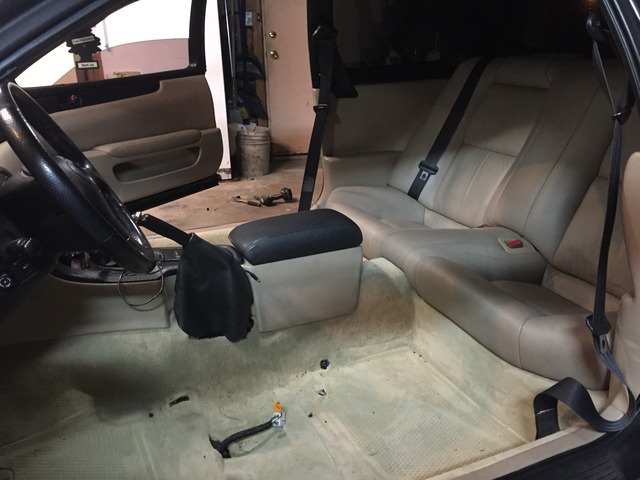
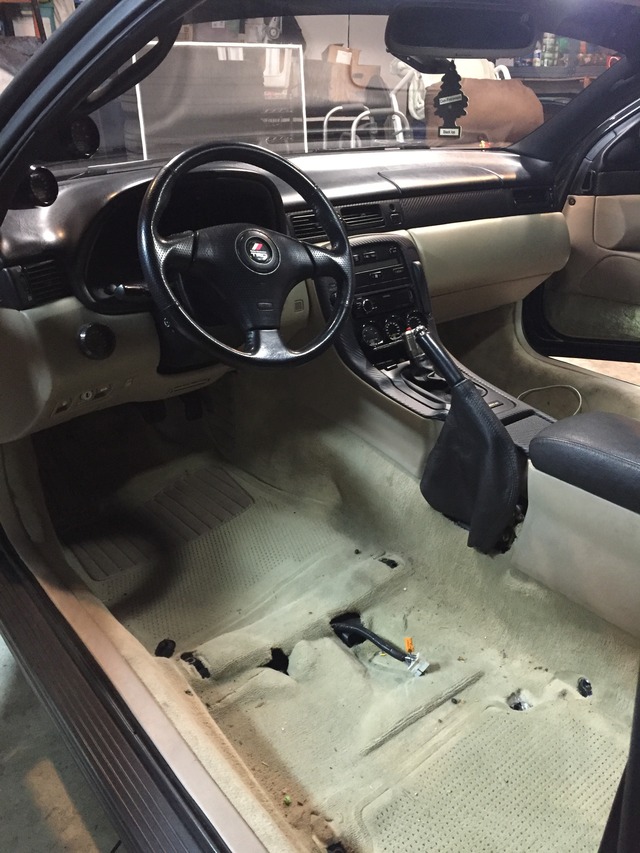
Now is a good time to clean up the carpet. Hopefully the rear seats can be put back in to cover everything up. It is pretty loud inside the car now with having the interior out.
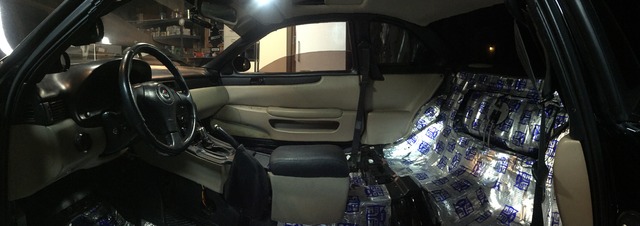
You can also see how I store my e85. I got a 55 gallon drum the other day to go with the 30gallon drum. When I filled them up it was about 90 gallons of fuel.
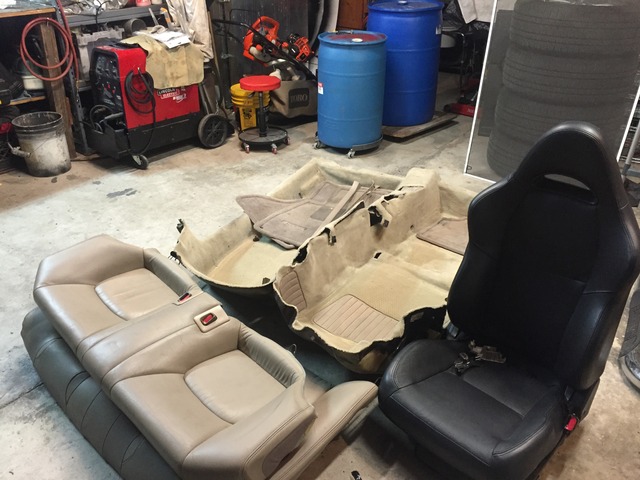


Now is a good time to clean up the carpet. Hopefully the rear seats can be put back in to cover everything up. It is pretty loud inside the car now with having the interior out.
You can also see how I store my e85. I got a 55 gallon drum the other day to go with the 30gallon drum. When I filled them up it was about 90 gallons of fuel.

Last edited by 8052JZ; 12-03-15 at 09:24 AM.