8052JZ's NA-T Build
 07-16-14, 02:36 PM
#676

oh shoot.... that is an inch out for the rear wheels..
roll and pull those rears.. should get 50mm and be able to install 345 in the future when those tires are gone after 5k miles. And would allow you to lower it more. For the fronts, I was able to get 25mm more after rolling ad pulling them.
roll and pull those rears.. should get 50mm and be able to install 345 in the future when those tires are gone after 5k miles. And would allow you to lower it more. For the fronts, I was able to get 25mm more after rolling ad pulling them.
 07-17-14, 03:10 PM
#677

oh shoot.... that is an inch out for the rear wheels..
roll and pull those rears.. should get 50mm and be able to install 345 in the future when those tires are gone after 5k miles. And would allow you to lower it more. For the fronts, I was able to get 25mm more after rolling ad pulling them.
roll and pull those rears.. should get 50mm and be able to install 345 in the future when those tires are gone after 5k miles. And would allow you to lower it more. For the fronts, I was able to get 25mm more after rolling ad pulling them.
All the fenders are rolled already so I'll need to pull them for sure but I have no idea on how to do so. Is there a write up on how to pull these fenders on our cars? Gerry I know you've done it so I'll shoot you message an maybe you can give some pointers with pics along with what tools to use.
07-17-14, 03:58 PM
#678
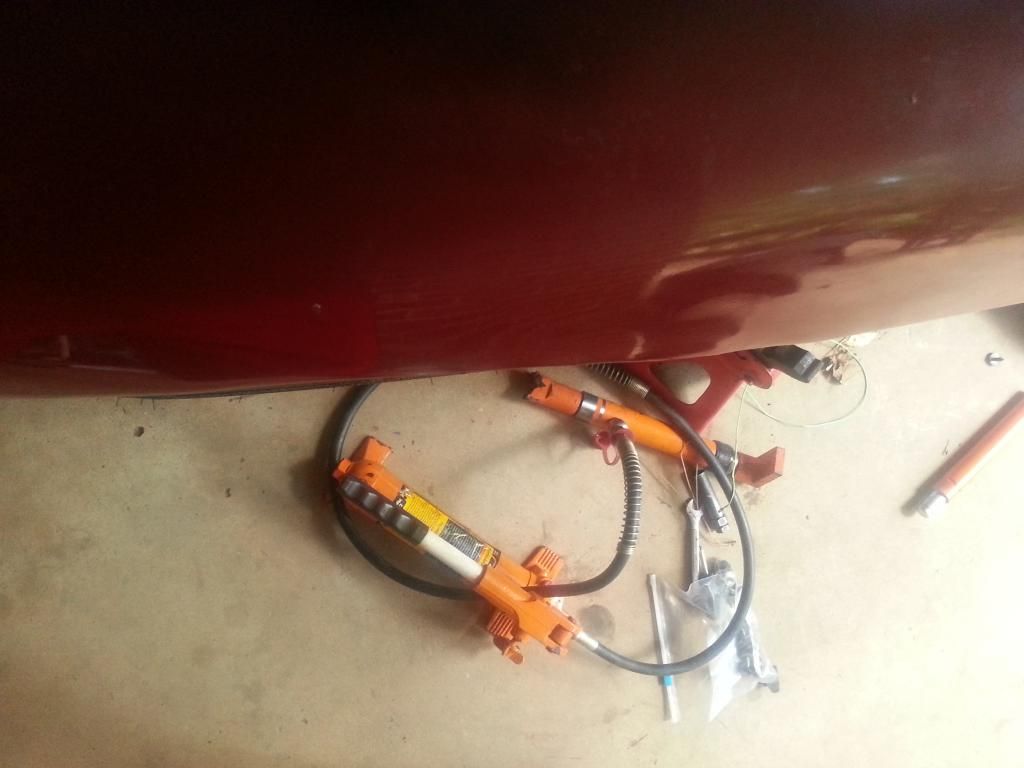
This is one of the best tool I ever bought , a portable hydraulic kit I used to push those front fenders out.... cheap but a lot of uses.
http://www.harborfreight.com/4-ton-h...kit-44899.html
Just pulled my front fenders and got another 25mm clearance . At the rears I got 50mm more clearance when I did them some time back . It now enables me to use 13" rims and 345" wide tires .
http://www.harborfreight.com/4-ton-h...kit-44899.html
Just pulled my front fenders and got another 25mm clearance . At the rears I got 50mm more clearance when I did them some time back . It now enables me to use 13" rims and 345" wide tires .


Last edited by gerrb; 07-17-14 at 04:02 PM.
07-18-14, 10:35 AM
#679
hhmm what else is required to make this happen Any cutting? the biggest concern I have is to not get the panel wavy or have the paint crack sense I wont be doing paint until sometime late winter. With the car being black, it shows almost ever little flaw and detail in the body :/
07-18-14, 11:47 AM
#680
depending on how much clearance you are trying to get... paint may crack. I did go for the maximum I can get from a stock body. 50mm rear and 25 front .. which is basically what the usual wide body kits give you and enable you to use a lot wider wheels and tires.
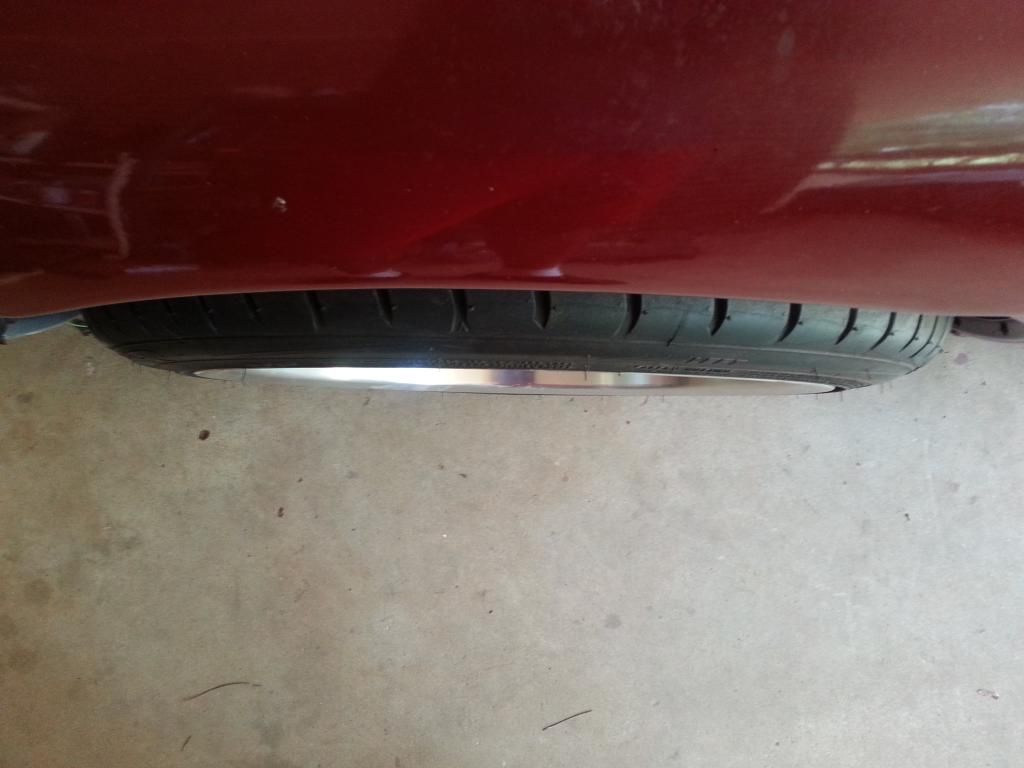
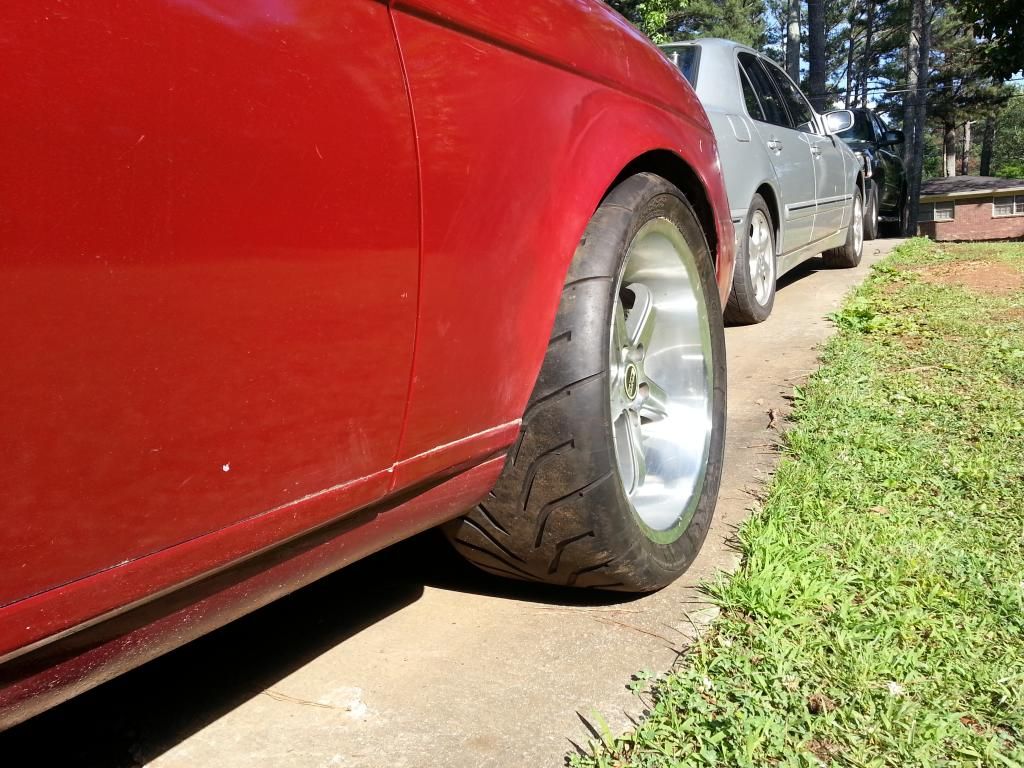
here is my rear .. that wheel has a 22mm offset which was 25mm out before the pull and now is 25mm in after the pull. With the right wheel and offset , I should be able to fit 13" wheels and 345 tires now. As is right now I have at least 2.5" clearance from my stock shocks / inside wheel well that is why I said I can now fit 13" wheels and 345 tires if I go MKIV TT offset which is 50mm and coil overs.
here is my rear .. that wheel has a 22mm offset which was 25mm out before the pull and now is 25mm in after the pull. With the right wheel and offset , I should be able to fit 13" wheels and 345 tires now. As is right now I have at least 2.5" clearance from my stock shocks / inside wheel well that is why I said I can now fit 13" wheels and 345 tires if I go MKIV TT offset which is 50mm and coil overs.


Last edited by gerrb; 07-18-14 at 01:13 PM.
07-18-14, 12:45 PM
#682
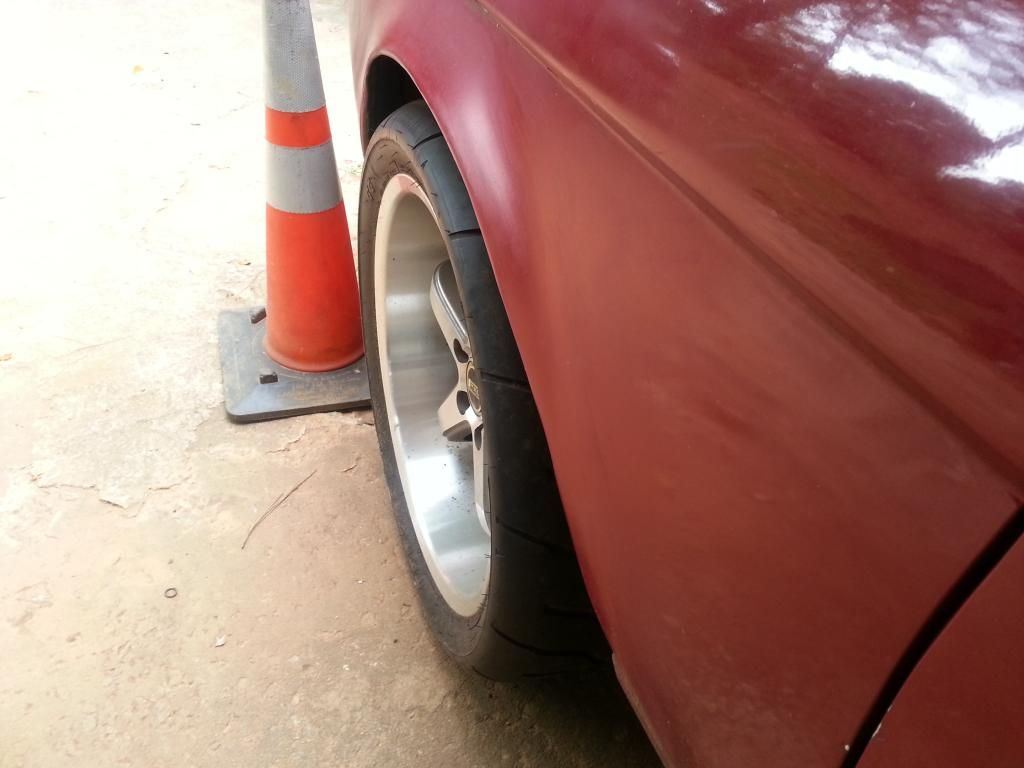
For you to get 50mm , you will need to cut the inner wall ... you push that fender outward .. then re-weld the inner wall you cut . You won't get much if you don't cut that inner liner cause it will be fighting your pushing out action and if you don't cut that inner wall , you will only be able to push the tip .. you won't get a good arch making it look like a stock flare.. which it does right now. I believe in one of the pages of my build thread I documented the job when I flared my rear quarter panels. I just don't remember which page.. hahaha.
Then you will have to do some body work for sure cause you will have crack paint and some waves. Yes I did some body work and still doing some of it now , trying to fix small dings and dents before sanding it all for painting.
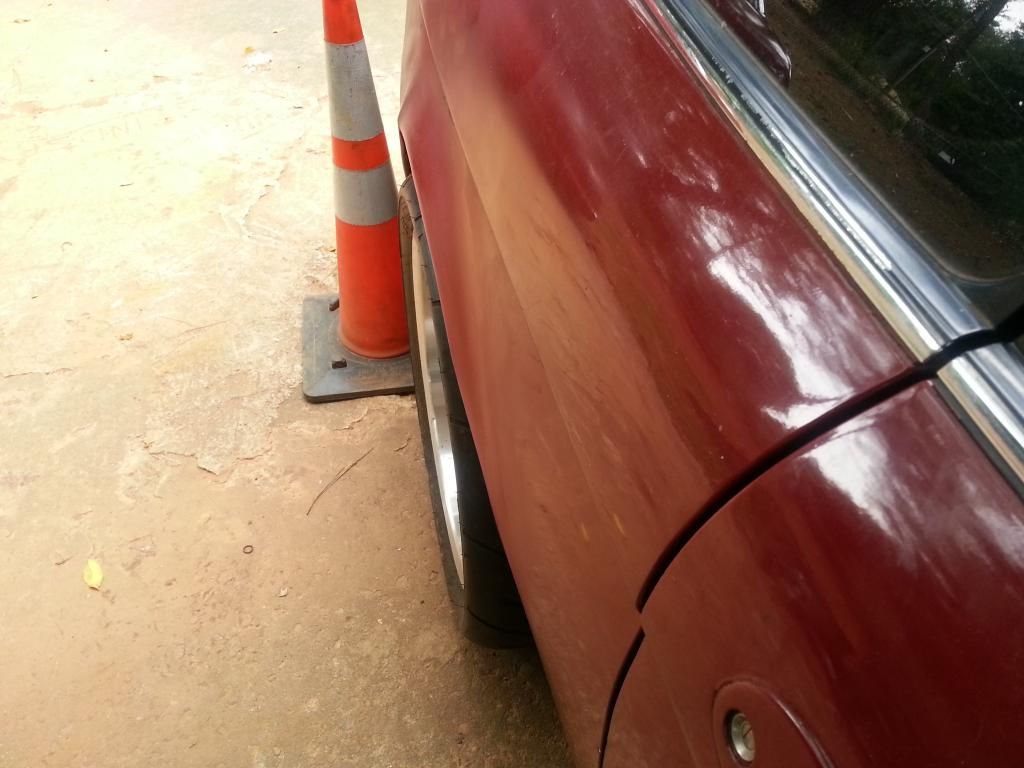
Here is a picture of the driver side. You can actually push that fender out starting from the bottom of the body line.... only if you cut that inner liner. Looks like an OEM Fender flare ...again best done before any painting of the car is done.
Then you will have to do some body work for sure cause you will have crack paint and some waves. Yes I did some body work and still doing some of it now , trying to fix small dings and dents before sanding it all for painting.
Here is a picture of the driver side. You can actually push that fender out starting from the bottom of the body line.... only if you cut that inner liner. Looks like an OEM Fender flare ...again best done before any painting of the car is done.

Last edited by gerrb; 07-18-14 at 12:57 PM.
07-18-14, 01:00 PM
#683
Sounds scary lol I guess ill have to leave it for now until I pull the trigger on getting body an paint!
The weird part is that the passenger side doesn't stick out all the far compared to the drivers. It might be because its about a half inch higher on the drivers side.. I could lower it but than ill have one side that has slight camber than the passenger side that's at Zero.
The weird part is that the passenger side doesn't stick out all the far compared to the drivers. It might be because its about a half inch higher on the drivers side.. I could lower it but than ill have one side that has slight camber than the passenger side that's at Zero.
07-18-14, 01:17 PM
#684
Sounds scary lol I guess ill have to leave it for now until I pull the trigger on getting body an paint!
The weird part is that the passenger side doesn't stick out all the far compared to the drivers. It might be because its about a half inch higher on the drivers side.. I could lower it but than ill have one side that has slight camber than the passenger side that's at Zero.
The weird part is that the passenger side doesn't stick out all the far compared to the drivers. It might be because its about a half inch higher on the drivers side.. I could lower it but than ill have one side that has slight camber than the passenger side that's at Zero.
07-23-14, 08:06 AM
#685
Well if you only need a tad of pushing out... you can do the tip and do it slowly so there is no paint cracking and no need to cut the inner liner . I just went for the max clearance for a stock body since I would eventually like to have 345 tires once my 315 are gone without going wide body.
07-23-14, 08:12 AM
#686
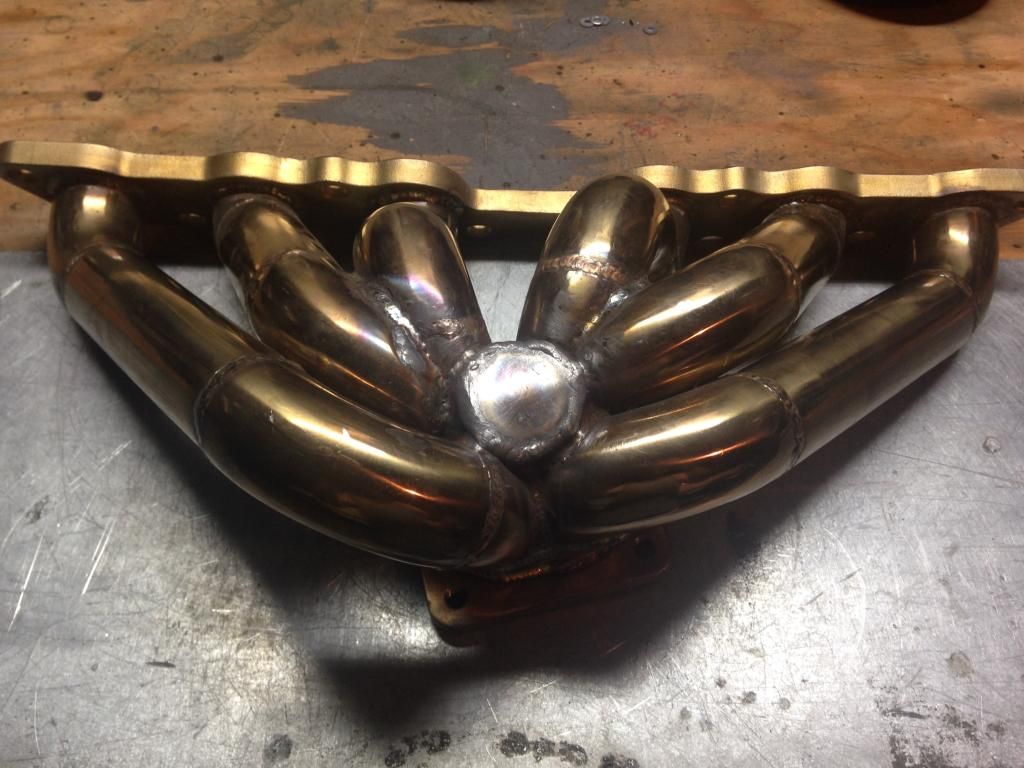
Got the manifold and started to work on it last night. I cut off the original wastegate section and plugged it up so I can add the two ports right underneath the T4 flange. Its nice that this is an open scroll manifoldbecuase you can run a QSV with this.
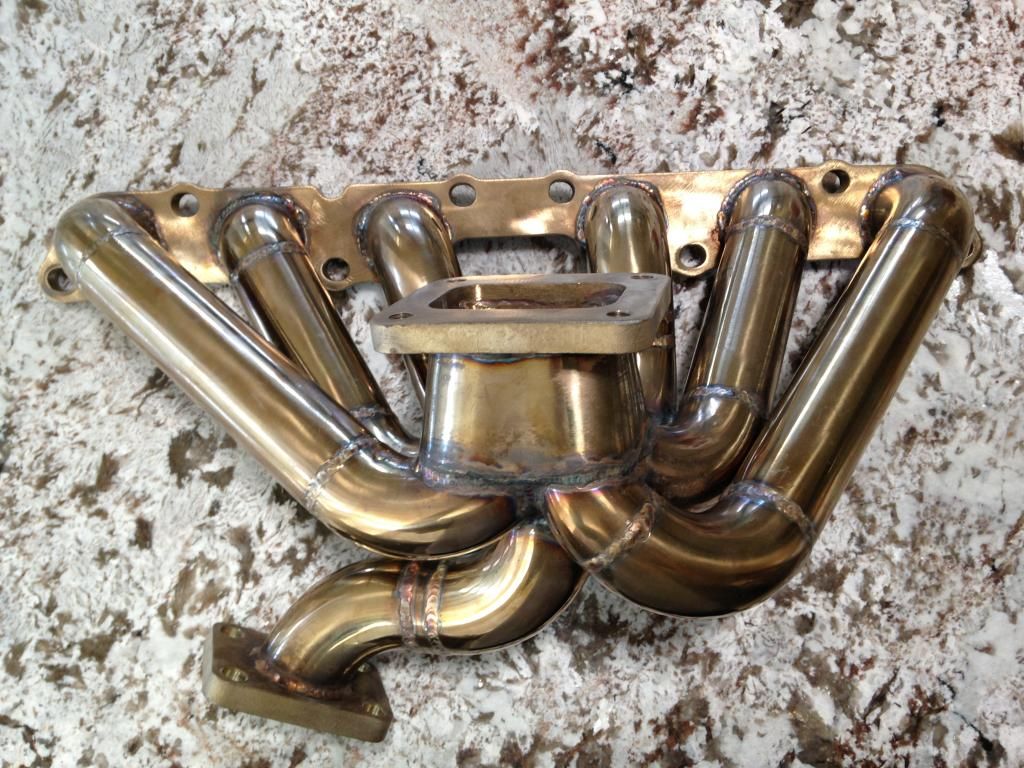
Cut this off with a plasma cutter because the location is terrible.
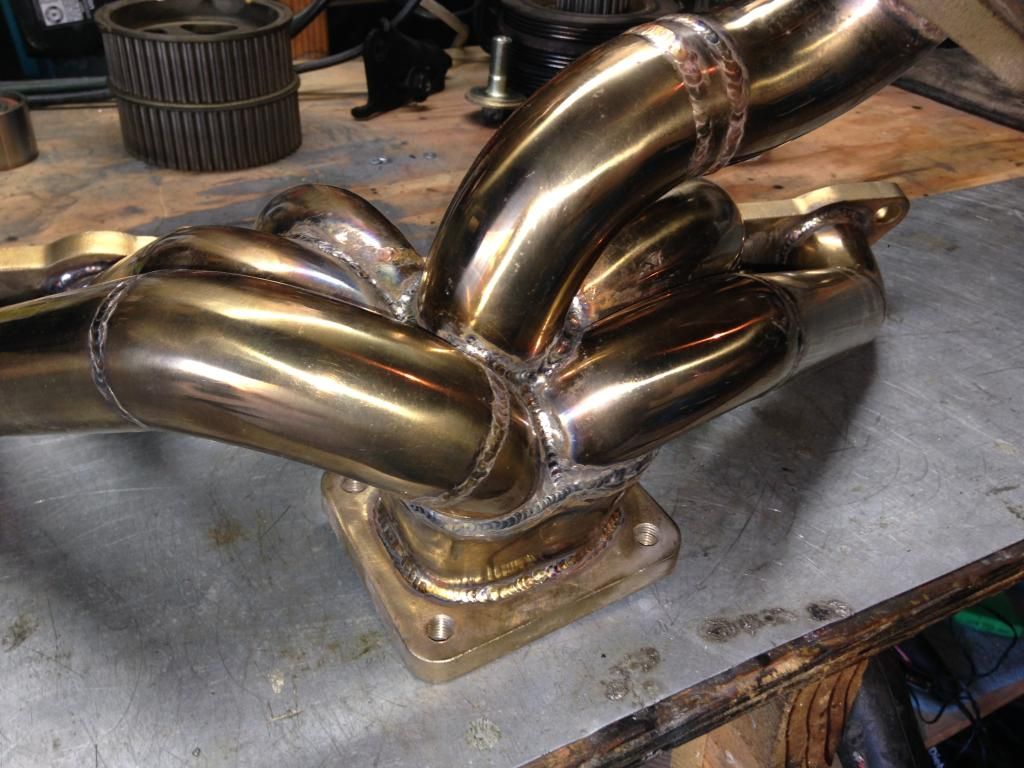
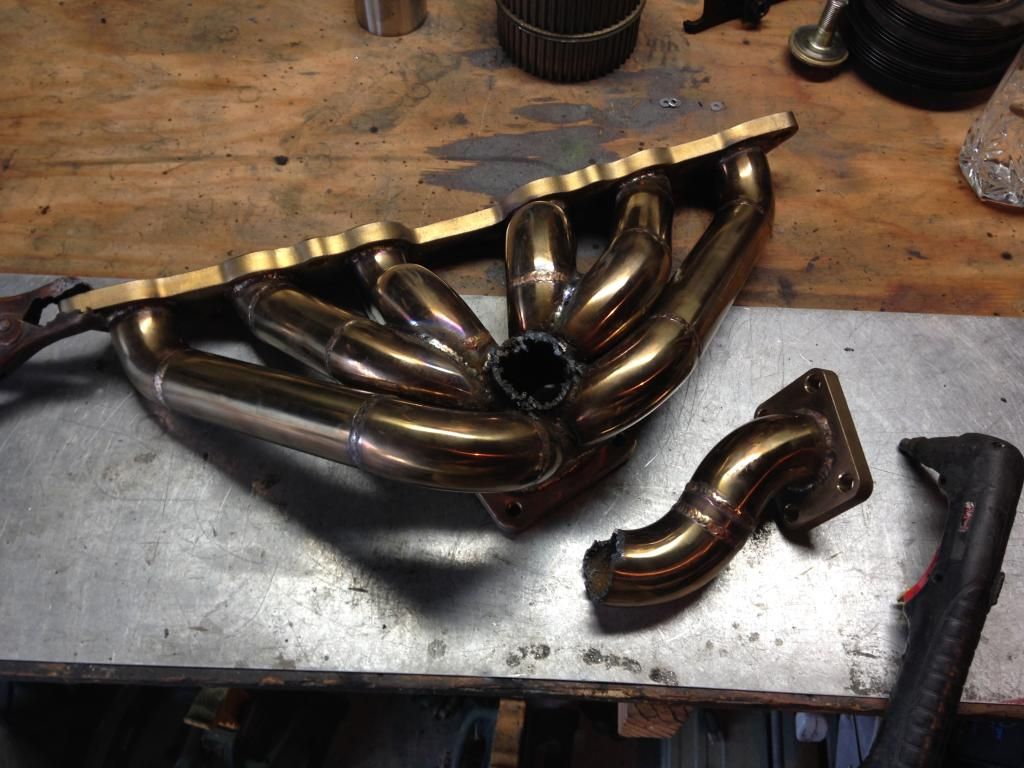
And plugged it up with a heavy beed.
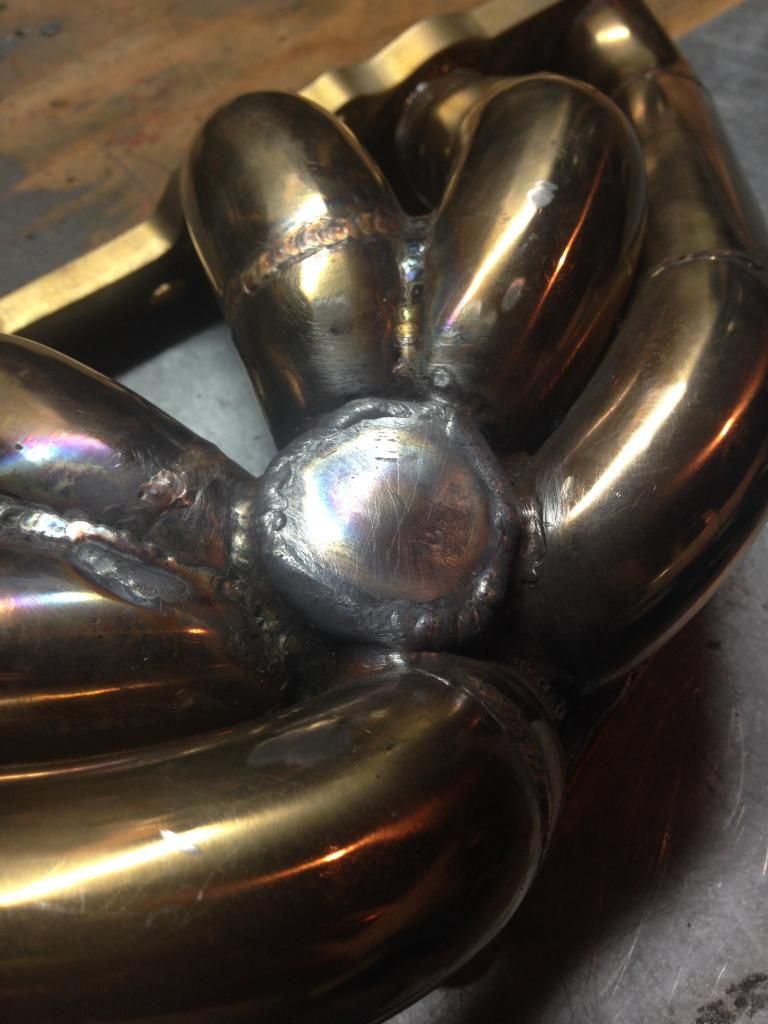

Cut this off with a plasma cutter because the location is terrible.


And plugged it up with a heavy beed.

 07-23-14, 10:01 AM
#687
So was it creeping as is? Or you are just modifying it first for good measure?
Have you test fitted the manifold yet? I'm curious of the position / height of the turbine housing in relation to the intake manifold if it's usable on with the stock throttle body and smaller turbine. I know the BW setup the turbine is alot larger so it's harder to gauge if it will work.
Have you test fitted the manifold yet? I'm curious of the position / height of the turbine housing in relation to the intake manifold if it's usable on with the stock throttle body and smaller turbine. I know the BW setup the turbine is alot larger so it's harder to gauge if it will work.
07-23-14, 11:09 AM
#688
So was it creeping as is? Or you are just modifying it first for good measure?
Have you test fitted the manifold yet? I'm curious of the position / height of the turbine housing in relation to the intake manifold if it's usable on with the stock throttle body and smaller turbine. I know the BW setup the turbine is alot larger so it's harder to gauge if it will work.
Have you test fitted the manifold yet? I'm curious of the position / height of the turbine housing in relation to the intake manifold if it's usable on with the stock throttle body and smaller turbine. I know the BW setup the turbine is alot larger so it's harder to gauge if it will work.
The position/height of the manifold is very similar if not nearly identical to the ebay/xspower manifold out there. Wont be for a month or so until I get this manifold in the car. Until than, ill be sure to take a few pics.
Not sure if this helps but this is on my buddy Jim project. that was a qsv and a S400 series turbo I believe.

 07-23-14, 12:02 PM
#689
Nice, I just noticed your alternator. I assume you upgraded AMPS and is now using the typical Toyota plug for newer model cars and probably not the same as the one on your harness. Obviously you know a thing or two and its not important at this moment but just in case I can save you any time, get a plug from a Camry or 4Runner and solder it on, then it's plug and play.
Edit: Here's my post with the small write up just in case - https://www.clublexus.com/forums/8628625-post4570.html
Edit: Here's my post with the small write up just in case - https://www.clublexus.com/forums/8628625-post4570.html
Last edited by Kris9884; 07-23-14 at 12:12 PM.
07-23-14, 12:13 PM
#690
Nice, I just noticed your alternator. The plug on yours is the typical Toyota plug for newer model cars and probably not the same as the one on your harness, obviously not important right now but when the time comes, get one from a Camry or 4Runner and solder it on, then it's plug and play.
Two types of alternates used in certain years in the SC. Oval plug that's on top and circular plug that's on the back of the alternator. I think 94 or 95 and up have the oval plug.