8052JZ's NA-T Build


 02-11-14, 08:48 AM
#512
Exhaust mounts are made and mounted. Just need to make same tips. I ran out of material so that will have to wait until some 4" piping comes in. I wasn't able to get any good pics of it mounted but made a short sound clip video let me know what you all think. 4" all the way back to dual Vibrant aluminum race mufflers. I will get pics during the day of the hole setup.

It stalled out after I gave it some gas lol of coarse the car isn't dialed in yet but will be very soon
It stalled out after I gave it some gas lol of coarse the car isn't dialed in yet but will be very soon
 02-13-14, 08:21 AM
#514
First things first, get all the parts together for one coil to make things organized.

Make Sure the C clip is on the upper most ring groove on shocks before anything. Than start to cut the coil sleeves. Turned out to be exactly 2" from the "Sharp edge" side. Mark, cut and clean up the edges.
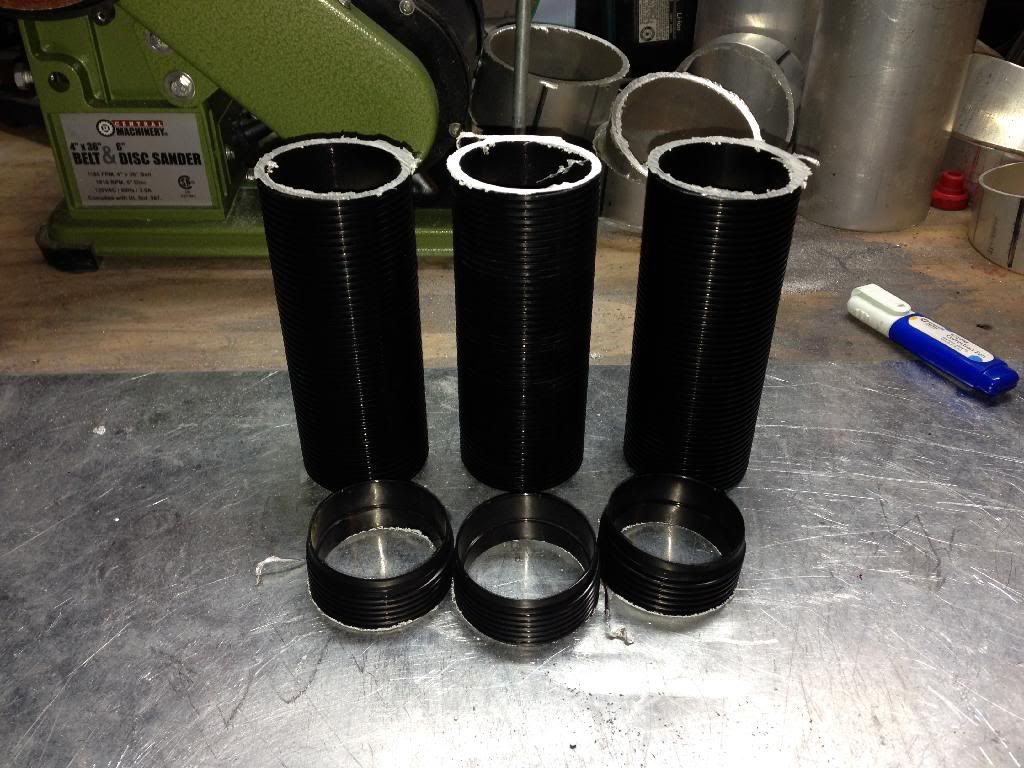
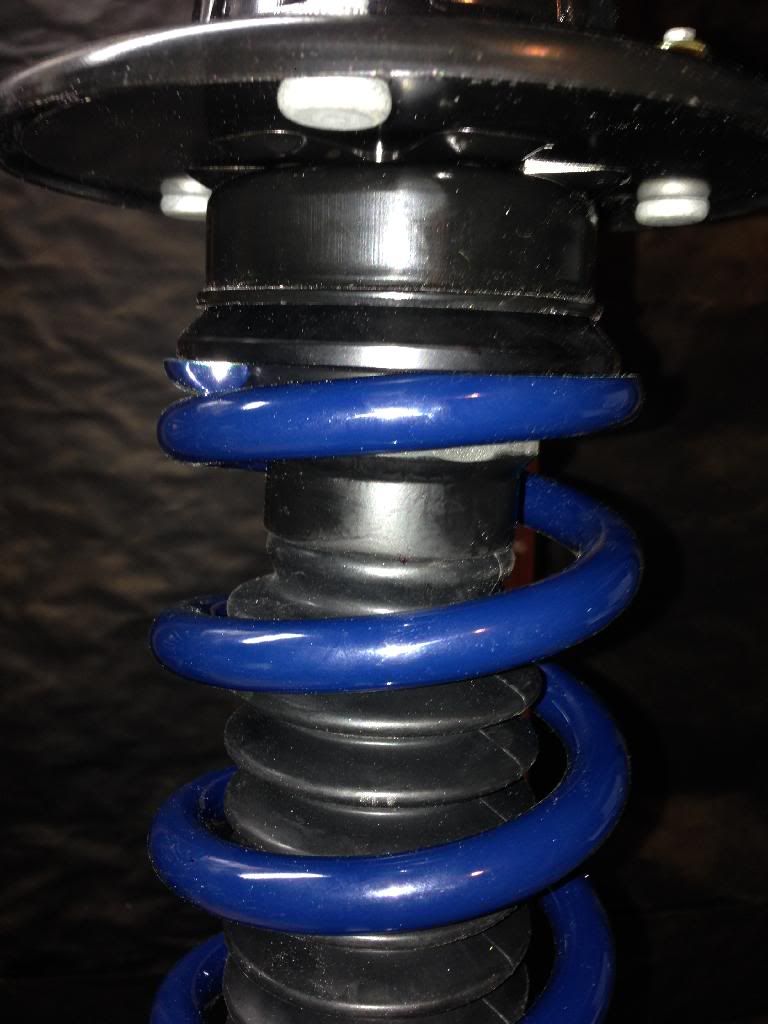
After being cut, slide them over the shock with the perch on. Than install the plate that goes on top of the shock provided with the shocks. Now, no one on SF seemed to figure out what dust boot to use. So I searched around and some have used the boot from a power steering rack. Went to the auto parts store and asked what they had in stocked and grabbed them. Turned out to fit perfectly!! Hard part was stretching them over the shock and dust plate thing. Wasn't to bad after figuring it out.
Part number for the one is MasterPro brand Part number K9863
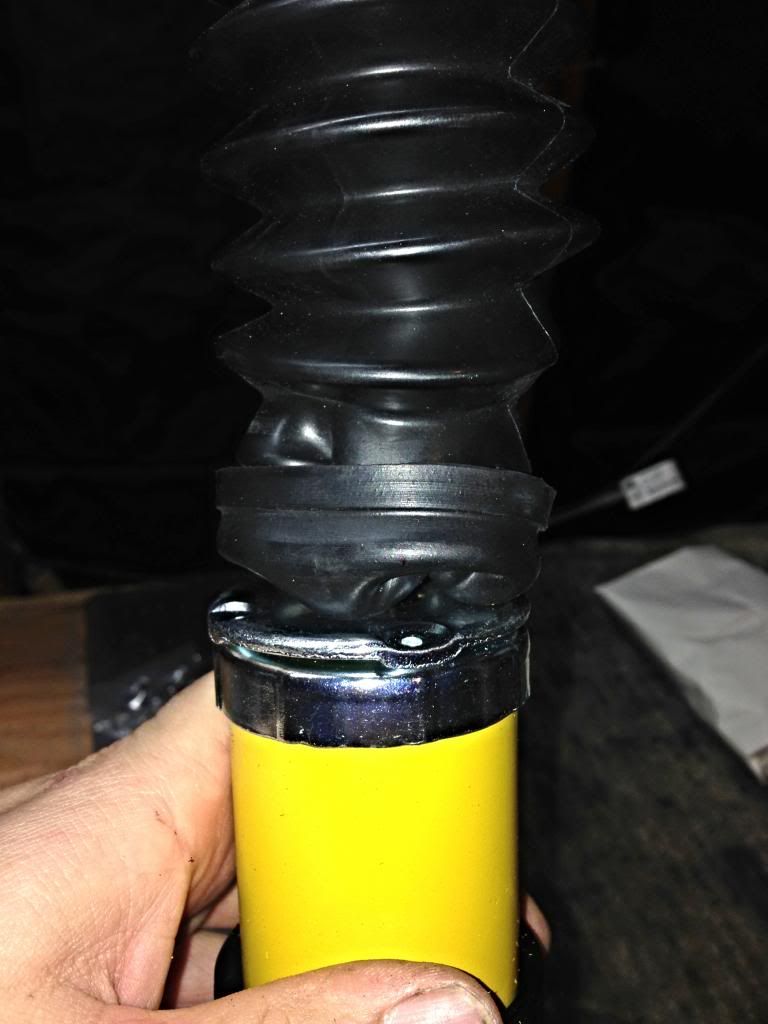
and should have something like this. I used metal zip ties at the bottem to make sure they dont move around.
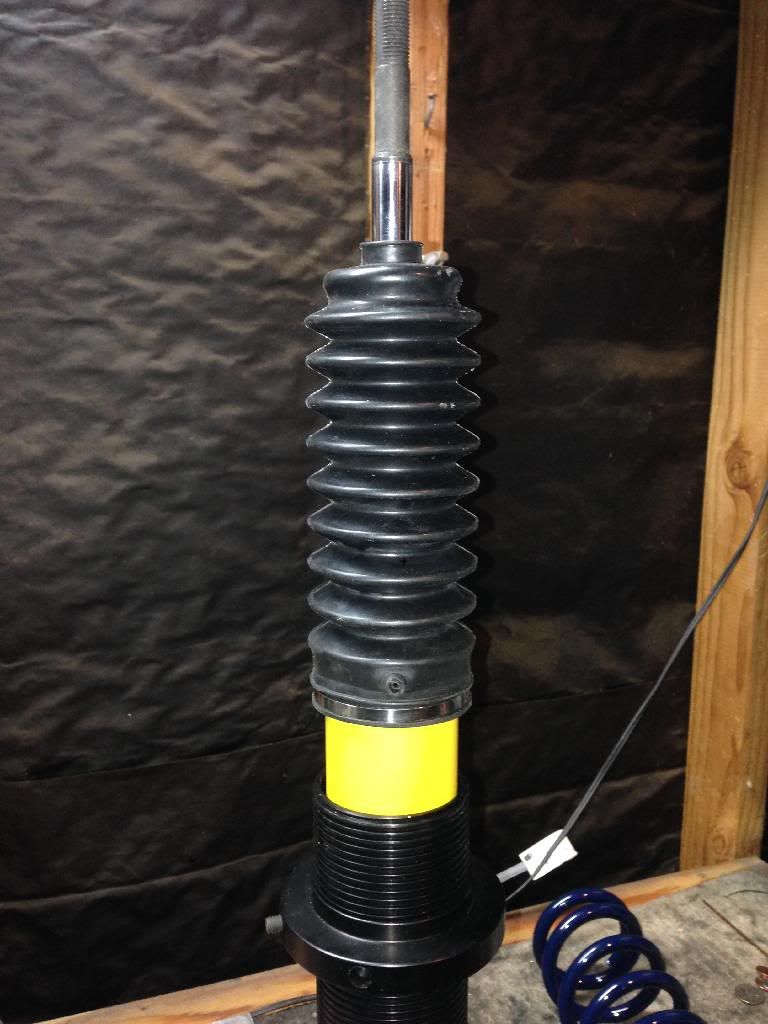
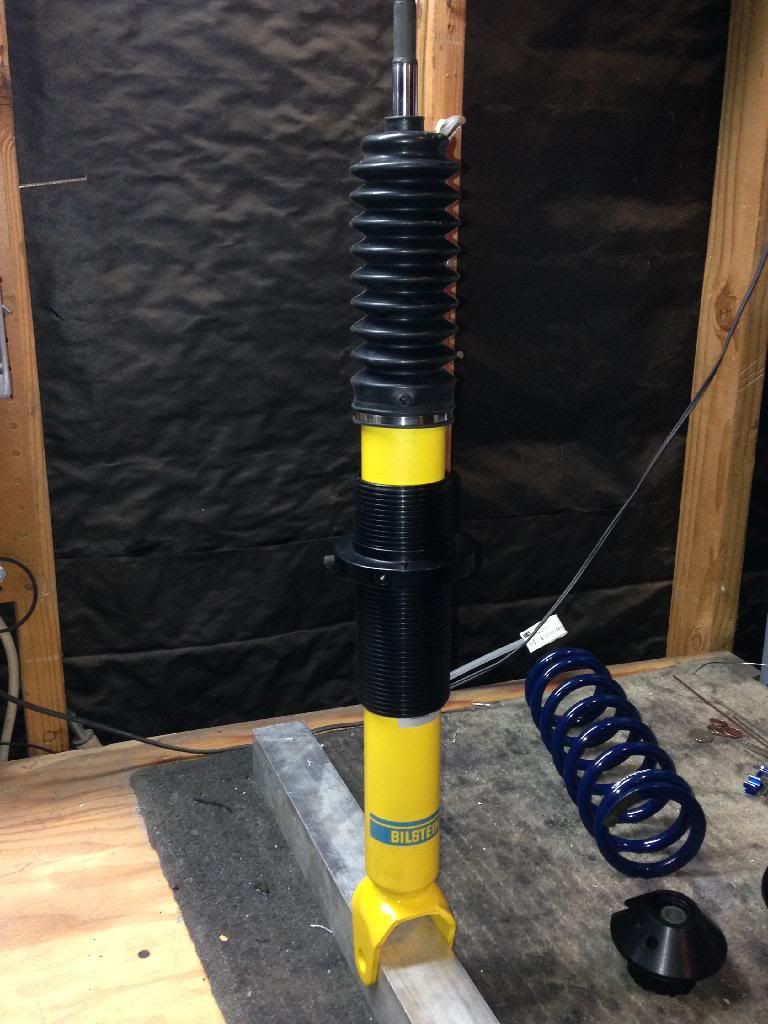
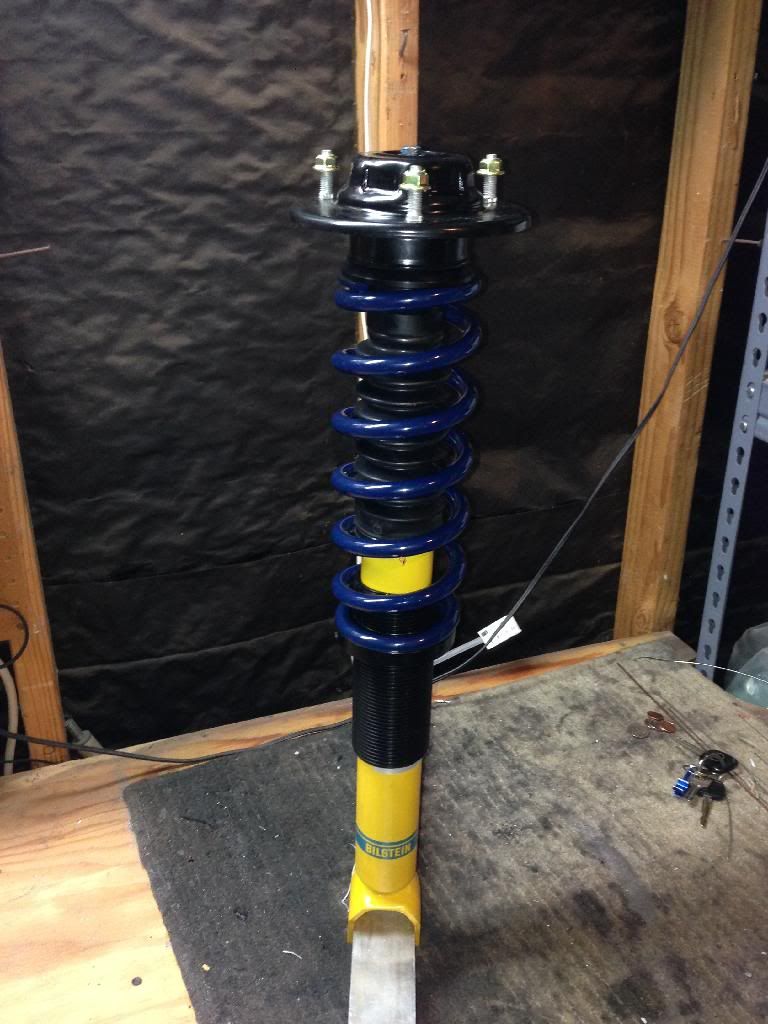
Now slide the spring in. Put the spacer on provided with the shock on top. Press the bushing into the upper springs seat and set it onto the spring. put the top hat on and bolt it on.
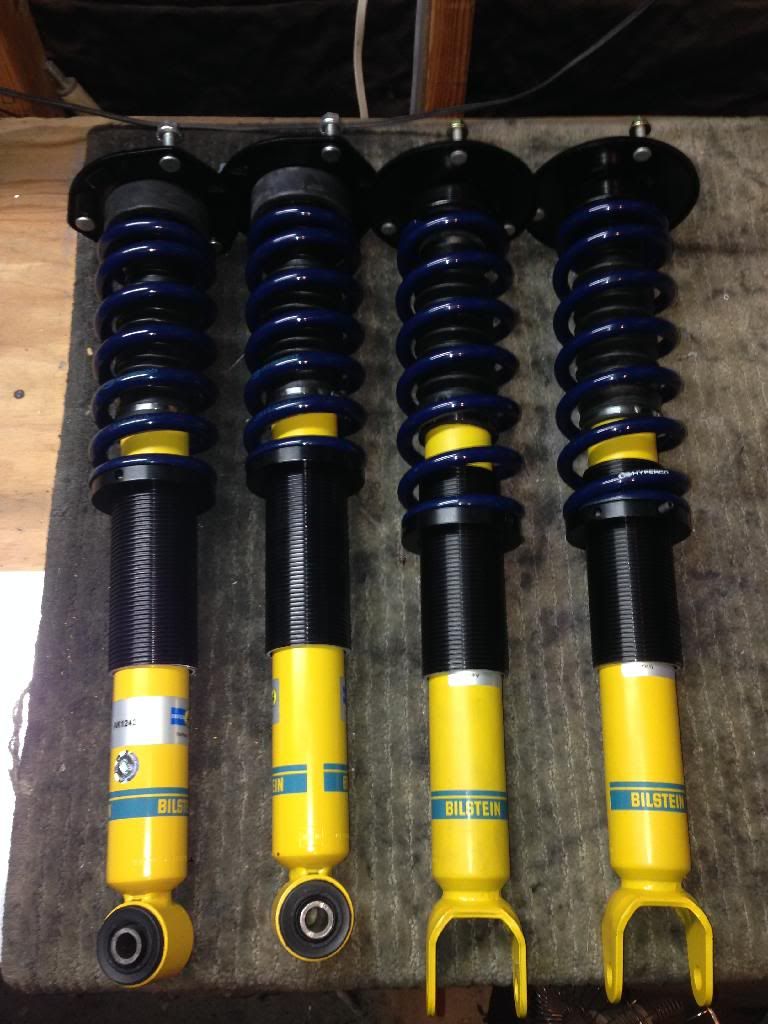
And now your done! repeat for the other three and your set!
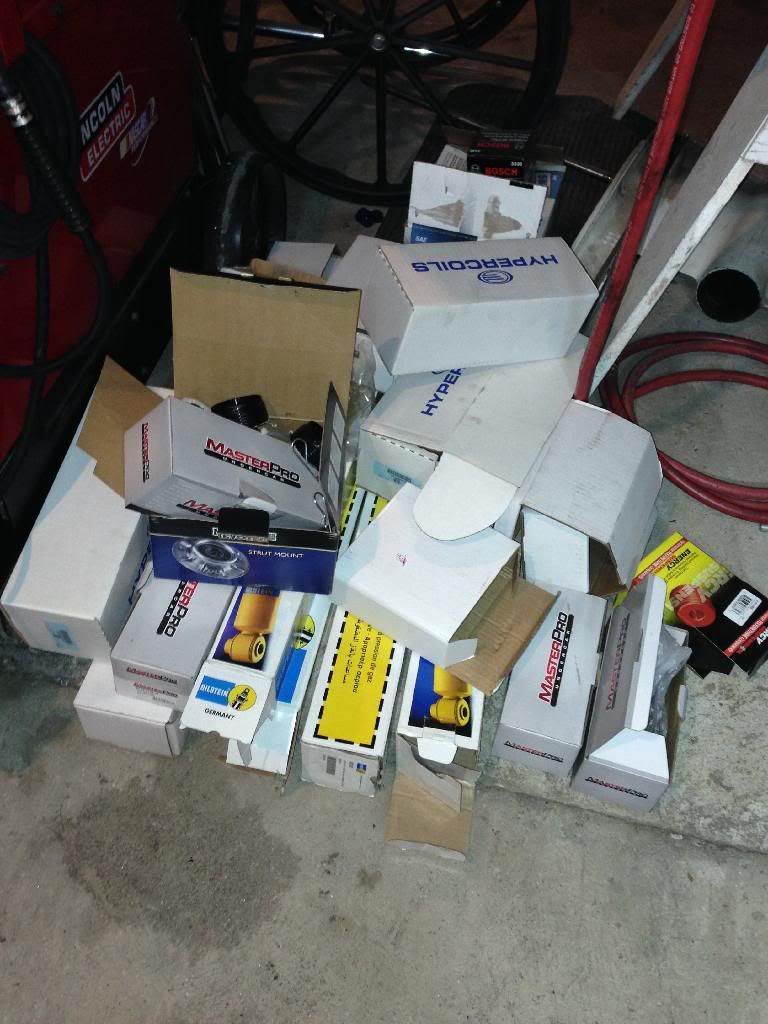
and whats left over

Make Sure the C clip is on the upper most ring groove on shocks before anything. Than start to cut the coil sleeves. Turned out to be exactly 2" from the "Sharp edge" side. Mark, cut and clean up the edges.

After being cut, slide them over the shock with the perch on. Than install the plate that goes on top of the shock provided with the shocks. Now, no one on SF seemed to figure out what dust boot to use. So I searched around and some have used the boot from a power steering rack. Went to the auto parts store and asked what they had in stocked and grabbed them. Turned out to fit perfectly!! Hard part was stretching them over the shock and dust plate thing. Wasn't to bad after figuring it out.
Part number for the one is MasterPro brand Part number K9863

and should have something like this. I used metal zip ties at the bottem to make sure they dont move around.


Now slide the spring in. Put the spacer on provided with the shock on top. Press the bushing into the upper springs seat and set it onto the spring. put the top hat on and bolt it on.

And now your done! repeat for the other three and your set!


and whats left over

Last edited by 8052JZ; 02-13-14 at 08:26 AM.
 02-16-14, 05:33 AM
#518

Richard , what hasn't been replaced on this car  ? Looks to me the only thing original on this car is the shell itself
  .
.
Hey , how do you adjust those gixxer coilovers on the fly ... do you use a spanner ?, just wondering ... I am still on the fence about my suspensions till I have my real wheel and tire setups on my SCs.
? Looks to me the only thing original on this car is the shell itself .Hey , how do you adjust those gixxer coilovers on the fly ... do you use a spanner ?, just wondering
... I am still on the fence about my suspensions till I have my real wheel and tire setups on my SCs.
02-17-14, 08:47 AM
#521
Gerb, thanks almost everything is replaced lol can't wait to see how this car will handle on the streets. After tune an all, tax return is allowing me to get 97+ body parts and maybe paint! This car is deff going to be the dream car for me as for handling and power.
Like Jwin said you can use a spaner wrench. There is a groove on the spring seat and a align key bolt that you tighten so the seat will don't move after adjustment.
Like Jwin said you can use a spaner wrench. There is a groove on the spring seat and a align key bolt that you tighten so the seat will don't move after adjustment.
02-18-14, 08:56 AM
#522
New coils or on as of last night. Few more things to button up and shes ready to get off those damn jack stands. Than I can start messing with the tune so I can finally drive this thing.
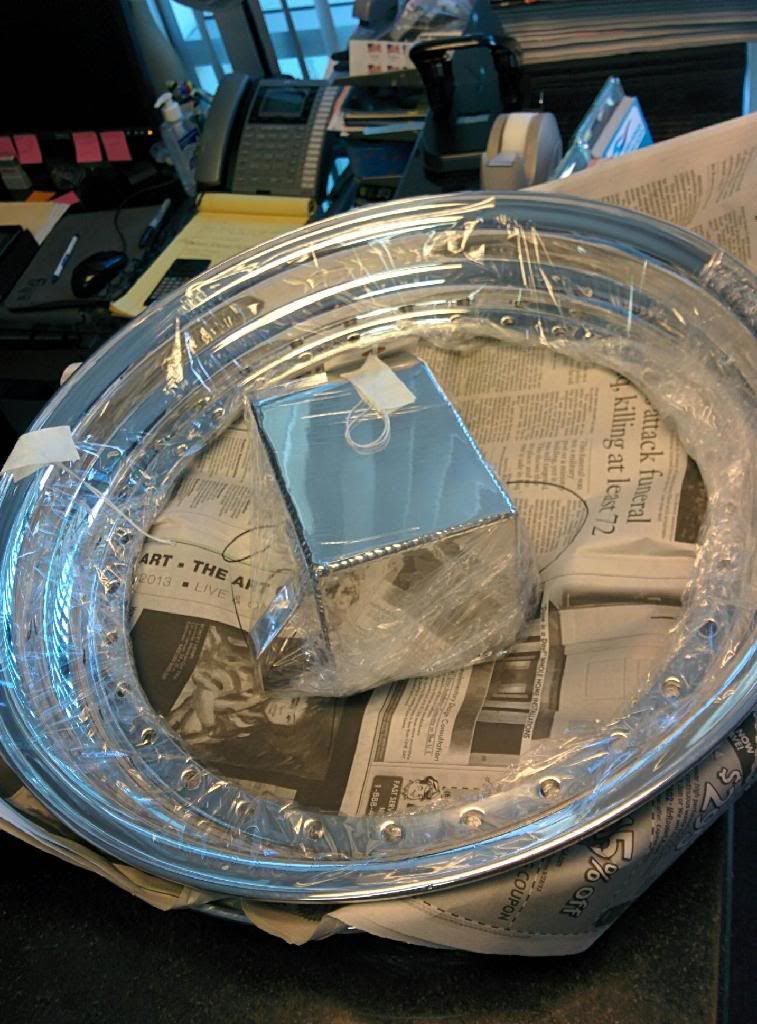
Oh and did some dishes over the weekend Cleaned up the used rear ccw set so they can be reassembled. I decided to to get the lips re-polished. Later on down the road I will probably get them chromed like Shane did. But for now this will do.

lips and catch can that need to be picked up from the polisher.
Oh and did some dishes over the weekend
Cleaned up the used rear ccw set so they can be reassembled. I decided to to get the lips re-polished. Later on down the road I will probably get them chromed like Shane did. But for now this will do.
lips and catch can that need to be picked up from the polisher.


