Project Rescue - SC300

 03-26-12, 09:52 AM
#47
Driver
Thread Starter
Join Date: Sep 2006
Location: tx
Posts: 166
Likes: 0
Received 0 Likes
on
0 Posts
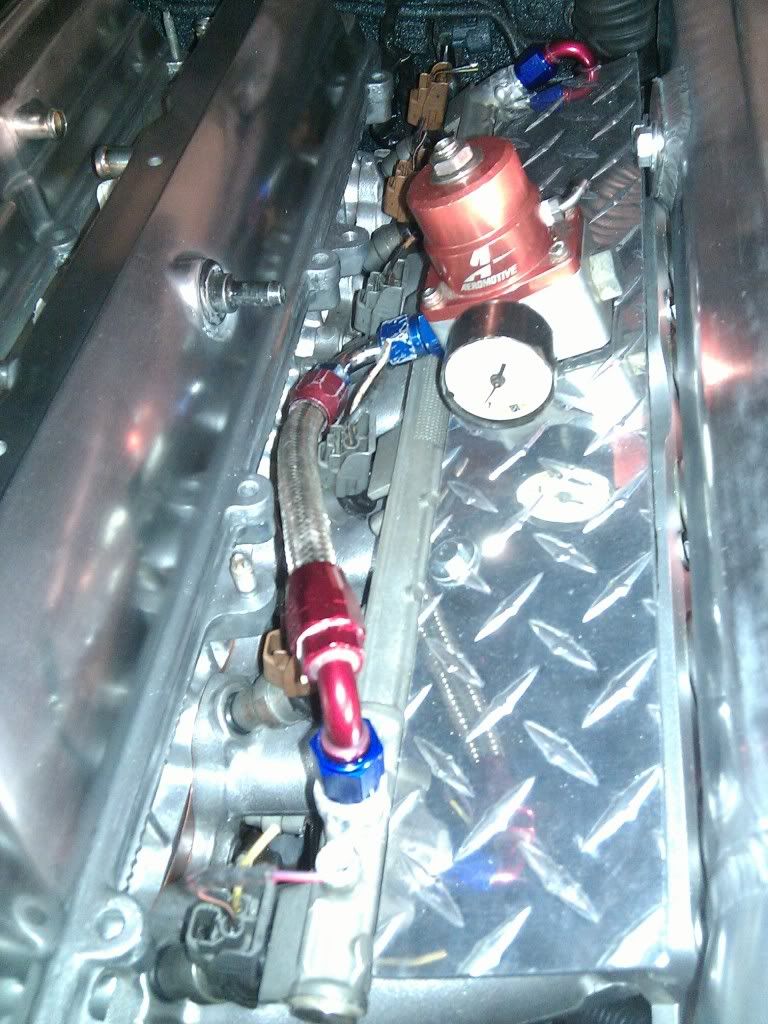
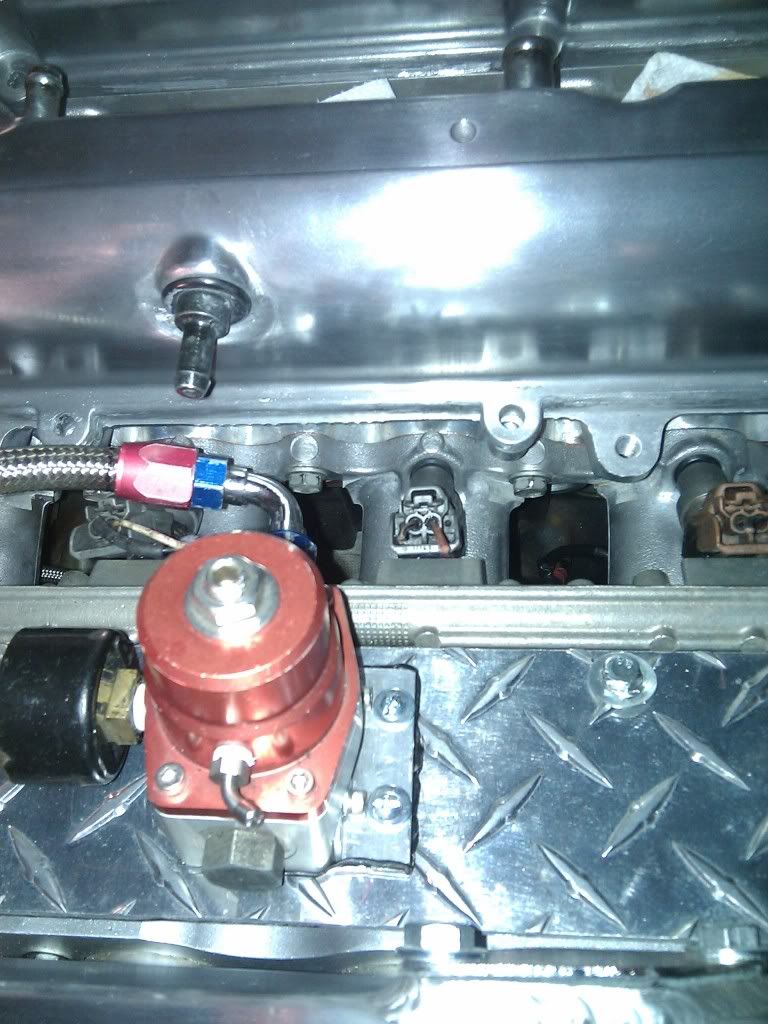
Here is up close pic of the diamond plate for the FPR. I salvage whatever I can from this car as you noticed the old fitting is scrape as hell from previous owner.
3.5" cold side piping in progress....Look at that humongous square hole cut! I got a plan A in place to cover this up.

3.5" cold side piping in progress....Look at that humongous square hole cut! I got a plan A in place to cover this up.
03-26-12, 12:12 PM
#48

i'm pretty sure that JB welded outlet nipple on your PS reservoir is going to leak.
i hate to say it man, but that bedliner just sprayed over all the brake lines and everything looks terrible. you could have at least taped off the abs pump! it would have looked okay if you stripped the bay first. you've done the redneck equivalent of mexican kids spray painting their engine bays gold.
 03-26-12, 01:43 PM
#50
Driver
iTrader: (1)

Join Date: Oct 2011
Location: MI
Posts: 107
Likes: 0
Received 0 Likes
on
0 Posts
Looking much better than it was! keep up the good work. I didnt notice if you happened to mention the product you used to dye the carpet. Im looking at refreshing some old sparcos i have and the job you did looked pretty good.
03-27-12, 09:07 AM
#51
Driver
Thread Starter
Join Date: Sep 2006
Location: tx
Posts: 166
Likes: 0
Received 0 Likes
on
0 Posts
do you have any rubber isolators on that steel plate that you mounted the FPR to? if not, you're going to get a lot of fuel pulses and noise from that FPR resonating through that big piece of steel.
Yup, i thought of that and I added a piece of dynomat underneath the FPR bracket.
i'm pretty sure that JB welded outlet nipple on your PS reservoir is going to leak.
Hopefully it doesn't leak...If it does it would not take long for the leaks to show up. I really want to welded the fitting on but fitting is copper and reservoir is aluminum. If leak, I have to search for similar fitting in alumnium and weld that on.
i hate to say it man, but that bedliner just sprayed over all the brake lines and everything looks terrible. you could have at least taped off the abs pump! it would have looked okay if you stripped the bay first. you've done the redneck equivalent of mexican kids spray painting their engine bays gold.

I know I mentioned SEM in my post but I was actually using Dupli-color fabric paint from Autozone/Oreilly. I tried to water base dye at first from hobby lobby but it turnout dark purple which is not bad for base coat then I use black fabric paint on top of it.
03-27-12, 09:40 AM
#52
Driver
Thread Starter
Join Date: Sep 2006
Location: tx
Posts: 166
Likes: 0
Received 0 Likes
on
0 Posts
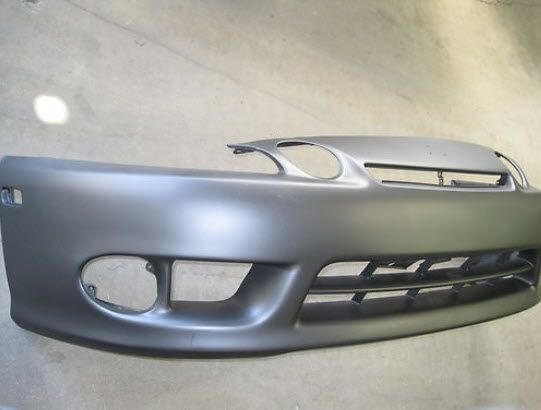
I just score this nice 97 front bumper on ebay. My goal is to have a complete 97 conversion.
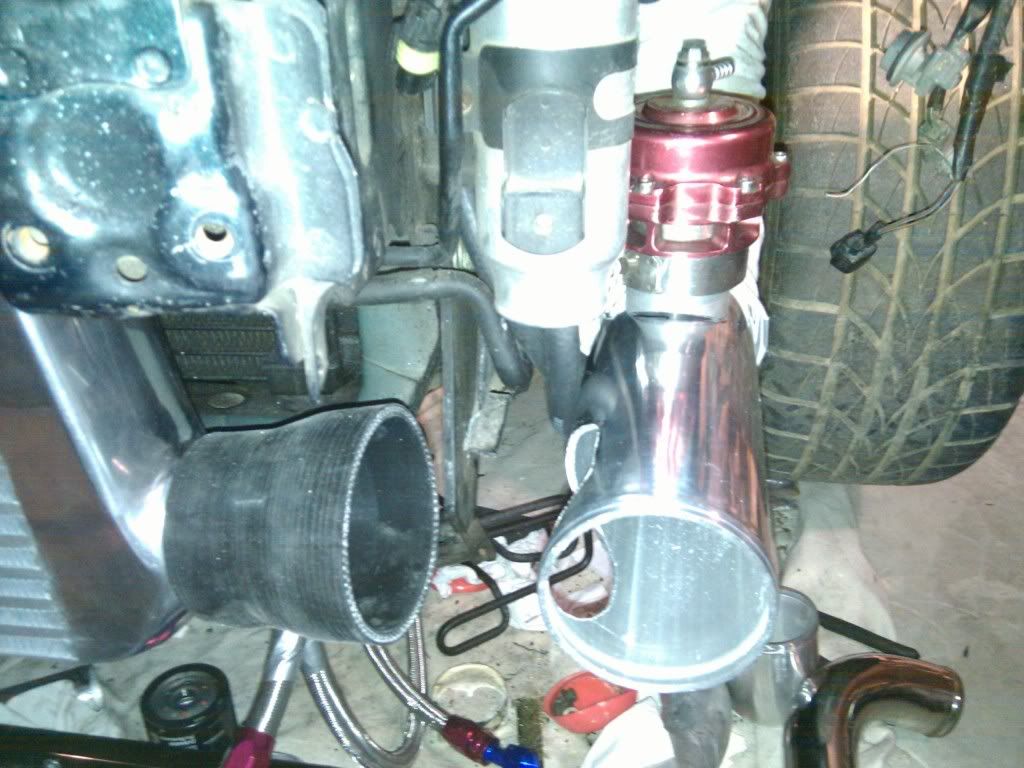
Picture of the hot side intercooler piping. It's 2.5" stainless steel that I made from the unknown piping that was laying in my garage for years. I want to eliminate all the silicone coupler as much as I can. I did not do all the welding that you see in my build, I just do all the cuts and measurement and take it to the local welder to have it weld on. It cheaper and much more secure than the silicone coupler route as you know these silicone coupler is not cheap for a high quality one.
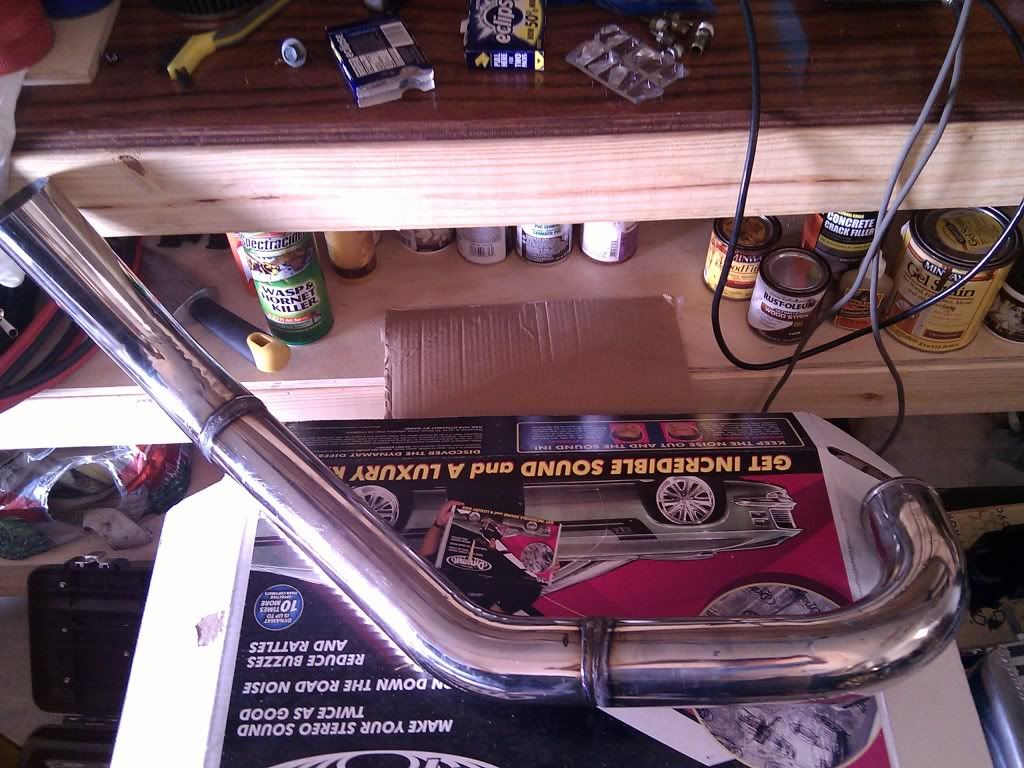
Picture of the hot side intercooler piping. It's 2.5" stainless steel that I made from the unknown piping that was laying in my garage for years. I want to eliminate all the silicone coupler as much as I can. I did not do all the welding that you see in my build, I just do all the cuts and measurement and take it to the local welder to have it weld on. It cheaper and much more secure than the silicone coupler route as you know these silicone coupler is not cheap for a high quality one.
Last edited by vugoodoll; 03-27-12 at 09:44 AM.
03-27-12, 11:46 AM
#53
just FYI your not supposed to mount stacked plate oil coolers upside down like that with the openings facing towards the bottom. You run the risk of trapping air in the cooler, which could eventually send air bubbles through the lines/motor. Mounting it sideways or have the openings facing upwards is best.
very impressive job though!
very impressive job though!
03-27-12, 12:52 PM
#54
Driver
Thread Starter
Join Date: Sep 2006
Location: tx
Posts: 166
Likes: 0
Received 0 Likes
on
0 Posts
just FYI your not supposed to mount stacked plate oil coolers upside down like that with the openings facing towards the bottom. You run the risk of trapping air in the cooler, which could eventually send air bubbles through the lines/motor. Mounting it sideways or have the openings facing upwards is best.
very impressive job though!
very impressive job though!

Thanks again for pointing it out.


Thread
Thread Starter
Forum
Replies
Last Post
jonboyb
SC- 1st Gen (1992-2000)
35
02-25-10 09:41 AM
Lanceezy
Performance & Maintenance
4
10-14-09 09:46 AM