
Project Rescue - SC300


 12-08-11, 11:52 AM
#32
Driver
Thread Starter
Join Date: Sep 2006
Location: tx
Posts: 166
Likes: 0
Received 0 Likes
on
0 Posts
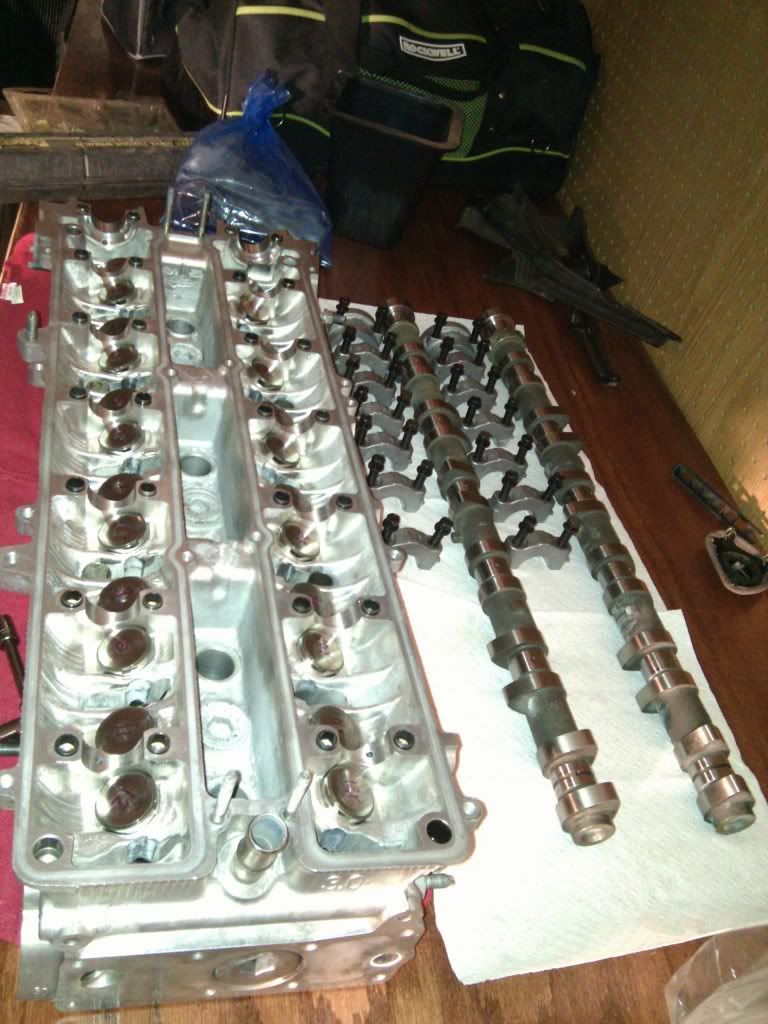
Got the head back from the machine shop. According to them that previous machine shop sand the head surface was a belt sander which will not seal very good with the block. Also the stem valve seal have to be replace.
Head with EGR plugged and ready to be put back on.
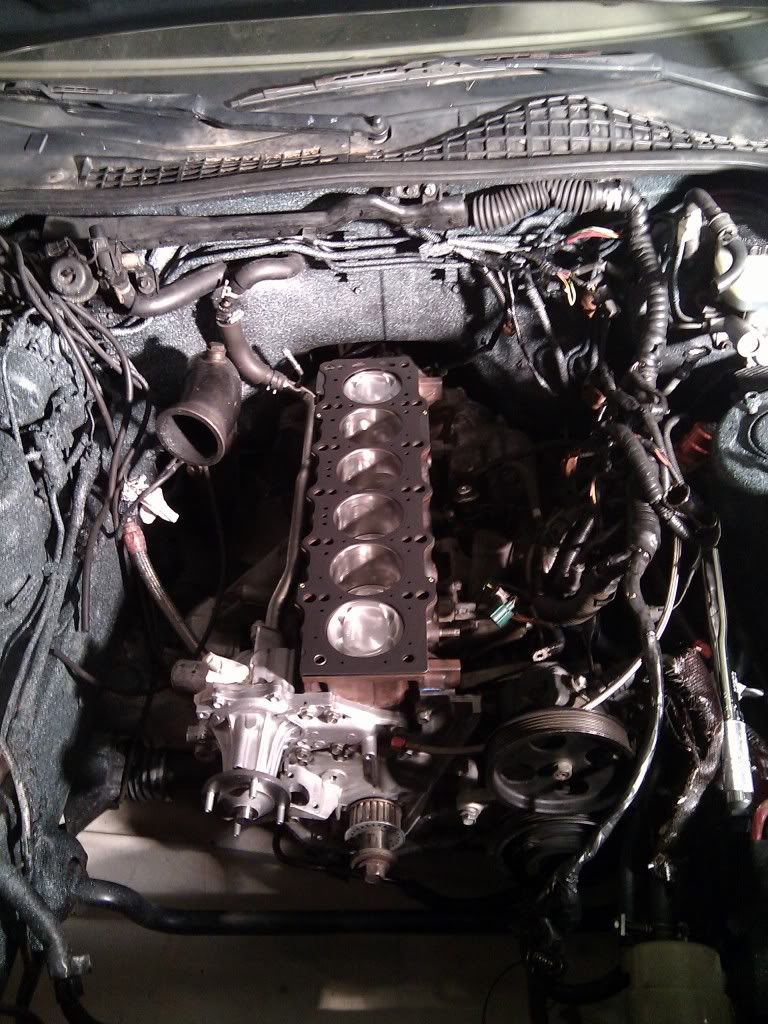
TT Gasket in - Scraping off old headgasket residue is a PITA. Very labor intensive! The razor blade is what work best for me to scrape these off.
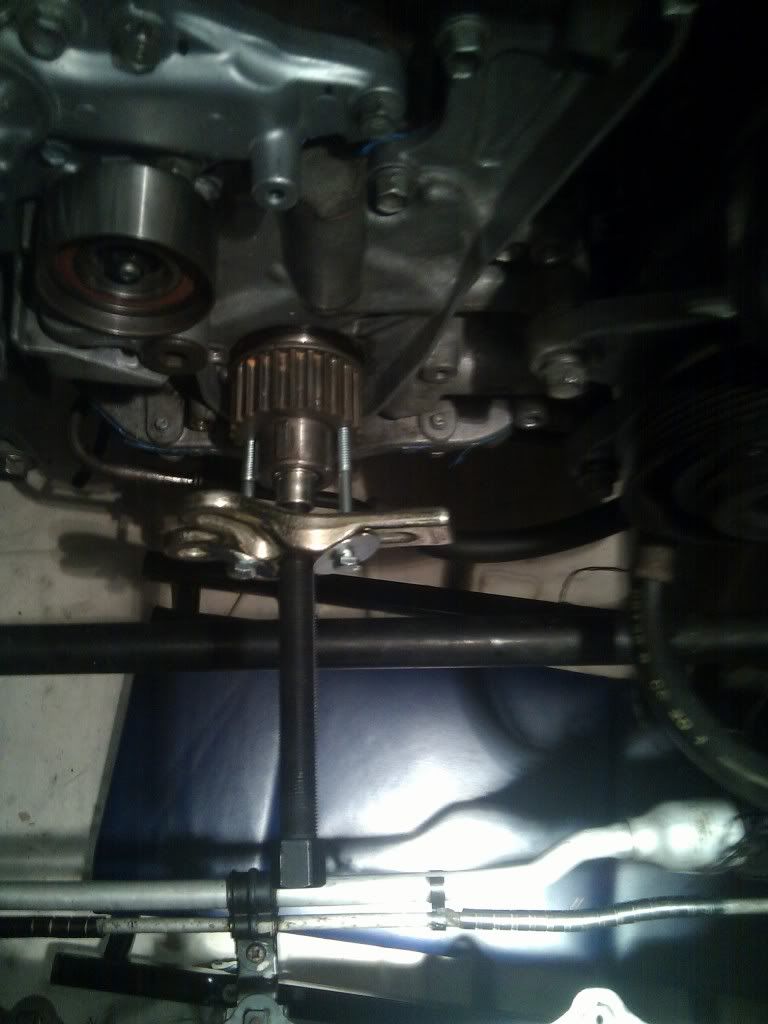
Got the timing pulley off to replace the front main seal. I was having a hard time to pull this off because of the rust?? Notes for those that don't have specialty tool like myself to pull off the pulley. You can use the pulley tool from Oreily in combination with M6-1mm(3inch bolt) and bigger washer.
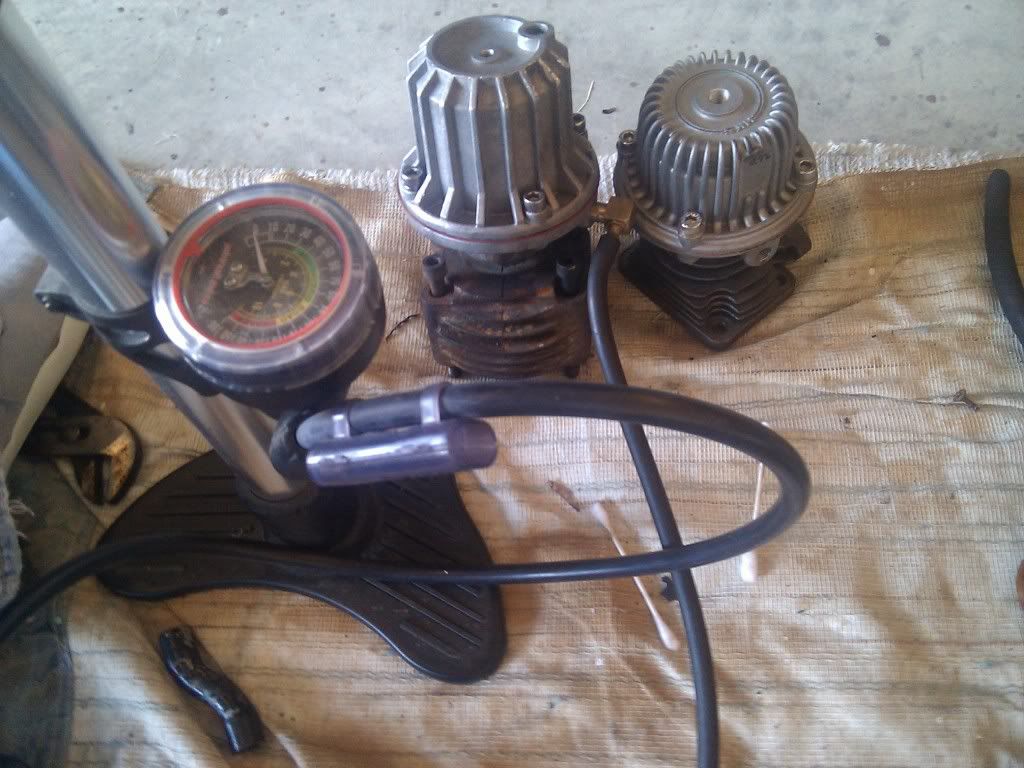
Testing wastegate opening with bicycle pump =) The one on the left was from the car and the right one is a new HKS that was giving to me awhile back. The old wastegate doesnt seem to open very smooth...I would like to use the HKS but I cannot find any specs on it. All it has was ".72". Would this be OK to use?
Head with EGR plugged and ready to be put back on.
TT Gasket in - Scraping off old headgasket residue is a PITA. Very labor intensive! The razor blade is what work best for me to scrape these off.
Got the timing pulley off to replace the front main seal. I was having a hard time to pull this off because of the rust?? Notes for those that don't have specialty tool like myself to pull off the pulley. You can use the pulley tool from Oreily in combination with M6-1mm(3inch bolt) and bigger washer.
Testing wastegate opening with bicycle pump =) The one on the left was from the car and the right one is a new HKS that was giving to me awhile back. The old wastegate doesnt seem to open very smooth...I would like to use the HKS but I cannot find any specs on it. All it has was ".72". Would this be OK to use?


 12-21-11, 08:19 AM
#37
Lead Lap
iTrader: (2)

Join Date: Jun 2011
Location: Charleston, SC
Posts: 403
Likes: 0
Received 0 Likes
on
0 Posts
^^I was about to ask the same question! Please tell me that's not Rhino-liner! haha! Can't wait to see the finished product!!! Keep up the good work man!
-Cam, Tweak'd Performance
-Cam, Tweak'd Performance


 02-26-12, 04:33 PM
#44
1JZ Single SC400
iTrader: (59)
Join Date: Jan 2009
Location: Alabama, Roll Tide!
Posts: 8,518
Likes: 0
Received 15 Likes
on
12 Posts
I cant believe I missed this thread. I love reading these types, the before, progress, and after. This is what makes me stay logged in for hours and researching all kinds of stuff. That interior was a mess, like a tiger went crazy in there. Was is all the black stuff in the engine bay? Looks like undercoating. Did anyone else see this or did I misread the thread?
Any updates on this beast?
Any updates on this beast?
03-22-12, 04:04 PM
#45
Driver
Thread Starter
Join Date: Sep 2006
Location: tx
Posts: 166
Likes: 0
Received 0 Likes
on
0 Posts
Sorry to you all!…I was just too busy to provide status updates on this project. I finally got chance today to sit down and write this post. A lot of you wonder what’s up with the engine bay paint/color. I needed to make the decision on the paint before I putting all the parts back together. I always like the rugged look and texture of the wrinkle paint and I came across this page and the rest is history. I spray painted it with what they called splatter paint in gray/white. It may not be everyone bread and butter but I love the way it turn out =)
http://forums.corral.net/forums/body...storation.html
http://www.autozone.com/autozone/acc...ntifier=469593
Here is how the bay look before it was painted. This is after spent tons of time degrease, scrub and pressure wash it.
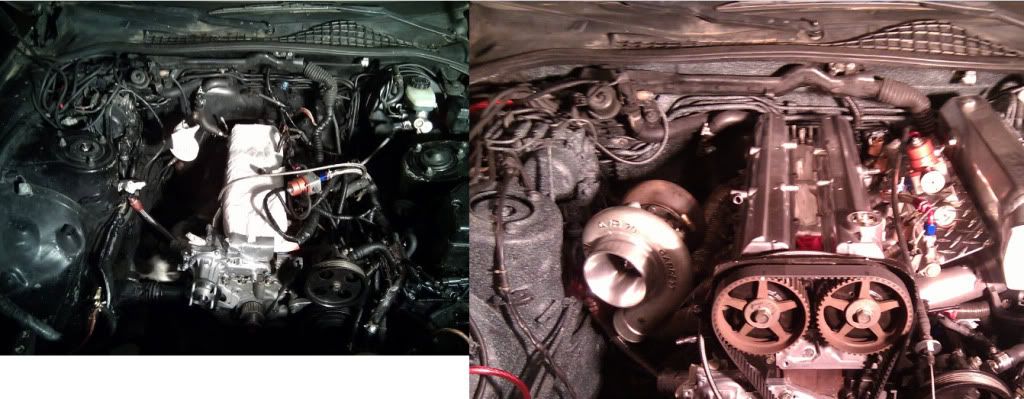
Before
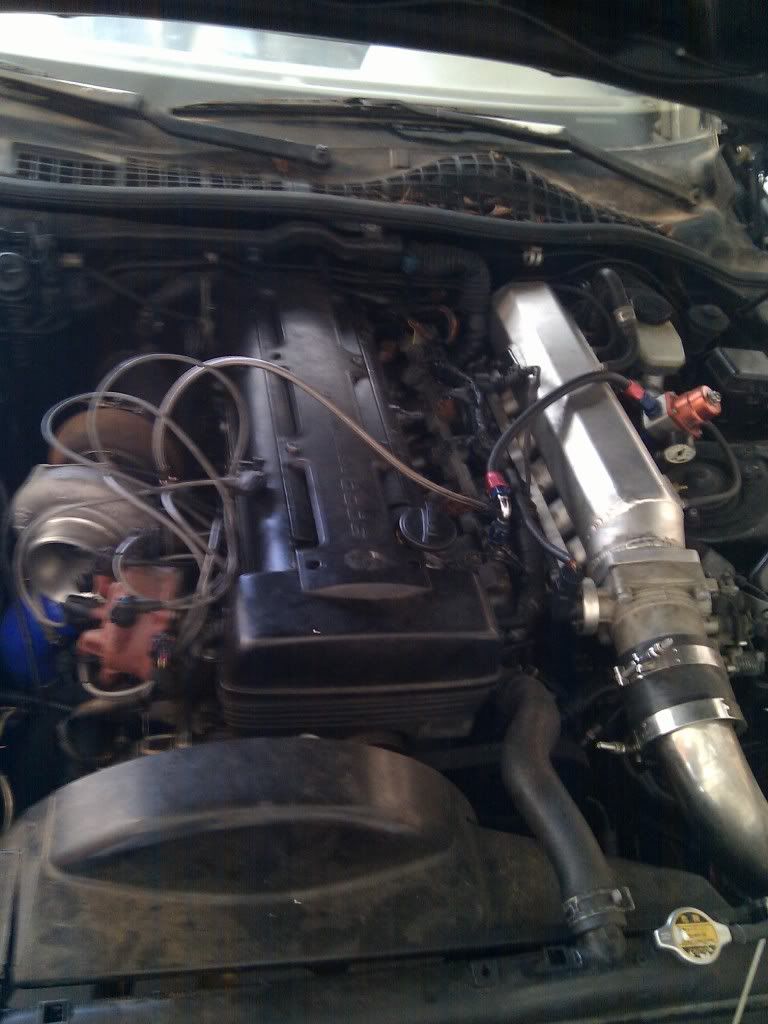
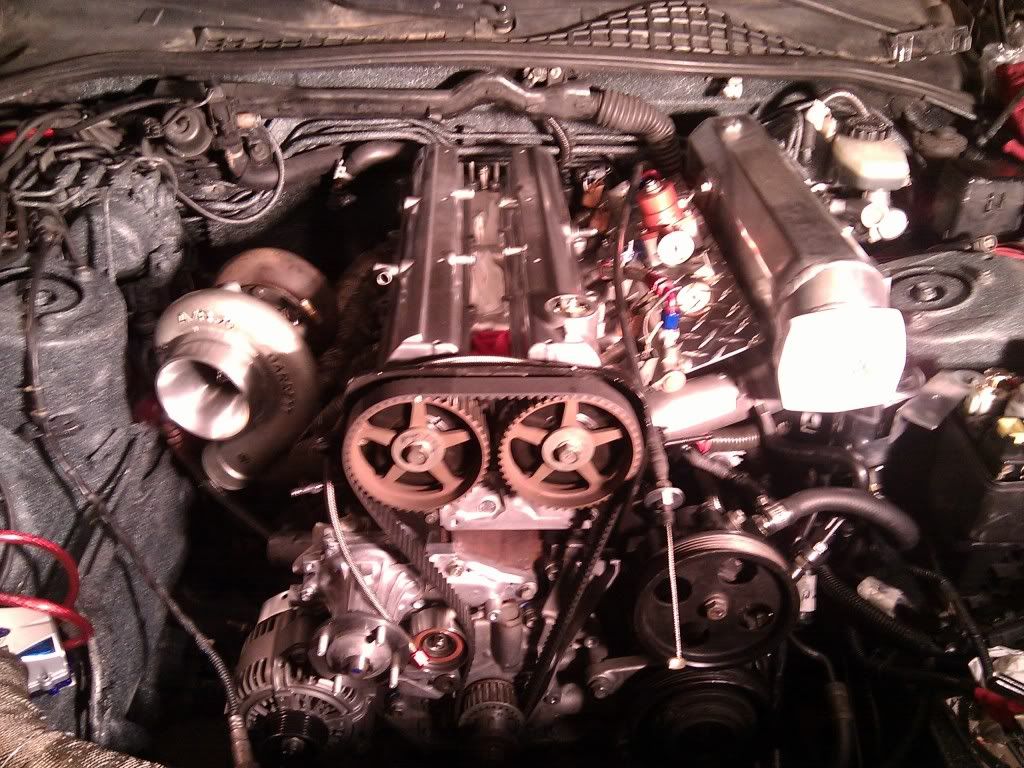
Here is how the engine sit today, the intercooler piping are almost complete. It just a few more minor things and I’m ready to fire her up.
After
So here is the story behind the scene……..
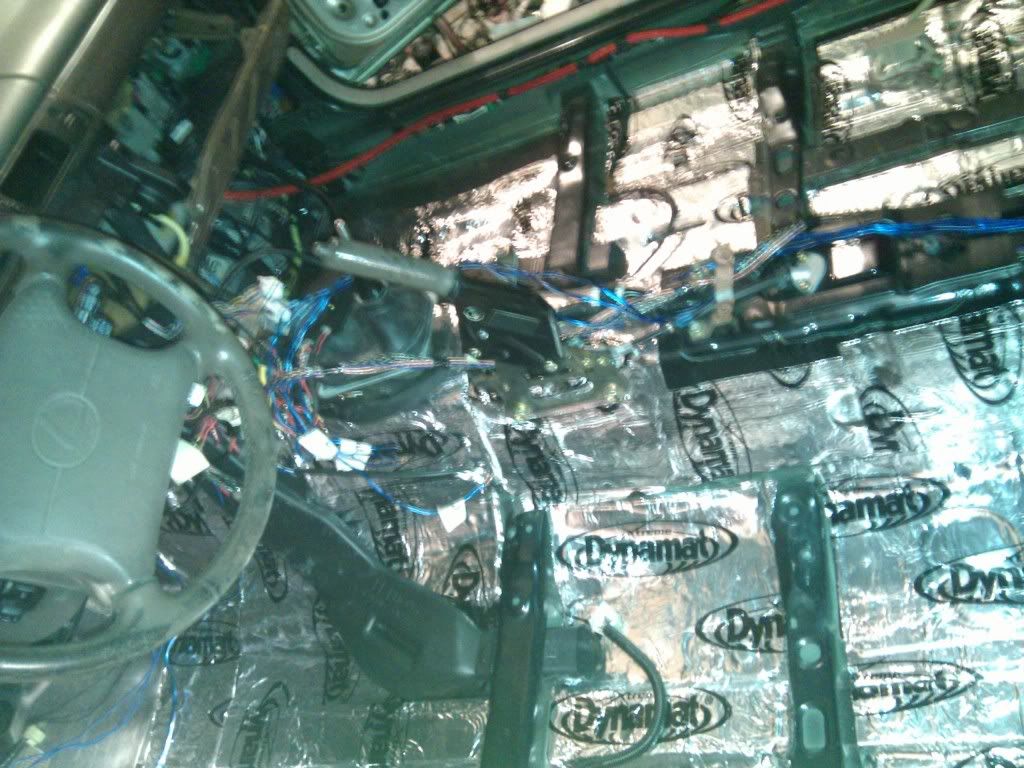
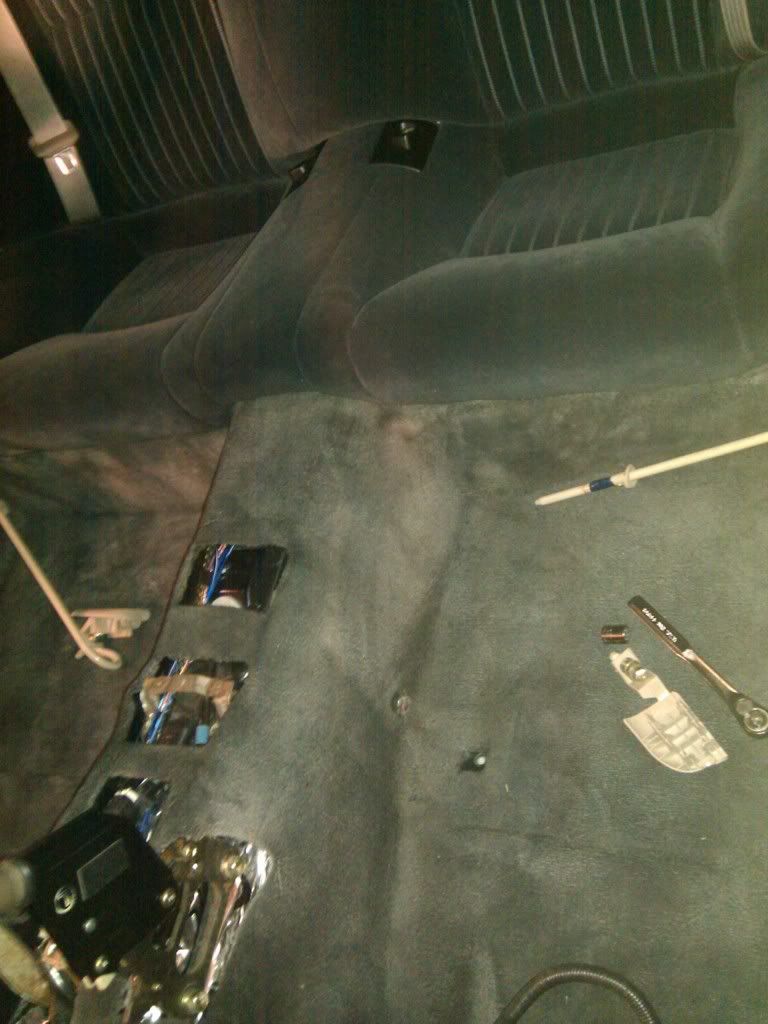
Dynomat!
Carpet and seats back in
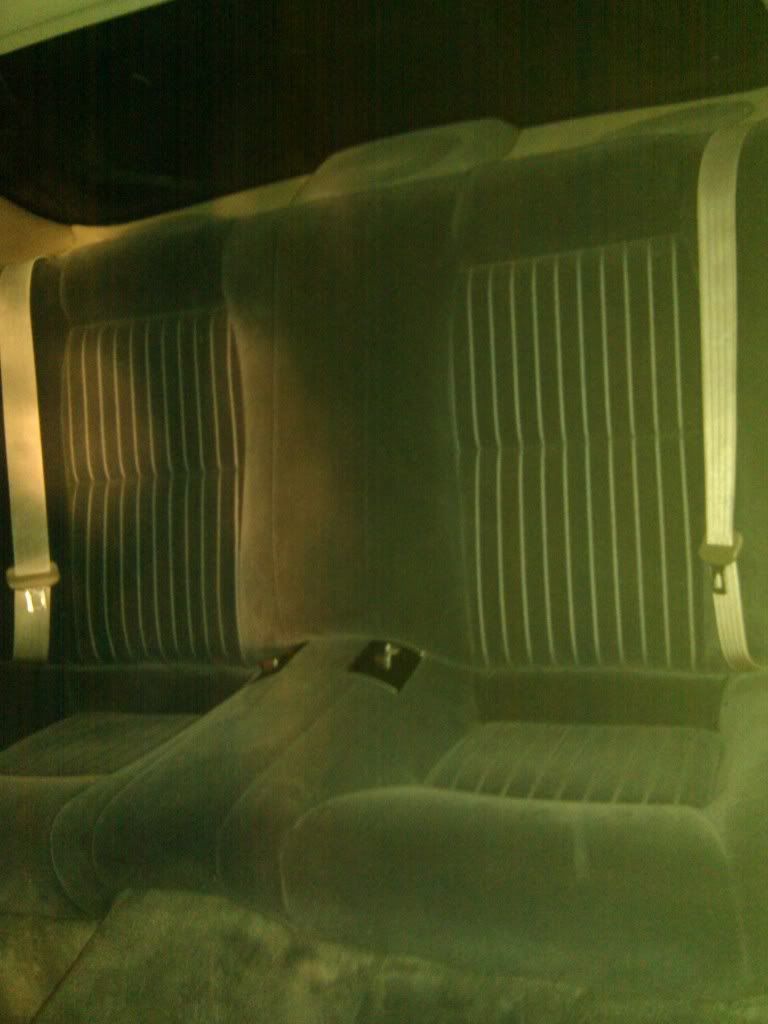
I got the black cloth seats for the rear and front passenger in mint condition for $80 total! I have been searching the world for the matching driver seat and no luck so far. I think this only came with the soarer. Can someone confirm?
Here are some challenges that I came across.
Challenge #1
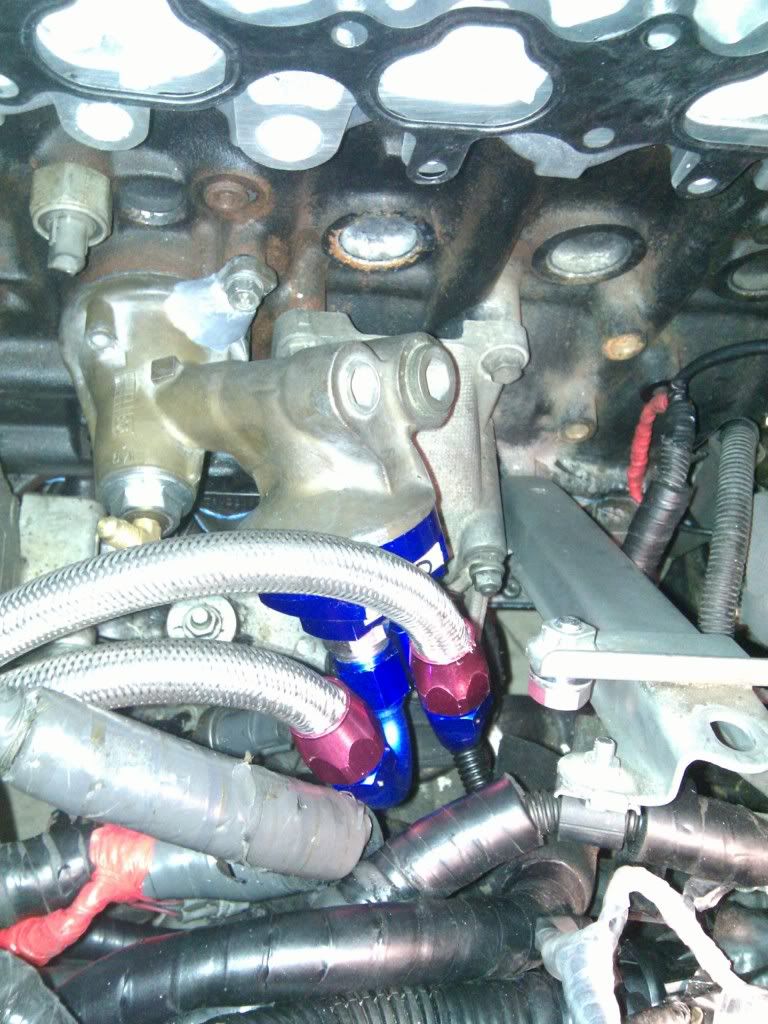
I need to find the location to mount the FPR. This was just hanging lose in the bay. So the idea I came up with is to mount it right between the upper and lower intake manifold. There are two studs on the lower intake manifold that I can use to tie down an aluminum plate as the base to mount for the ARP.
First, I decided to use a 2.5 inch aluminum threshold trim. This failed because it was too flimsy and look awkward because didn’t cover the huge space gap between intake manifold and engine.
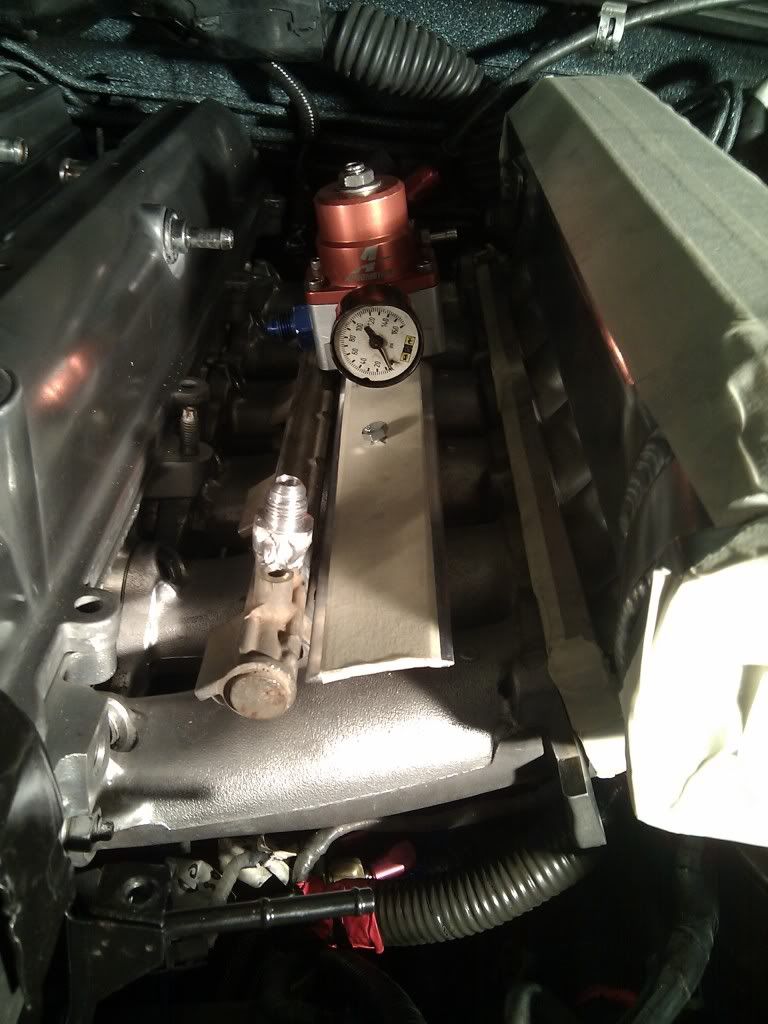
Redesign it with another aluminum piece but it was making ratting sound when tapping it. Fail!
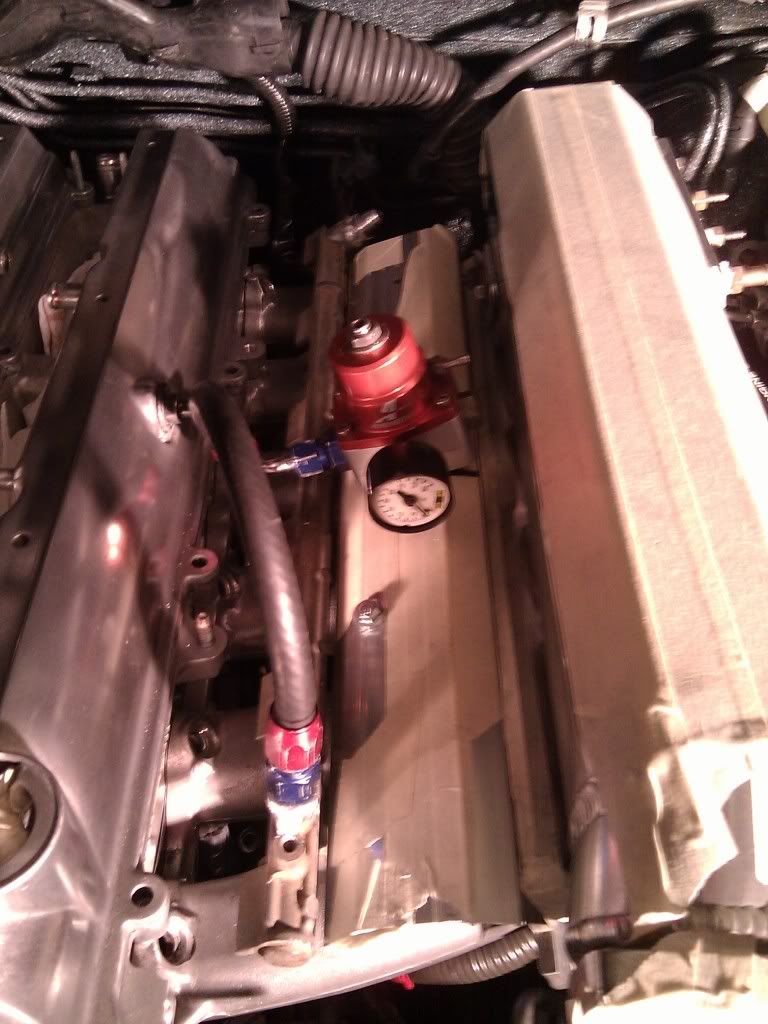
Redesign with Diamond plate and added a piece of dynomat underneath it in case it rattle and it feel rock solid and look much better. Once I got the FPR location lock down running the fuel lines was breeze with couple fittings and SS line.
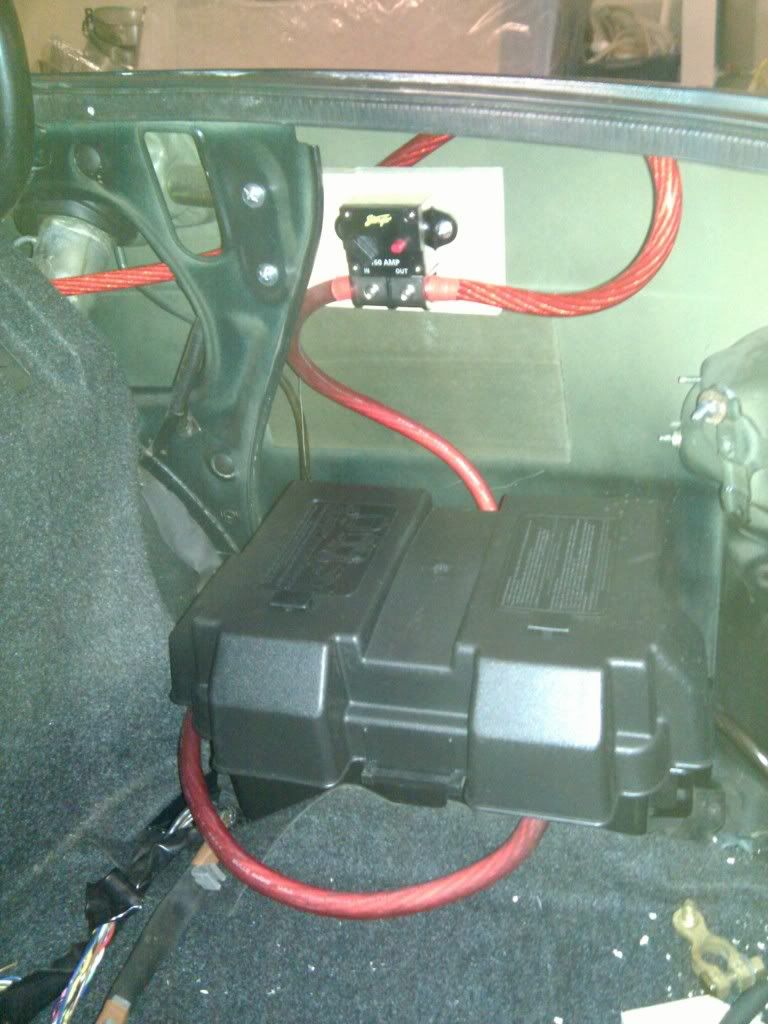
I relocated the batter to the trunk with 0 guage wire and stinger 150 amp breaker. Of course the CD changer is removed. I use the marine battery box from walmart and it fit snuggly in place and I tug 2x4 to hold it in place.
Challenge # 2
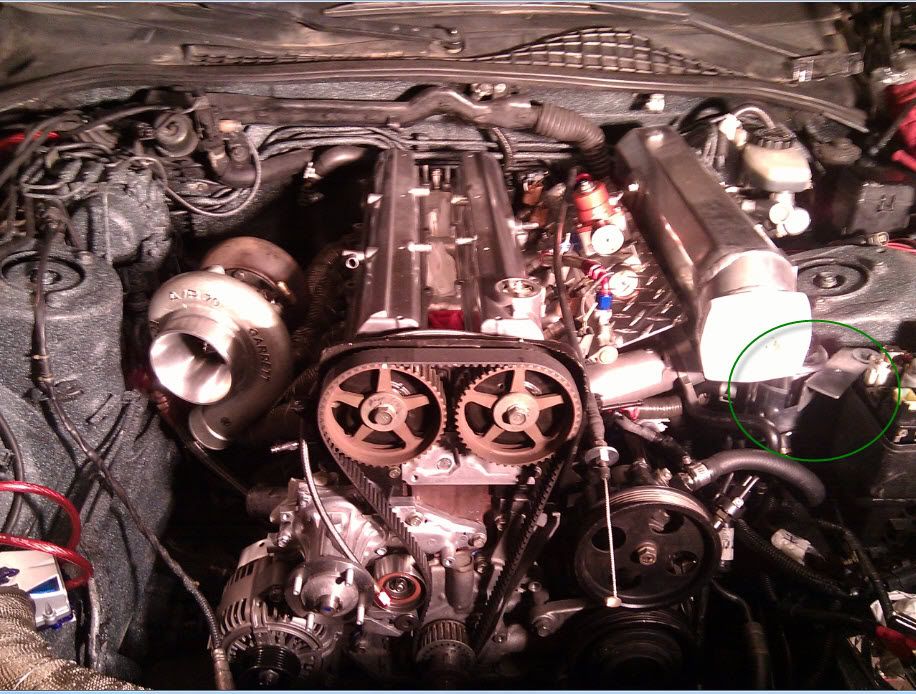
Finding the location to mount the power steering reservoir. The car came with a plastic reservoir that was just dangling around and spilling oil everywhere. I decide to pickup the OEM reservoir and polish it. I make a bracket out of angle aluminum and using a t-clamp to hold the reservoir in place. I don’t have a good picture of it but you can see it from this picture.
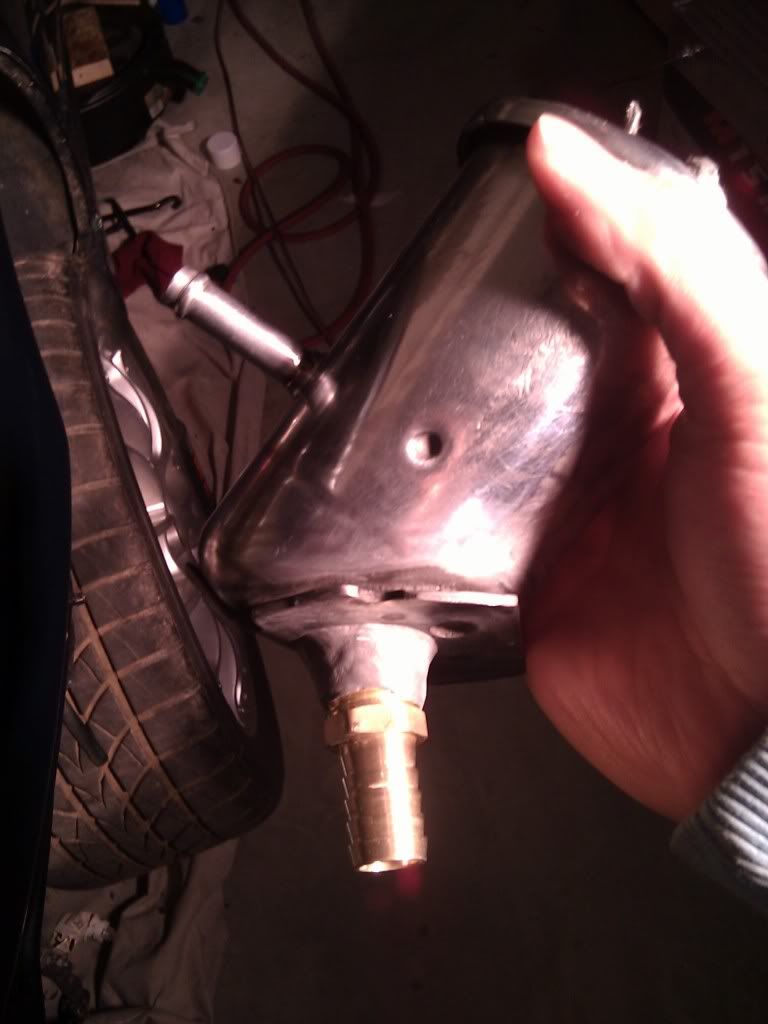
Now I need to figure out a way to connect the PS feeder hose since the nipple on the reservoir was too short. To me tapping is not a good choice because the fitting is much larger than the nipple. A trip to homedepot and I pickup this fitting that fit over the nipple and I J-B weld it. You wouldn’t break this with a hammer =)
Challenge #3
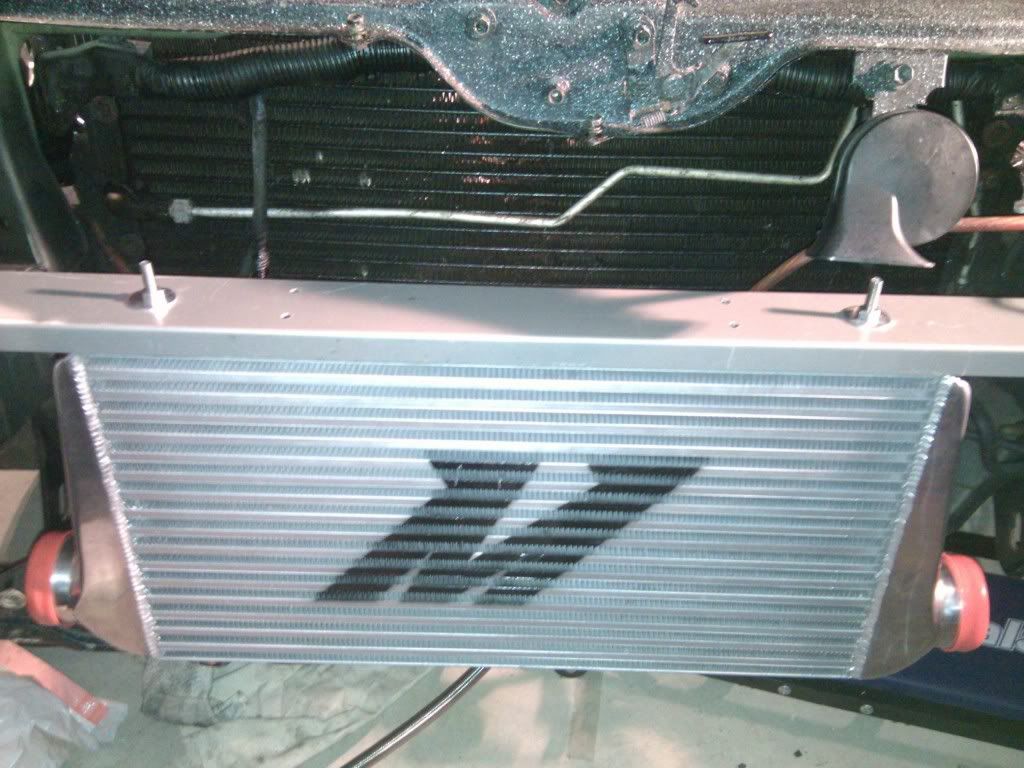
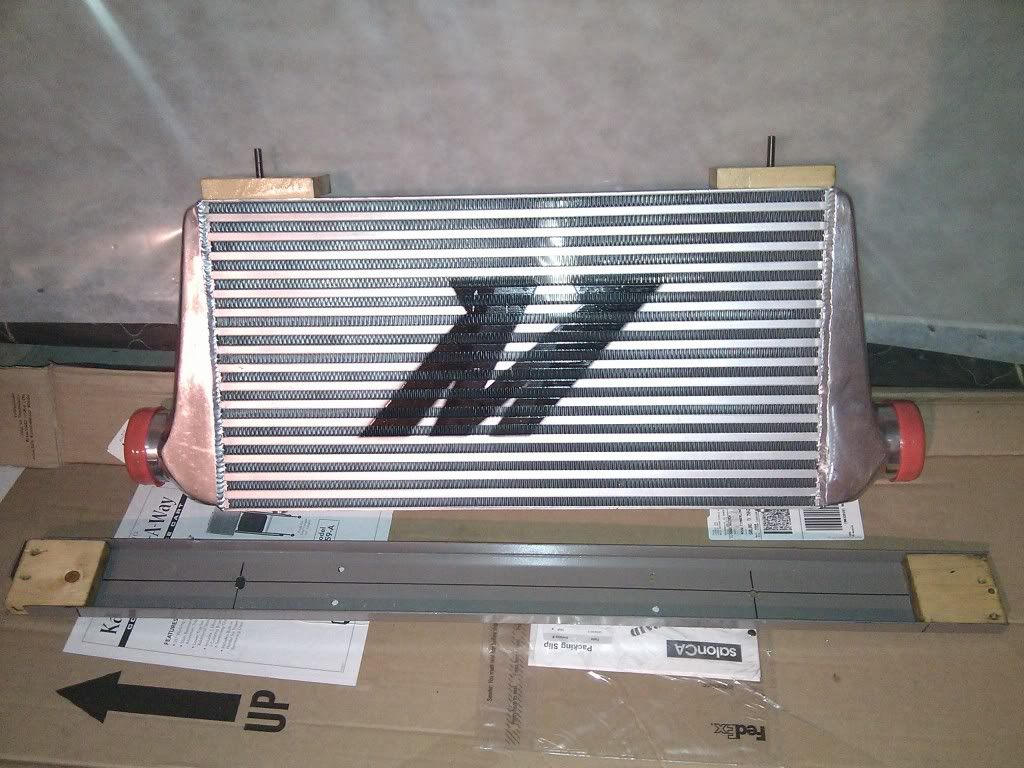
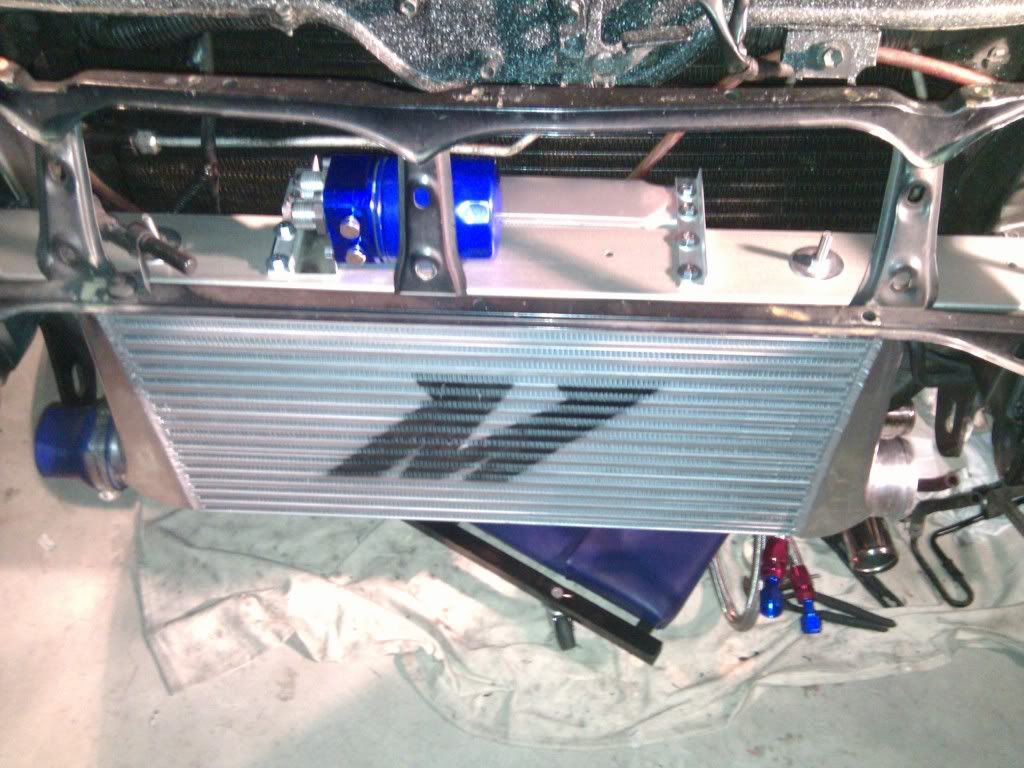
Find a place how to mound the intercooler. I couldn’t think of an easier way than using a metal bar run across and bolt down to the frame. I found these metal bars at the dump yard one day when I was trashing the car old seat. I knew it would come in handy one day…It has perfect width of the intercooler but it hollow in the middle so I need to add couple wood shim.
Painted the intercooler bracket bar with silver and coated with spar urethane.
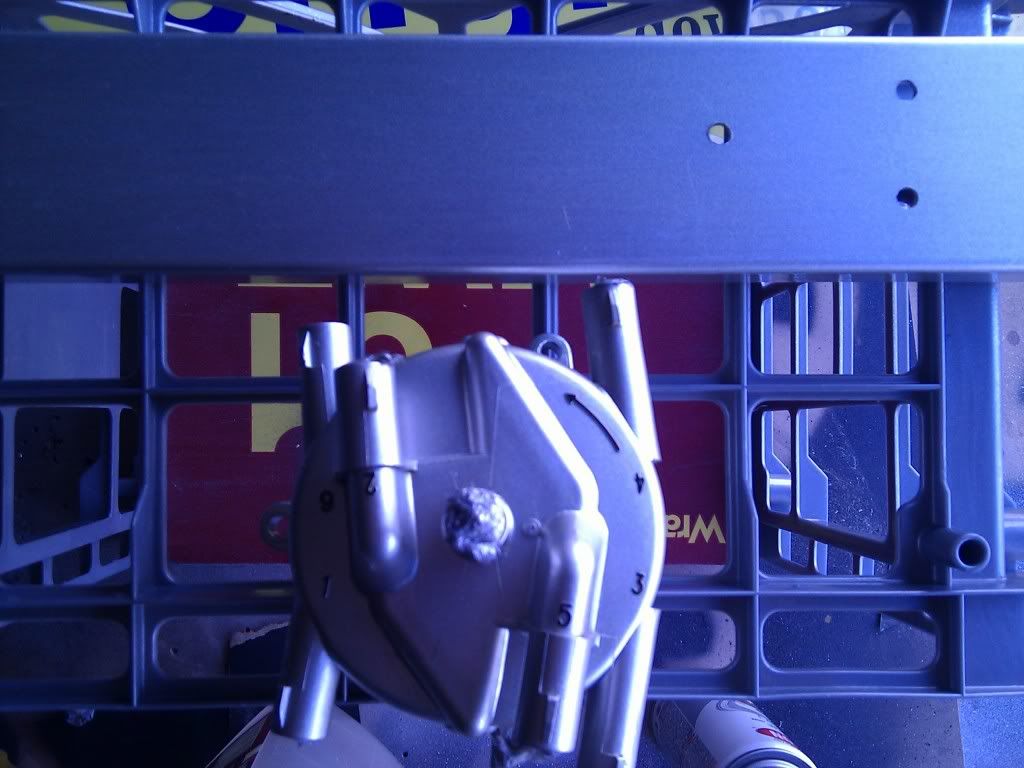
Here is the wood shim that I was talking about. I put 3 coats of spar urethane on these woods so it can be water resistance and super durable.
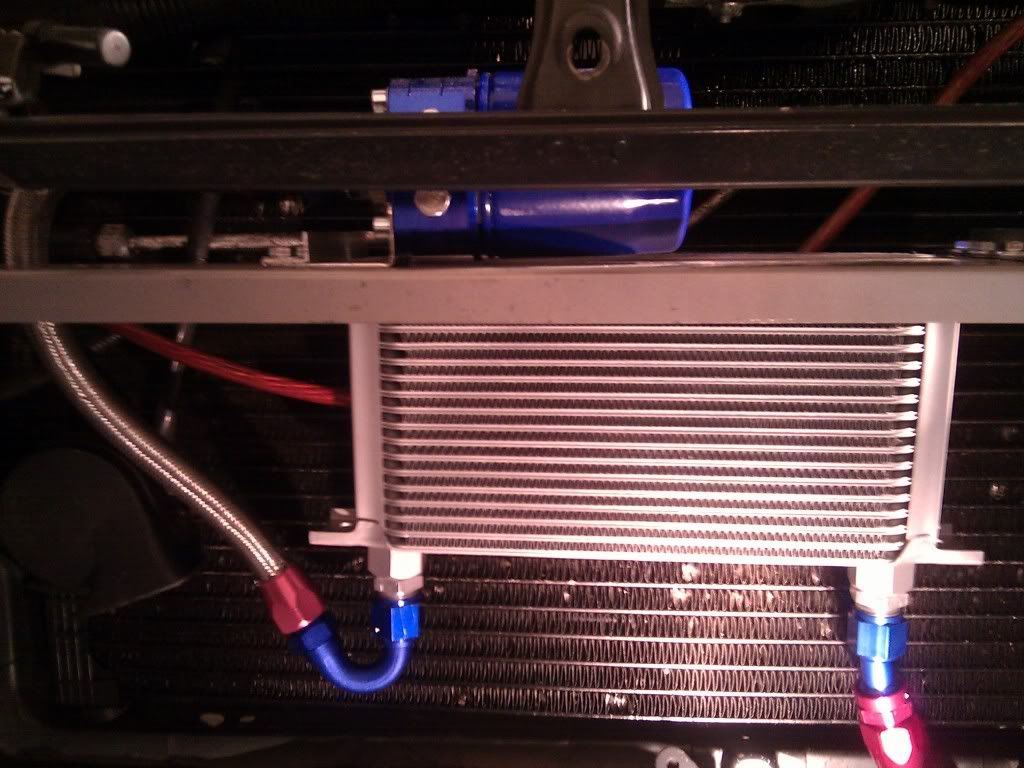
Now with the intercooler bracket bar in place, I have a place to mount the engine oil cooler and oil filter adapter. I got this oil relocation kit from fleabay for around $140. The only complaint I have is the quality of the 10a/n SS line that came with it. The fittings, oil adapter and cooler are very decent quality.

That’s all I have for now. Feel free to let me know if you don’t like the way I mount the intercooler, PS reservoir and FPR or see flaws in my design…
http://forums.corral.net/forums/body...storation.html
http://www.autozone.com/autozone/acc...ntifier=469593
Here is how the bay look before it was painted. This is after spent tons of time degrease, scrub and pressure wash it.
Before
Here is how the engine sit today, the intercooler piping are almost complete. It just a few more minor things and I’m ready to fire her up.
After
So here is the story behind the scene……..
Dynomat!
Carpet and seats back in
I got the black cloth seats for the rear and front passenger in mint condition for $80 total! I have been searching the world for the matching driver seat and no luck so far. I think this only came with the soarer. Can someone confirm?
Here are some challenges that I came across.
Challenge #1
I need to find the location to mount the FPR. This was just hanging lose in the bay. So the idea I came up with is to mount it right between the upper and lower intake manifold. There are two studs on the lower intake manifold that I can use to tie down an aluminum plate as the base to mount for the ARP.
First, I decided to use a 2.5 inch aluminum threshold trim. This failed because it was too flimsy and look awkward because didn’t cover the huge space gap between intake manifold and engine.
Redesign it with another aluminum piece but it was making ratting sound when tapping it. Fail!
Redesign with Diamond plate and added a piece of dynomat underneath it in case it rattle and it feel rock solid and look much better. Once I got the FPR location lock down running the fuel lines was breeze with couple fittings and SS line.
I relocated the batter to the trunk with 0 guage wire and stinger 150 amp breaker. Of course the CD changer is removed. I use the marine battery box from walmart and it fit snuggly in place and I tug 2x4 to hold it in place.
Challenge # 2
Finding the location to mount the power steering reservoir. The car came with a plastic reservoir that was just dangling around and spilling oil everywhere. I decide to pickup the OEM reservoir and polish it. I make a bracket out of angle aluminum and using a t-clamp to hold the reservoir in place. I don’t have a good picture of it but you can see it from this picture.
Now I need to figure out a way to connect the PS feeder hose since the nipple on the reservoir was too short. To me tapping is not a good choice because the fitting is much larger than the nipple. A trip to homedepot and I pickup this fitting that fit over the nipple and I J-B weld it. You wouldn’t break this with a hammer =)
Challenge #3
Find a place how to mound the intercooler. I couldn’t think of an easier way than using a metal bar run across and bolt down to the frame. I found these metal bars at the dump yard one day when I was trashing the car old seat. I knew it would come in handy one day…It has perfect width of the intercooler but it hollow in the middle so I need to add couple wood shim.
Painted the intercooler bracket bar with silver and coated with spar urethane.
Here is the wood shim that I was talking about. I put 3 coats of spar urethane on these woods so it can be water resistance and super durable.
Now with the intercooler bracket bar in place, I have a place to mount the engine oil cooler and oil filter adapter. I got this oil relocation kit from fleabay for around $140. The only complaint I have is the quality of the 10a/n SS line that came with it. The fittings, oil adapter and cooler are very decent quality.
That’s all I have for now. Feel free to let me know if you don’t like the way I mount the intercooler, PS reservoir and FPR or see flaws in my design…
Last edited by vugoodoll; 03-22-12 at 04:09 PM.