1992Lexus.. Complete build thread with pictures and links!


 10-07-11, 08:50 AM
#95
1JZ Single SC400
Thread Starter
iTrader: (59)
Join Date: Jan 2009
Location: Alabama, Roll Tide!
Posts: 8,518
Likes: 0
Received 15 Likes
on
12 Posts
If there is one on the arsenal I need to know where! Building number? I have seen a red MKIV on Martin Road. Not going to say number on here. I am station one! Thanks for the kind words people.
The aircraft remover worked in like a minute. It removed finish in a hurry. Wear gloves. Then I used 220 grit for over an hour, this remove the black in the finish, then wetsanded 400 grit for over two hours, then used 1500 wetsanded for over an hour. Then whipped out the buffing wheel on my drill. I used Neverdull for the polish. I rubbed it in by hand, then buffed with the polisher on the drill. I did this step for over an hour, maybe 12 times or so. You must be patient with this for the best resukts and doing by hand. It sucks but I want it shiny! I have only worked one so far, will work on the other tonight.
One question, when I removed the inner valve cove piece, there was a rubber gasket seal around it. Do I need to reseal it before placing it back in? What is this actual piece do in the motor? Any guidance?
10-08-11, 09:47 PM
#96
1JZ Single SC400
Thread Starter
iTrader: (59)
Join Date: Jan 2009
Location: Alabama, Roll Tide!
Posts: 8,518
Likes: 0
Received 15 Likes
on
12 Posts
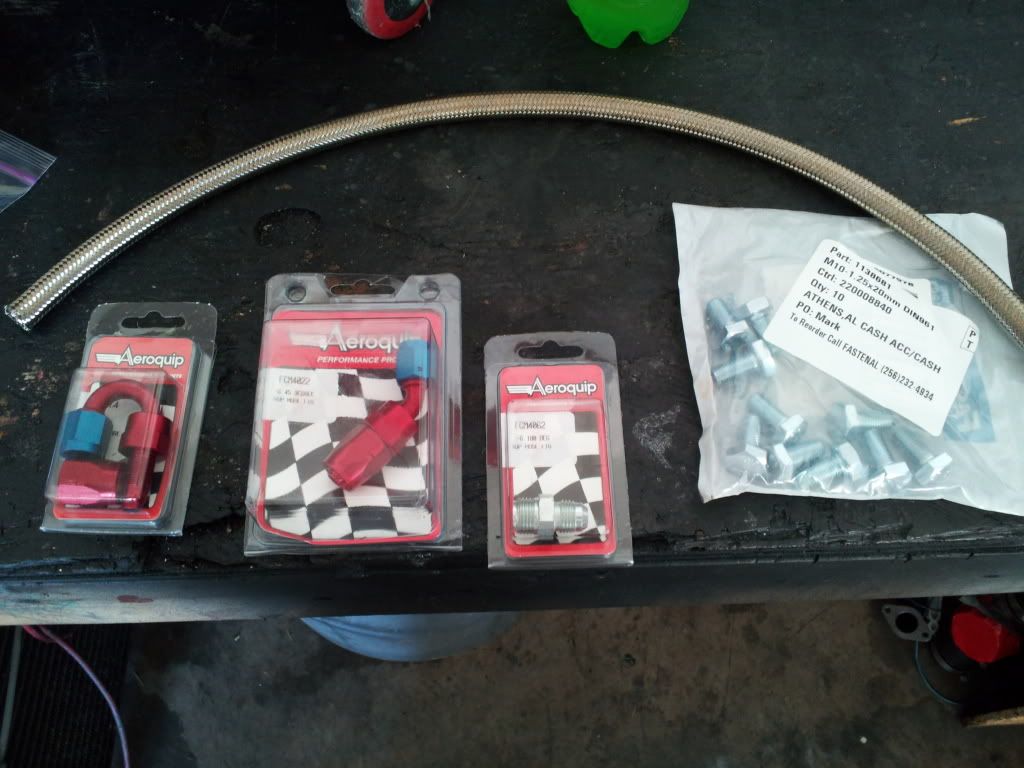
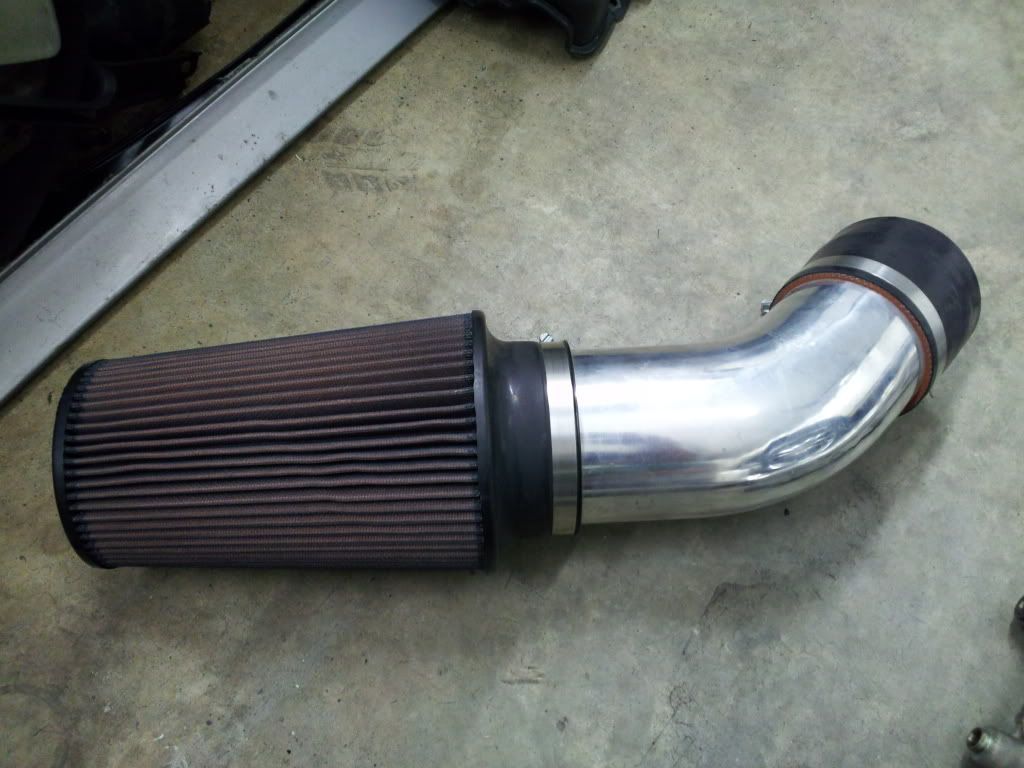
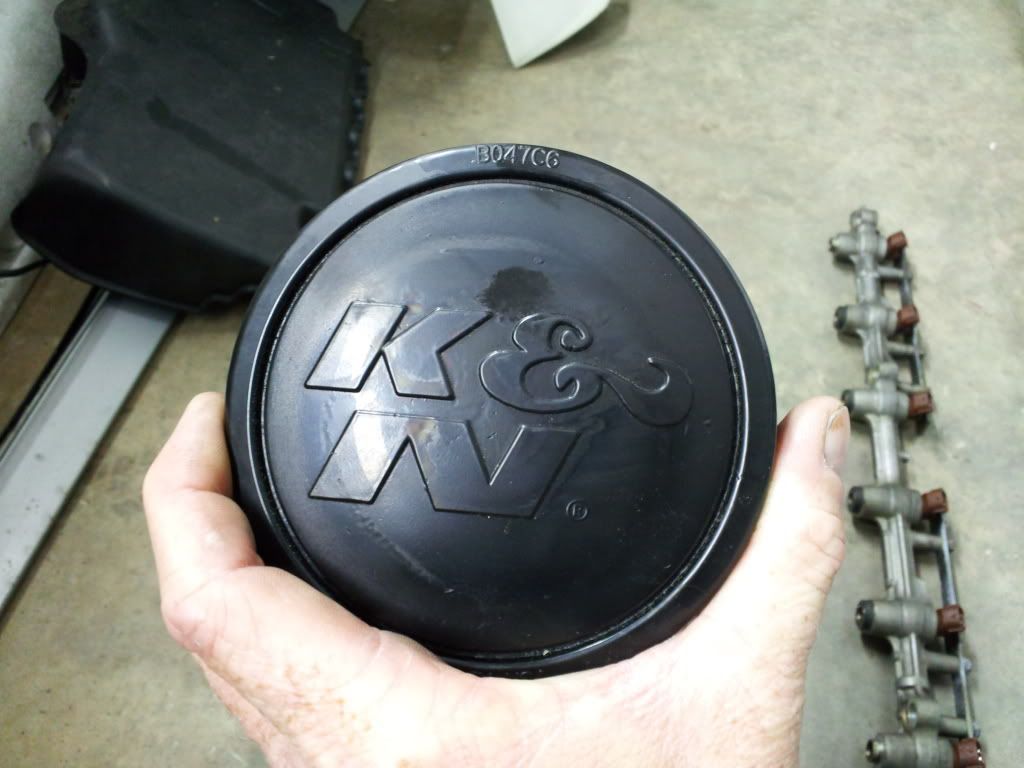
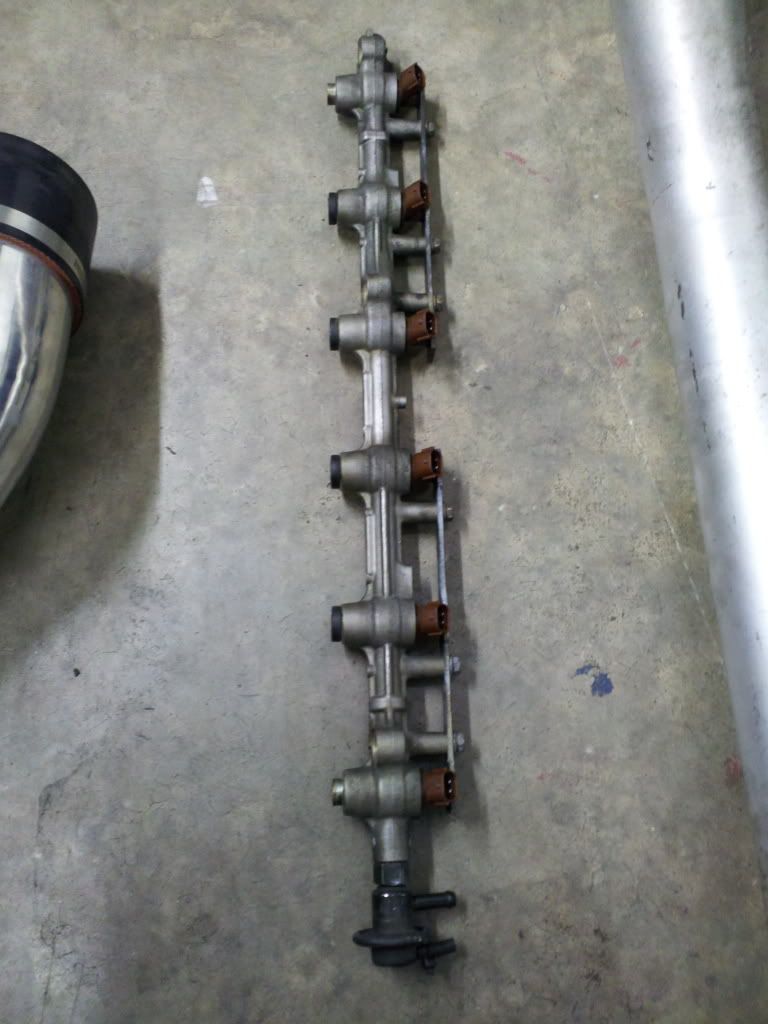
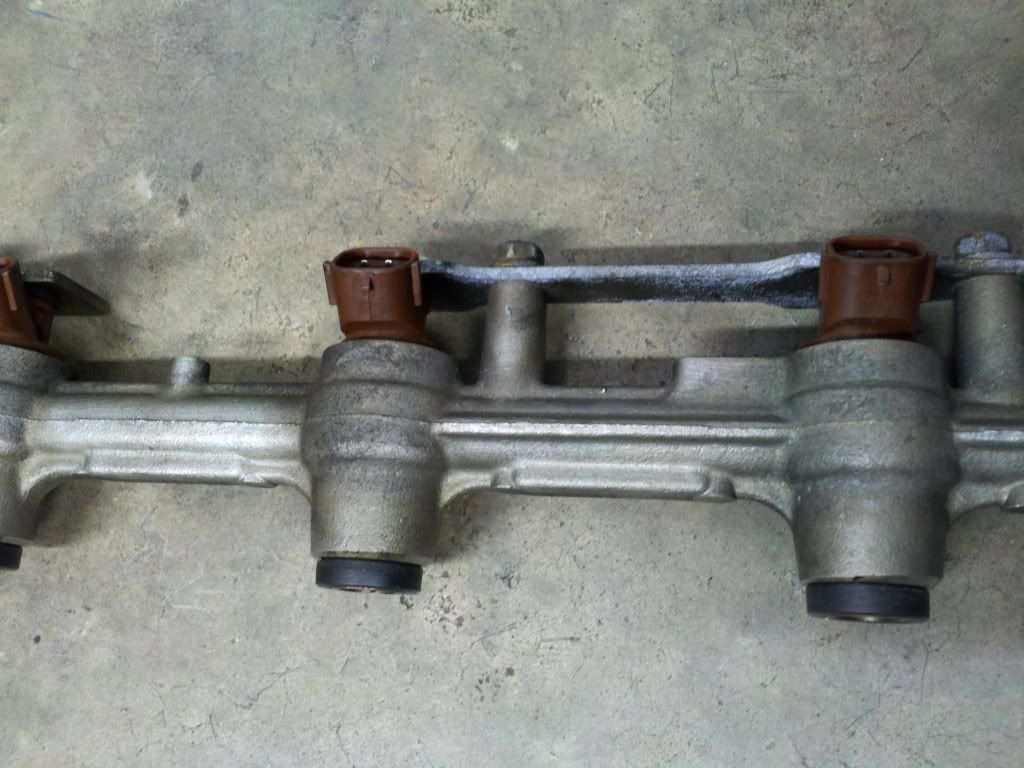
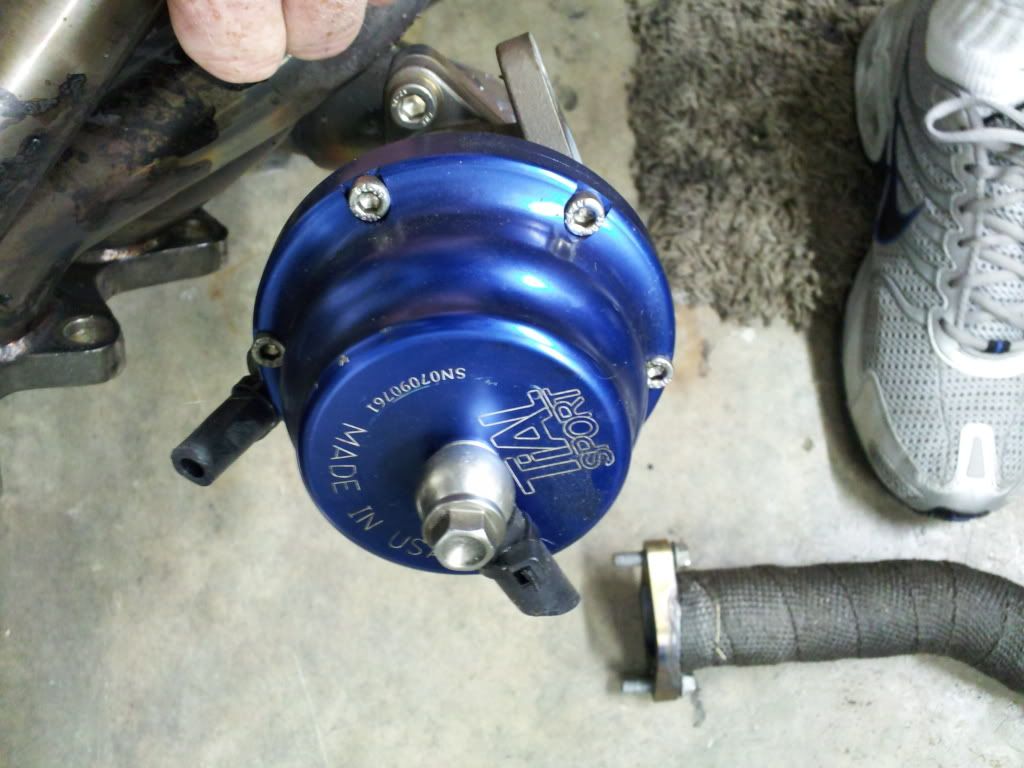
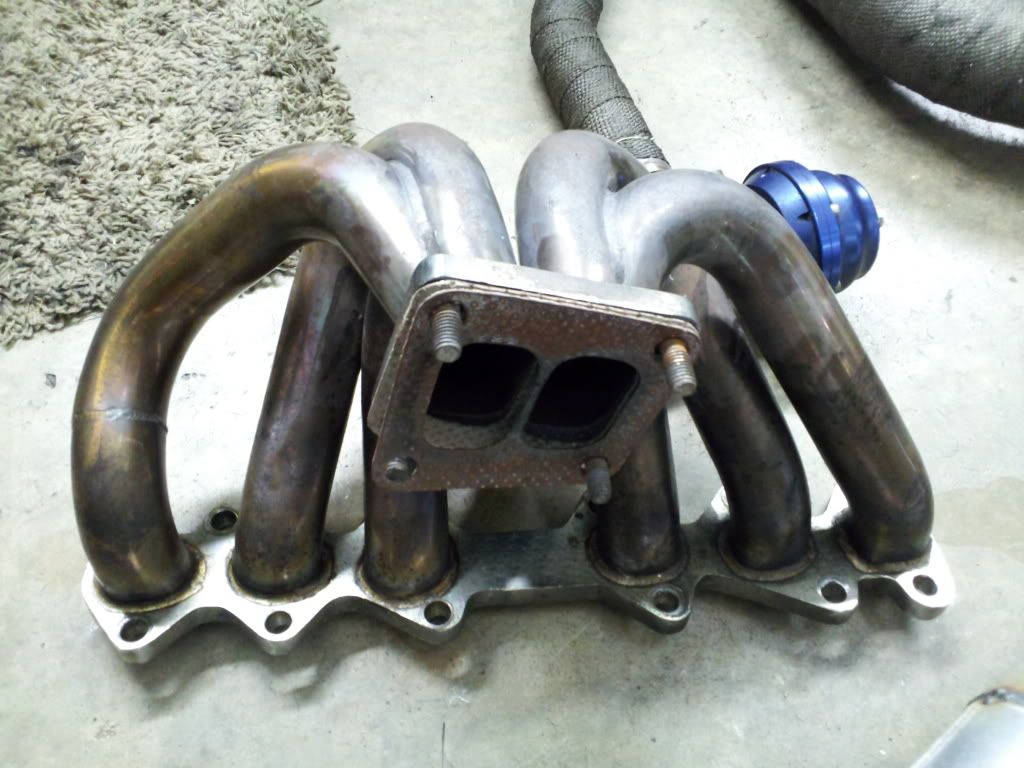
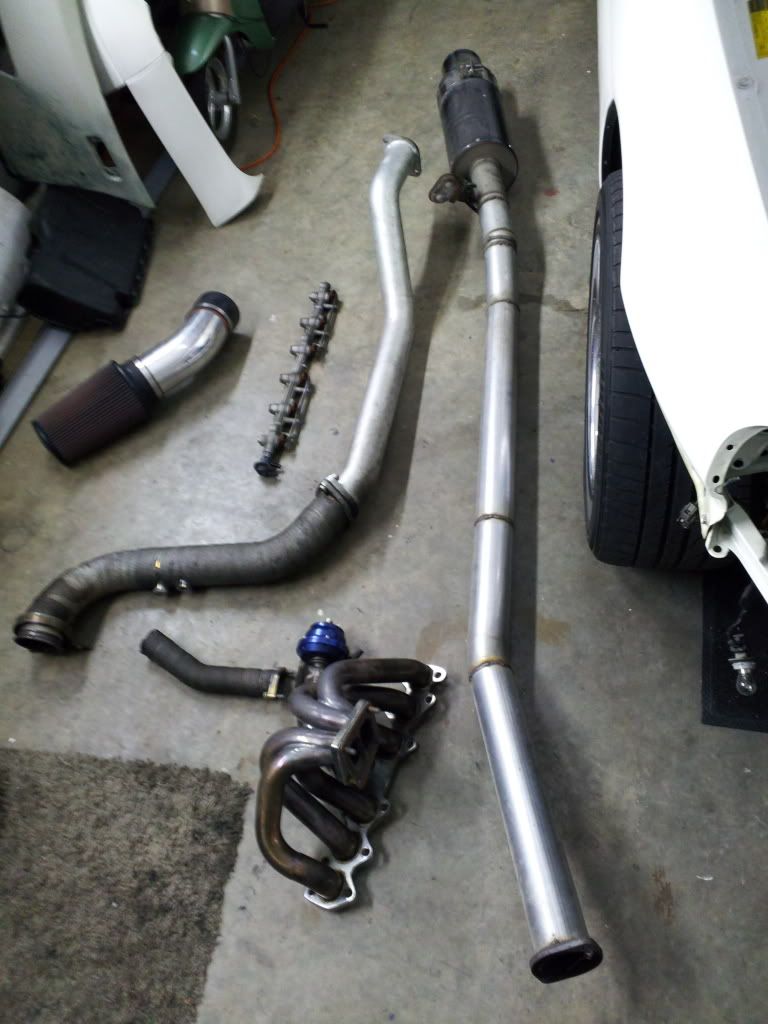
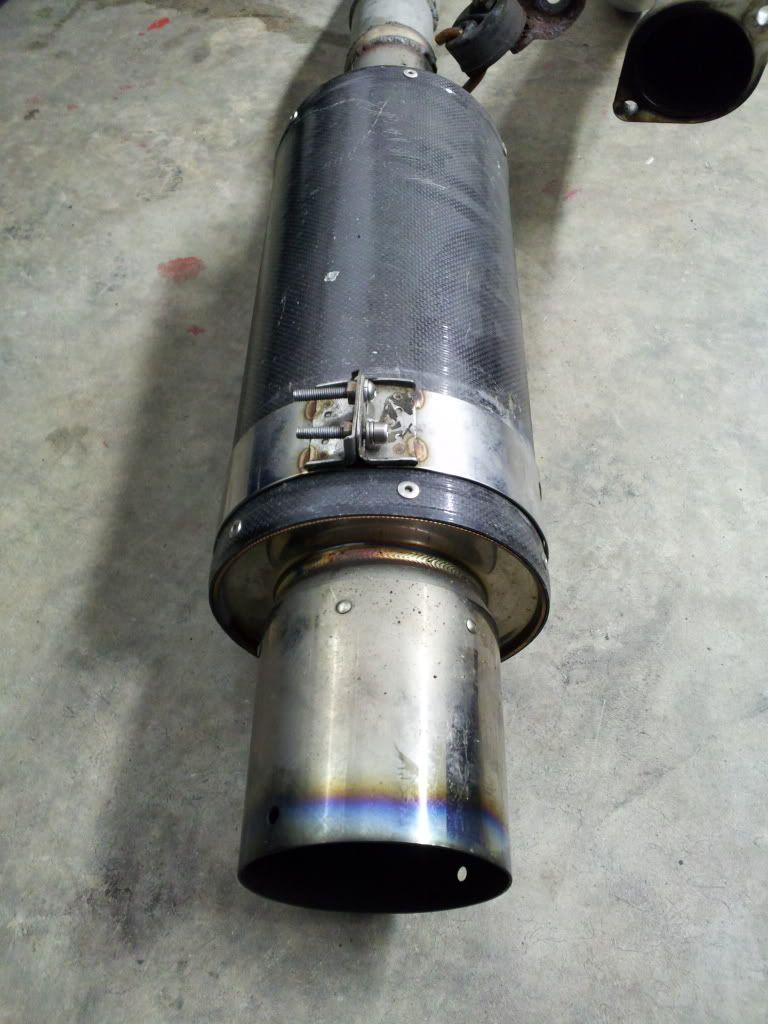
More updates today.. Pick up the full exhaust, HKS down pipe, Tial 44mm wastegate, 4" K and N filter with tubing and clamps, fuel rail with the 880cc injectors, the manifold, the steel braided oil return line with the fittings,new flywheel bolts, and the HKS carbon fiber muffler. I also polished more on the valve covers with the powerball by Mothers. This thing works great. I was skeptical at first to buy it, but said what the hey, its only 21 bucks. I also ordered the HKS BOV and the fitting for the oil return and to mount the BOV.
On the way home, my pickup broke down. I was over two hours away from home also. I think it threw the timing or something.. I something click, click when the gas was pressed, then nothing when left off.. Did this three times, then quit. Tried to restart, just backfired a second, then turned over.. Nothing. Called a friend who lived over an hour away with his truck and trailer and hauled me back home. This sucks. Now something else to tear apart and see whats goin on.. Luckily its a 1985 Dodge Ram 50 Royal edition and it looks pretty straight forward to work on. Its a Mitsubishi motor..
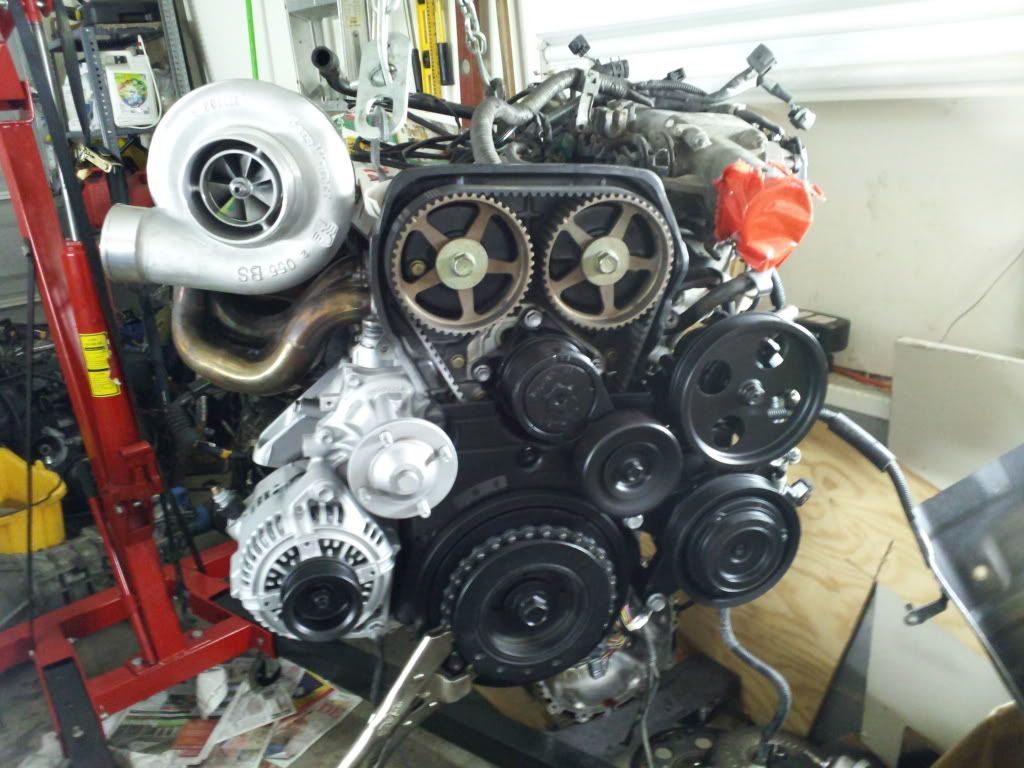
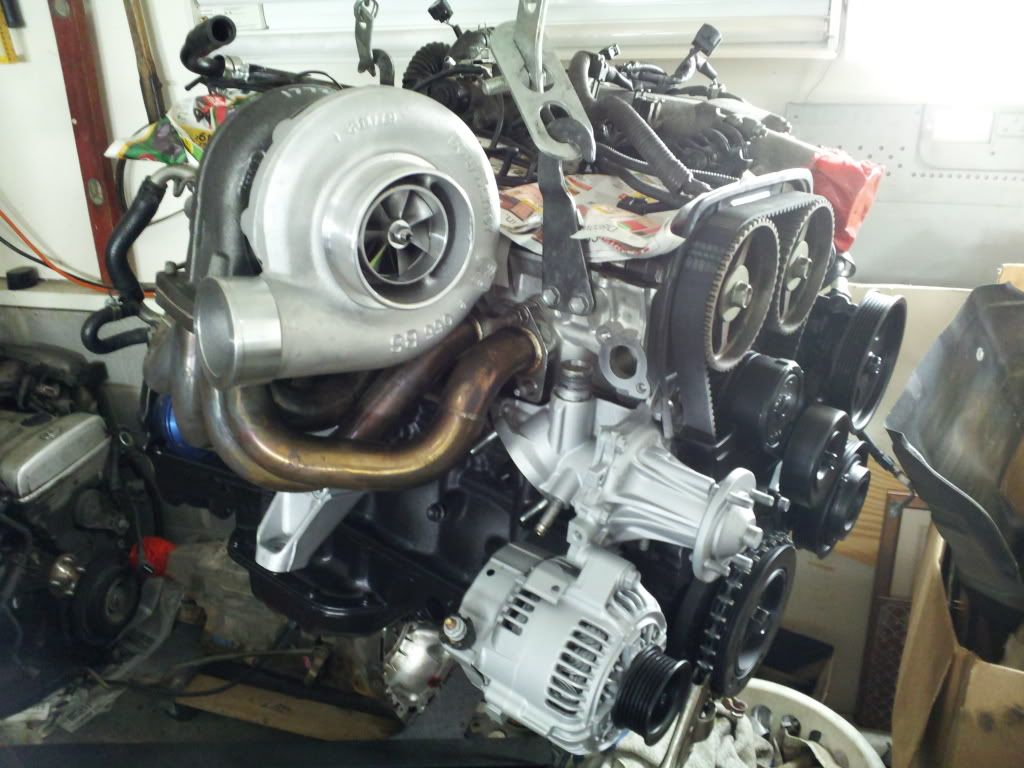
I also mounted the manifold with 2 screws just to set the turbo on and OMG, it looks so good. I cant wait to hear start up with everything so clean and shiny..
Enjoy the pictures, its getting closer. I will be polishing up the intake tubing, the turbo housing, and the manifold.. Of course, I will be taking some pictures along the way.
On the way home, my pickup broke down. I was over two hours away from home also. I think it threw the timing or something.. I something click, click when the gas was pressed, then nothing when left off.. Did this three times, then quit. Tried to restart, just backfired a second, then turned over.. Nothing. Called a friend who lived over an hour away with his truck and trailer and hauled me back home. This sucks. Now something else to tear apart and see whats goin on.. Luckily its a 1985 Dodge Ram 50 Royal edition and it looks pretty straight forward to work on. Its a Mitsubishi motor..
I also mounted the manifold with 2 screws just to set the turbo on and OMG, it looks so good. I cant wait to hear start up with everything so clean and shiny..
Enjoy the pictures, its getting closer. I will be polishing up the intake tubing, the turbo housing, and the manifold.. Of course, I will be taking some pictures along the way.
 10-09-11, 05:49 PM
#101
1JZ Single SC400
Thread Starter
iTrader: (59)
Join Date: Jan 2009
Location: Alabama, Roll Tide!
Posts: 8,518
Likes: 0
Received 15 Likes
on
12 Posts
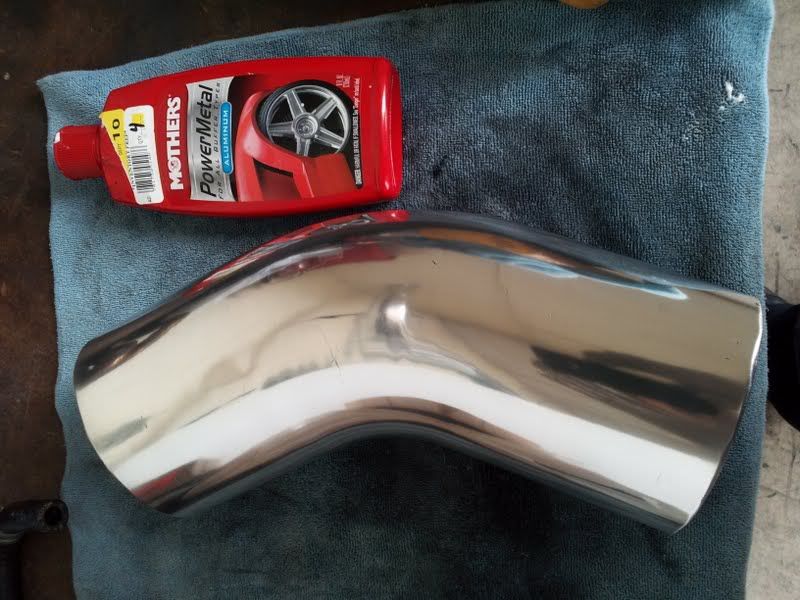
Thank you guys for the compliments and th clarification Lxclusive! I did alot more polishing today and it turned out great, well in my book. I just dont know how long the manifold is going to last this shiny. I used the Mothers polish with the wheel. The results were fantastic. Here are a few pictures of what I did today.
Will high temp clear by VHT or something else, hold up this clear and amazing look, or regardless, will it turn over time? I need to know before I mount it tomorrow. Thanks!
The original intake with slight scatches and imperfections..
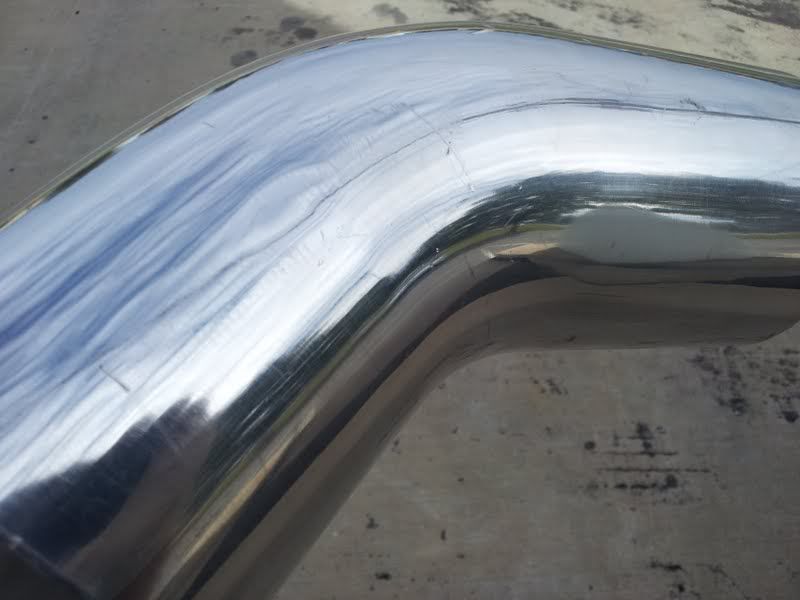

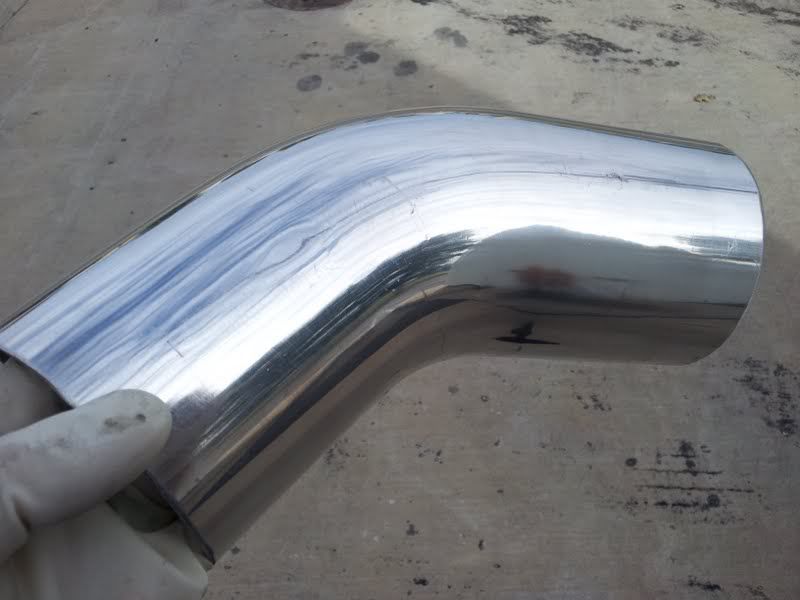
Now after wetsanding with 600 grit and using the Mother powerball 6 times!
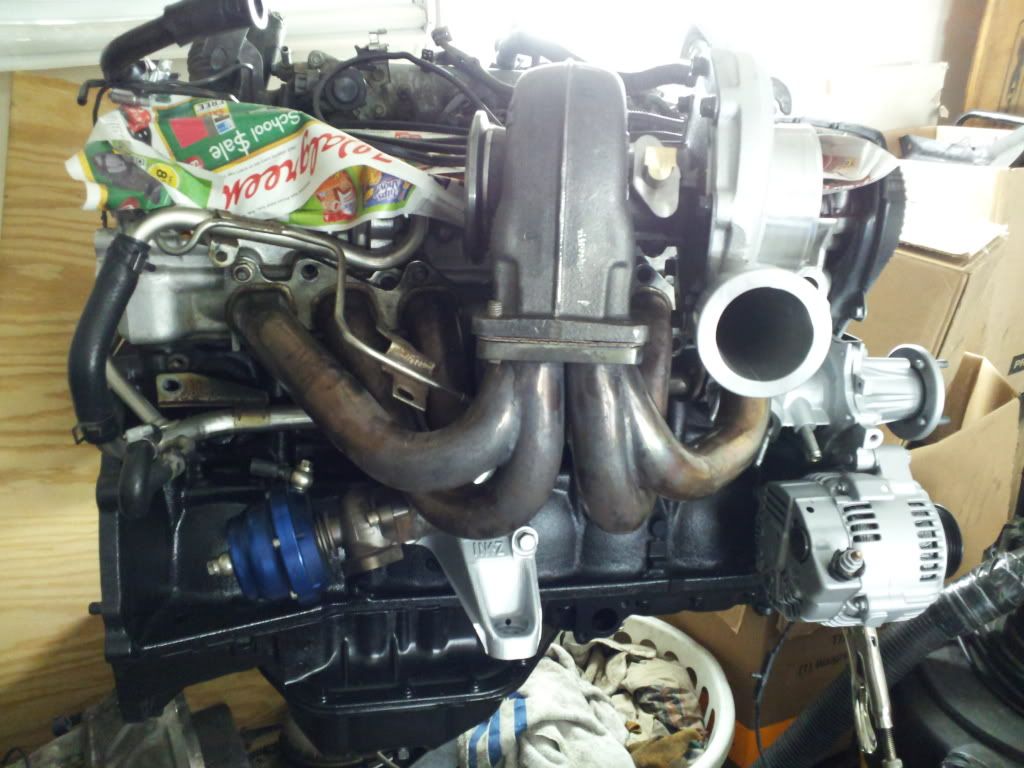
The original manifold when I picked it up...
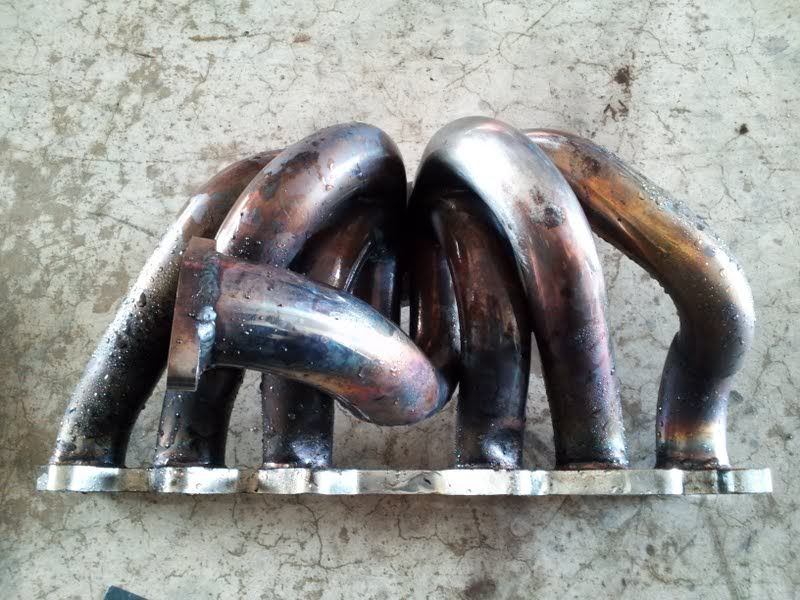
After 3 hours and buffing with 320 grit, then 600, then 1000 grit sandpaper...

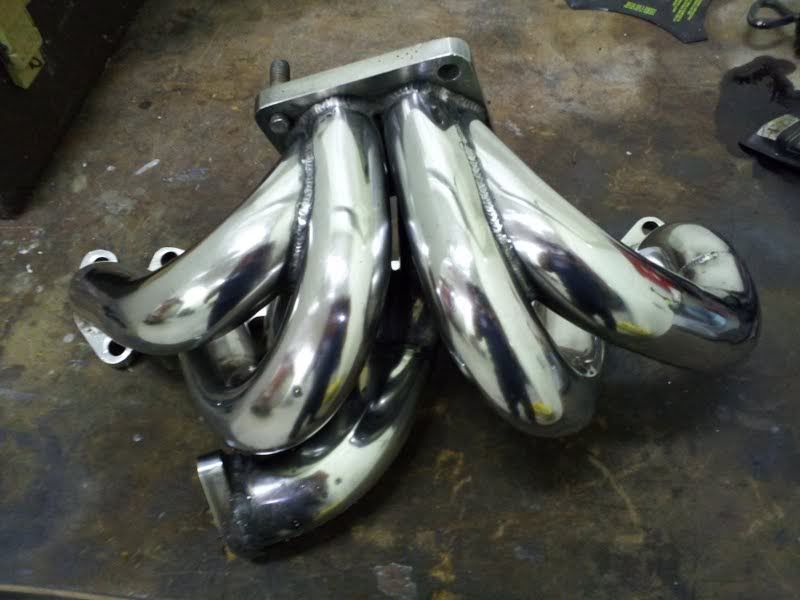

I am sold on the Mothers PowerBall!
Will high temp clear by VHT or something else, hold up this clear and amazing look, or regardless, will it turn over time? I need to know before I mount it tomorrow. Thanks!
The original intake with slight scatches and imperfections..
Now after wetsanding with 600 grit and using the Mother powerball 6 times!
The original manifold when I picked it up...
After 3 hours and buffing with 320 grit, then 600, then 1000 grit sandpaper...
I am sold on the Mothers PowerBall!
10-09-11, 06:38 PM
#103
gte & na-t
iTrader: (44)
Join Date: Jan 2007
Location: Maryland /Germantown
Posts: 5,139
Likes: 0
Received 7 Likes
on
7 Posts
^+1000 yep that;s correct i used the 2000* ceramic coat that stuff flakes off in 2 hours lol waste of time.
Get is jet coated black or aluminum finish i am going to do the aluminum finish on mine, manifold, dp, exhaust housing.
Or get get DEI wrap it's some new stuff , good stuff not the average exhaust wrap ! just wrap you dp with it and get a blanket for you turbo that will keep the temp down in the engine bay.
And you tunnell will be hot , and i usually put some insulator in inside the car around the tunnell , and make sure you seal the stock auto shifter hole because the heat will come in the cabin through that hole.
10-13-11, 10:27 AM
#104
1JZ Single SC400
Thread Starter
iTrader: (59)
Join Date: Jan 2009
Location: Alabama, Roll Tide!
Posts: 8,518
Likes: 0
Received 15 Likes
on
12 Posts
More update..
Removed the wiring harness from the motor.. What a pain to go through the throttle body. I also removed the throttle body tubing, throttle body, installed the underside of the valve cover plates. Getting ready for polishing them as well this afternoon. I installed the 800cc injectors. Bought a three gauge pod holder from Advanced Auto and the gauges fits great. I modified the pod to make it look more appealing and fit flush. Will post more on that later. Not much more, just been busy.
I was thinking of wrapping the manifold, but it just doesnt look appealing and clean. I know it will keep the temps down, but the look is important to me and MY build. I may look into the ceramic coating and just having them redone all together. Thanks for the input fellas. Its getting there, slowly but surely. Will post several pictures next time.
Last edited by 1JZPWRD; 10-13-11 at 10:33 AM.
10-13-11, 07:34 PM
#105
Lead Lap
iTrader: (1)

Join Date: Jan 2009
Location: CO
Posts: 660
Likes: 0
Received 0 Likes
on
0 Posts
I can speak for the ceramic coating on the manifold. I had my buddy do my old E6 header on my 2.3T motor in my SVO and it really kept underhood temps down. A couple of us had him do ours all at the same time, and it really holds up and the thermal effects are awesome.
www.pristinepc.com if you want to ship, he does outstanding work.
www.pristinepc.com if you want to ship, he does outstanding work.