HiPSI's NA-T / Build Thread - Billet 6265 in store


 09-28-11, 05:20 PM
#52
Finally got a couple of the bugs worked out on the FSmoto intake manifold install. Due to the turbulence entering the IACV port it makes a really loud whistle that I was trying to suppress. Looks like I'll be re-routing this line either to the upper IC pipe or air filter to hopefully quiet it down.
Installed my VVTi Coil on plug & 7mGTE CPS w/ billet cover:


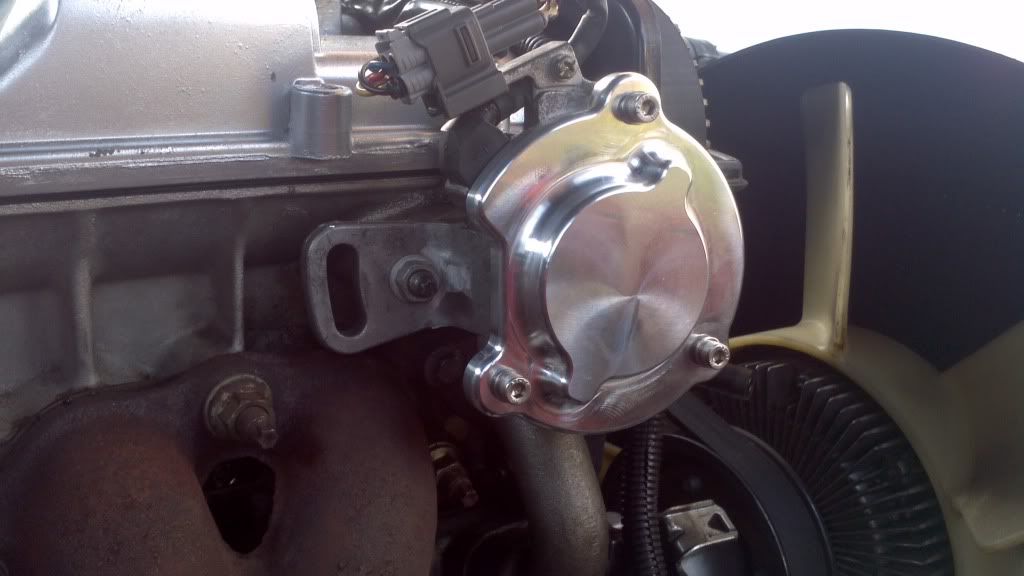
It was for the most part fairly straight forward for the wiring however the settings in AEM kinda had me sweating bullets as I still don't fully know my way around the EMS. I finally found this thread on supraforums that had some settings to input into the ignition portion. I wasn't going to install the 7mGTE CPS right away but I couldn't get my car to start so I went ahead and just got it out of the way.
Thread with alot of useful info when going distributorless with AEM:
http://www.supraforums.com/forum/sho...ettings-in-AEM
I made a cardboard template tracing out the stock distributors mounting hole location. I then took this template and put it on the 7mgte CPS and marked where the stud goes through and tried to get it as center as possible. I then drilled, and evened out the front of the CPS so the nut could screw down. The aluminum casting on the front of the cps I grinded down flush so the nut could screw down flat.
I then made sure the timing was at TDC, centered the CPS gear hole, and pushed it in and tightened it down. Once this was done I had to make sure and re-sync timing. I also made sure to copy the settings from the above thread for each ignition tooth. I also adjusted my high and low settings for the crank and cam signals to 6000. Adjusted spark teeth to 12. Next is to pull apart the gauge cluster and jump one of the circuits to get my Tach signal back.
My advice is to make sure you've got a buddy nearby that is AEM knowledgeable because I did this all by myself and lucked out. This however has forced me to learn the system which I am grateful for.
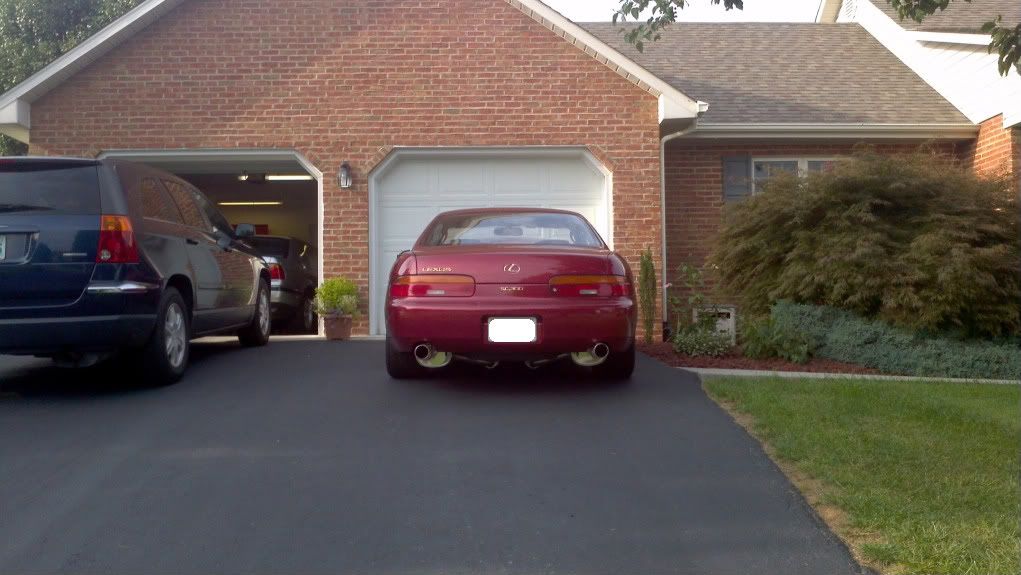
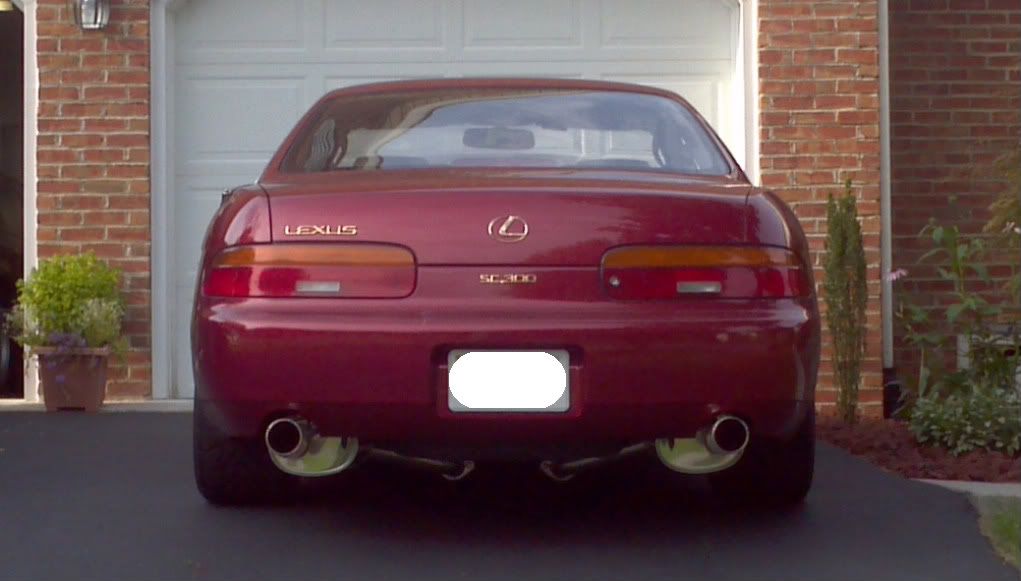
Some eye-level pix of the Fujitsubo cat-back that were requested earlier:
Up next is to finish mounting the ETS intercooler, and make my IC pipes.
Installed my VVTi Coil on plug & 7mGTE CPS w/ billet cover:
It was for the most part fairly straight forward for the wiring however the settings in AEM kinda had me sweating bullets as I still don't fully know my way around the EMS. I finally found this thread on supraforums that had some settings to input into the ignition portion. I wasn't going to install the 7mGTE CPS right away but I couldn't get my car to start so I went ahead and just got it out of the way.
Thread with alot of useful info when going distributorless with AEM:
http://www.supraforums.com/forum/sho...ettings-in-AEM
I made a cardboard template tracing out the stock distributors mounting hole location. I then took this template and put it on the 7mgte CPS and marked where the stud goes through and tried to get it as center as possible. I then drilled, and evened out the front of the CPS so the nut could screw down. The aluminum casting on the front of the cps I grinded down flush so the nut could screw down flat.
I then made sure the timing was at TDC, centered the CPS gear hole, and pushed it in and tightened it down. Once this was done I had to make sure and re-sync timing. I also made sure to copy the settings from the above thread for each ignition tooth. I also adjusted my high and low settings for the crank and cam signals to 6000. Adjusted spark teeth to 12. Next is to pull apart the gauge cluster and jump one of the circuits to get my Tach signal back.
My advice is to make sure you've got a buddy nearby that is AEM knowledgeable because I did this all by myself and lucked out. This however has forced me to learn the system which I am grateful for.
Some eye-level pix of the Fujitsubo cat-back that were requested earlier:
Up next is to finish mounting the ETS intercooler, and make my IC pipes.
11-01-11, 03:20 PM
#54
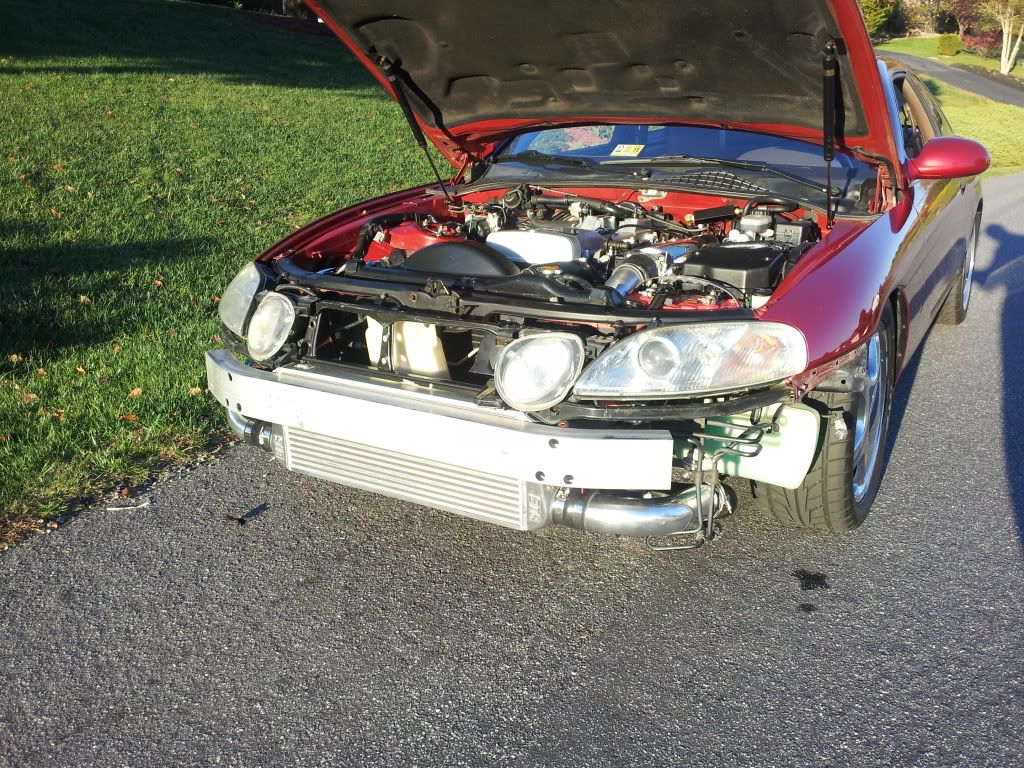
Finally got around to installing my ETS FMIC. I had a local weld shop weld on 2 12" long aluminum stock straight out on the bottom of the IC. This allowed me to bend it and bolt the intercooler down from the bottom as well.
The cold side of the intercooler piping is pretty much done, not alot of options on that side, it's a tight fit. Next I'll have to have my tial flange welding and IAT sensor bung welded on. Hot side, passenger side of the IC piping is temporary for now. It's pretty much an expensive inter-Fooler setup at the moment, as it's just feeding a 3" filter in the engine bay until the turbo is installed") . I was able to keep my stock horn and coolant reservoir with this IC which made the install fairly straight forward.
. I was able to keep my stock horn and coolant reservoir with this IC which made the install fairly straight forward.
I'll have to trim some of the bumper where the lower IC pipes elbow out of the intercooler.
The cold side / drivers side is 3", hot side / passenger side is 2.5".

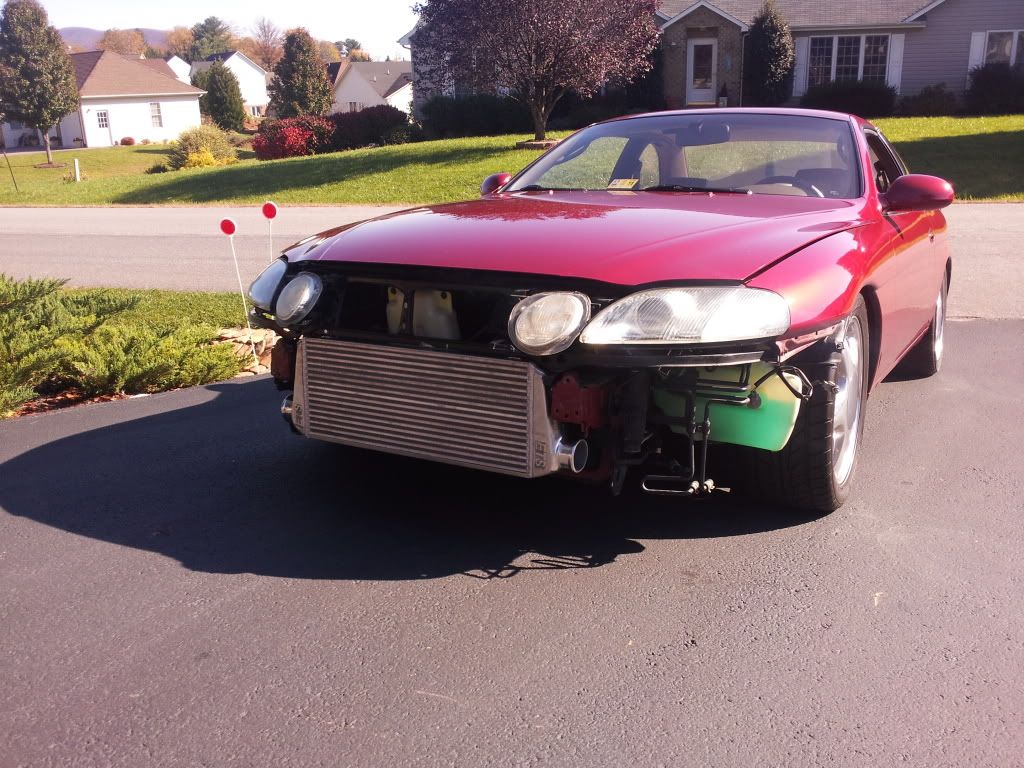
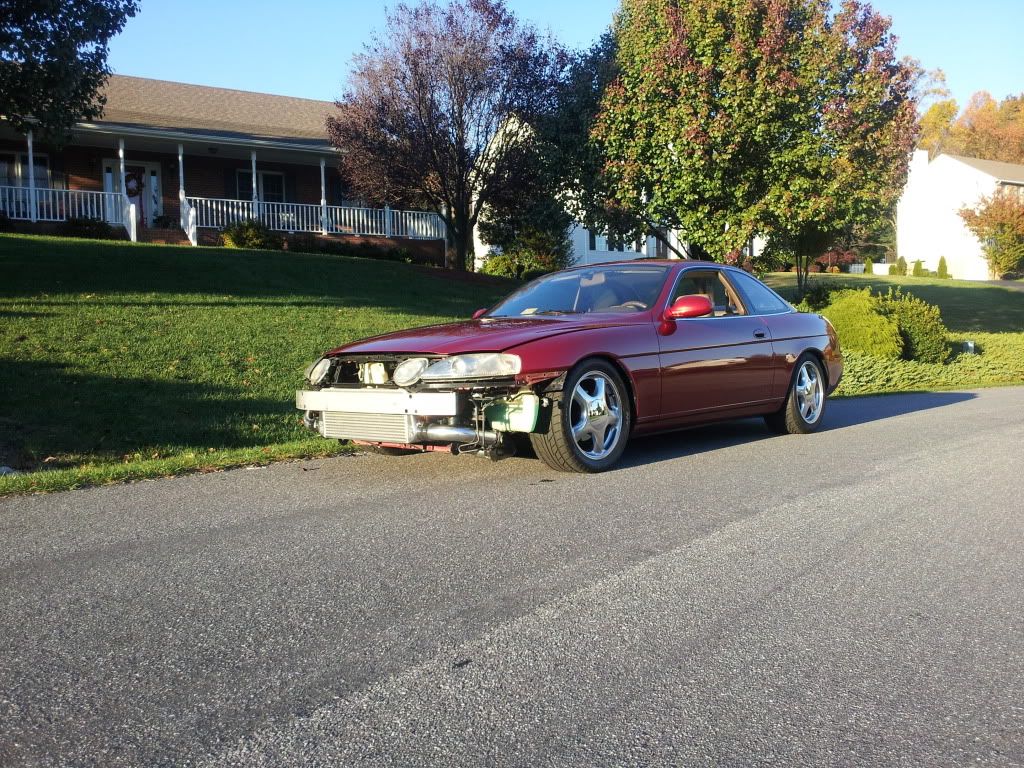
The bumper support fits perfect, but does hide a good portion of the intercooler.


The cold side of the intercooler piping is pretty much done, not alot of options on that side, it's a tight fit. Next I'll have to have my tial flange welding and IAT sensor bung welded on. Hot side, passenger side of the IC piping is temporary for now. It's pretty much an expensive inter-Fooler setup at the moment, as it's just feeding a 3" filter in the engine bay until the turbo is installed
. I was able to keep my stock horn and coolant reservoir with this IC which made the install fairly straight forward. I'll have to trim some of the bumper where the lower IC pipes elbow out of the intercooler.
The cold side / drivers side is 3", hot side / passenger side is 2.5".
The bumper support fits perfect, but does hide a good portion of the intercooler.


 11-01-11, 09:29 PM
#58
Driver
Join Date: Mar 2011
Location: Canada, Alberta, Calgary
Posts: 162
Likes: 0
Received 0 Likes
on
0 Posts
so you are just driving around the block with your stock manifold dumping out, lol i like it!
but anyways sweet build really like what you did with the intake manifold and the distributor delete
but anyways sweet build really like what you did with the intake manifold and the distributor delete
