
My 04-06 LS430 merged w/ a 98-00 LS400 bumper Project (heavily loaded w/ pix)
 03-15-10, 10:46 AM
#1
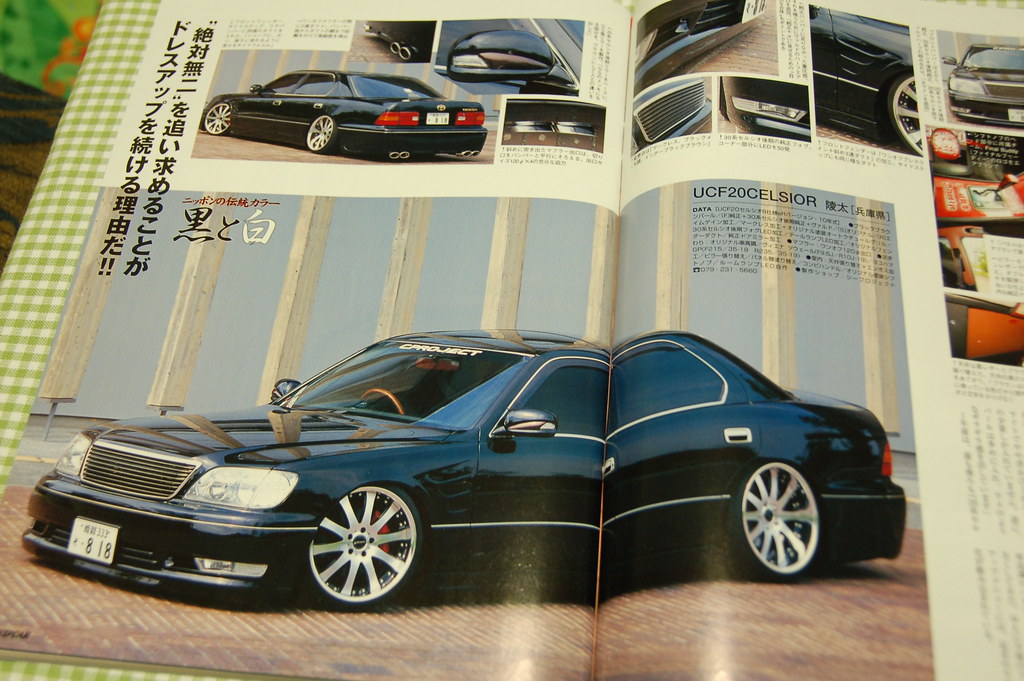
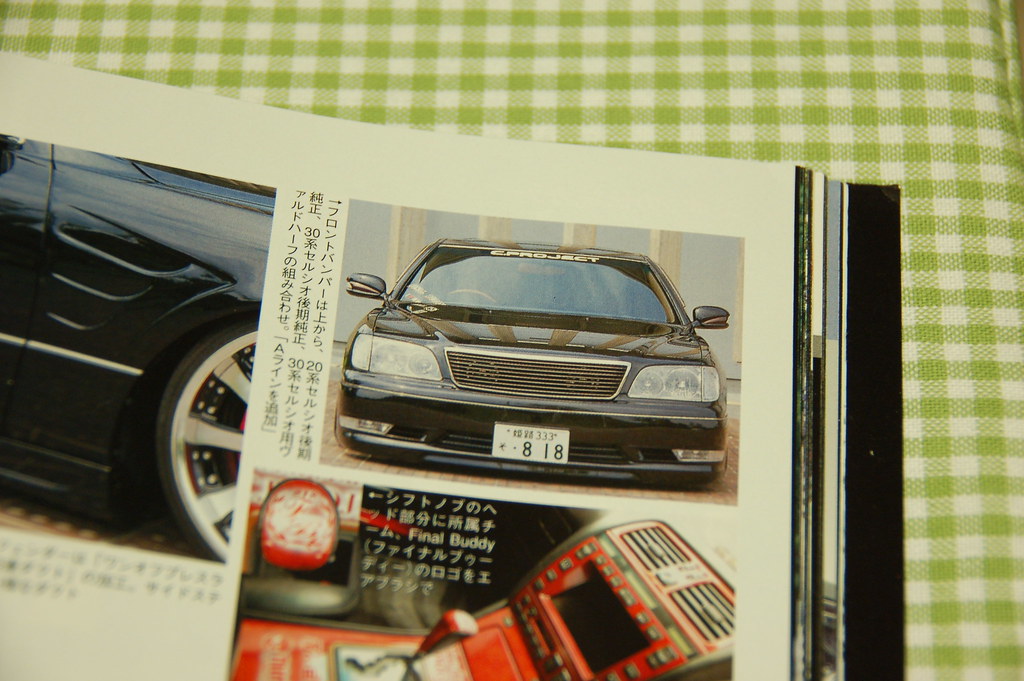
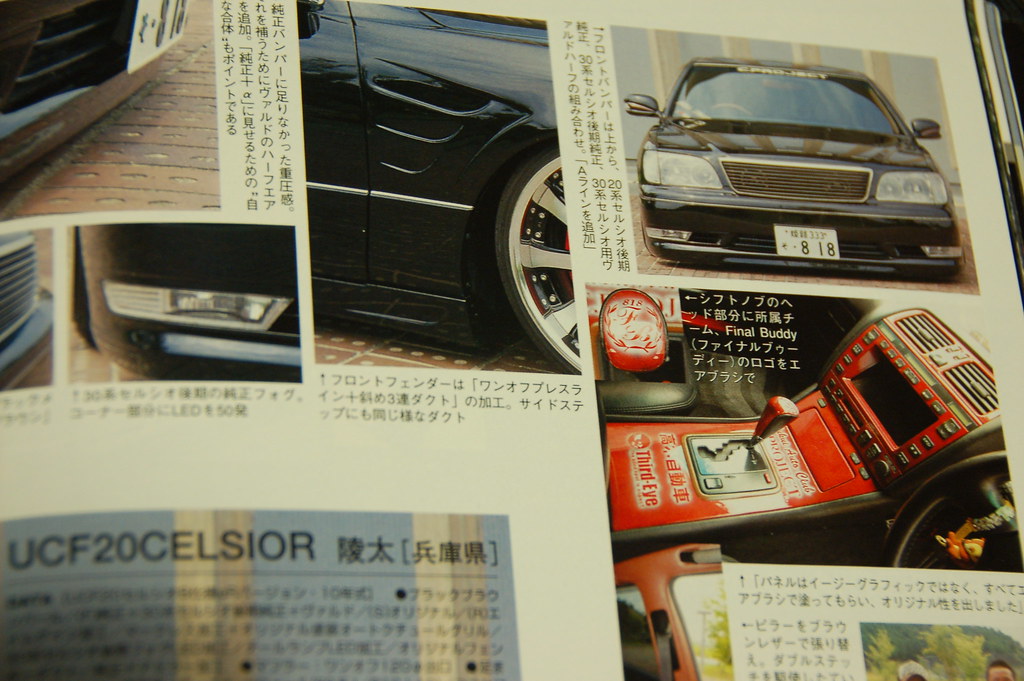
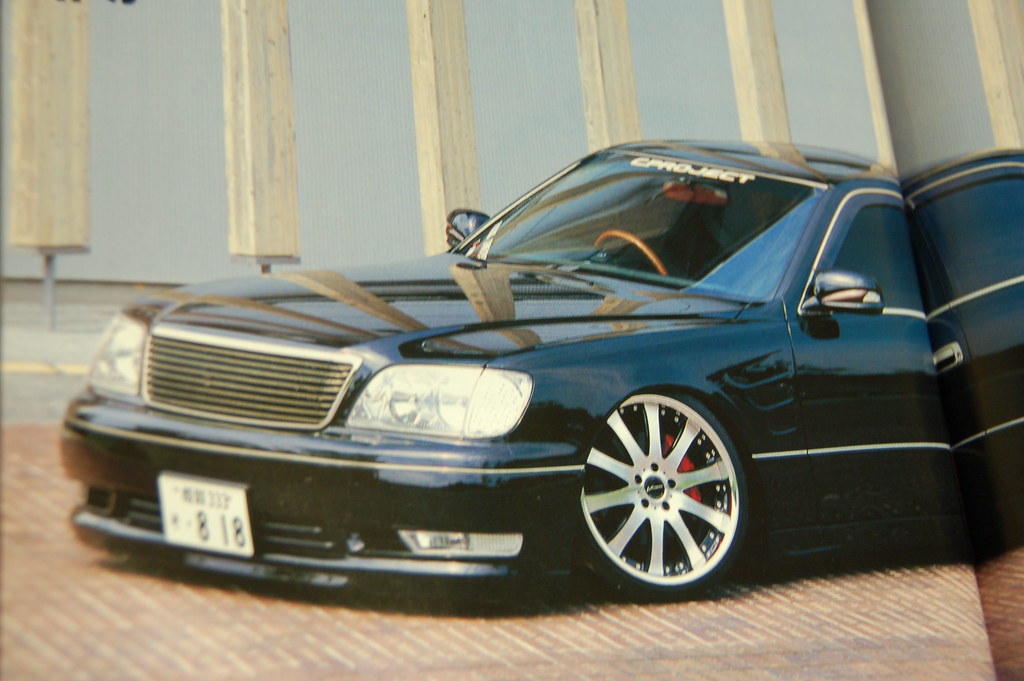
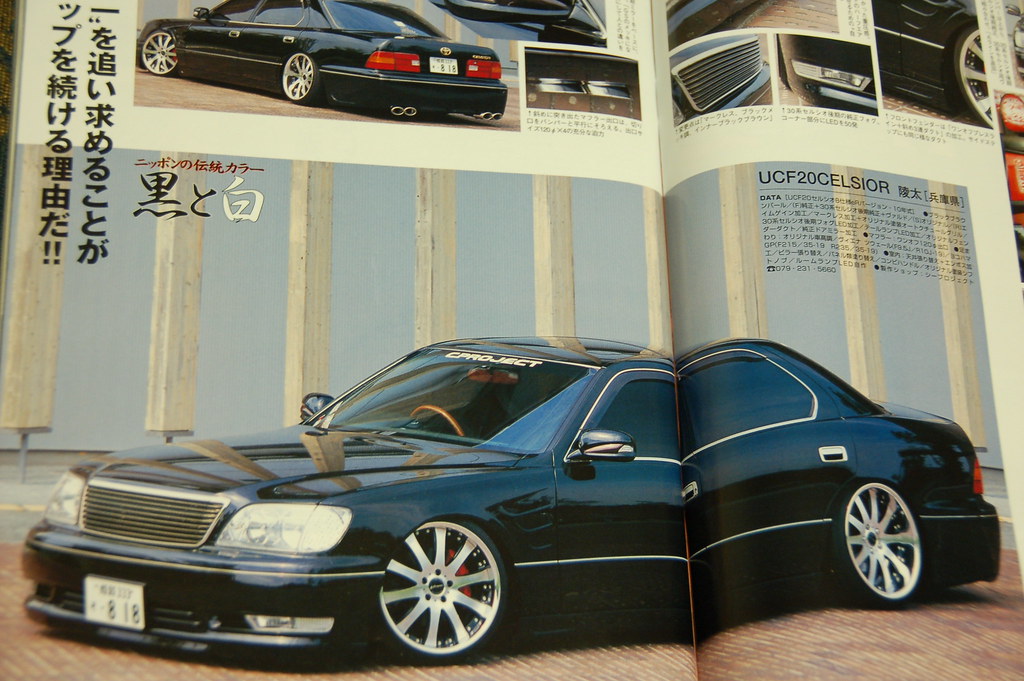
I was inspired by this car I saw one day in one of my Japanese Vip Magazines. So that's where I got the idea for this project. Here are some scans of the car from my magazine:


 03-15-10, 10:53 AM
#5
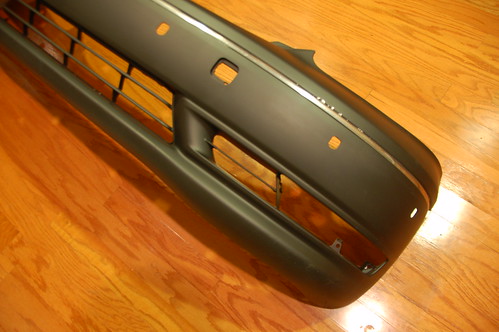
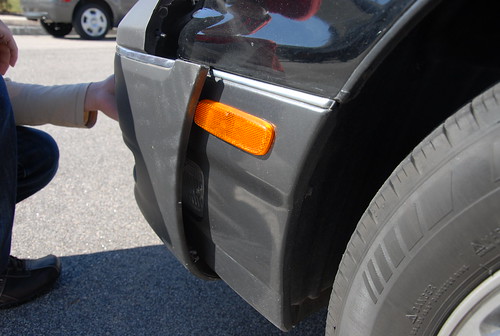
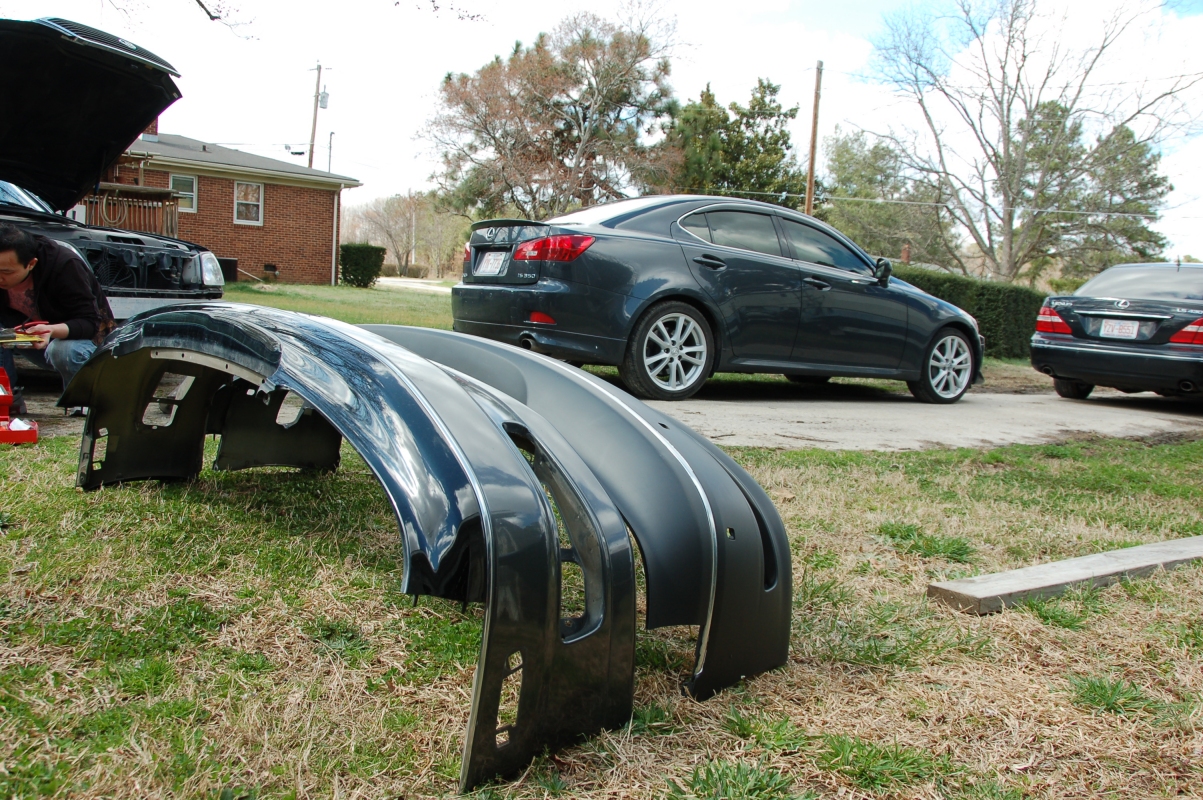
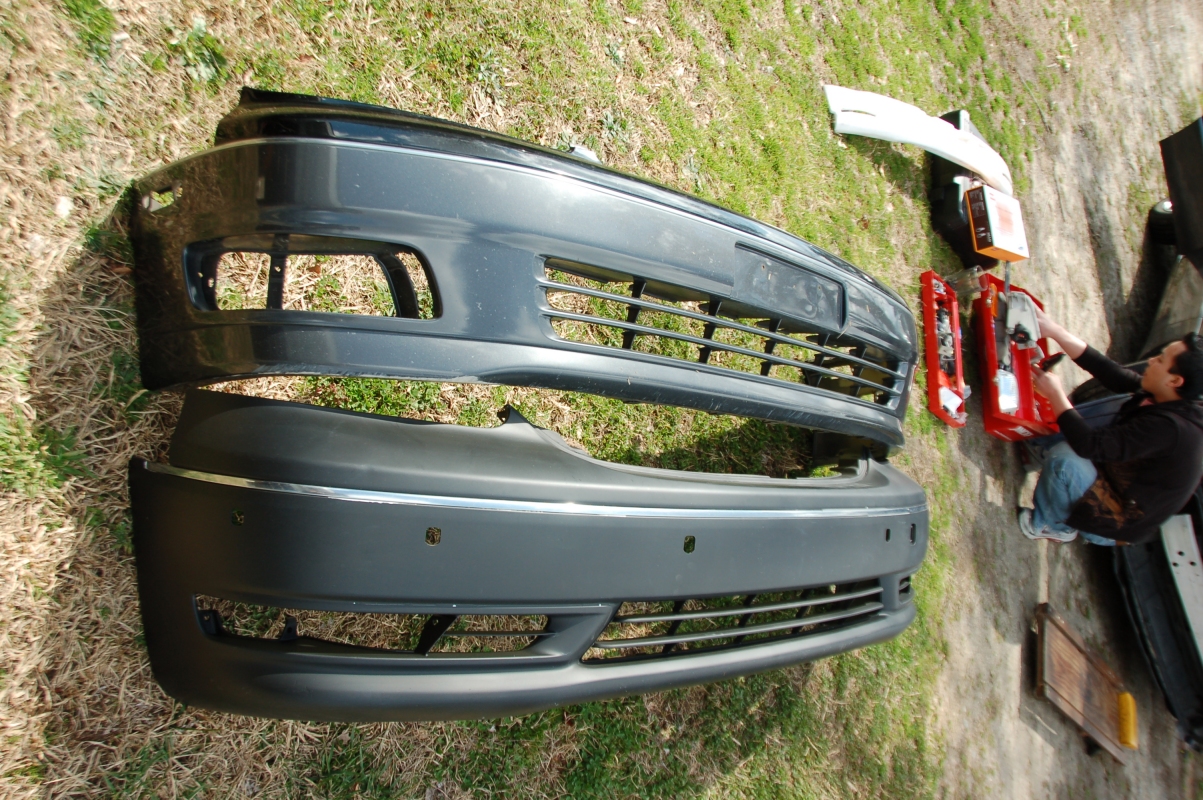
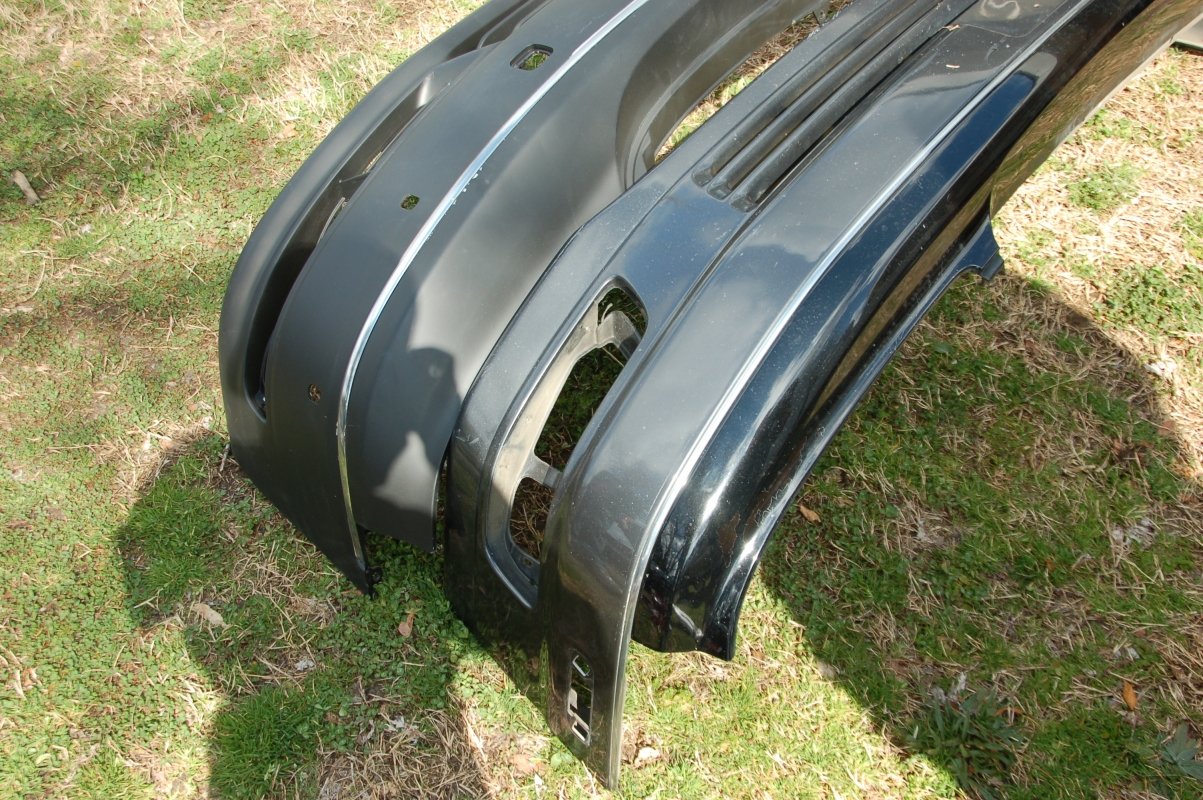
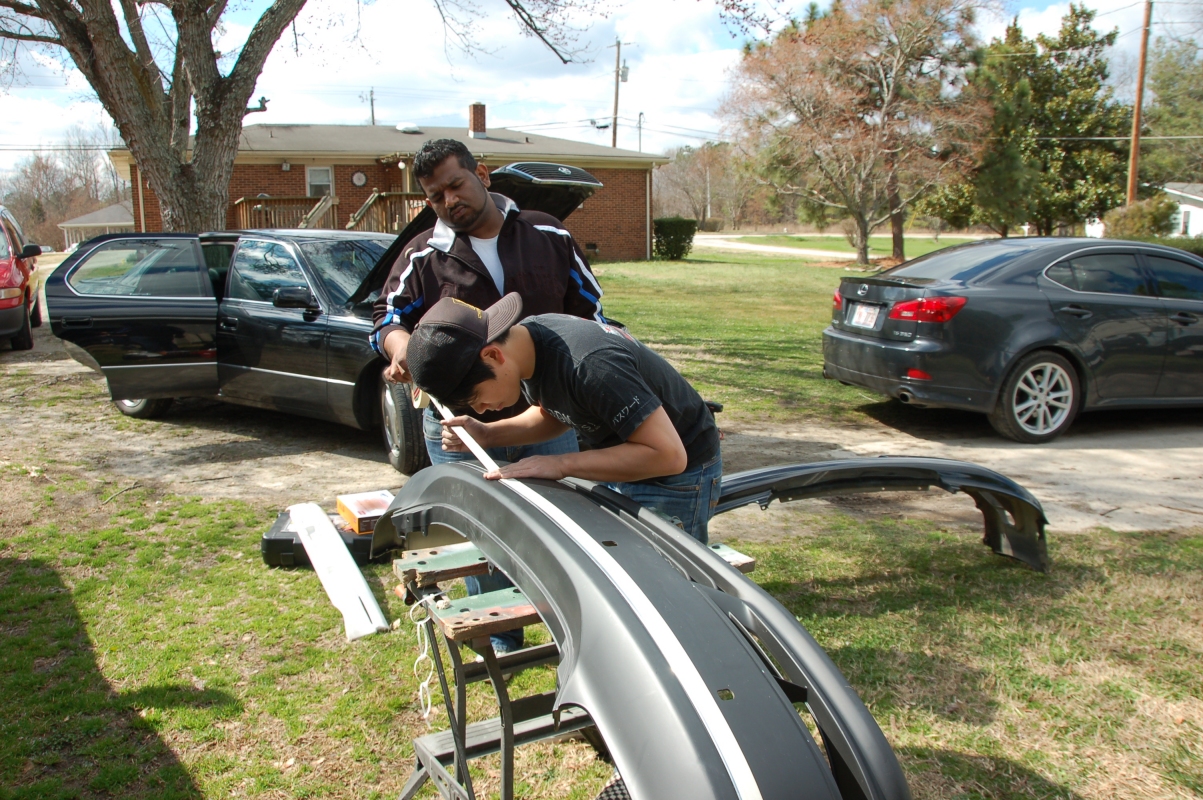
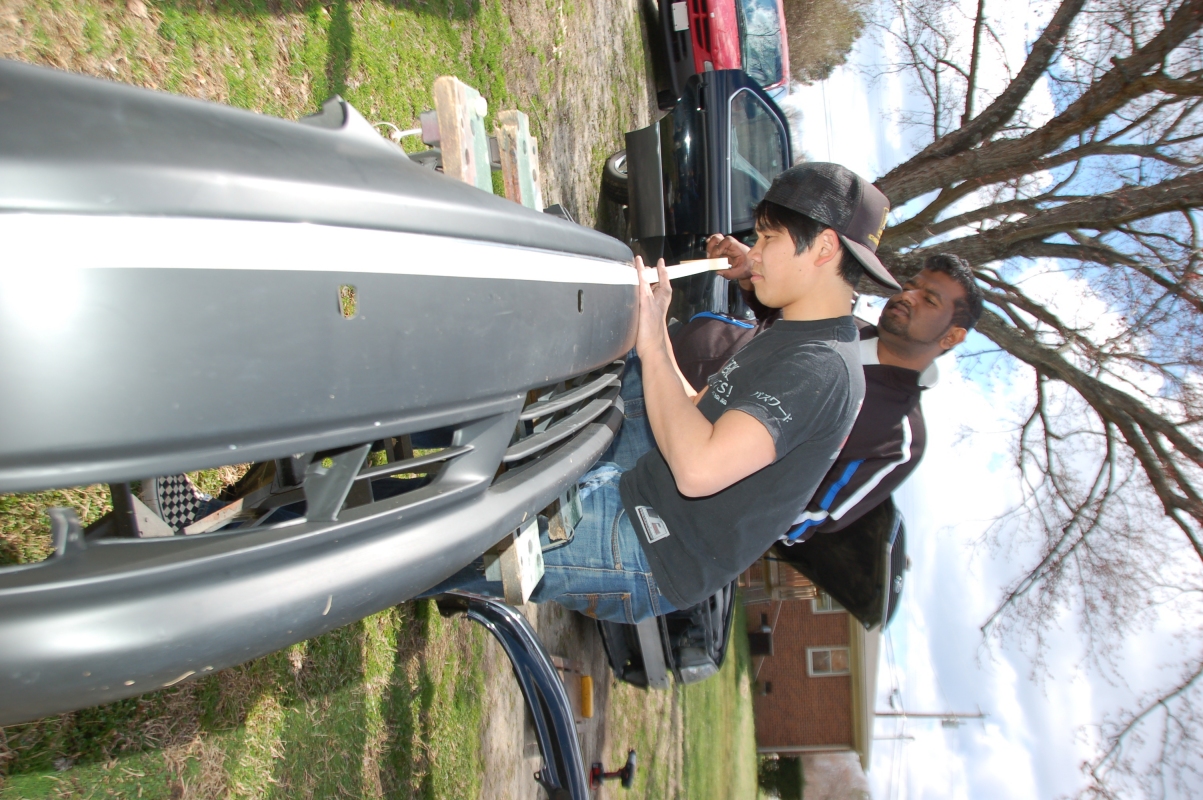
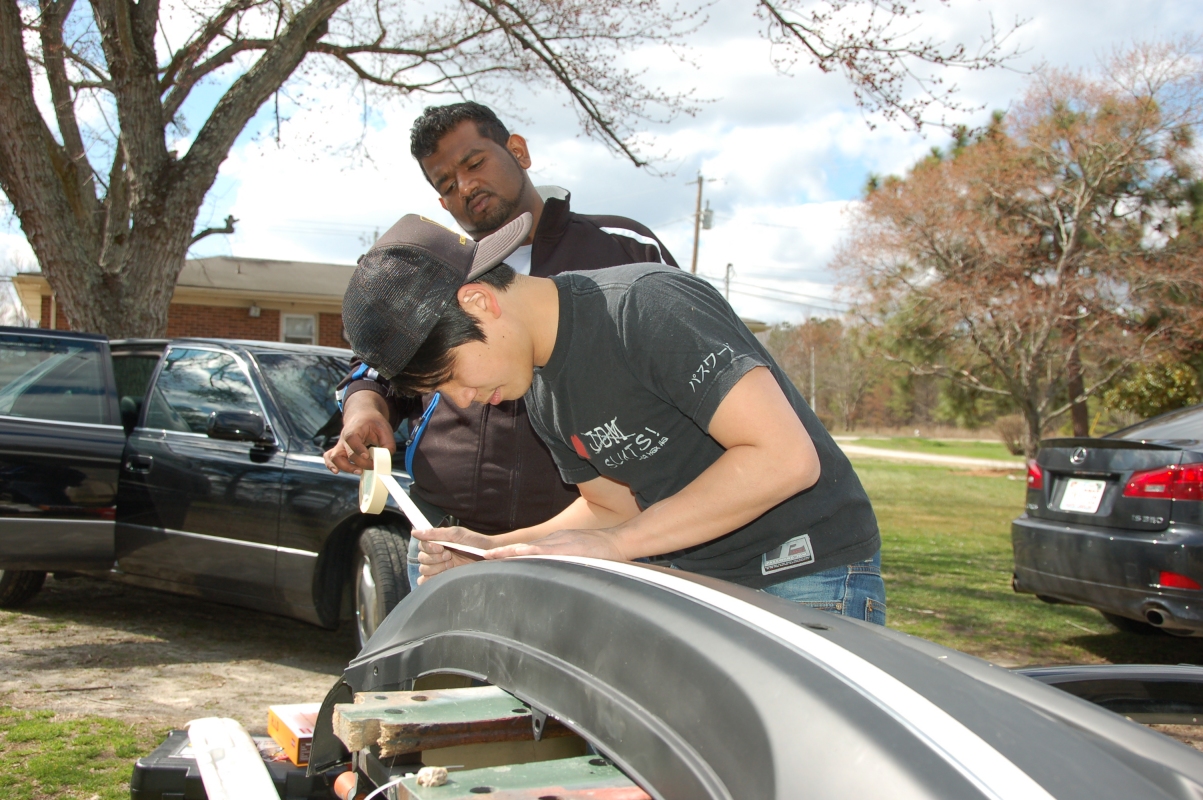
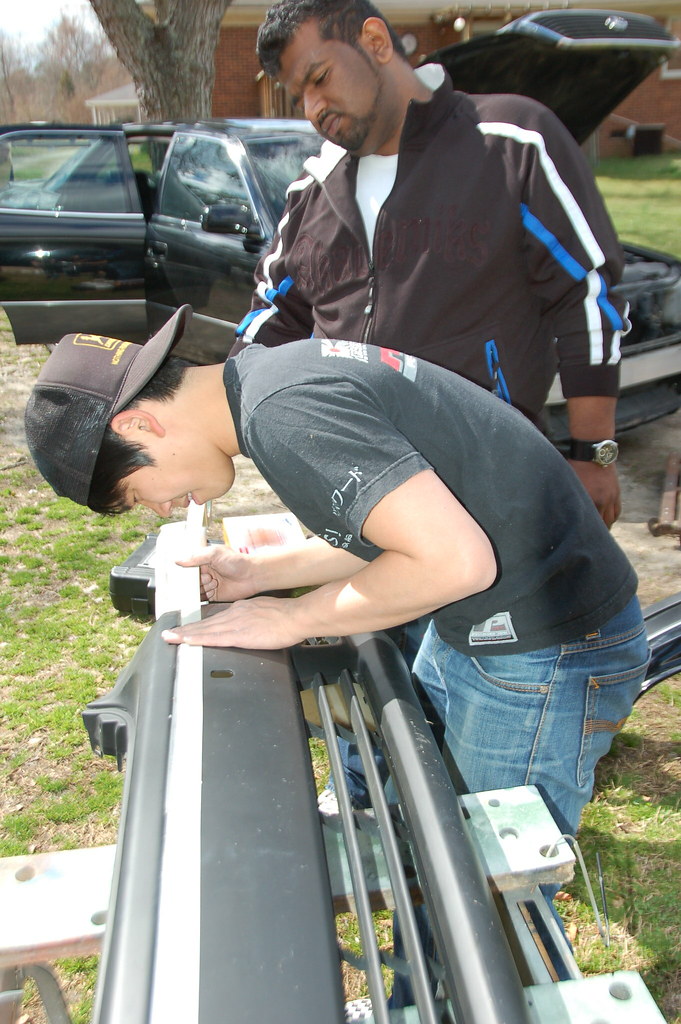
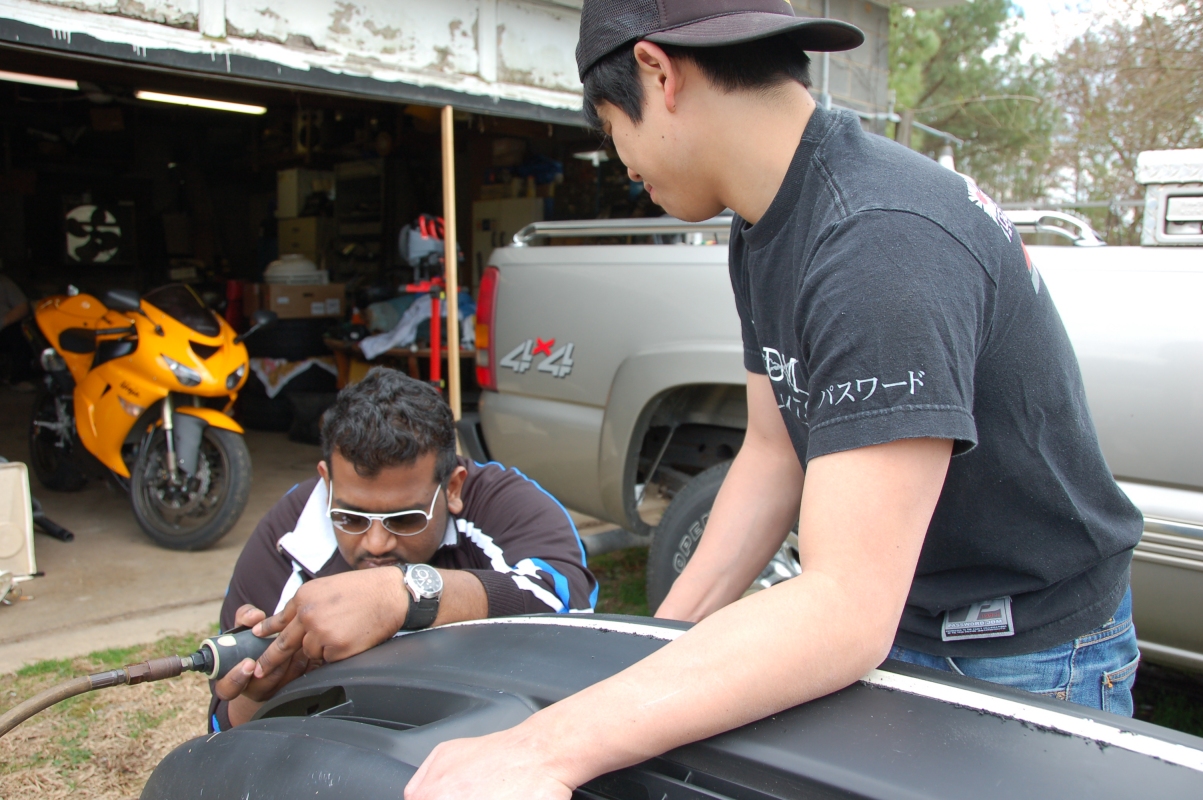
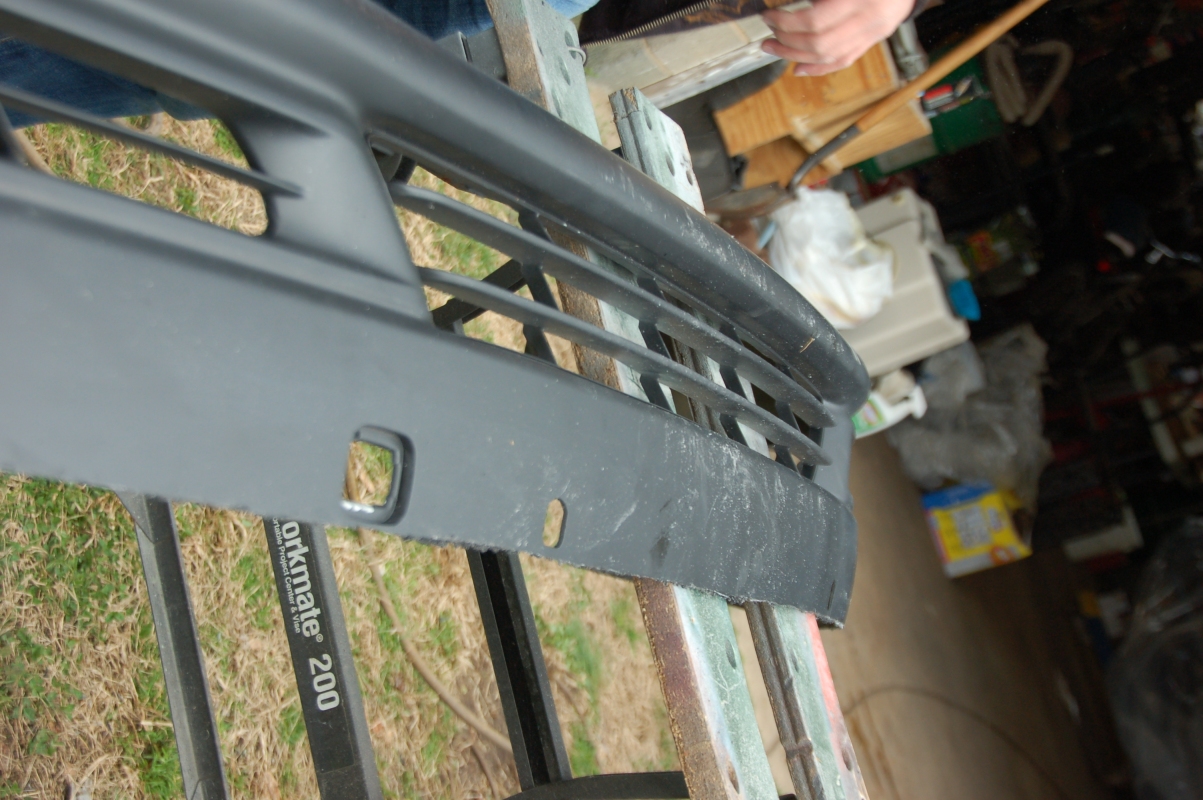
SECOND, We masked off the line where we wanted to cut on both bumpers. We used the chrome lining as a guide to keep our line as straight as possible.
Then we started cutting, making sure to score it first before actually cutting through. Don't forget to wear some kind of eye protection, and that plastic gets really hot. Don't try to flick it off, cause it'll stick to your hands and it will burn you. Speaking from experience.:

Then we started cutting, making sure to score it first before actually cutting through. Don't forget to wear some kind of eye protection, and that plastic gets really hot. Don't try to flick it off, cause it'll stick to your hands and it will burn you. Speaking from experience.:


 03-15-10, 10:55 AM
#7
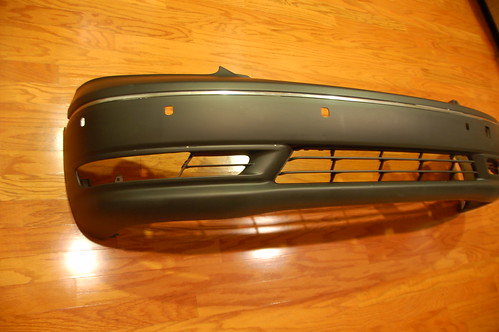
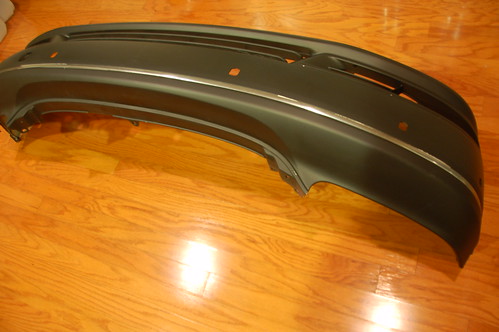
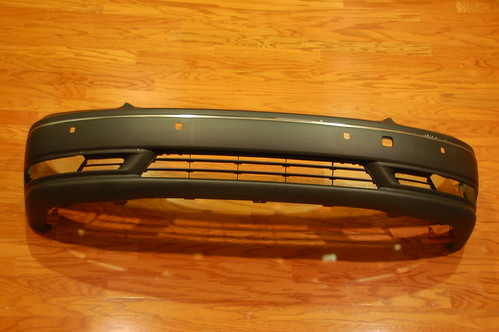
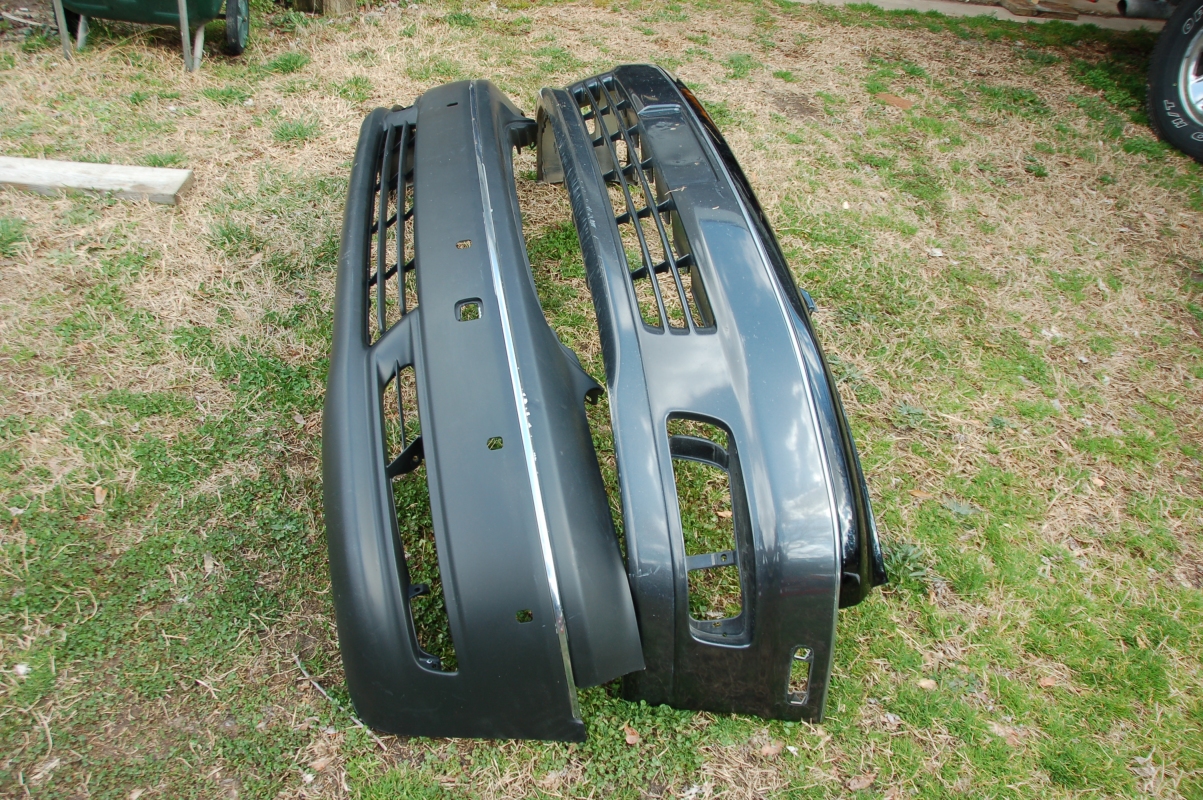
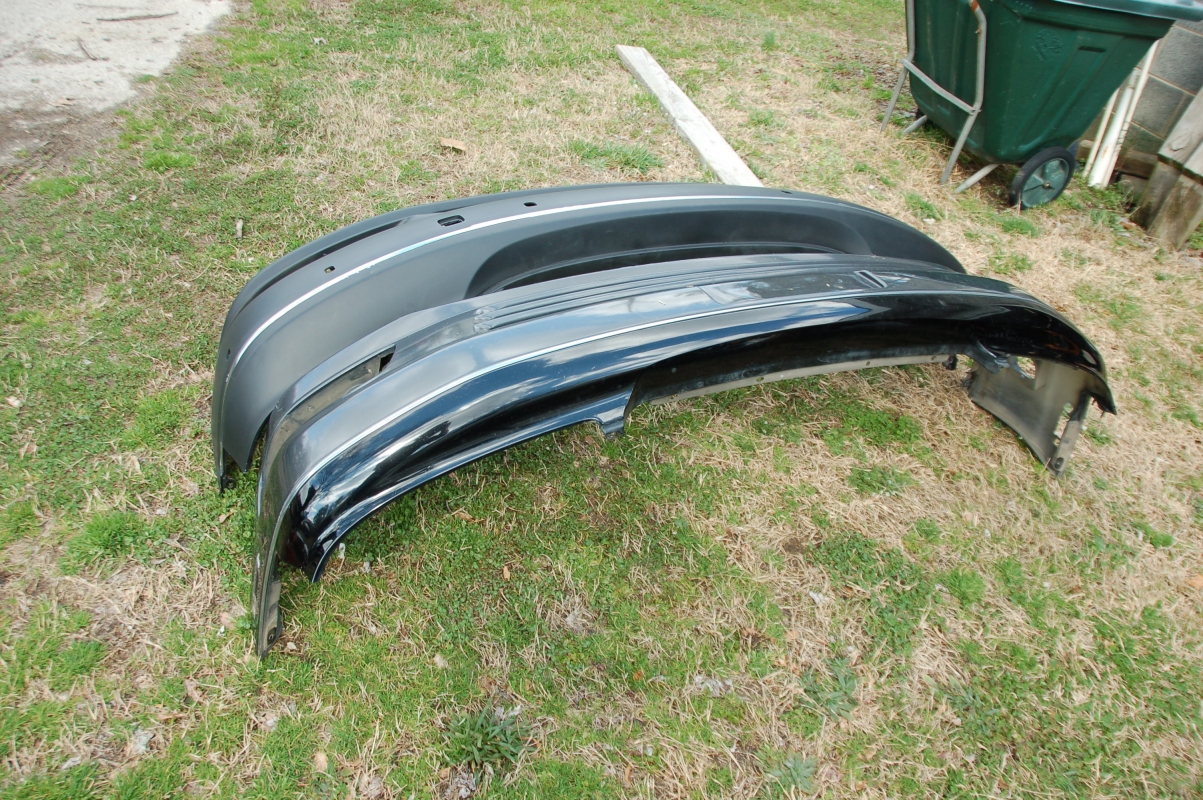
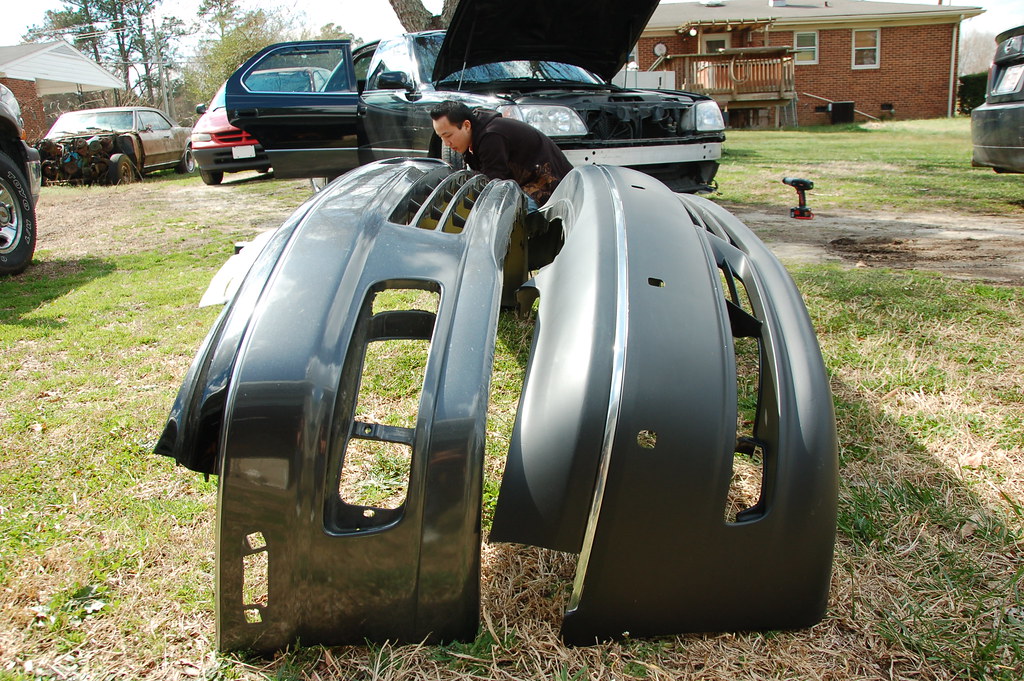
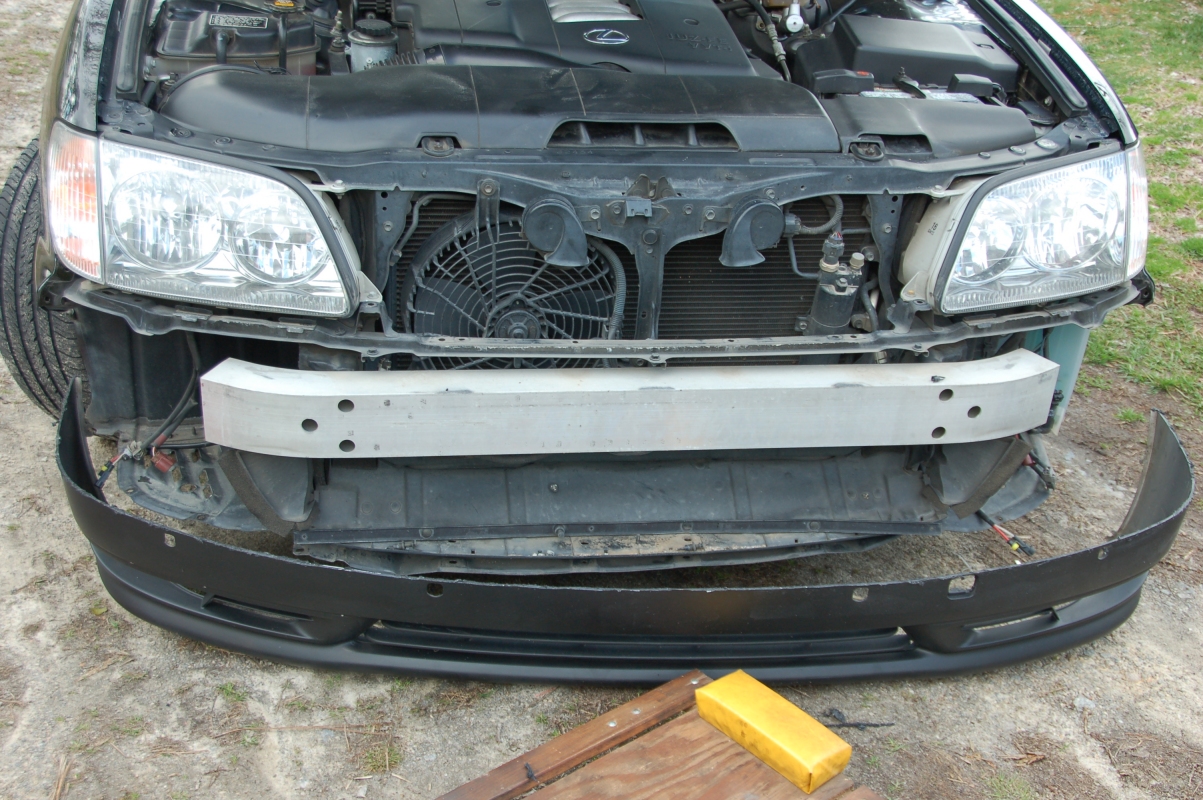
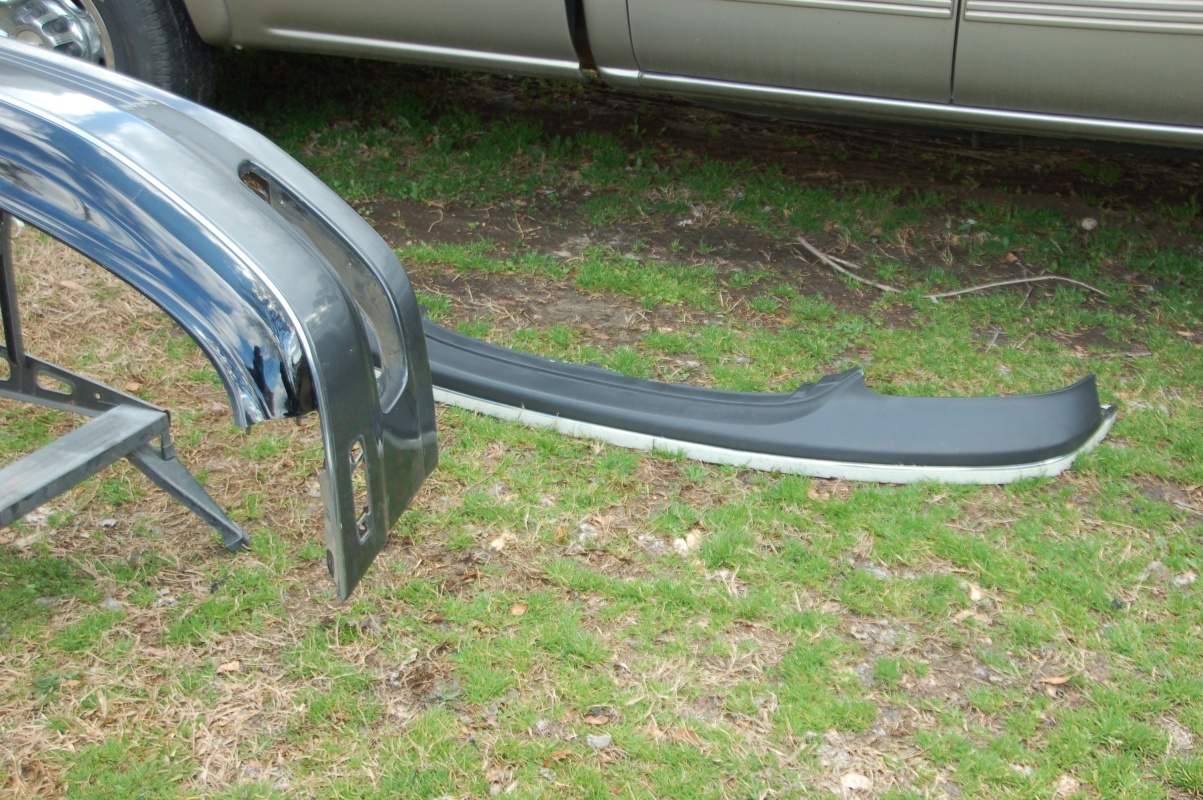
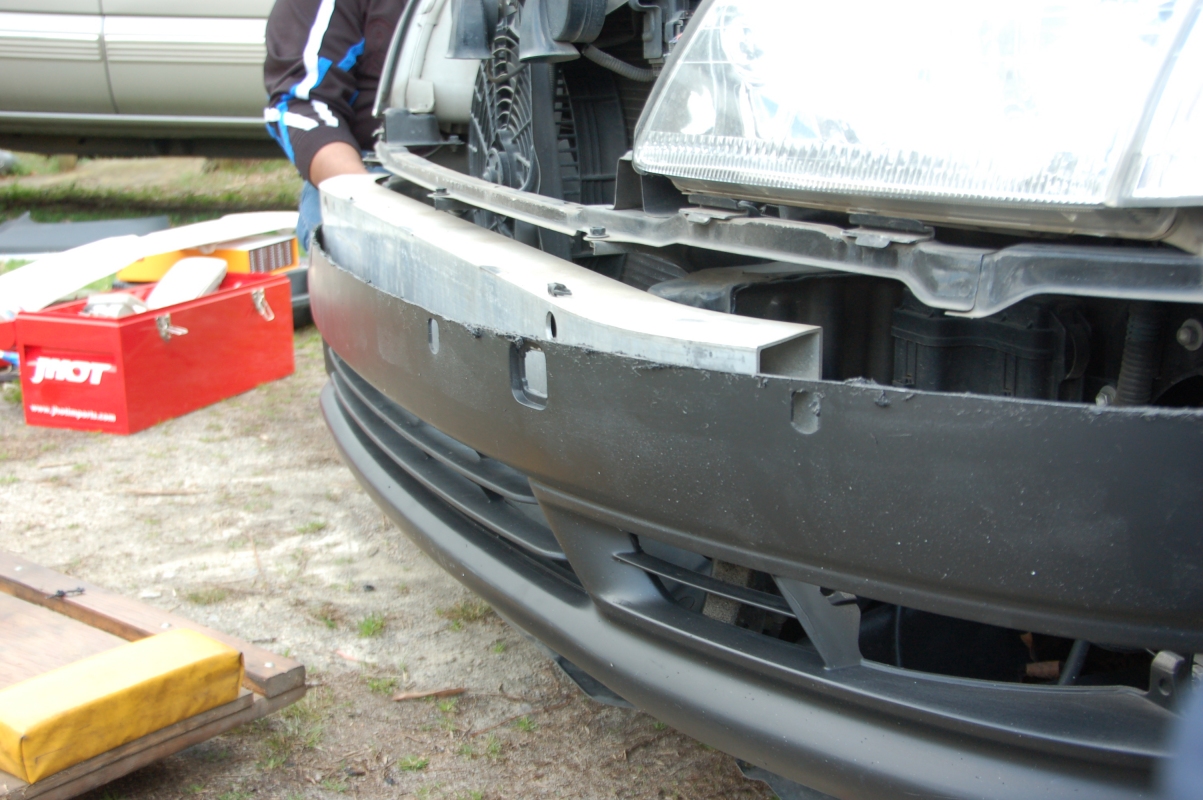
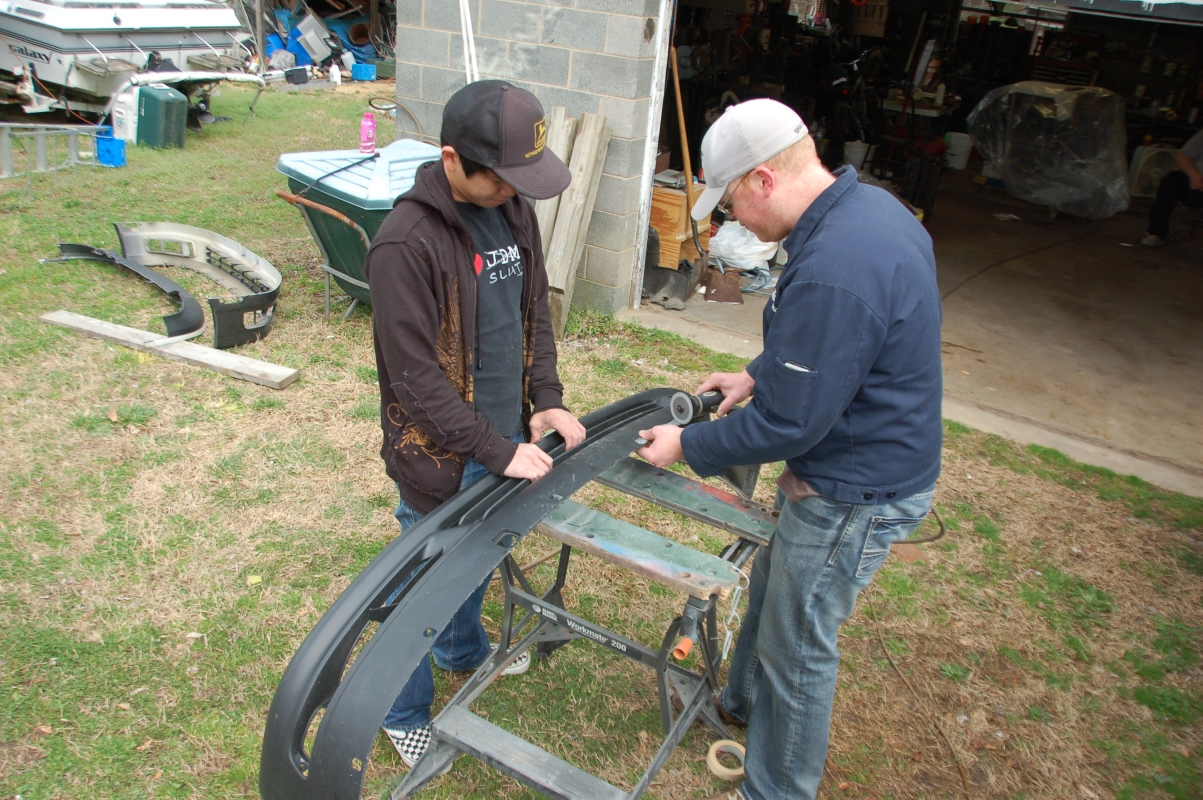
We found that the LS430 bumper was shorter than the LS400 bumper, so we'll have to cut the ends and extend it. The problem w/ using the ends of the LS400 bumper is the height of the LS430 bumper is much greater than the height of the LS400 bumper, so the easiest approach is to just extend it rather than trying to build from the ends of the LS400 bumper.
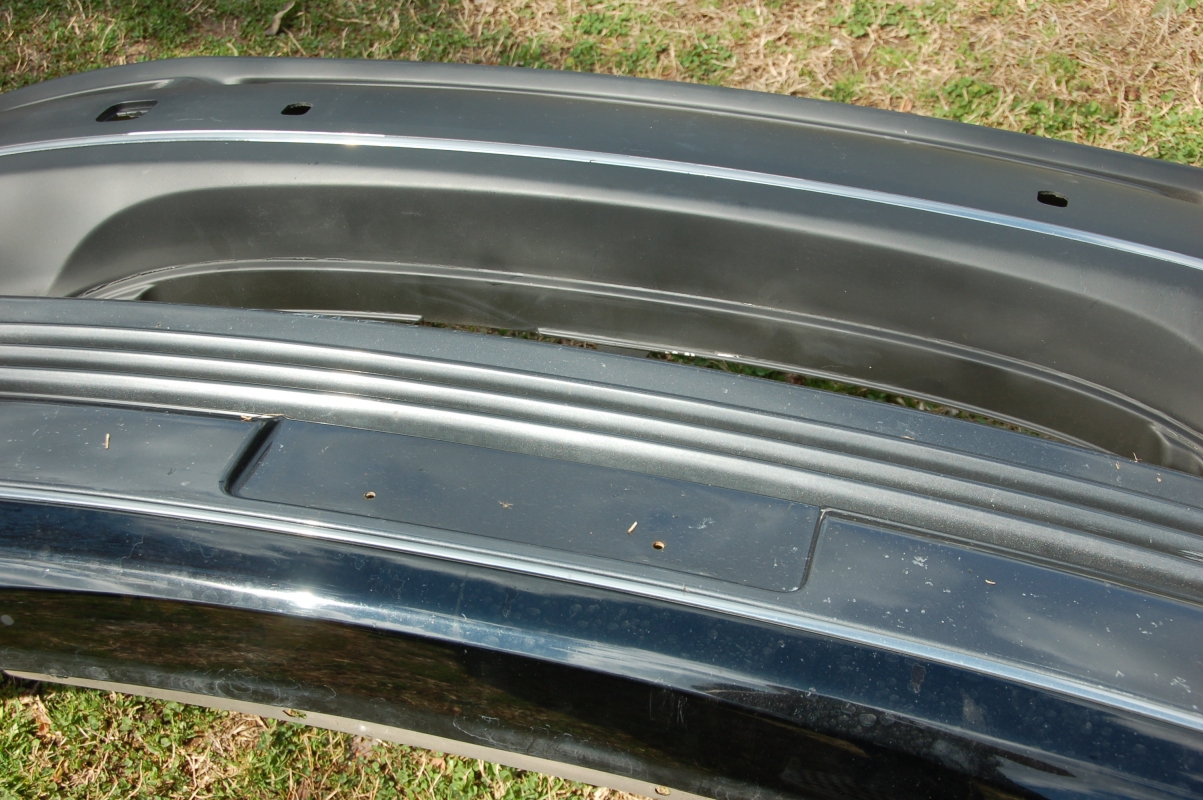
Next, we roughed up the front and back sides of all the pieces we're merging so that the fusing compound would stick/grab better:
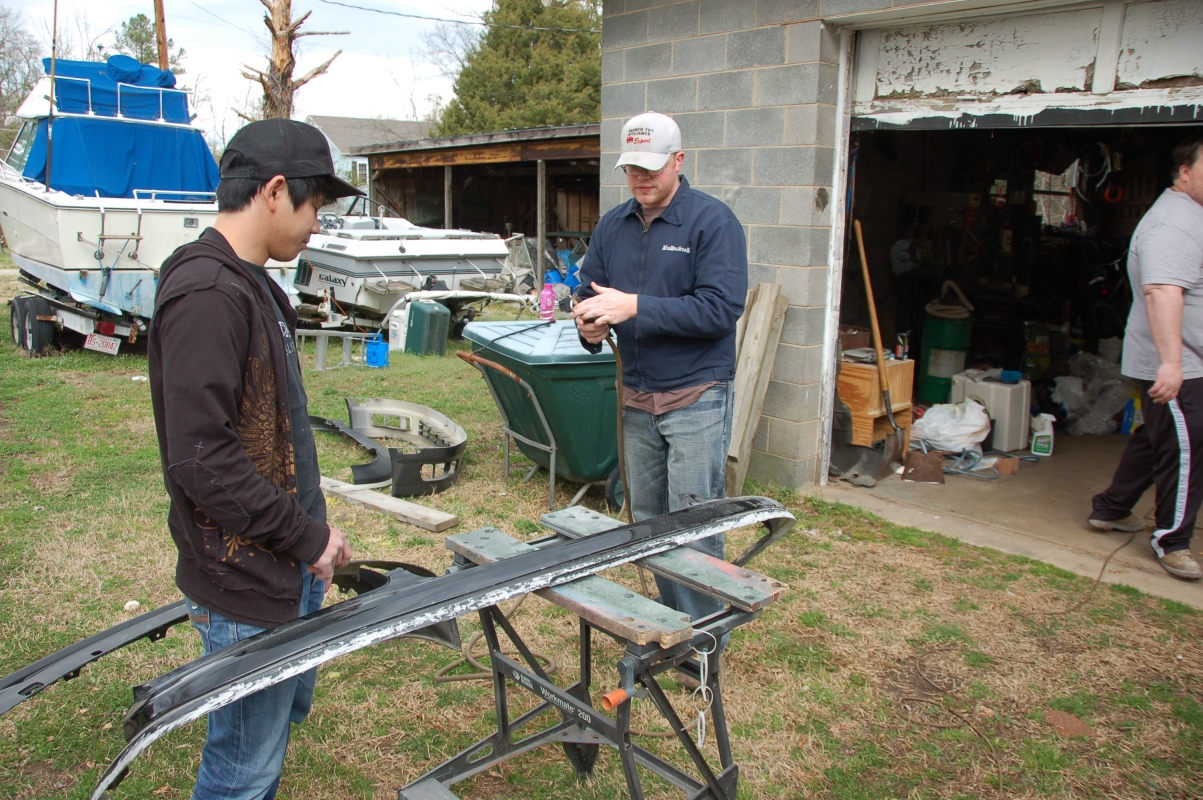

Next, we roughed up the front and back sides of all the pieces we're merging so that the fusing compound would stick/grab better:
Trending Topics
03-15-10, 10:55 AM
#8
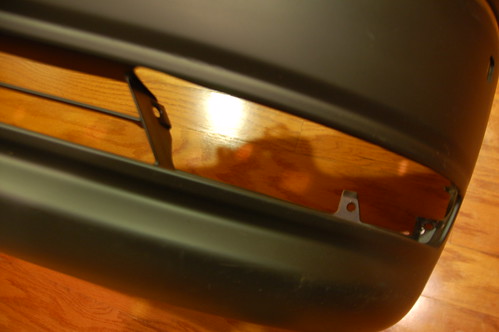
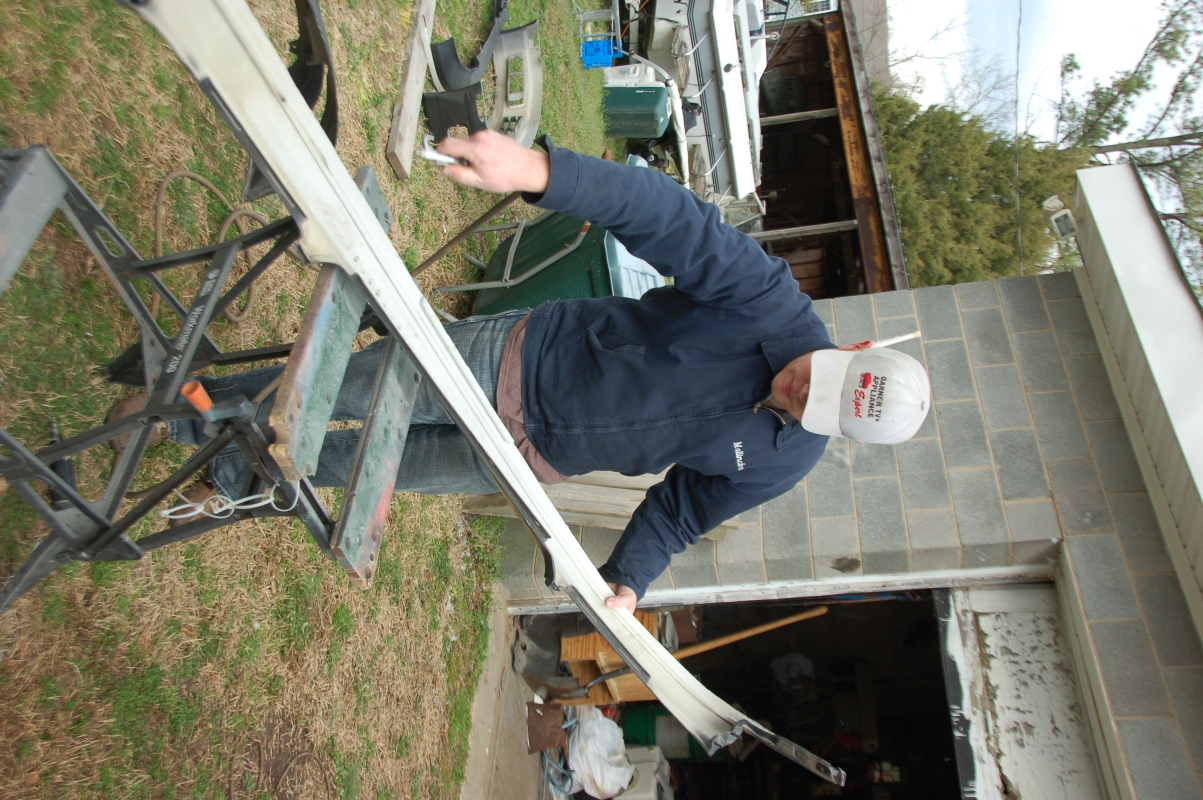
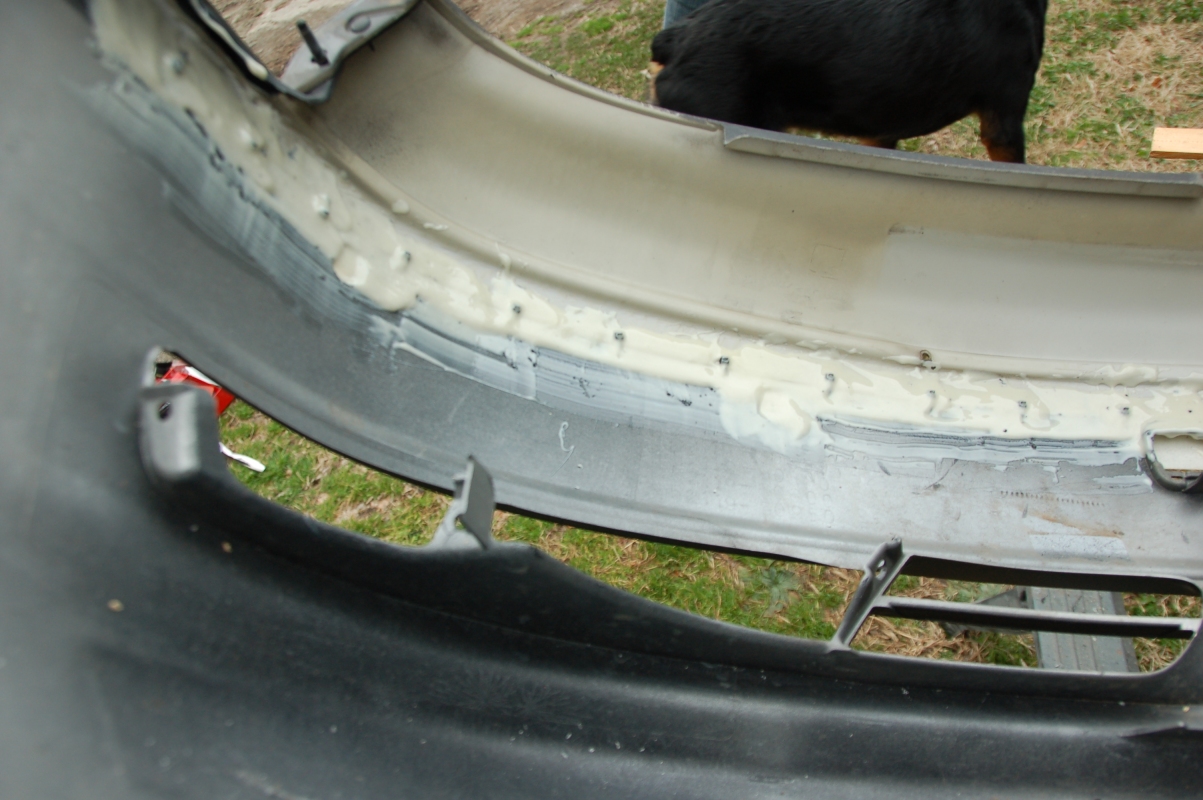
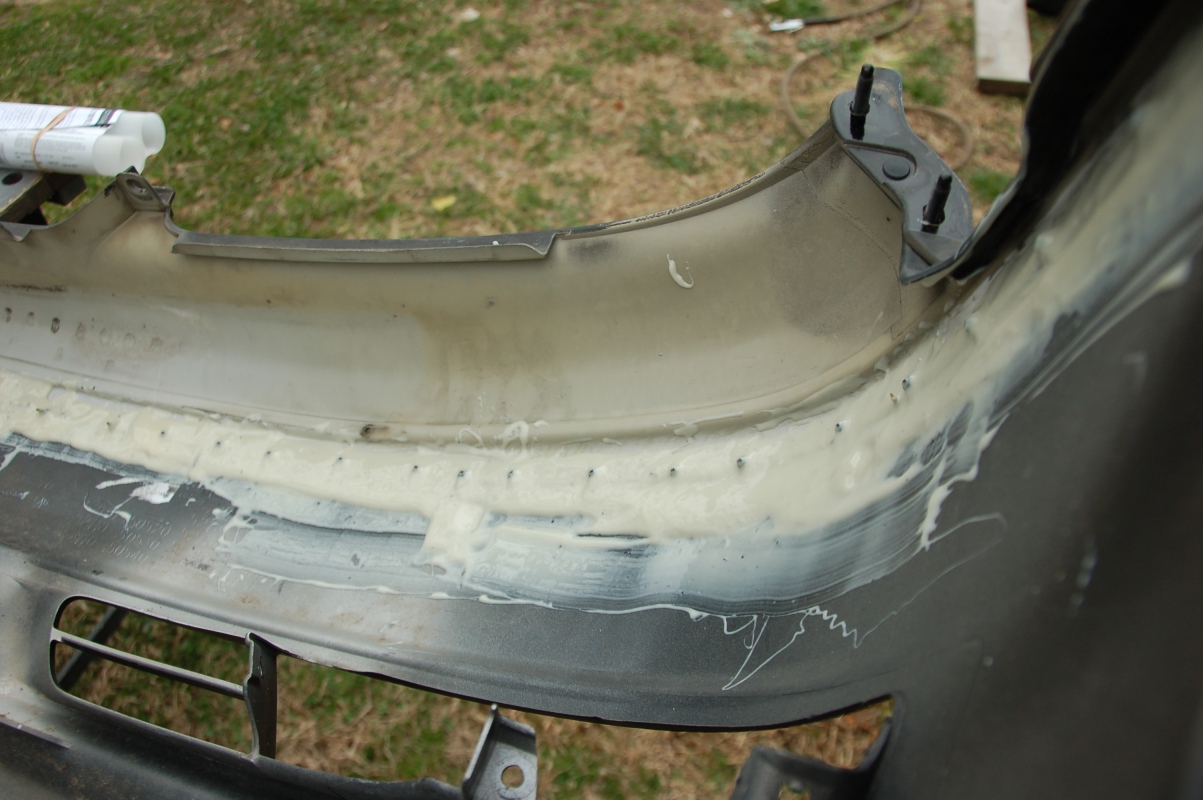
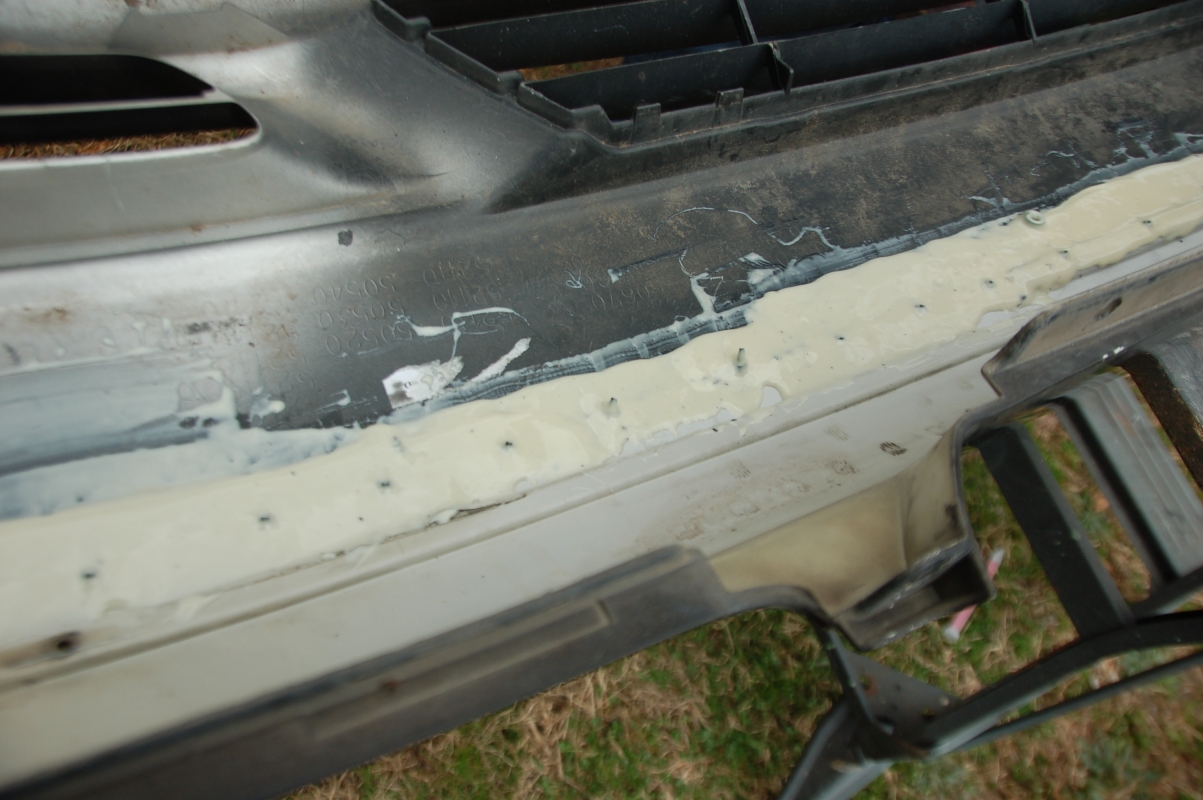
After roughing up the fusing points, we drilled holes on the top piece and the bottom piece and tied them together w/ zip ties. We did this for every 2.5" all the way through the entire bumper. I forgot to take pictures of this process. After tying them together w/ zip ties, we began to mask up the front of the merged bumpers and laid the fusing compound on the back side:
Using a heat gun helps speed up the curing process. I recommend heating it for about 15 minutes and let it dry:
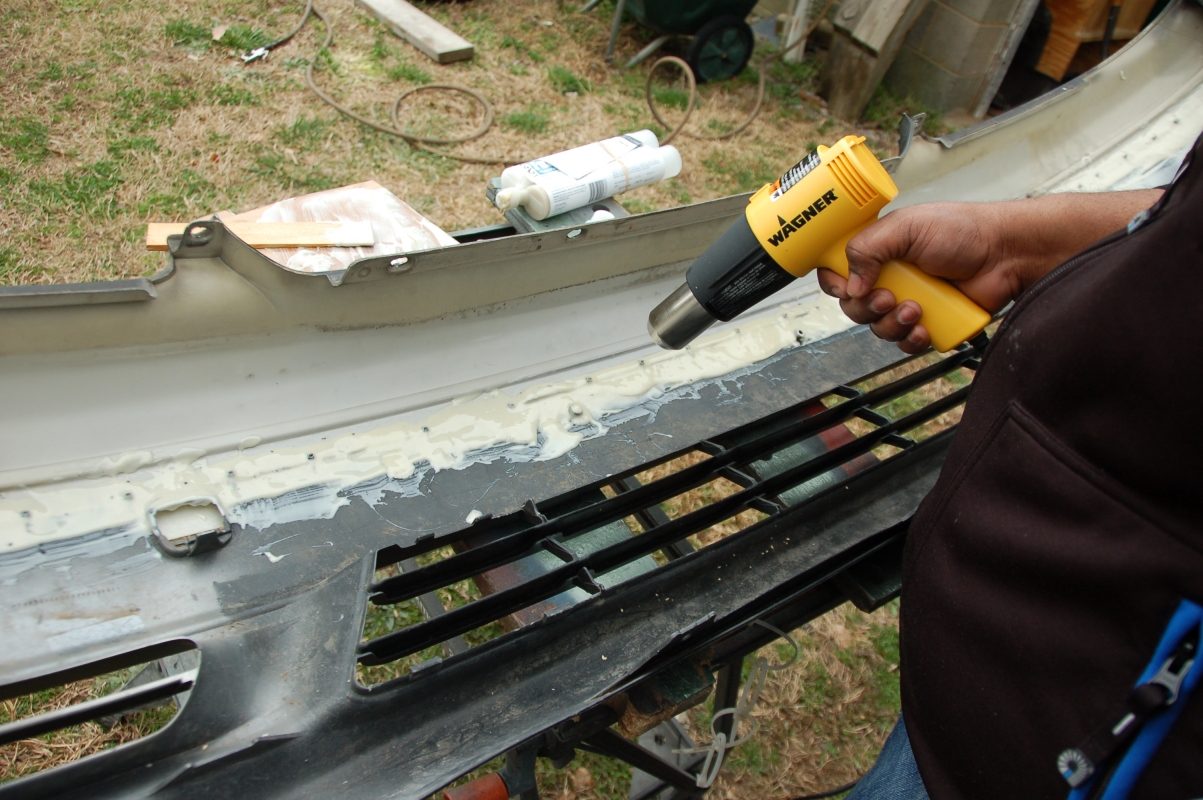

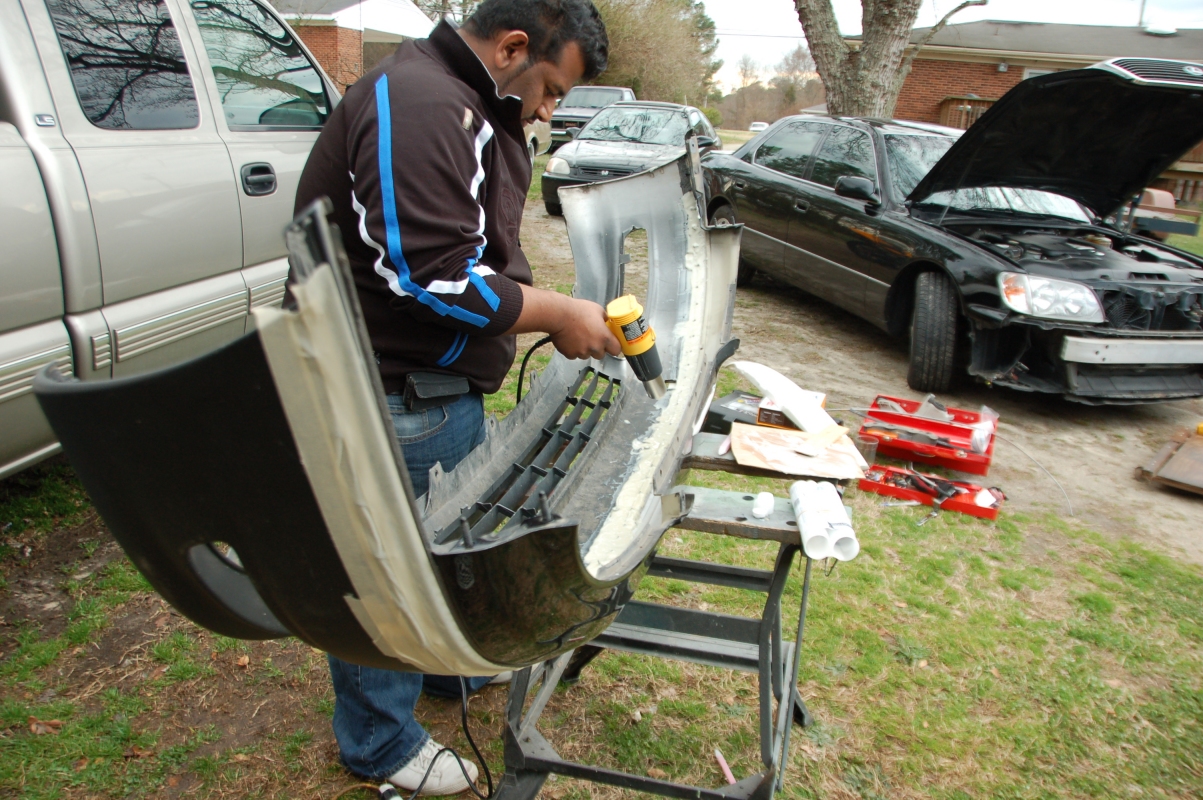
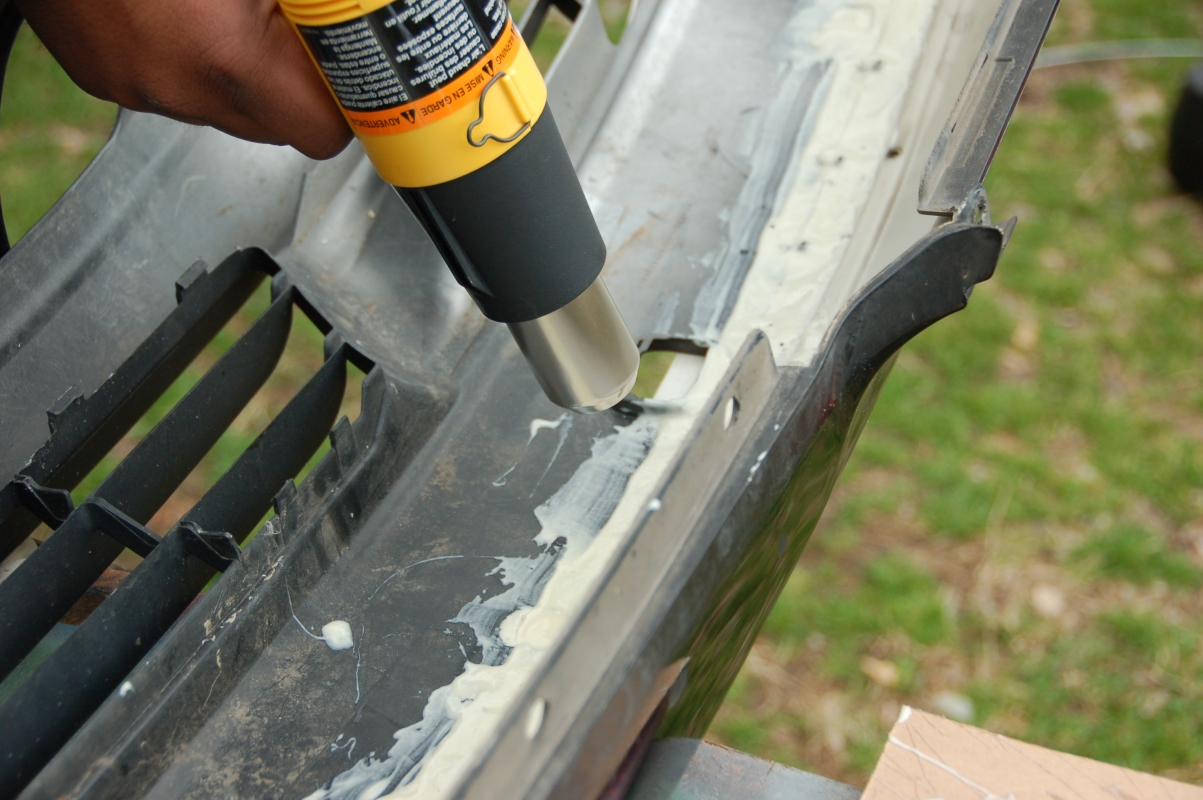
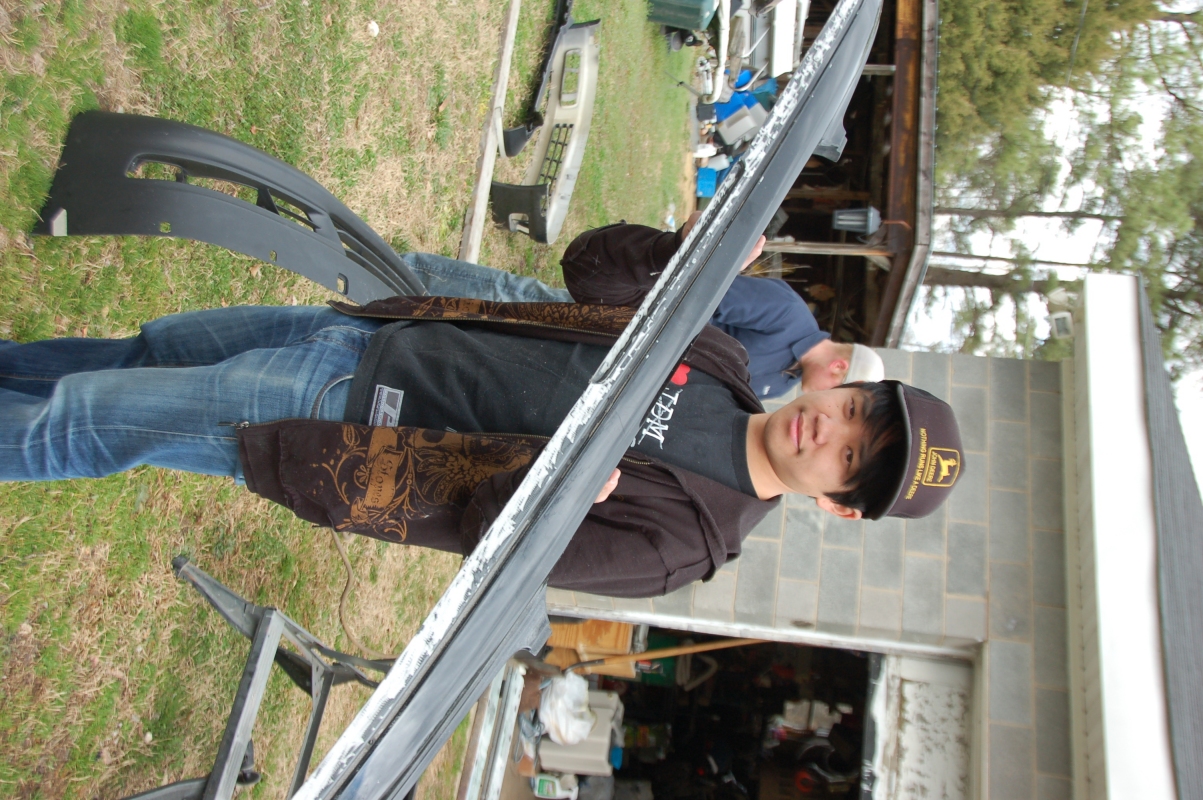
This fusing compound is awesome. Now, I need to let it cure completely overnight just to ensure it is super strong and then we'll extend the bumper and lay the compound on the front side. After that, we'll sand it down nice and smooth and start prepping it to get painted. More updates coming soon.
Using a heat gun helps speed up the curing process. I recommend heating it for about 15 minutes and let it dry:
This fusing compound is awesome. Now, I need to let it cure completely overnight just to ensure it is super strong and then we'll extend the bumper and lay the compound on the front side. After that, we'll sand it down nice and smooth and start prepping it to get painted. More updates coming soon.
 if it's going to turn out just as nice as the one in the magazine you would have something nearly unique
  03-15-10, 11:24 AM
#11
haha, thanx man. I responded to you on INC
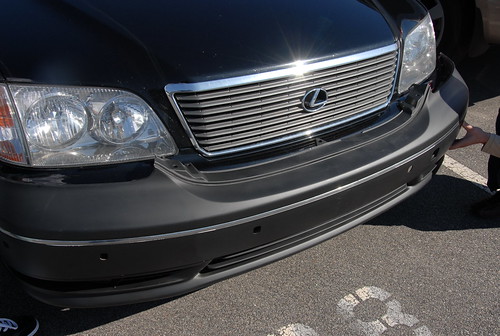
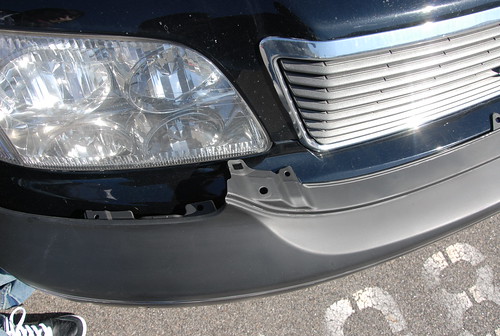
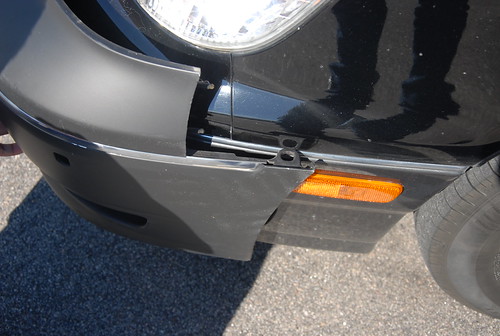
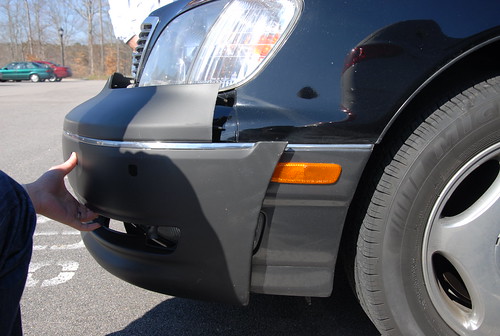
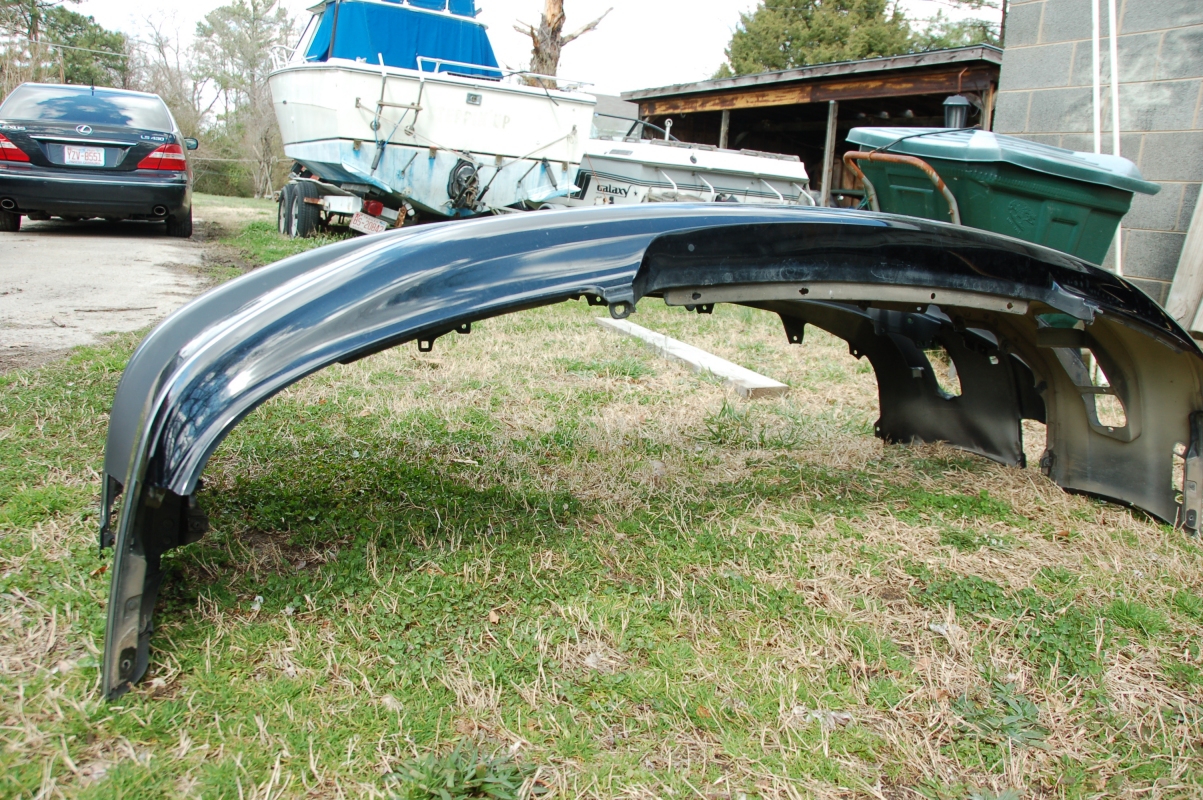
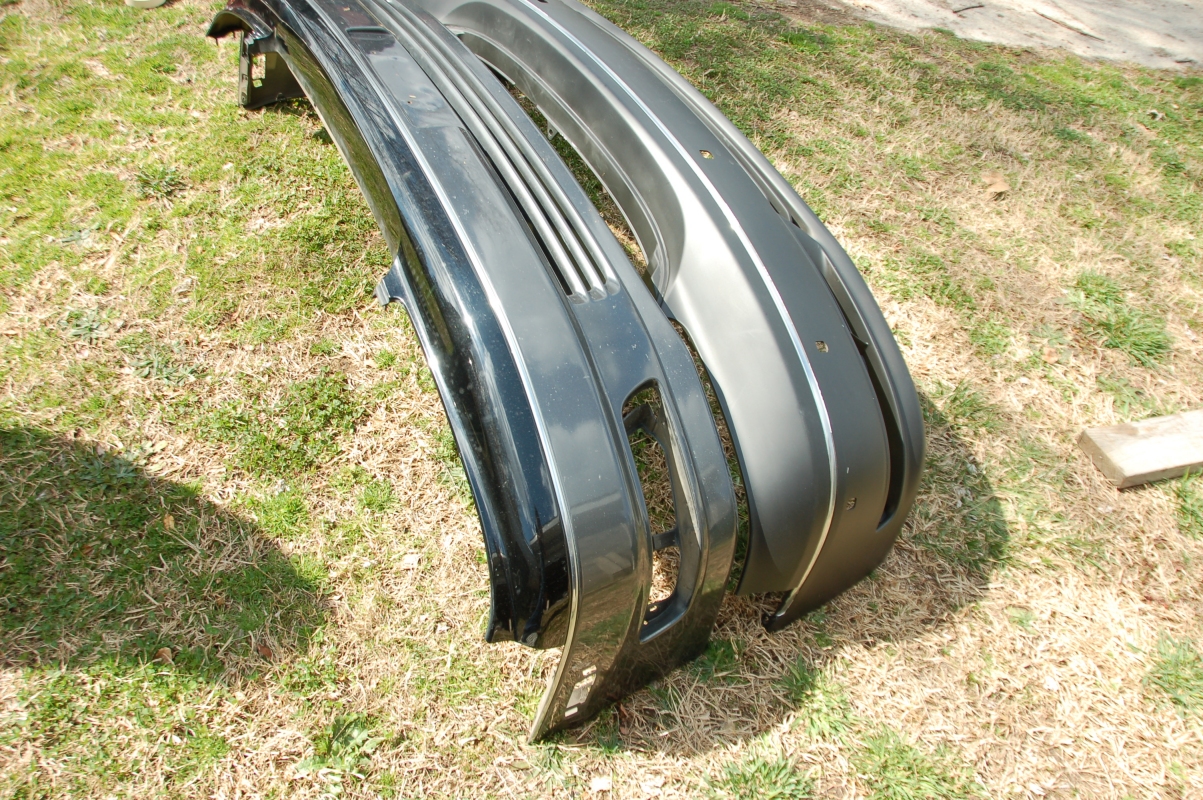
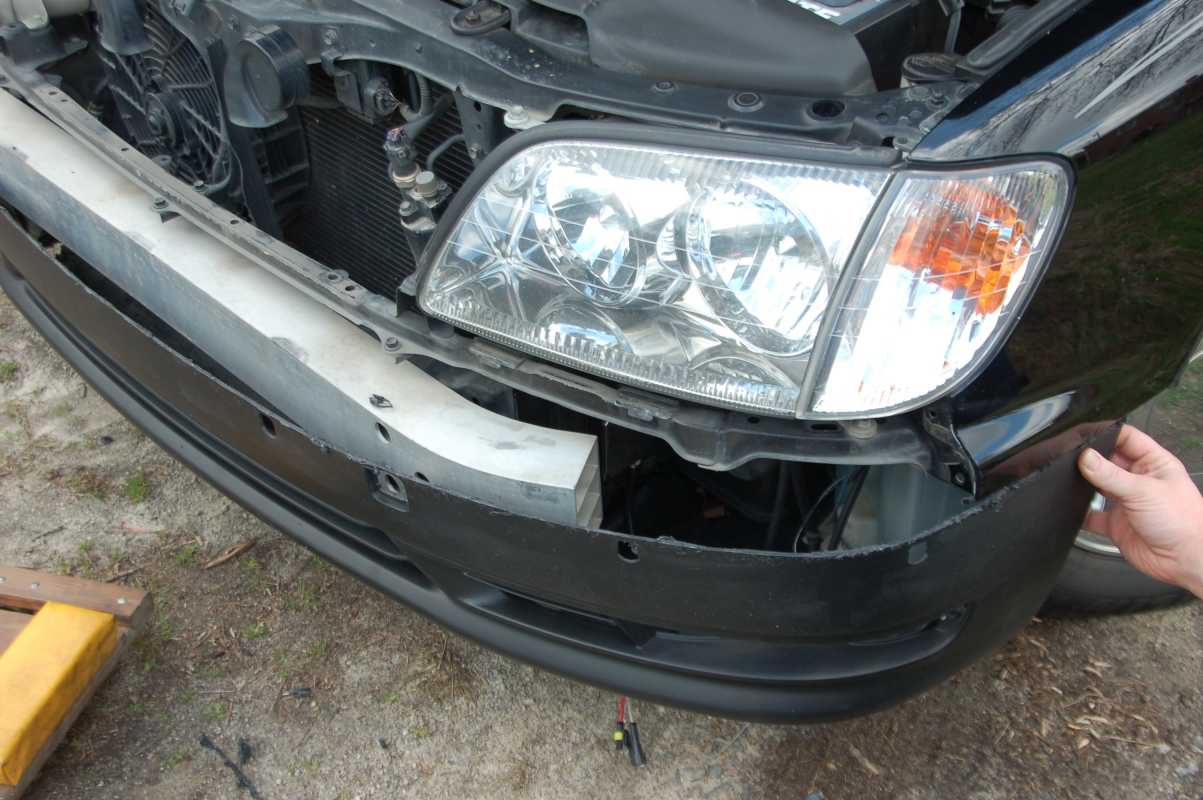
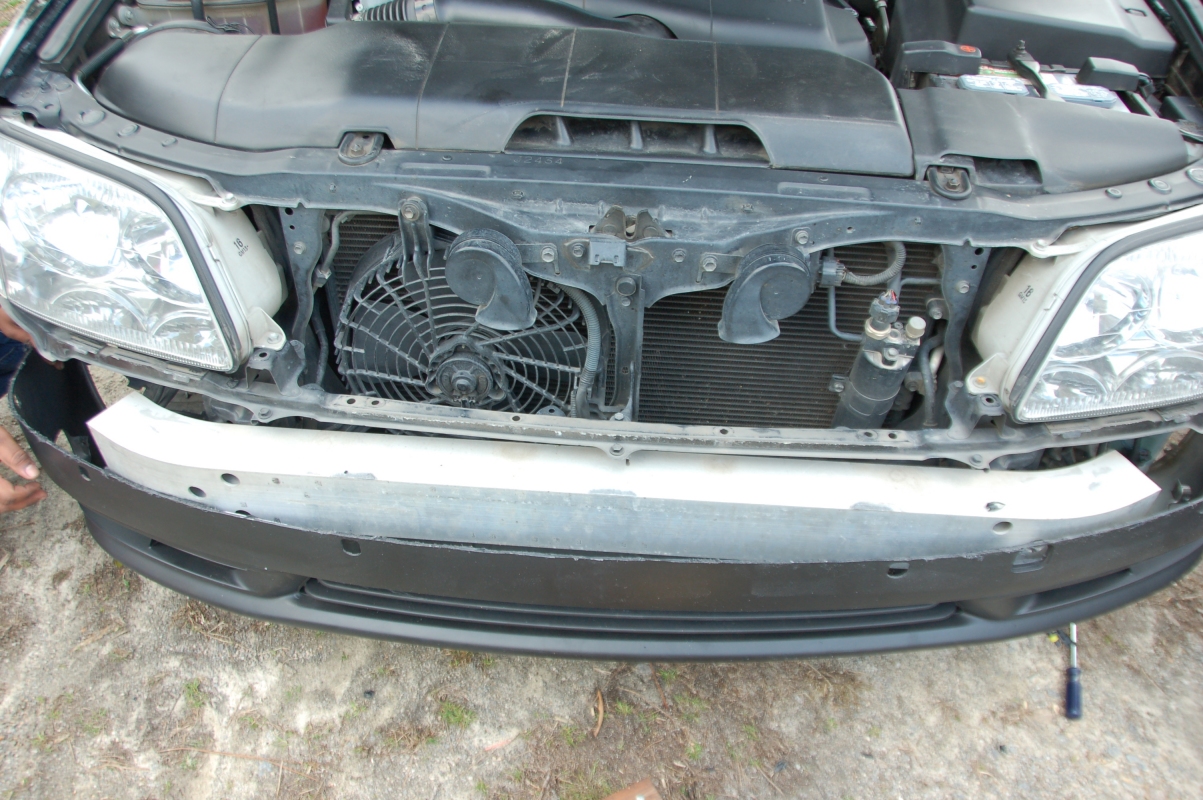
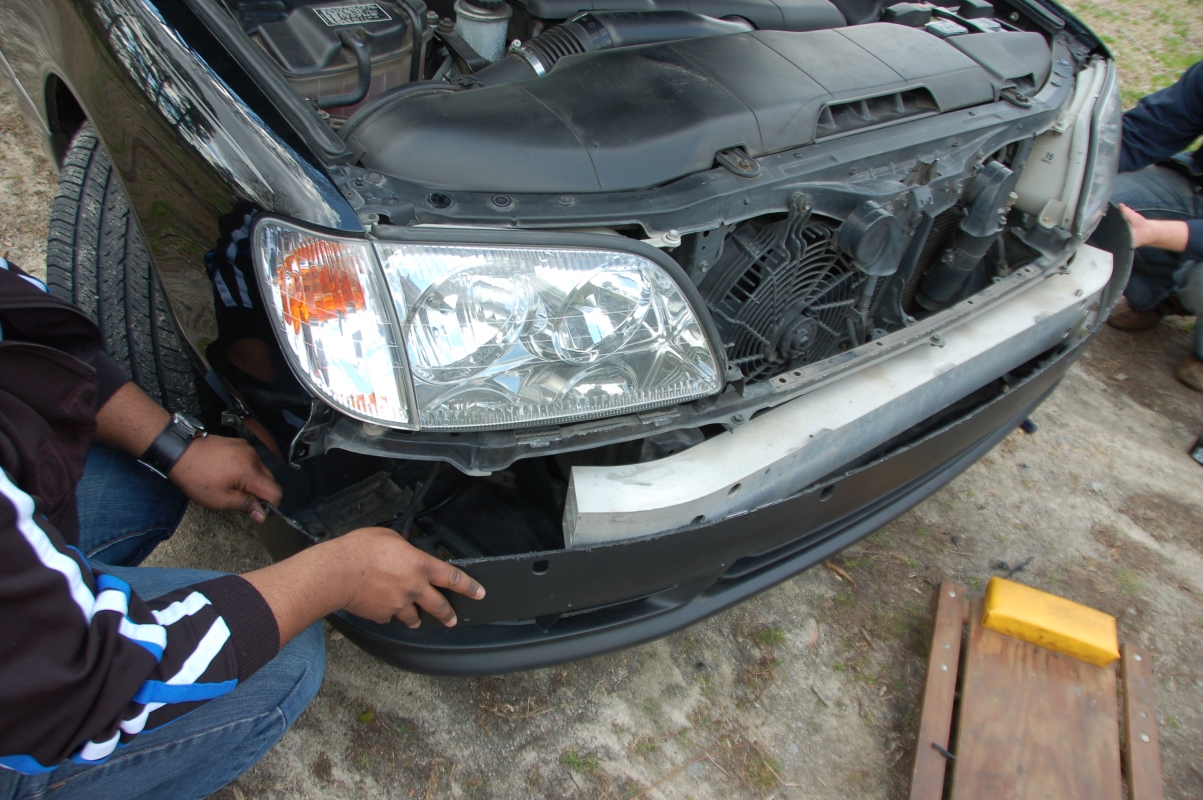
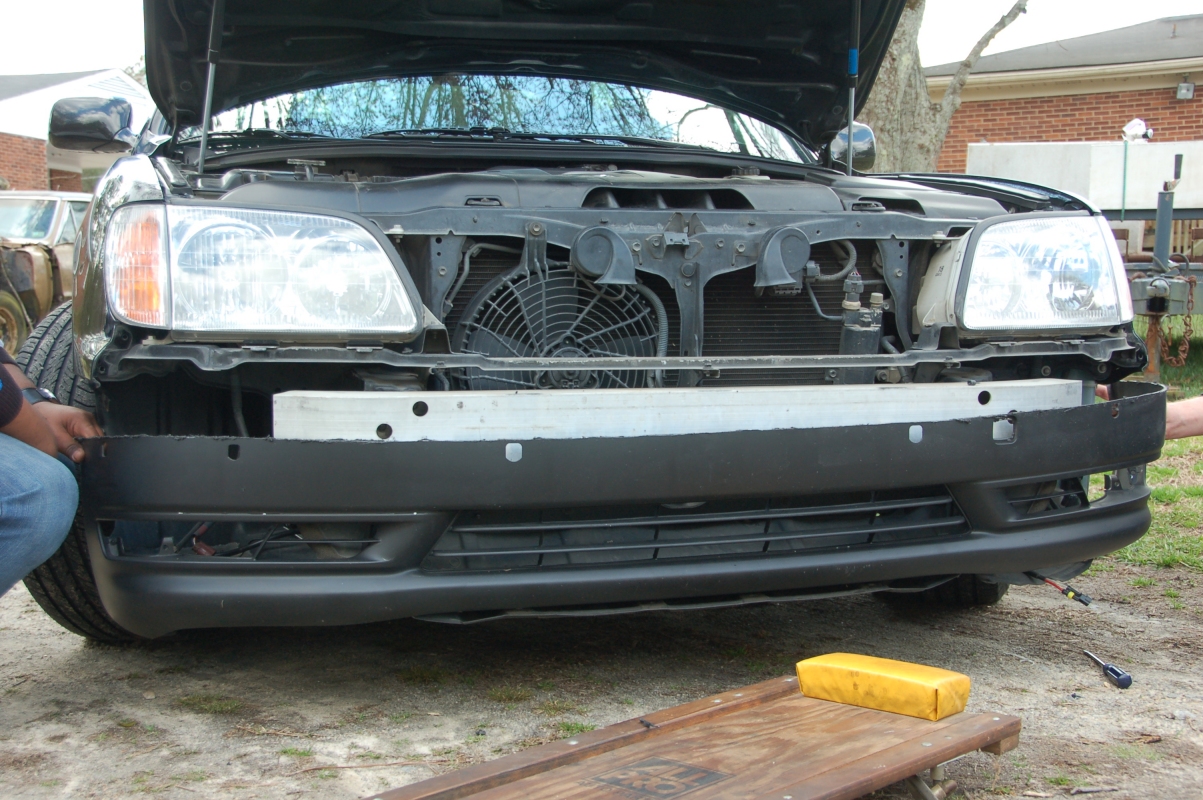
The only hard part now is to extend the sides, which isn't too bad. Other than that, I've test fitted it on and it looks really good so far. The curvature of the two bumpers flows almost perfectly together, I was real happy about that. Hopefully it'll be magazine quality like the car I posted.
The only hard part now is to extend the sides, which isn't too bad. Other than that, I've test fitted it on and it looks really good so far. The curvature of the two bumpers flows almost perfectly together, I was real happy about that. Hopefully it'll be magazine quality like the car I posted.


