My 04-06 LS430 merged w/ a 98-00 LS400 bumper Project (heavily loaded w/ pix)

 03-18-10, 11:44 AM
#32

Wow, there is some crafty work. When I first saw the bumpers line up, I thought to myself, well nice project too bad it didn't work out... But you guys stuck with it and sure enough it looks pretty damn nice without having even started the finishing phase. I will definitely stay tuned. How far away are you guys from the Charlotte area?
03-18-10, 12:45 PM
#33
Wow, there is some crafty work. When I first saw the bumpers line up, I thought to myself, well nice project too bad it didn't work out... But you guys stuck with it and sure enough it looks pretty damn nice without having even started the finishing phase. I will definitely stay tuned. How far away are you guys from the Charlotte area?
 03-18-10, 11:15 PM
#35

Nice work! This will open up a lot of windows for others. Also, I wonder if you cut a couple inches below the chrome trim line on your stock bumper then, cut at the chrome trim line on your donor, and put them back together. That would extend the frankenstein bumper a couple inches. Wouldn't that look better? Not saying yours are bad or anything. It's nice as it is, but I was just wondering. If someone could photoshop that so everyone can do it in the future, that would be great.
Again, very nice work!
Again, very nice work!
03-22-10, 07:37 AM
#36
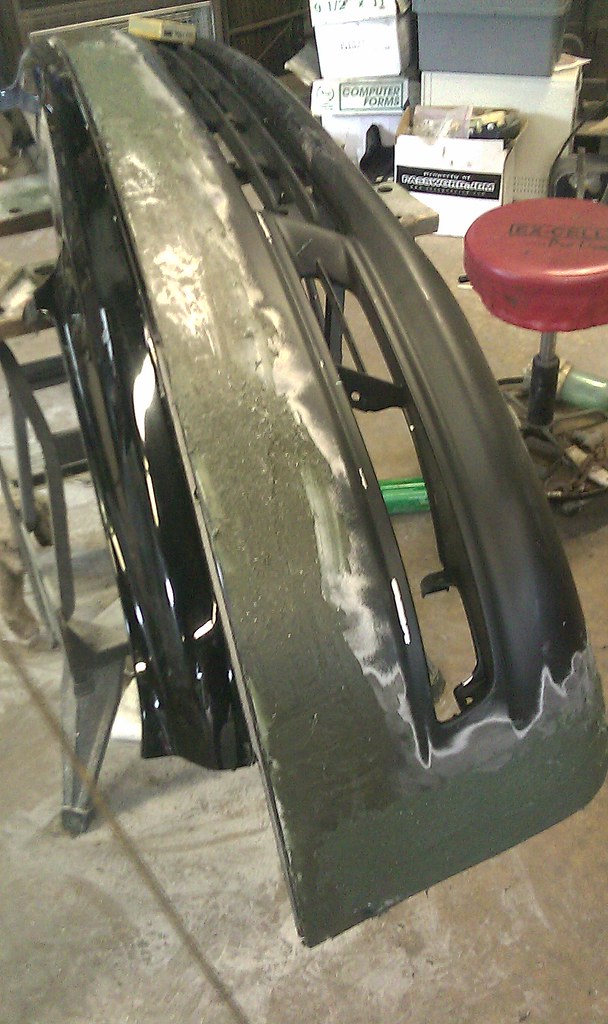
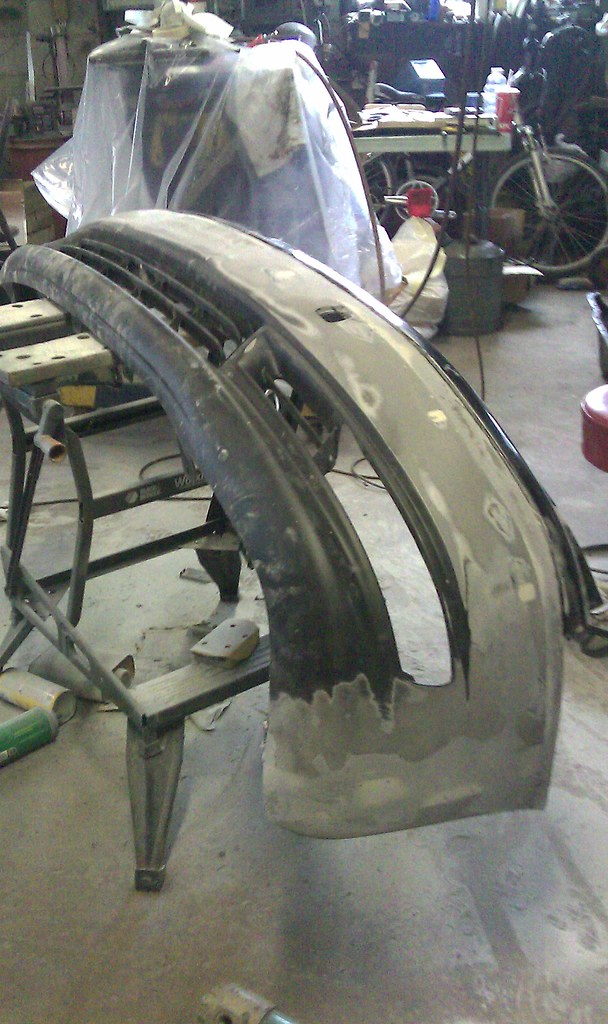
So, I had to be out of town this weekend......but lucky for me, I roll with a deep crew and my boys decided to help me on the bumper anyways. Big huge thanx to AJ and Jeremy, and Chet as well for helping me out. AJ sent me some cell phone pictures of the work that they did. This bumper has A LOT of hours dedicated to it, so maybe I should make a mold of it and get it replicated, haha. Anyways, we are nearing the end, here are some pictures:
They first sanded down the front real good and then laid on some fiberglass bondo:
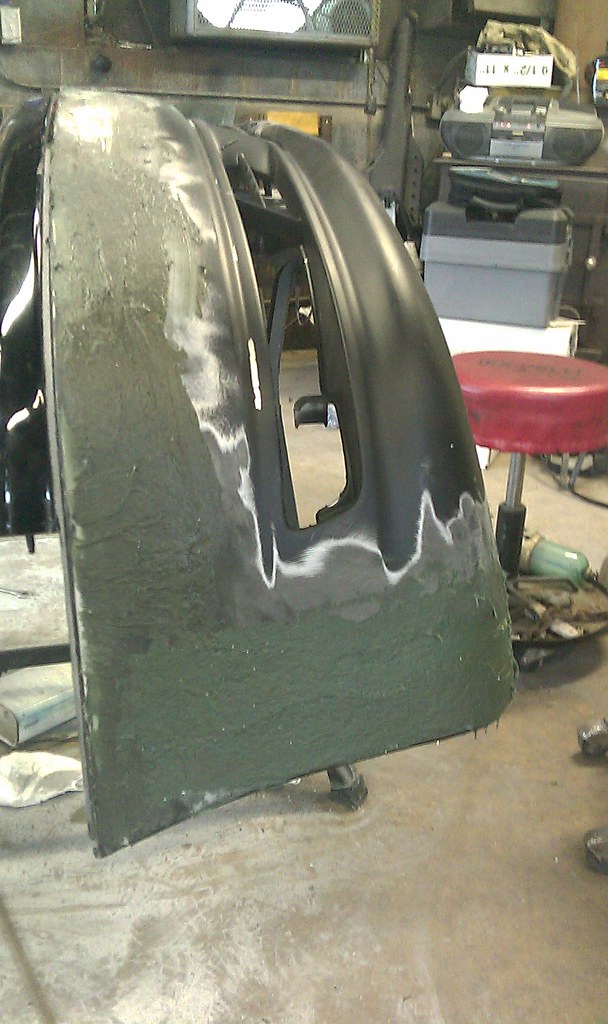
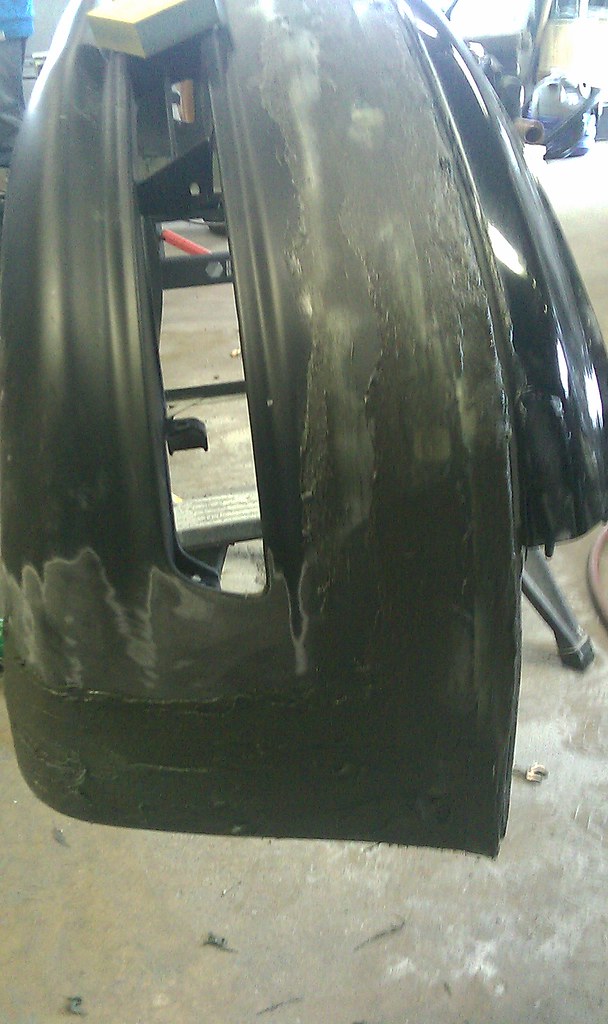
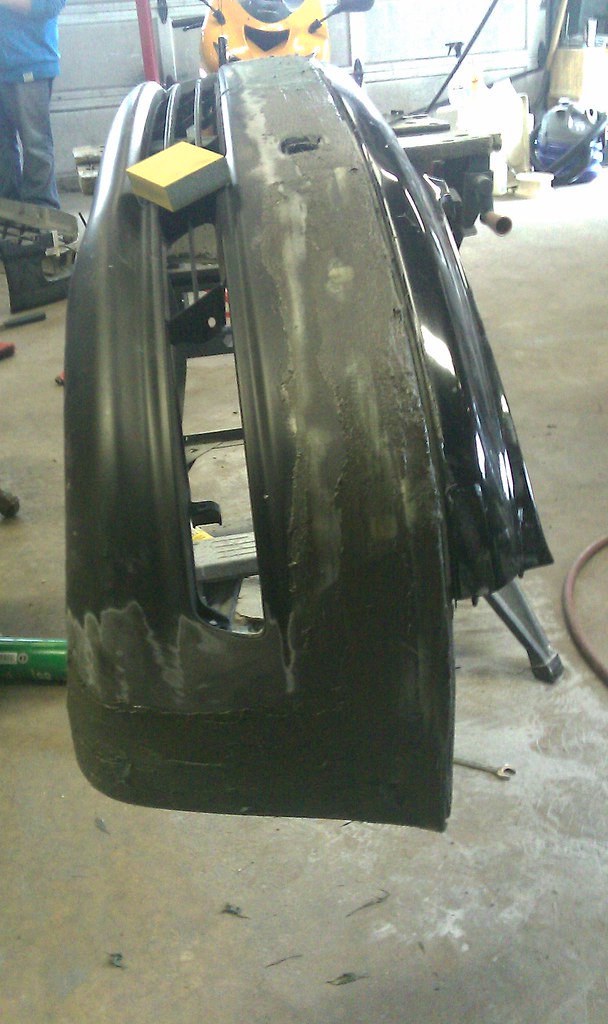
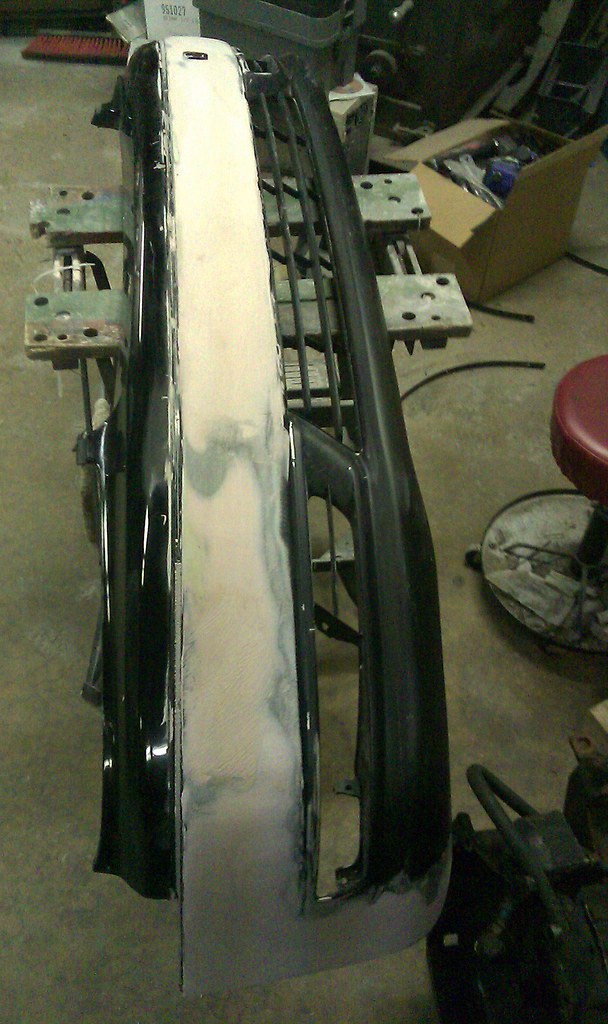
Next, they sanded down the bondo after letting it dry for a while:

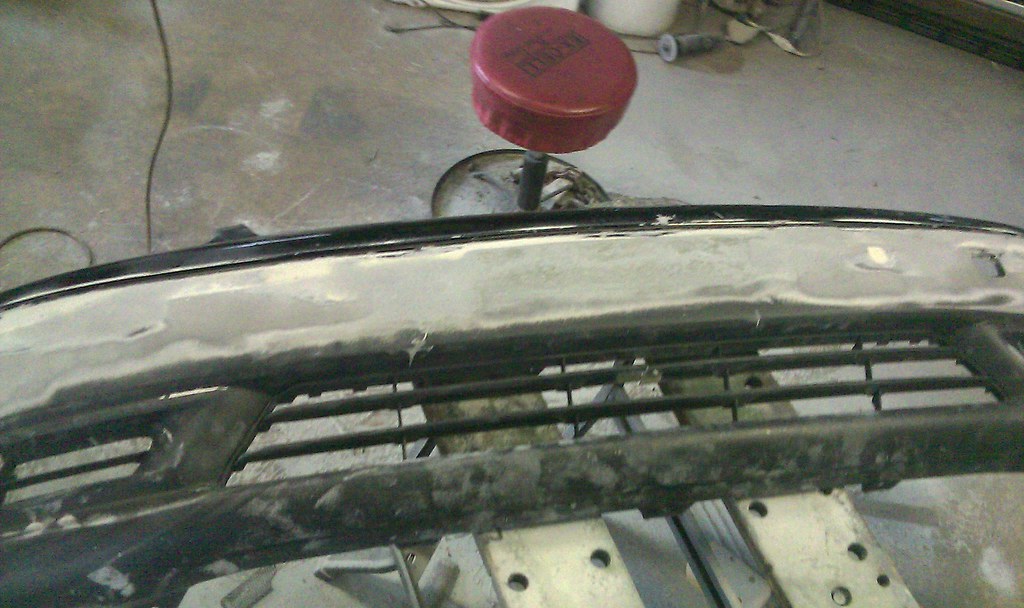
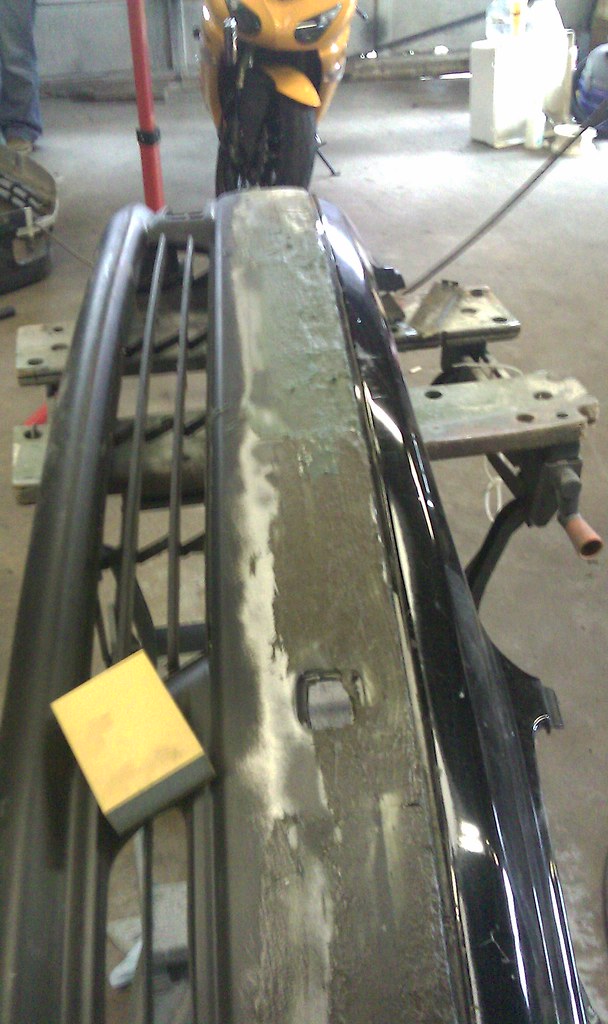
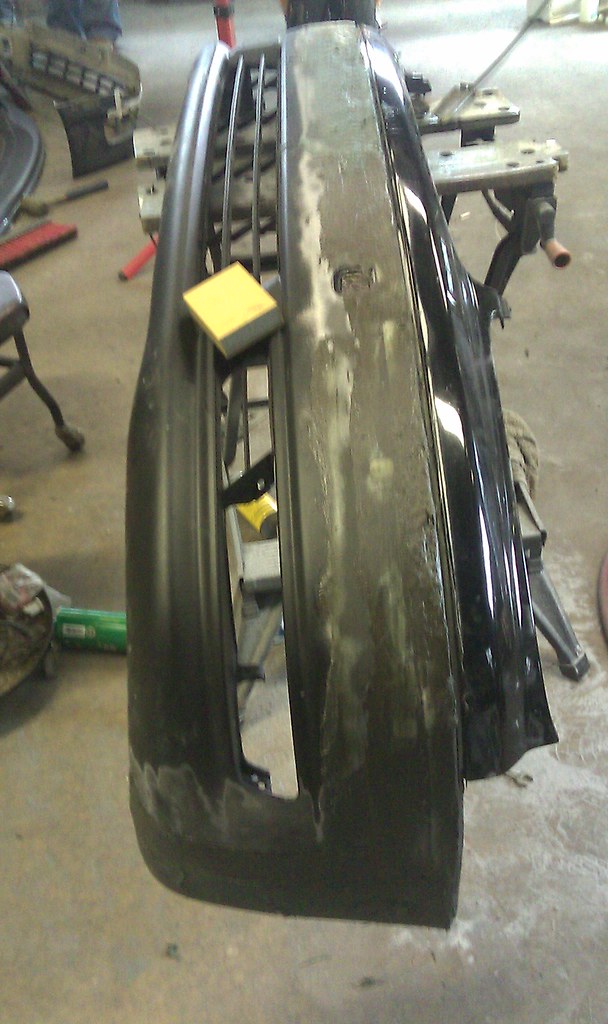
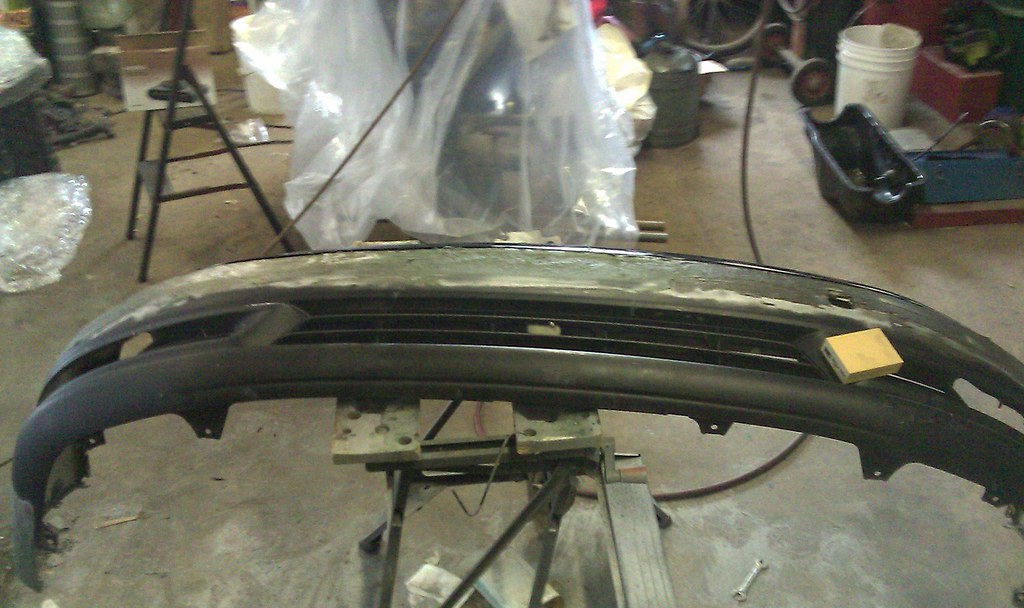
They laid on filler bondo as well to cover up the holes and smooth out any discrepancies on the bumper:
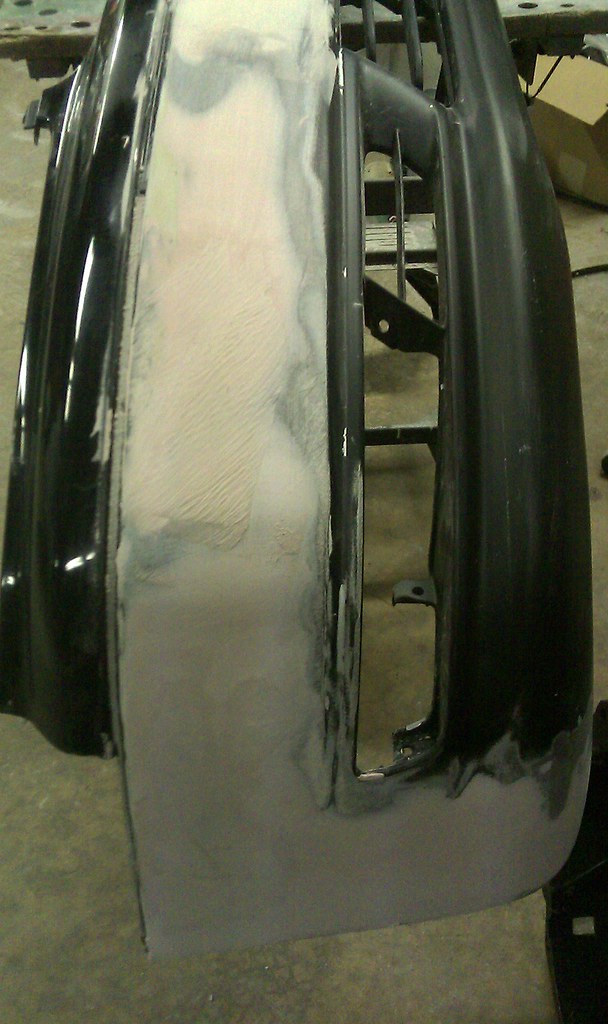
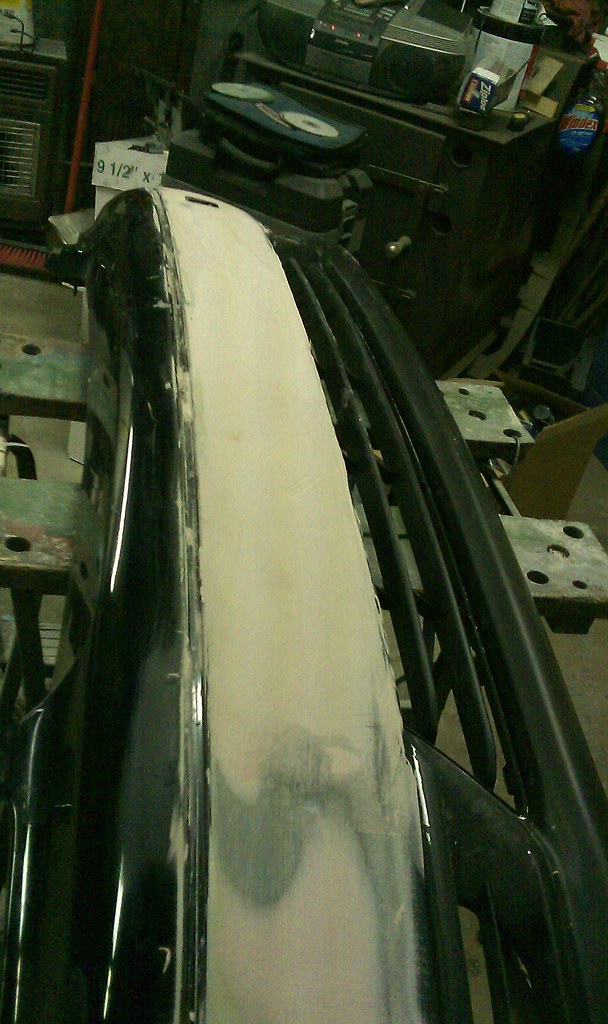
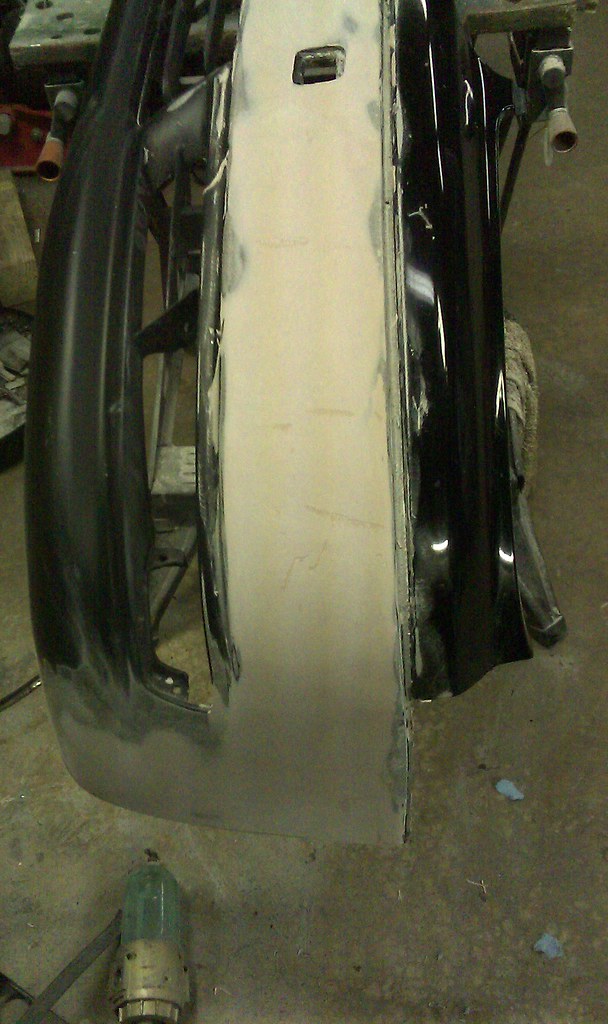
Next up, we'll fix any blemishes, primer, then paint. I am going to paint the sides rocker panels and rear bumper as well. Getting rid of the OEM two-tone look.
They first sanded down the front real good and then laid on some fiberglass bondo:
Next, they sanded down the bondo after letting it dry for a while:
They laid on filler bondo as well to cover up the holes and smooth out any discrepancies on the bumper:
Next up, we'll fix any blemishes, primer, then paint. I am going to paint the sides rocker panels and rear bumper as well. Getting rid of the OEM two-tone look.


 03-23-10, 01:19 PM
#40
Thanx man. I've done so many projects like this for my SC300 but I forget to take pictures, and I regret not doing so. It's not only useful for others but also nice to have pictures of the work you've done. Hopefully more members would do the same as well. I love seeing DIY threads.
03-23-10, 02:46 PM
#41
Lexus Test Driver

Join Date: Nov 2007
Location: TX
Posts: 843
Likes: 0
Received 0 Likes
on
0 Posts
nice work.
a couple things that may have helped you before hand are:
1) keep a frame of the original bumper to maintain your original mouting points.
2) use semi rigid parts repair instead of bondo on plastics.
look forward to seeing it compete!
a couple things that may have helped you before hand are:
1) keep a frame of the original bumper to maintain your original mouting points.
2) use semi rigid parts repair instead of bondo on plastics.
look forward to seeing it compete!
03-23-10, 05:05 PM
#42
Thanx man. Hey, I have a question. Since we already started using bondo for the finishing touch, and I don't really want to go back and redo everything, my question is....Why can't you use bondo to finish up the bumper? I mean, we've already got it merged together so well that it's practically one piece. I have no worries about the durability of this bumper now. Besides from getting into a head on collision or something, are you guys saying that the bondo would just fall off the bumper? From my experience with bondo, if you rough up the surface enough, and sand the bondo down flat and leveled, I don't see any way that it's going to not hold up. I have limited experience w/ using bondo on plastic though, the only thing I've made was a grill for a Subaru Legacy and it held up really well......still looks great after 5 years.
03-23-10, 05:39 PM
#43
Lexus Test Driver
Join Date: Nov 2007
Location: TX
Posts: 843
Likes: 0
Received 0 Likes
on
0 Posts
the potential issue is that the bumper is more flexible than the bondo. the filler should adhere fine if the prep/application was right but if the bumper bends (i.e. impact) and the bondo doesn't it will crack. not saying it will defintely fail but if you ever have to do it again you got a heads up on the "right" way to do it.
*edit - grills don't apply as much since they are rigid plastic.
*edit - grills don't apply as much since they are rigid plastic.
03-23-10, 06:10 PM
#44
Just a chime for what BLKonBLK98 mentioned. I had some mods done to the stock bumper and to maintain the flexibility, the shop used filler that is compatible with the polyurethane-urethane type bumpers. Before paint, they gave it a flex test and they had tested 3 different fillers. The prior two cracked and the last one was good.
Mine scrapes each time in-out of our driveway and if the filler was rigid, I suspect I've have cracked it by now.
Mine scrapes each time in-out of our driveway and if the filler was rigid, I suspect I've have cracked it by now.
03-23-10, 07:53 PM
#45

yeah, bondo is not what you wanna use on a polyurethane bumper.
look into this stuff, Lexkost used it a few years back to modify a 98-00 LSportline kit for his custom headlight '96.
https://www.clublexus.com/forums/vip...-compound.html
look into this stuff, Lexkost used it a few years back to modify a 98-00 LSportline kit for his custom headlight '96.
https://www.clublexus.com/forums/vip...-compound.html