GX470 One-Stage Correction... you don't need perfect paint to see great results!
 09-15-13, 08:20 PM
#1
**The purpose of this thread is to display the benefits of a routine one-stage polishing process for your daily driven vehicle. While the majority of detailing "Show N Shine" type threads lead you to believe the paint needs to be perfect (free of 90%+ of defects) to see mirror like reflections, that is simply not the case. In fact, seeking perfection on a daily driven vehicle is more trouble than it is worth since the vehicle will be subject to the unknown hazards of being driven and parked in public places. Often times, a very thorough cleaning and one-stage polishing process will yield great results and increase depth and gloss dramatically... if you're seeking a bit more correction, however, simply starting with a heavier cutting compound and then refining with a finishing process will help to remove the majority of those moderate to heavy defects.**
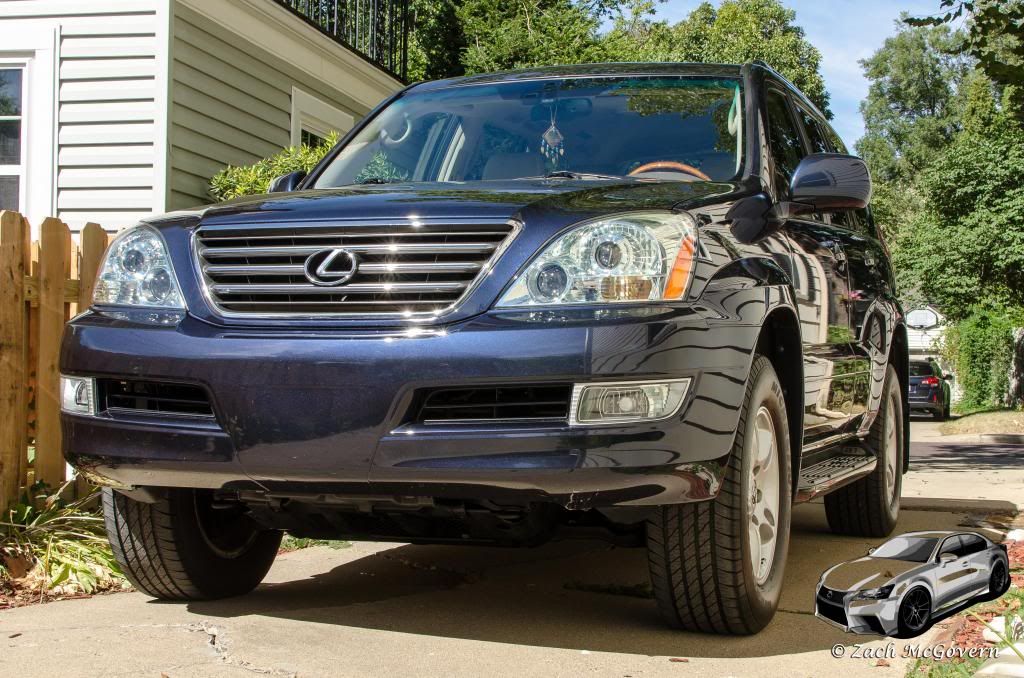
The owner of this car was referred to me by a member of a local forum. They wanted the car cleaned up because it had clearly lost some of its luster over the years. It was clear that the owners really cared for their vehicles - the inside was nearly spotless, the engine bay was in overall good shape, and the paint wasn't terrible, it showed the typical signs of normal wear that you would expect on an 8 year old car. After some discussion with the owner via email, he settled on a one-stage correction, which I promised would help to restore the lost clarity and gloss, but it would most likely leave any moderate to deeper defects.) He was OK with that since the vehicle is daily driven and is used to haul the kids around. He also decided to go with a premium paint coating (Opti-Coat 2.0) in order to provide years of protection for this great vehicle. I was very happy he decided to go with a coating, they are truly the best decision I have ever made for my personal vehicles!
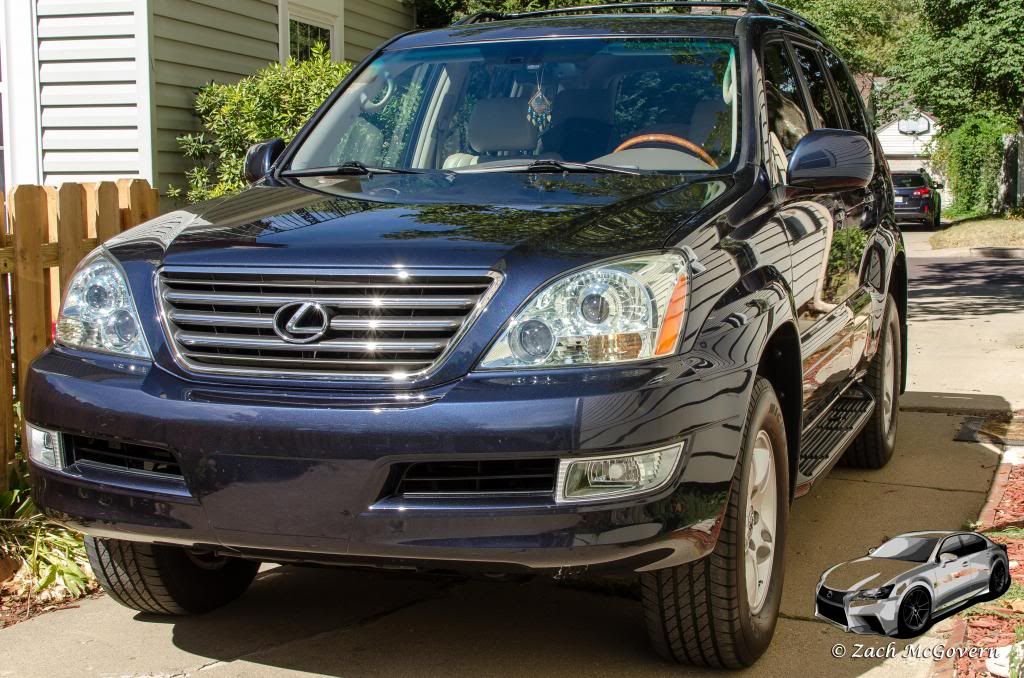
The car turned out great - Gloss and clarity were restored as promised, and the car is now an entirely different shade of blue. The metallic flake really pops, and the car looks 5 years younger! Another happy customer, and I hope to work with them again. Extremely nice people, as the vast majority of my customers are!
Process
Exterior
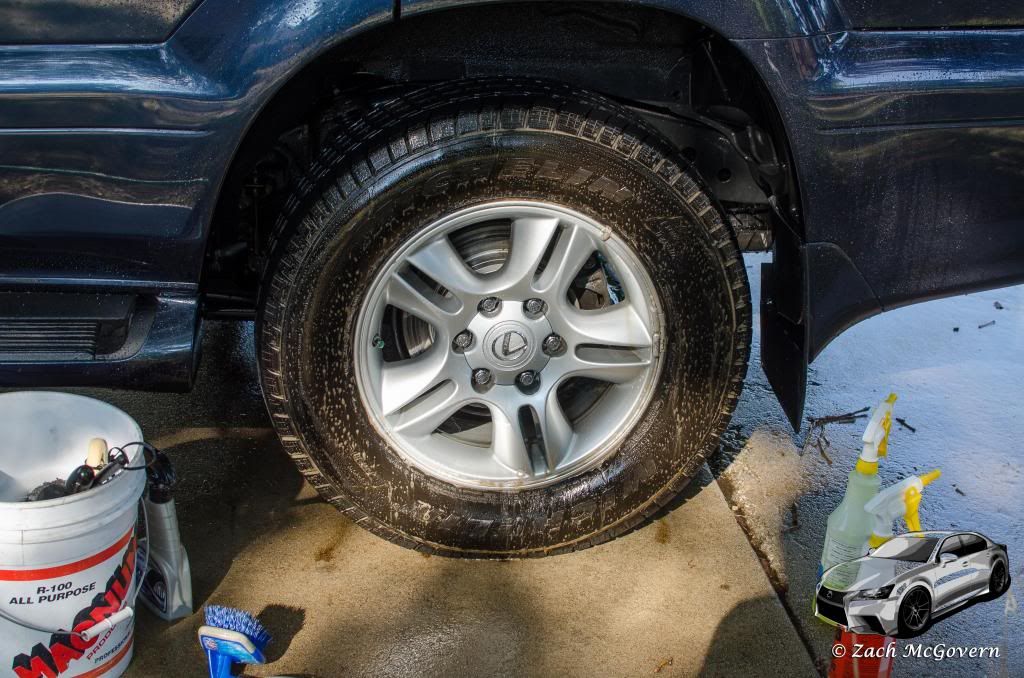
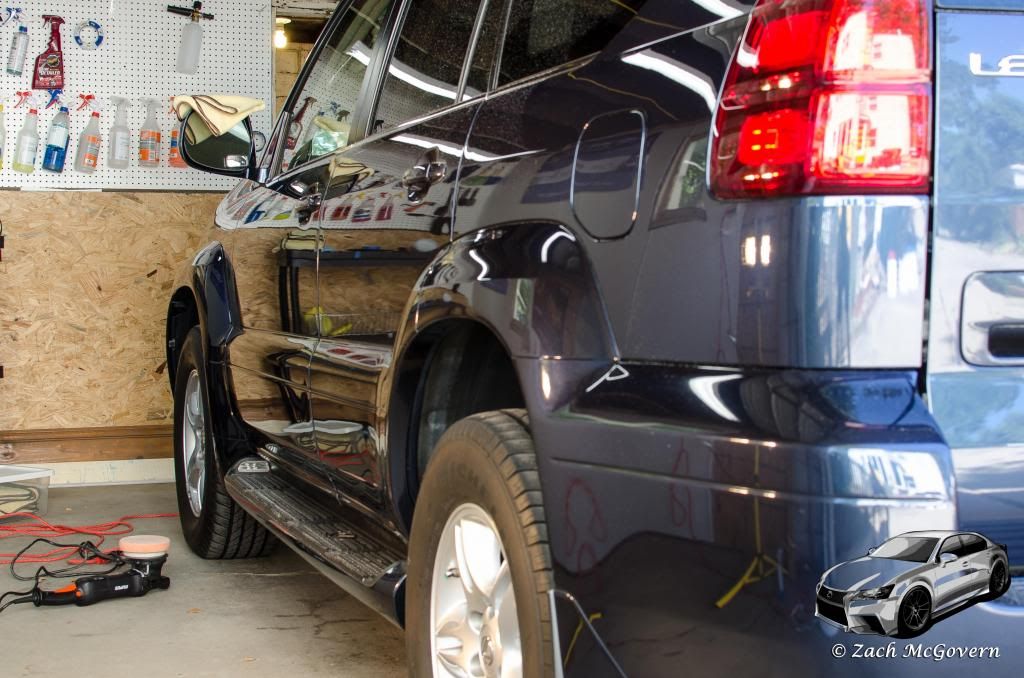
- Wheels: Sonax Full Effect Wheel Cleaner. Faces cleaned with soft wheel brush and wheel sponge. Barrels cleaned with EZ Detail Brush and Wheel Woolies.
- Tires: Tuf Shine Tire Cleaner and Brush
- Pre-Wash: CG Citrus Wash & Gloss via Gilmour Foammaster II Foam Gun
- Wash: CG Citrus Wash & Gloss via Sheepskin Wash Mitt (Two Bucket Method)
- Dry: DI Waffle Weave Towels
- Decontamination: Iron X and Medium Grade Clay with NanoSkin Glide (7:1) as Lube
- Tape: 3M Blue Painters Tape
- Paint Thickness Readings Taken
- Polish: Sonax Perfect Finish on LC Orange Light Cutting Pads - 5.5" via Rupes LHR21ES and 3",4" via PC7424XP
- IPA Wipedown: 15% IPA Solution
- Wash: ONR (GD Wash Method)
- Dry: DI Waffle Weave Towels
- IPA Wipedown: 15% IPA Solution
- Coating: Optimum Opti-Coat 2.0
- Trim: 303 Optimum Opti Bond Tire Gel
- Exhaust Tip: CG Metal Polish + Protection applied by hand with MF towel
- Glass: Meguiar's D120
- Wheels: Poorboy's Wheel Sealant
- Tires: 303 Aerospace Protectant
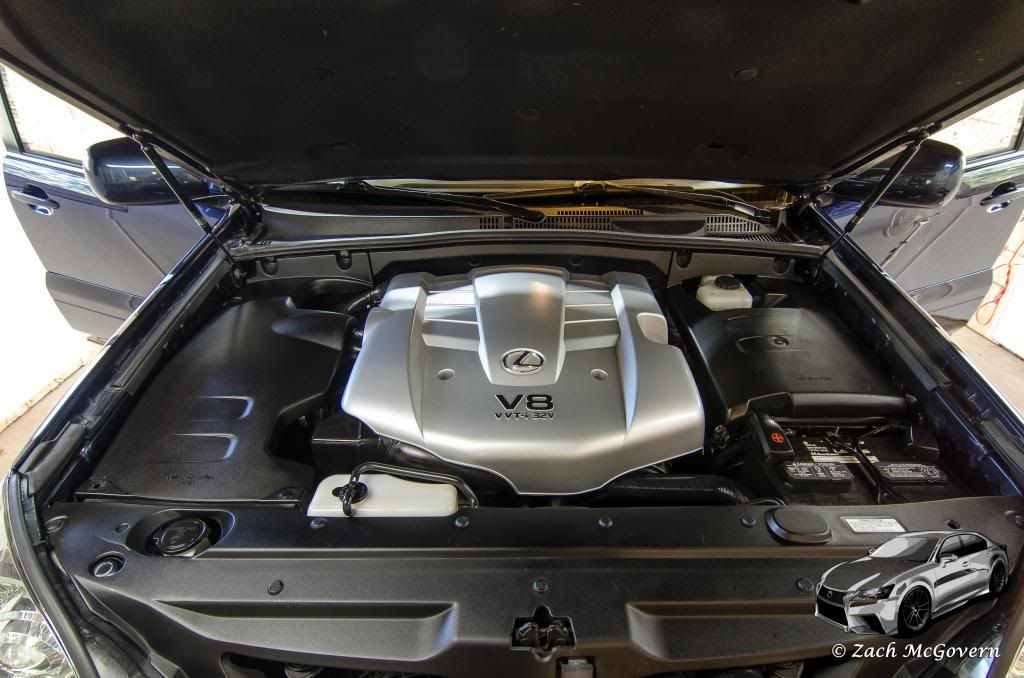
Engine
- Cleaning: ONR
- Plastic Covers: 303 Aerospace Protectant
- Hoses/Harnesses: CG Black on Black
Interior
(Leather Seat)
- Meguiar's D103 (10:1) agitated with leather/vinyl brush
- Conditioner: Griot's Garage Leather Care
Before
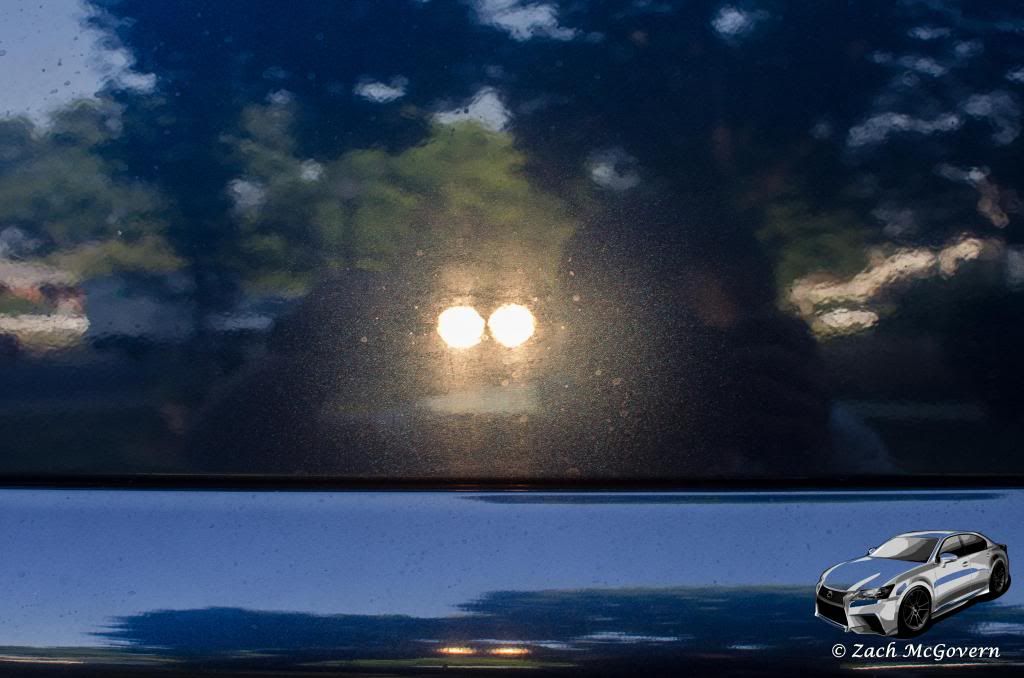
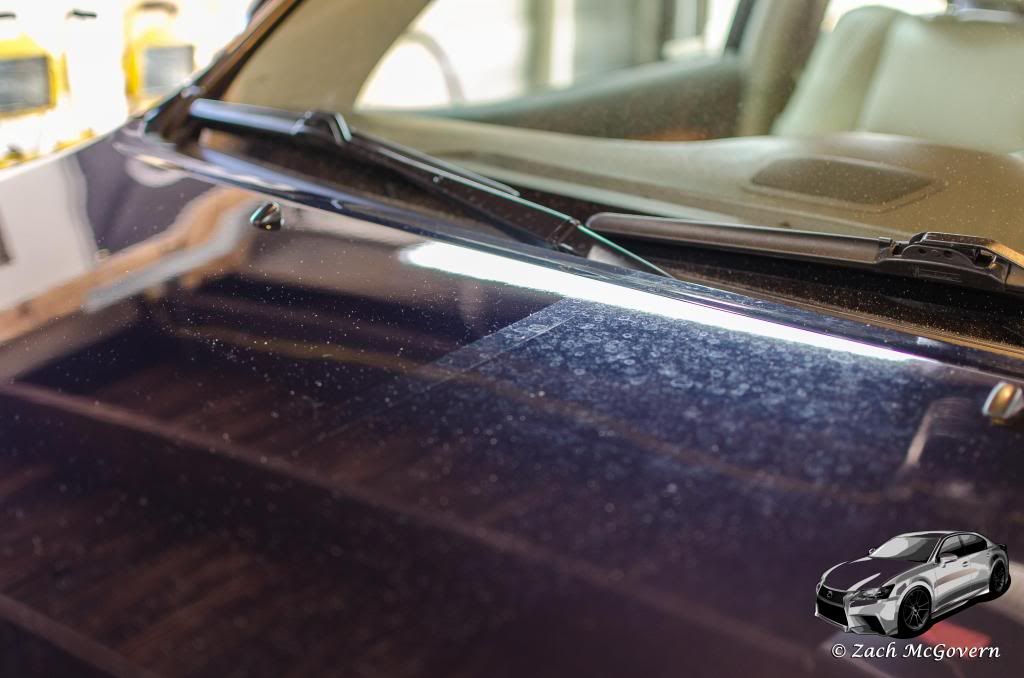
Quick inspection before washing...Paint looked dull and appeared to be stained or have a film covering up that gorgeous metallic flake.
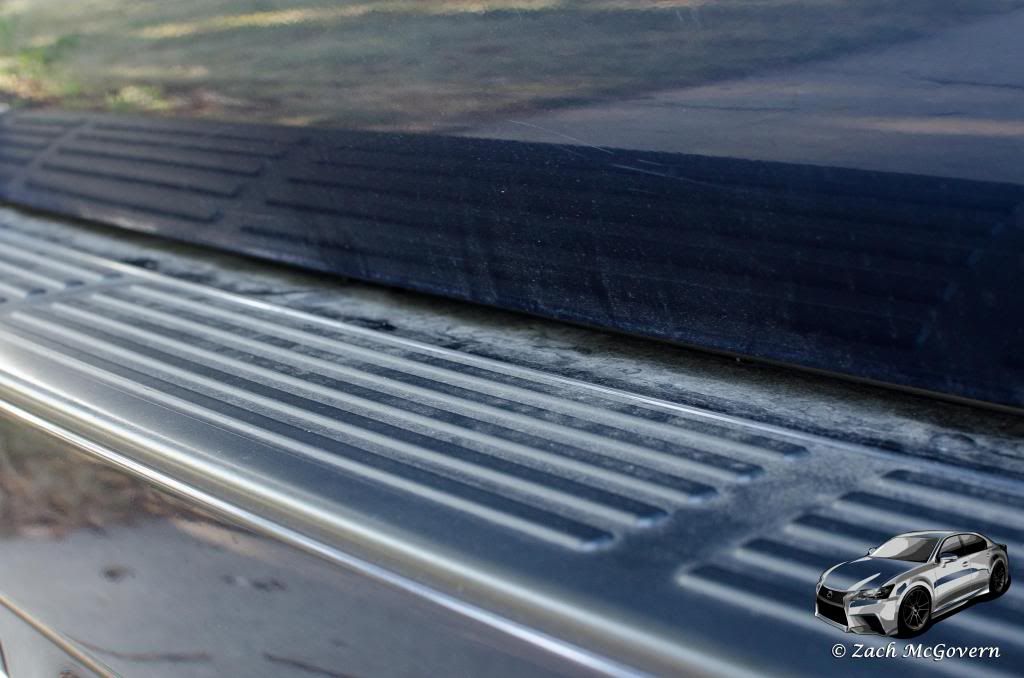
Plastic trim was dull and faded due to significant water spotting
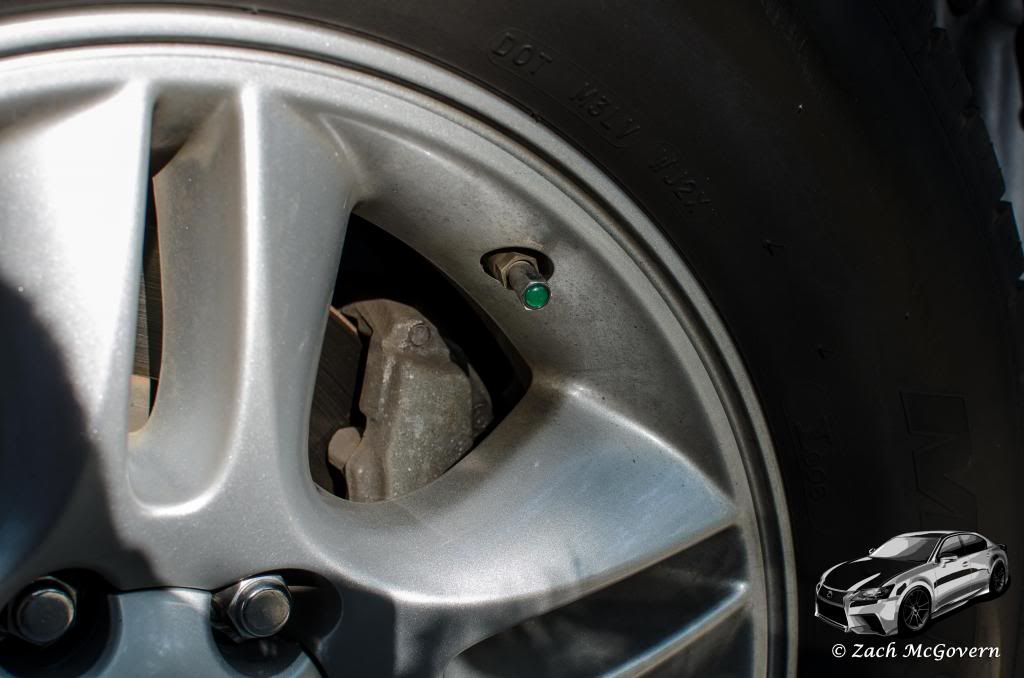
Wheels showed the usual brake dust and dirt buildup.
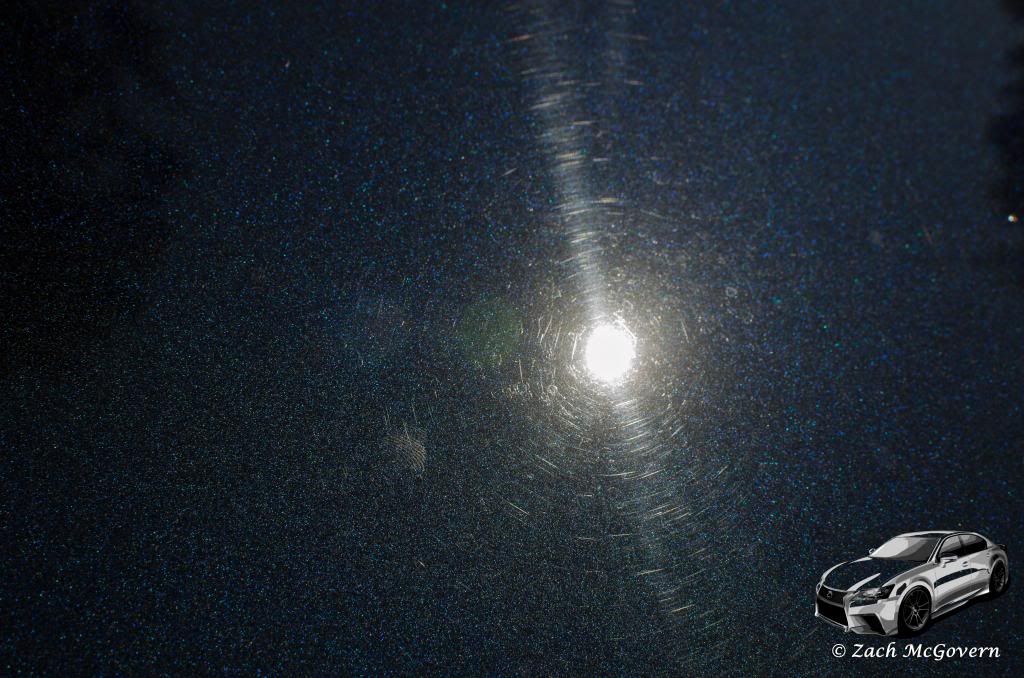
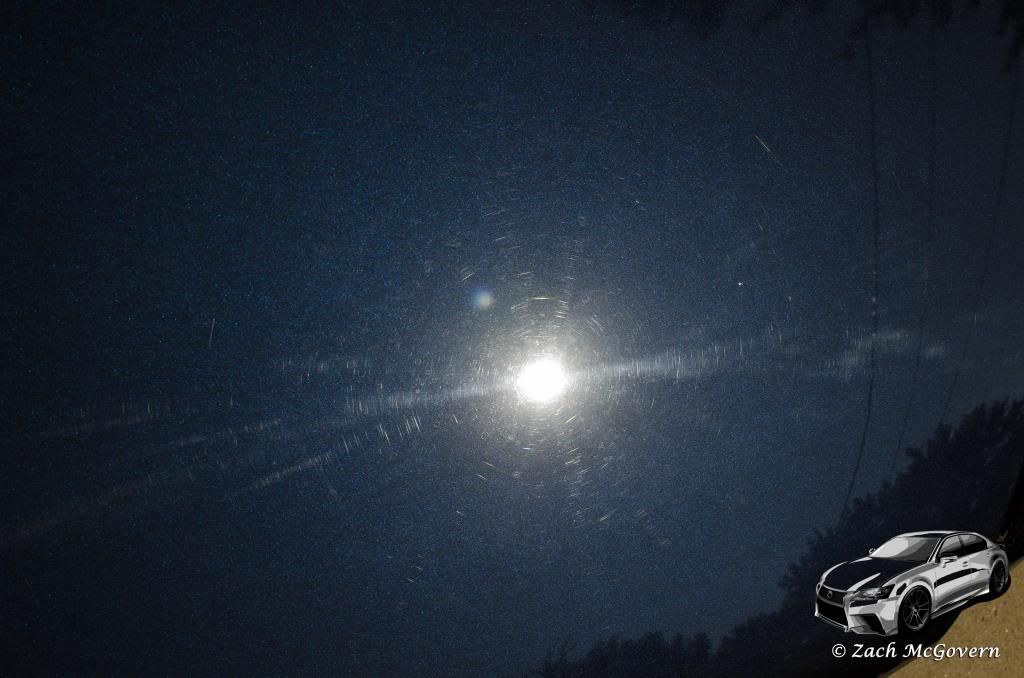
Not much sun peaking through the trees, but you can still see the swirls and scratches in the paint
During
As always, I started with the wheels and tires. You can see quite a bit of filth coming off of the wheels
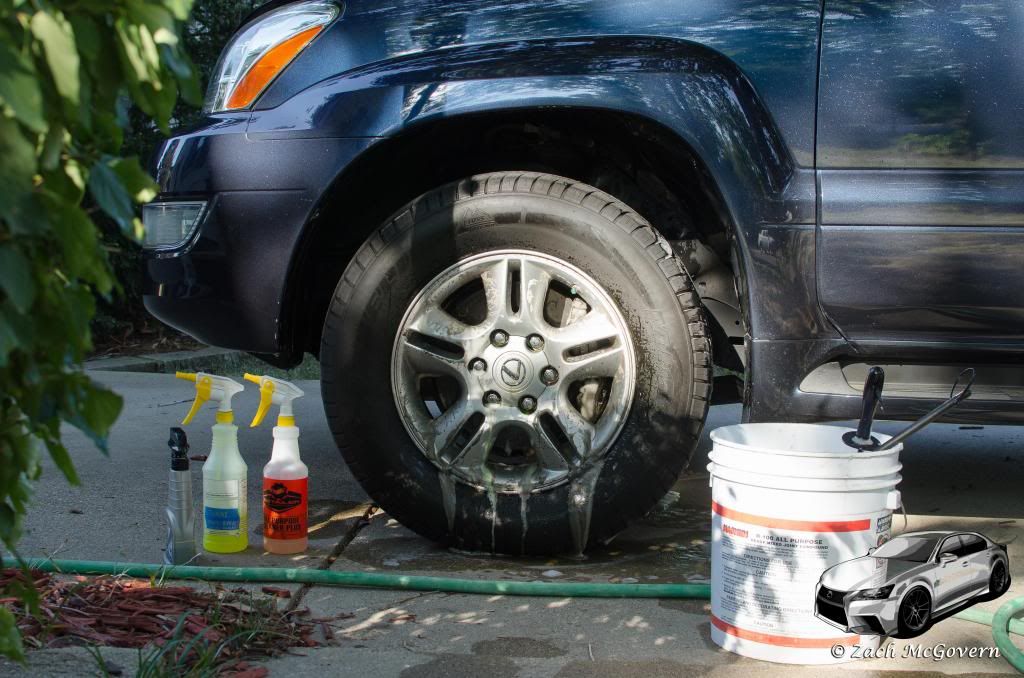
the wheel wells and tires were also cleaned. You can see the amount of dirt and old, cheap tire shine that was coming off of the tires. It took several rounds of cleaning to remove the majority of the dirt.
After washing, I moved the car into the sun to have a better look at the paint... nothing that I wasn't inspecting since I had already taken a look at the car prior to scheduling the appointment.
The paint was then inspected under the halogen lights which displayed stains all over the paint that were dulling the finish and drastically muting the vibrant metallic finish.
Door before any correction. Look at how dull and lifeless the paint is. Notice how you can hardly even see the stand that the lights are mounted on.
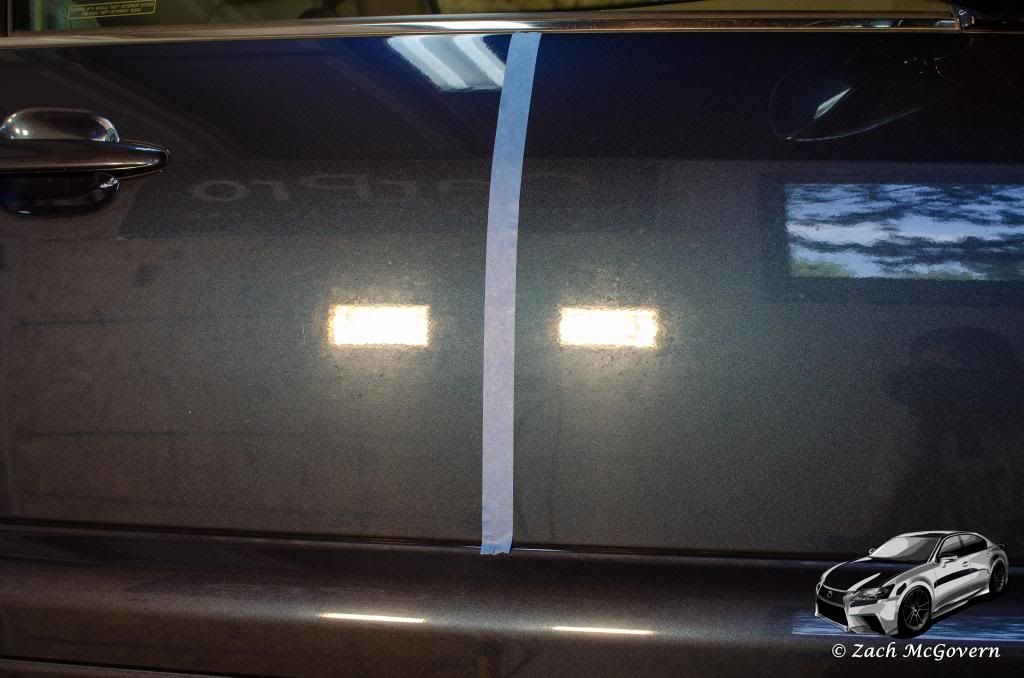
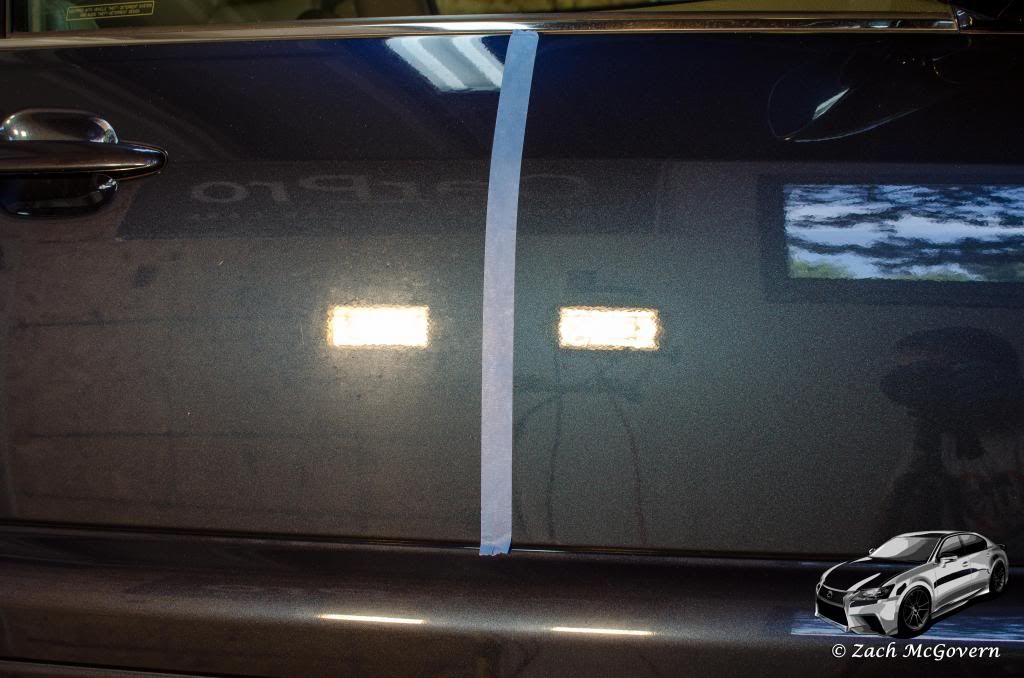
Test spot after correction. Look at how much clarity and depth has been restored to the right hand side. Notice the nice reflections compared to the left hand side. What a dramatic difference.
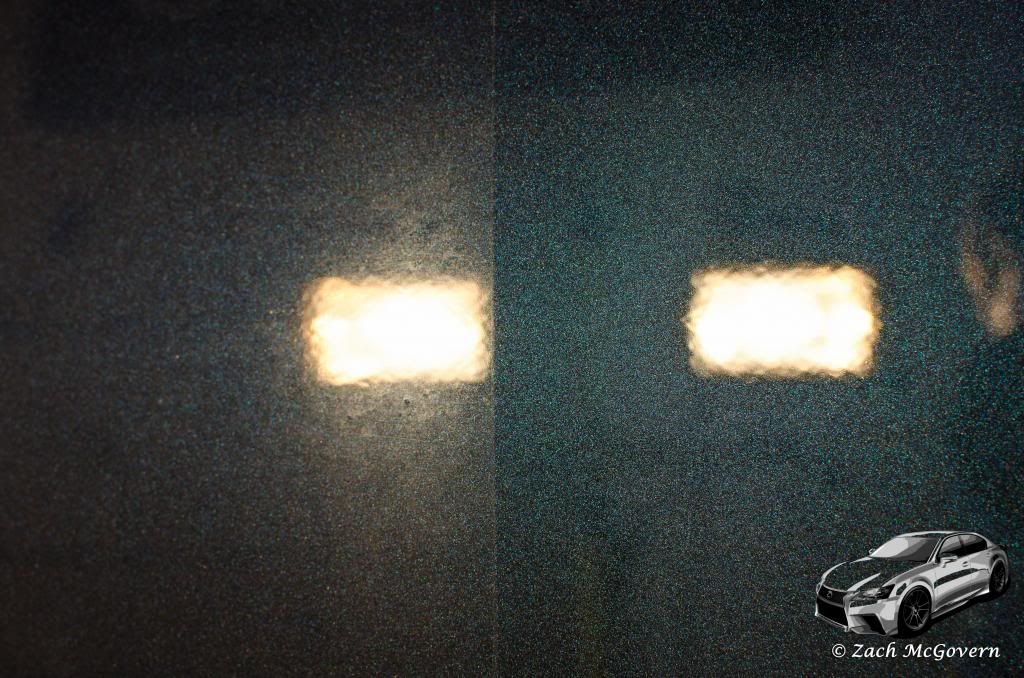
A closer look at the 50/50 of the test spot. That metallic flake just POPS!
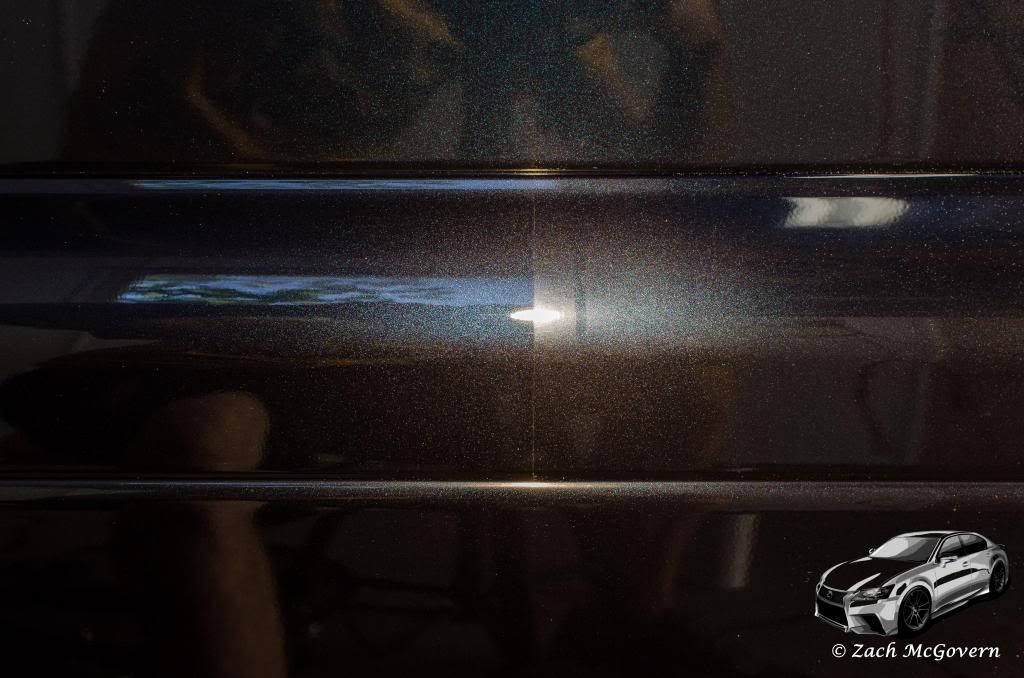
50/50 shot on the hood. Looks great!
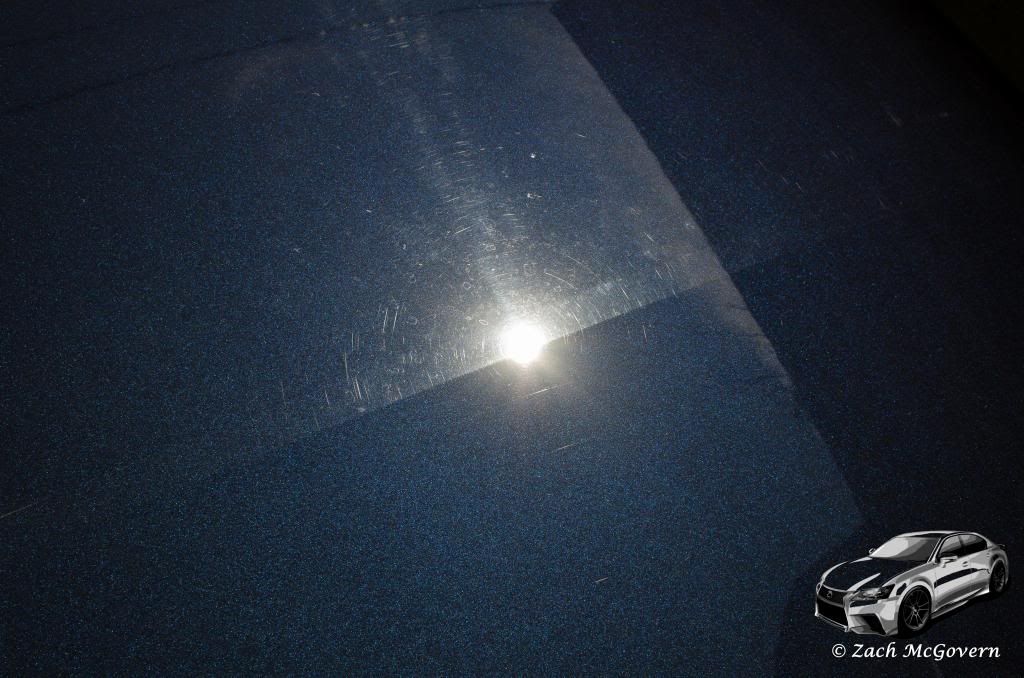
50/50 shot on the hood. This lighting from the overhead florescent lights really showed how bad the water spots had etched into the paint.
50/50 shot on the door molding
The lower section of the door before correction
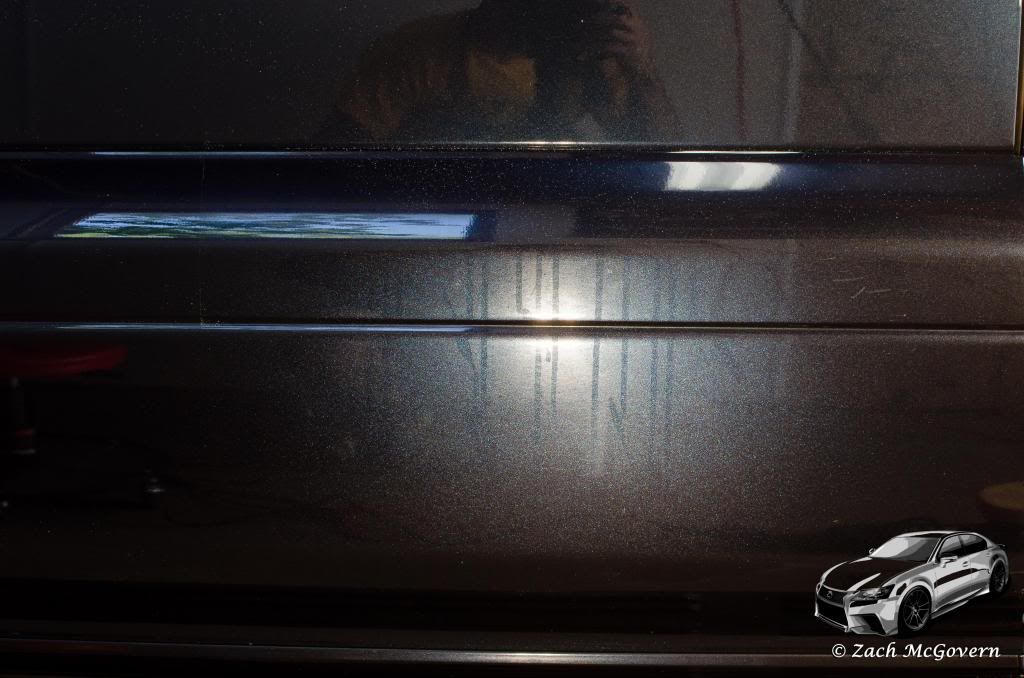
The lower section after correction
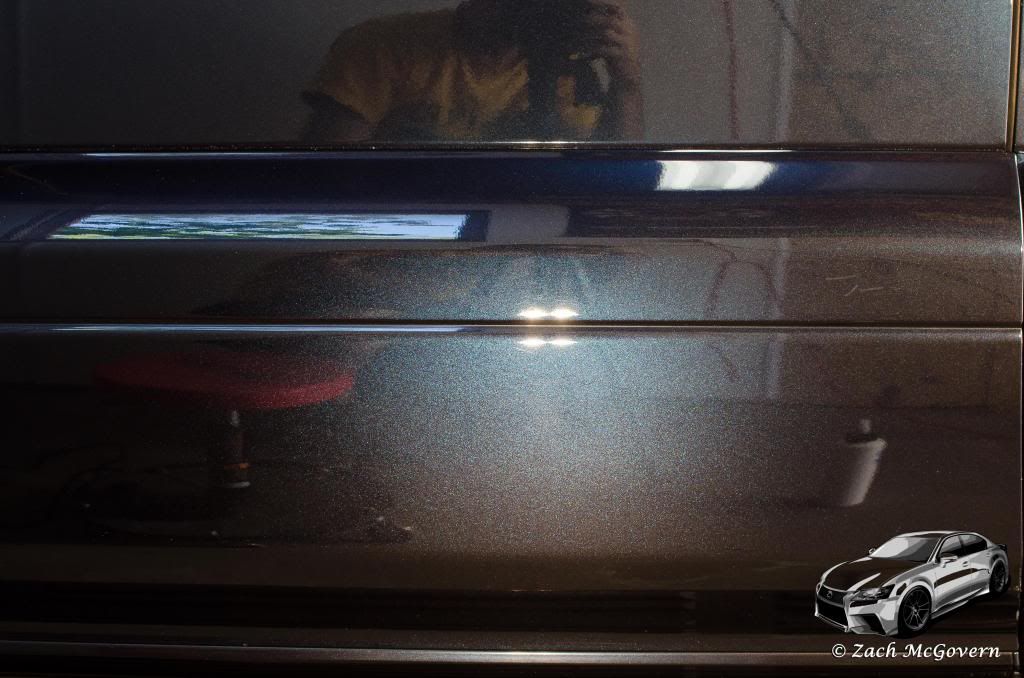
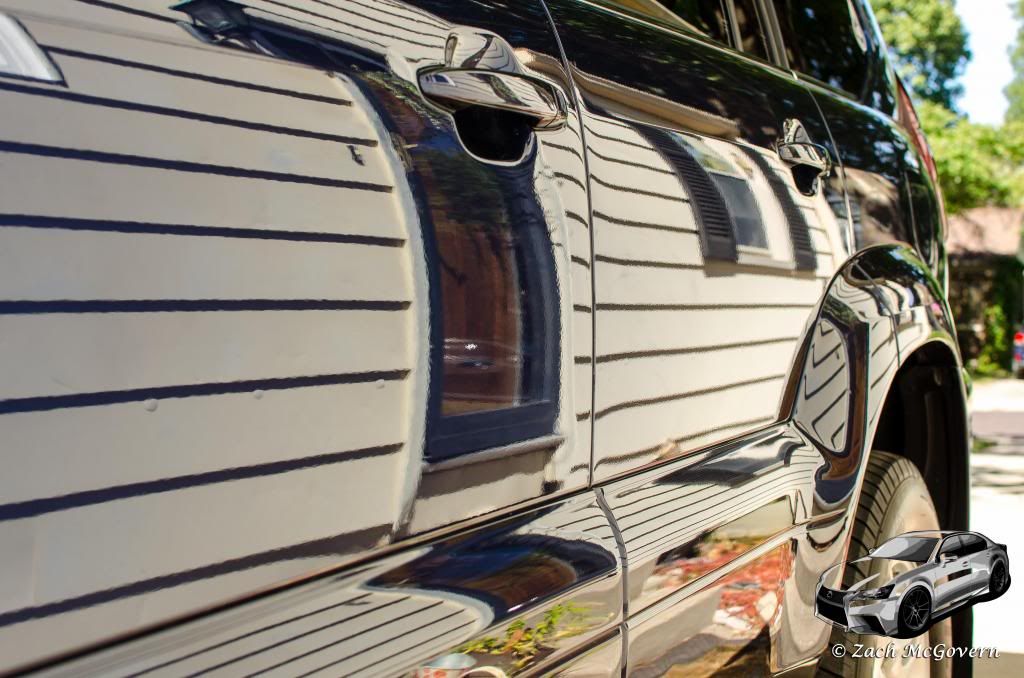
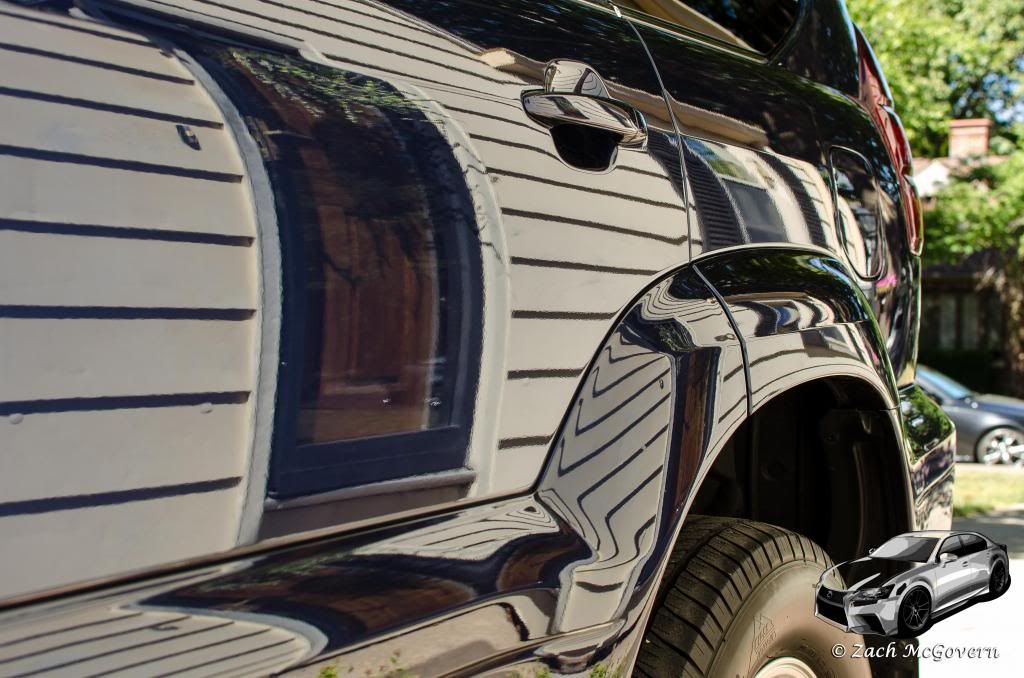
Driver's side all polished. Looks great, very glossy, and the reflections are nice and sharp - not dull and muted (don't mind the dusty mess... I was still working!)
the lights needed some work, especially this fog light which had begun to oxidize quite a bit.
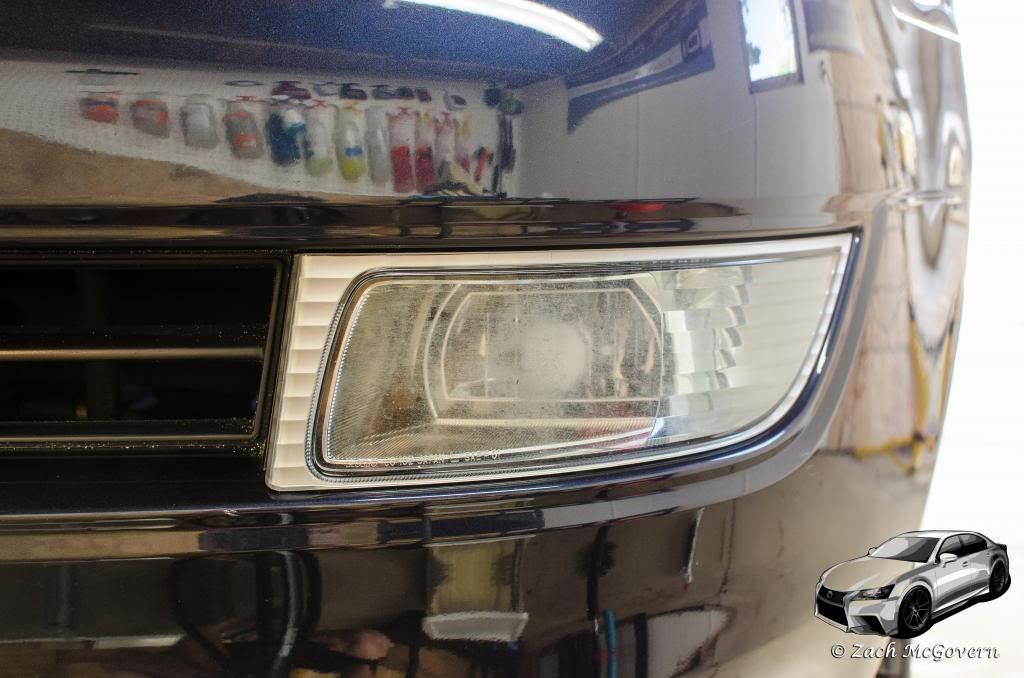
The light was then sanded and polished to perfection. Much better! (headlights and tail lights also polished)

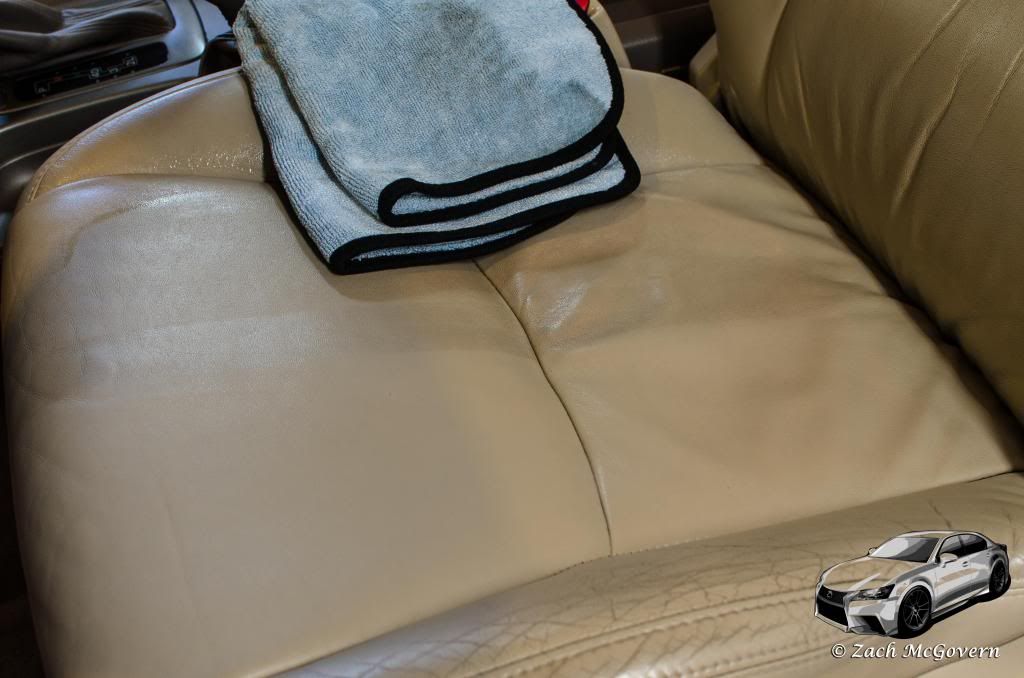
The majority of the interior was in excellent condition, but the leather on the driver's seat was in need of some work. Since I had some time to kill I decided to do a deep cleaning. You can clearly see the difference between the lower section of the picture and the upper section. Look at all that dirt on the towel!
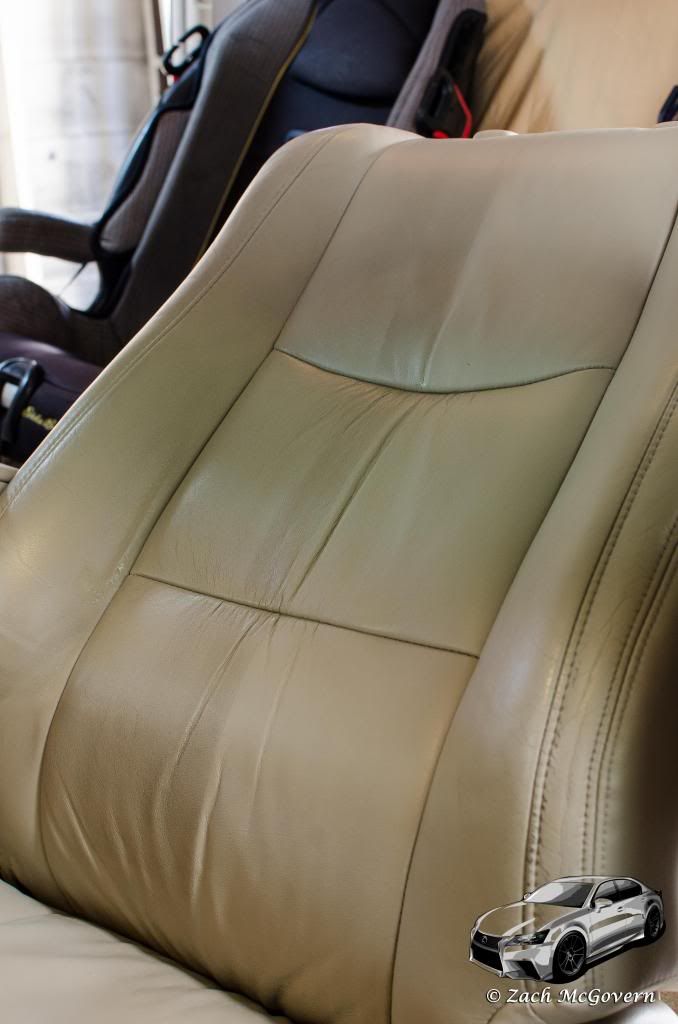
Clean leather! Looks great!

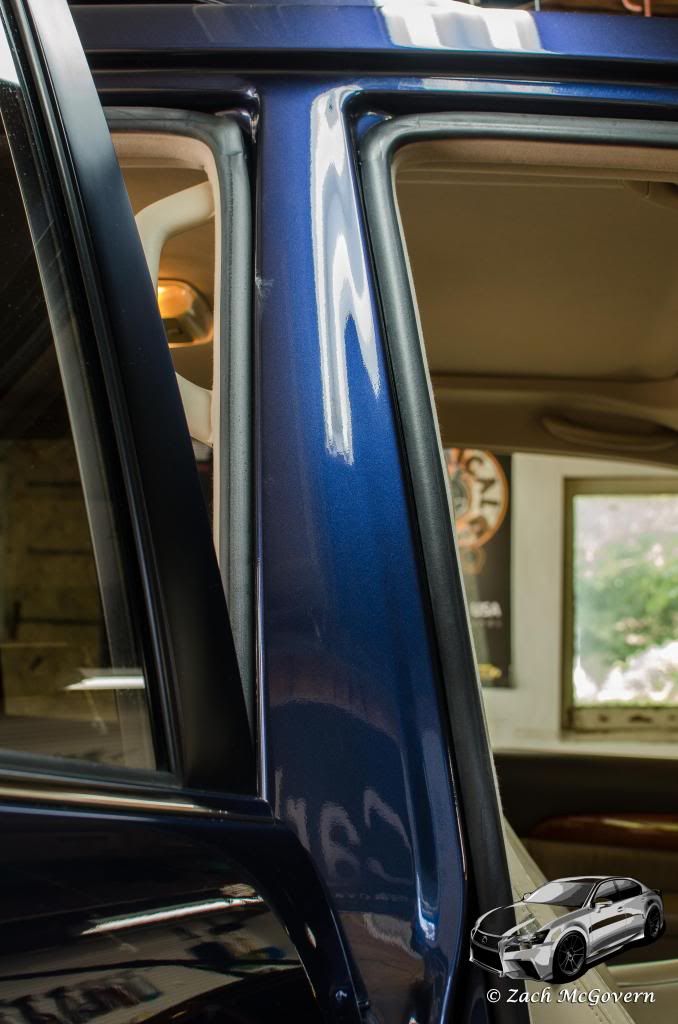
Door jams were plagued with hard water etching as well. These areas were polished by hand... a time consuming process.
B Pillar Door Jam before (notice the hard water etching everywhere)
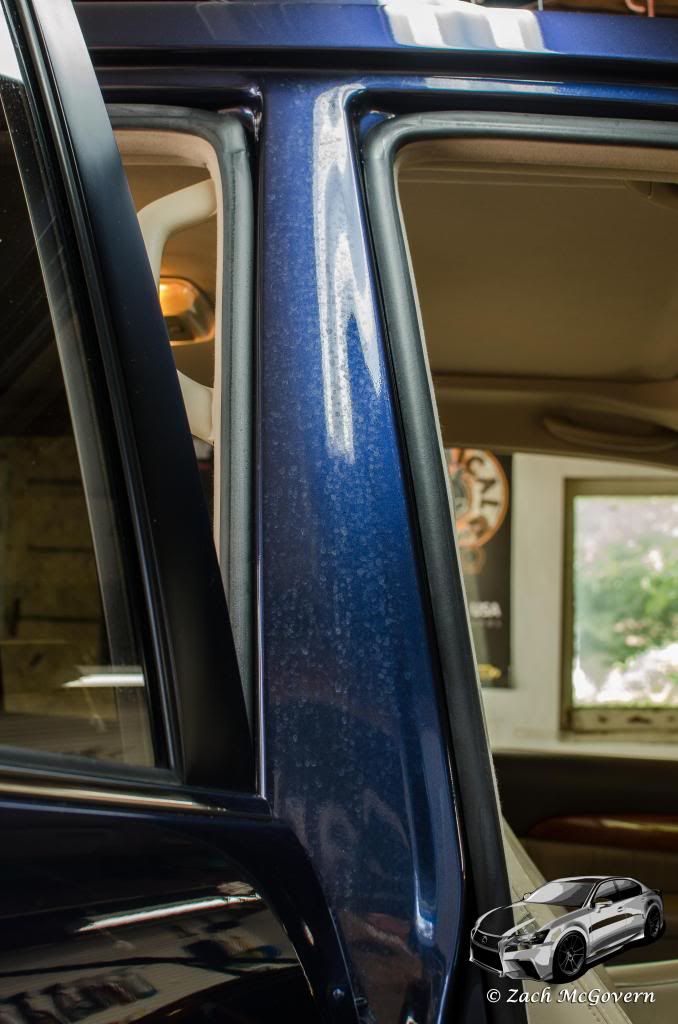
After Polishing
The owner of this car was referred to me by a member of a local forum. They wanted the car cleaned up because it had clearly lost some of its luster over the years. It was clear that the owners really cared for their vehicles - the inside was nearly spotless, the engine bay was in overall good shape, and the paint wasn't terrible, it showed the typical signs of normal wear that you would expect on an 8 year old car. After some discussion with the owner via email, he settled on a one-stage correction, which I promised would help to restore the lost clarity and gloss, but it would most likely leave any moderate to deeper defects.) He was OK with that since the vehicle is daily driven and is used to haul the kids around. He also decided to go with a premium paint coating (Opti-Coat 2.0) in order to provide years of protection for this great vehicle. I was very happy he decided to go with a coating, they are truly the best decision I have ever made for my personal vehicles!
The car turned out great - Gloss and clarity were restored as promised, and the car is now an entirely different shade of blue. The metallic flake really pops, and the car looks 5 years younger! Another happy customer, and I hope to work with them again. Extremely nice people, as the vast majority of my customers are!
Process
Exterior
- Wheels: Sonax Full Effect Wheel Cleaner. Faces cleaned with soft wheel brush and wheel sponge. Barrels cleaned with EZ Detail Brush and Wheel Woolies.
- Tires: Tuf Shine Tire Cleaner and Brush
- Pre-Wash: CG Citrus Wash & Gloss via Gilmour Foammaster II Foam Gun
- Wash: CG Citrus Wash & Gloss via Sheepskin Wash Mitt (Two Bucket Method)
- Dry: DI Waffle Weave Towels
- Decontamination: Iron X and Medium Grade Clay with NanoSkin Glide (7:1) as Lube
- Tape: 3M Blue Painters Tape
- Paint Thickness Readings Taken
- Polish: Sonax Perfect Finish on LC Orange Light Cutting Pads - 5.5" via Rupes LHR21ES and 3",4" via PC7424XP
- IPA Wipedown: 15% IPA Solution
- Wash: ONR (GD Wash Method)
- Dry: DI Waffle Weave Towels
- IPA Wipedown: 15% IPA Solution
- Coating: Optimum Opti-Coat 2.0
- Trim: 303 Optimum Opti Bond Tire Gel
- Exhaust Tip: CG Metal Polish + Protection applied by hand with MF towel
- Glass: Meguiar's D120
- Wheels: Poorboy's Wheel Sealant
- Tires: 303 Aerospace Protectant
Engine
- Cleaning: ONR
- Plastic Covers: 303 Aerospace Protectant
- Hoses/Harnesses: CG Black on Black
Interior
(Leather Seat)
- Meguiar's D103 (10:1) agitated with leather/vinyl brush
- Conditioner: Griot's Garage Leather Care
Before
Quick inspection before washing...Paint looked dull and appeared to be stained or have a film covering up that gorgeous metallic flake.

Plastic trim was dull and faded due to significant water spotting

Wheels showed the usual brake dust and dirt buildup.

Not much sun peaking through the trees, but you can still see the swirls and scratches in the paint

During
As always, I started with the wheels and tires. You can see quite a bit of filth coming off of the wheels

the wheel wells and tires were also cleaned. You can see the amount of dirt and old, cheap tire shine that was coming off of the tires. It took several rounds of cleaning to remove the majority of the dirt.

After washing, I moved the car into the sun to have a better look at the paint... nothing that I wasn't inspecting since I had already taken a look at the car prior to scheduling the appointment.


The paint was then inspected under the halogen lights which displayed stains all over the paint that were dulling the finish and drastically muting the vibrant metallic finish.
Door before any correction. Look at how dull and lifeless the paint is. Notice how you can hardly even see the stand that the lights are mounted on.

Test spot after correction. Look at how much clarity and depth has been restored to the right hand side. Notice the nice reflections compared to the left hand side. What a dramatic difference.

A closer look at the 50/50 of the test spot. That metallic flake just POPS!

50/50 shot on the hood. Looks great!

50/50 shot on the hood. This lighting from the overhead florescent lights really showed how bad the water spots had etched into the paint.

50/50 shot on the door molding

The lower section of the door before correction

The lower section after correction

Driver's side all polished. Looks great, very glossy, and the reflections are nice and sharp - not dull and muted (don't mind the dusty mess... I was still working!)

the lights needed some work, especially this fog light which had begun to oxidize quite a bit.

The light was then sanded and polished to perfection. Much better! (headlights and tail lights also polished)

The majority of the interior was in excellent condition, but the leather on the driver's seat was in need of some work. Since I had some time to kill I decided to do a deep cleaning. You can clearly see the difference between the lower section of the picture and the upper section. Look at all that dirt on the towel!


Clean leather! Looks great!

Door jams were plagued with hard water etching as well. These areas were polished by hand... a time consuming process.
B Pillar Door Jam before (notice the hard water etching everywhere)

After Polishing

 09-15-13, 08:20 PM
#2
After
Engine cleaned up nicely
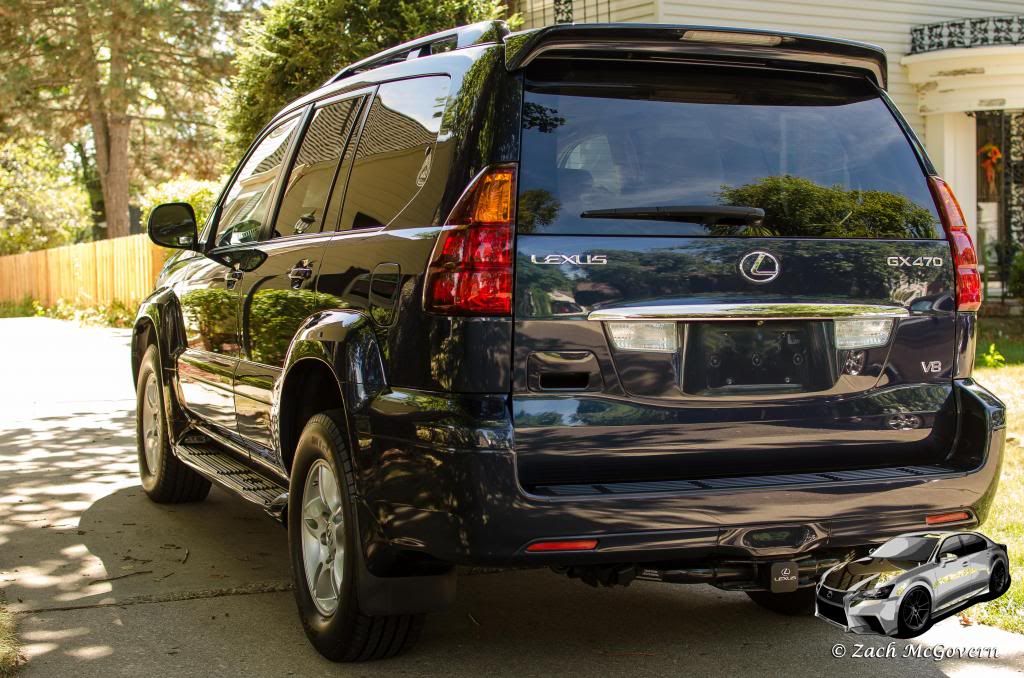
The car looks great. The blue metallic paint really shines!
Nice and glossy!

So there you have it... even a basic one-step correction can yield drastic improvement to your paint. The majority of the RIDS remained on this vehicle, but they do not detract from the beauty of the paint nearly as much as all of the finer swirls and haze does.
Thanks for looking!
A full, more in depth, write up with A LOT more pictures can be seen here!
One Giant Lexus gets a One-Step Correction and Opti-Coat Installation
Engine cleaned up nicely

The car looks great. The blue metallic paint really shines!


Nice and glossy!


So there you have it... even a basic one-step correction can yield drastic improvement to your paint. The majority of the RIDS remained on this vehicle, but they do not detract from the beauty of the paint nearly as much as all of the finer swirls and haze does.
Thanks for looking!
A full, more in depth, write up with A LOT more pictures can be seen here!
One Giant Lexus gets a One-Step Correction and Opti-Coat Installation
Last edited by zmcgovern4; 09-16-13 at 09:05 AM.
09-16-13, 08:19 AM
#4
The correction and opti-coat installation took maybe 12-13 hours... I elected to spend more time on the car than what I had quoted the customer for since they were able to leave the car with me for 5 days, so with the additional headlight/fog light repairs, engine detailing, leather cleaning, trim restoration, etc... I had about 16-18 hours invested. Hard to keep track over so many days lol
 09-16-13, 01:57 PM
#6
Yup, I provide all of my customers with a link to articles on how to perform proper washing and drying utilizing the 2 bucket method with grit guards, and I also provide them with a list of essential products that I feel every car owner should have. I even offer them discounted prices on the products, but hardly anyone takes advantage of it. I guess it is hard for people to understand that it takes hard work and high quality products to maintain their vehicles.
Regardless... happy customers make repeat customers, so all I can do is try my best to educate them and hope they come back when needed!

Thread
Thread Starter
Forum
Replies
Last Post

