Dr. Colorchip DIY/Review (PICS)
 03-07-09, 07:03 PM
#1
Intermediate
Thread Starter
iTrader: (2)

Join Date: Jul 2008
Location: NJ
Posts: 309
Likes: 0
Received 0 Likes
on
0 Posts
This is what most people have been waiting for. A review/ show and tell of the Dr. Colorchip System. I got the package Friday night and this is what it included:
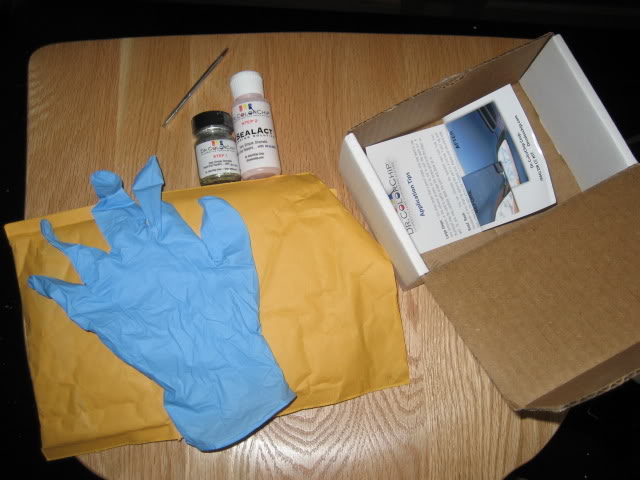
^^ the paint according to the color of my car, the sealant, a small two sided brush, and the glove to spread the paint. also some directions and tips were included there as well.
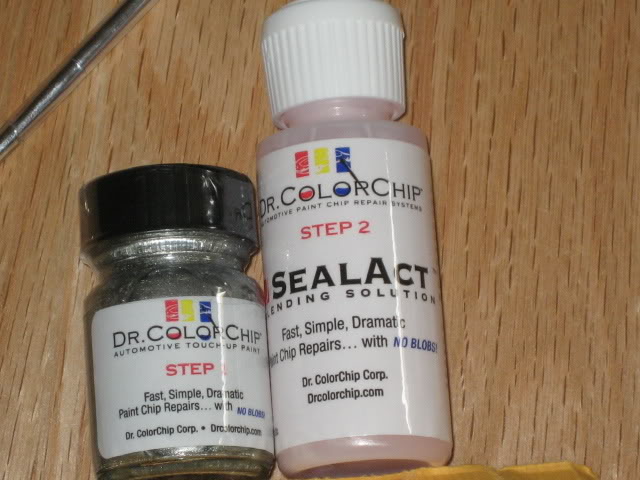
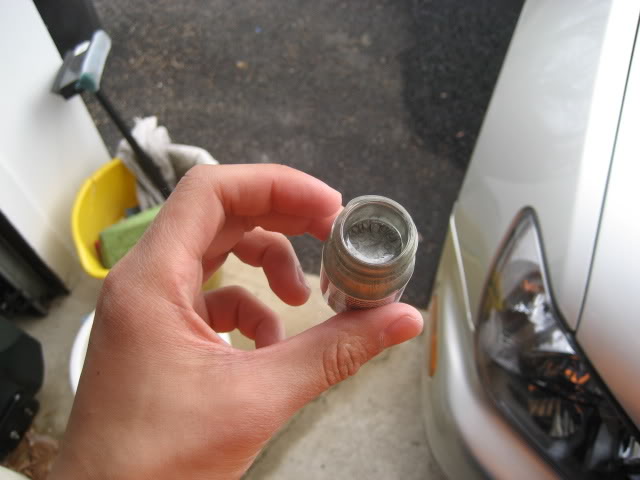
^^ close-up of the paint and the sealant containers
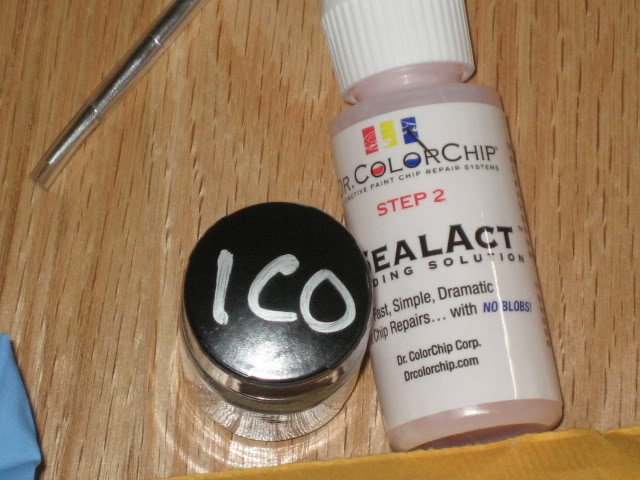
^^ as you can see...this code matches my factory paint code for millennium silver metallic which is 1C0
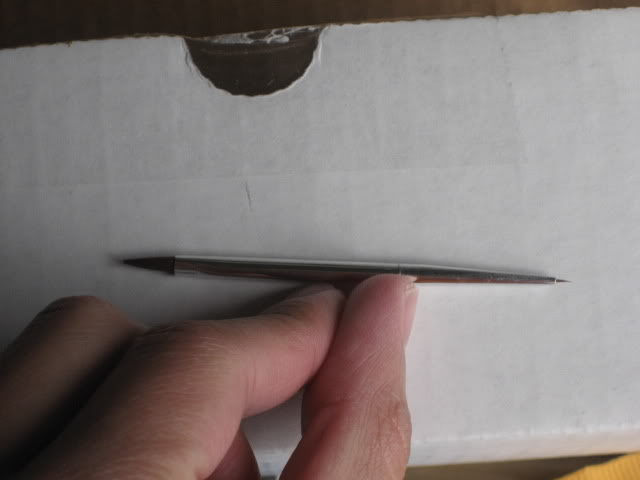
^^close-up pic of what the brush looks like
^^ the paint according to the color of my car, the sealant, a small two sided brush, and the glove to spread the paint. also some directions and tips were included there as well.
^^ close-up of the paint and the sealant containers
^^ as you can see...this code matches my factory paint code for millennium silver metallic which is 1C0
^^close-up pic of what the brush looks like
 03-07-09, 07:03 PM
#2
Intermediate
Thread Starter
iTrader: (2)
Join Date: Jul 2008
Location: NJ
Posts: 309
Likes: 0
Received 0 Likes
on
0 Posts

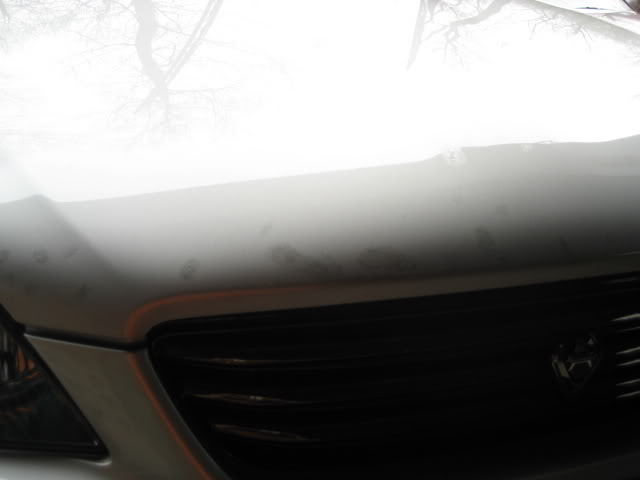
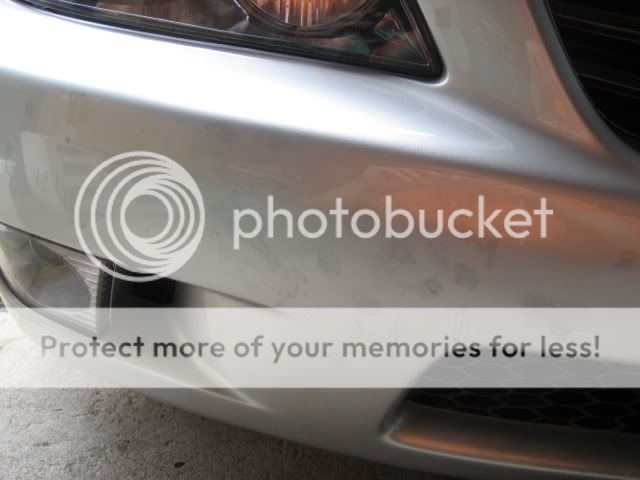
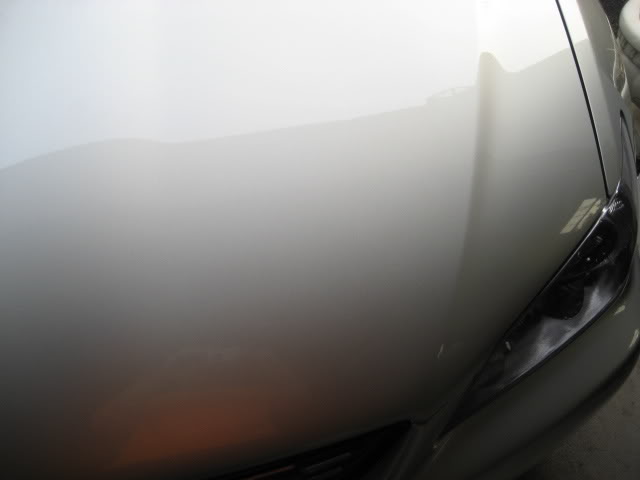
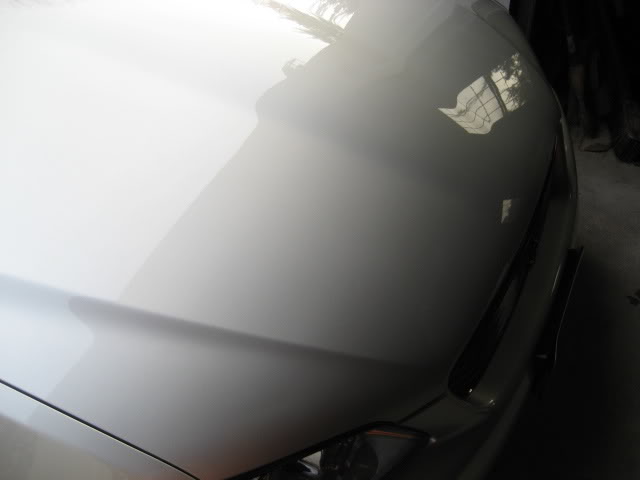
^^the sexy car, had to pull it partly into the garage to get it out of the sunlight...which never showed haha. so the pic is dark and you cant really see the damage...but its there
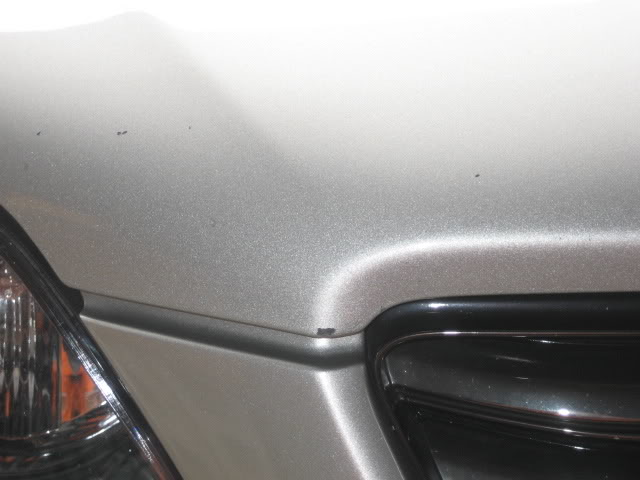
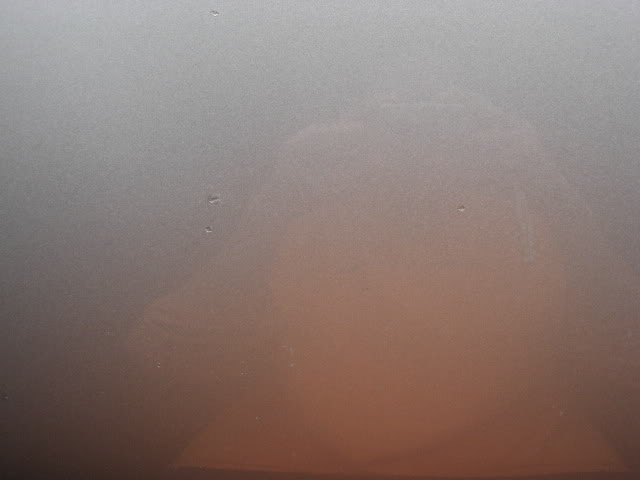

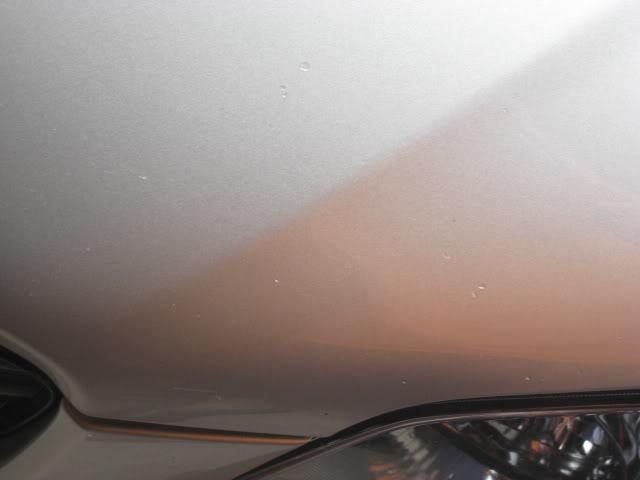
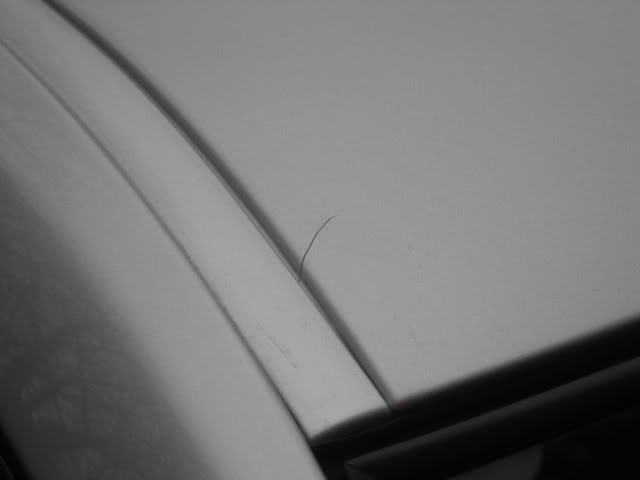


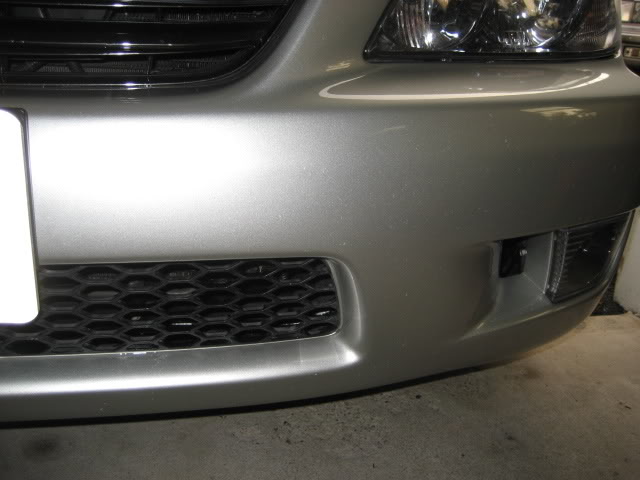
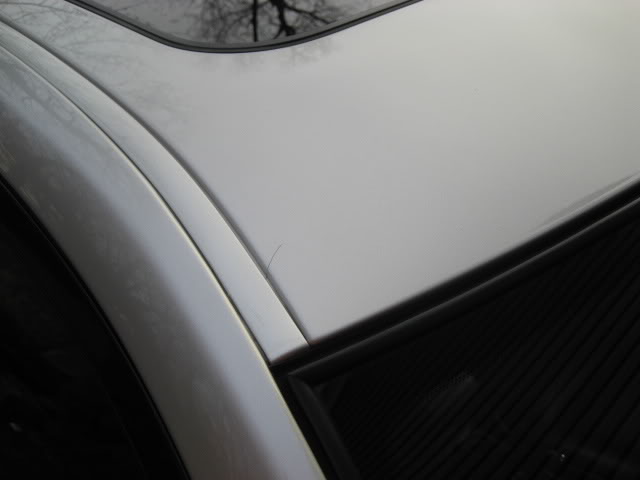
^^just some of the places showing the damage that needed to be taken care of. most of it was on the front of the hood and the bumper. also had a scratch from a dealer and a few scratches in the rear that had to be taken care of. i only took pics of a few spots..they basically look the same...silver with a bunch of rock chips....love that Lexus Premium Paint right?
03-07-09, 07:04 PM
#3
Intermediate
Thread Starter
iTrader: (2)
Join Date: Jul 2008
Location: NJ
Posts: 309
Likes: 0
Received 0 Likes
on
0 Posts
^^ look at the open bottle of paint...smells and looks just like the oem touch up paint from the dealer.
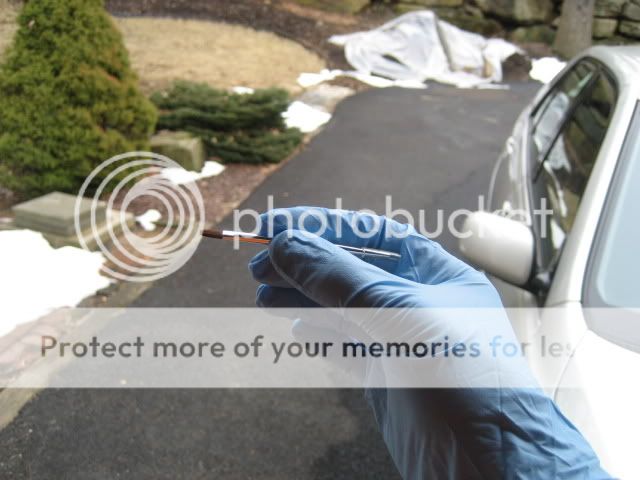
^^armed with the brush and the glove im pretty much ready to get to work.
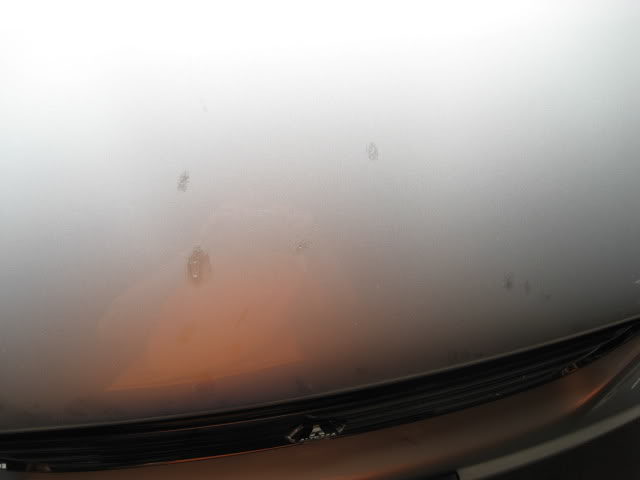
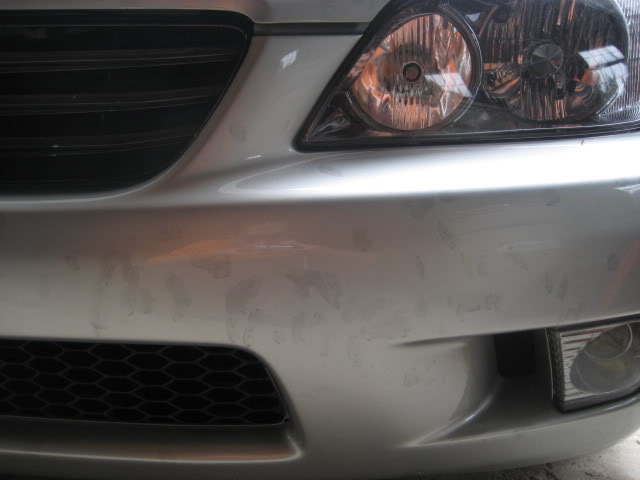


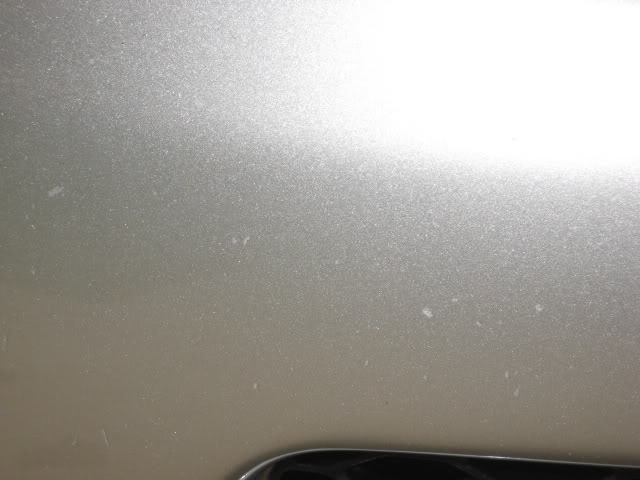
^^my car looks like it has freckles haha. pretty much followed the directions. gave it a quick wash and dry in the morning and once the car was dry i started applying the colorchip paint. i didnt use the small side of the brush...mainly the broader end...dabbed the paint on the chip and smeared it with the glove. ***be sure to smear it flat while keeping the chip still painted. otherwise it will make the process a little more difficult later...which i will elaborate on when i get there. but as you can see i did a large area... which extended the amount of time i was working on the car. at this point it tells you the chips dry in 2 mins...but should be left on the car a max of 2 hours for better adhesion of the paint... at this point i just went back inside to grab a bite to eat and came out about an hour later
03-07-09, 07:05 PM
#4
Intermediate
Thread Starter
iTrader: (2)
Join Date: Jul 2008
Location: NJ
Posts: 309
Likes: 0
Received 0 Likes
on
0 Posts
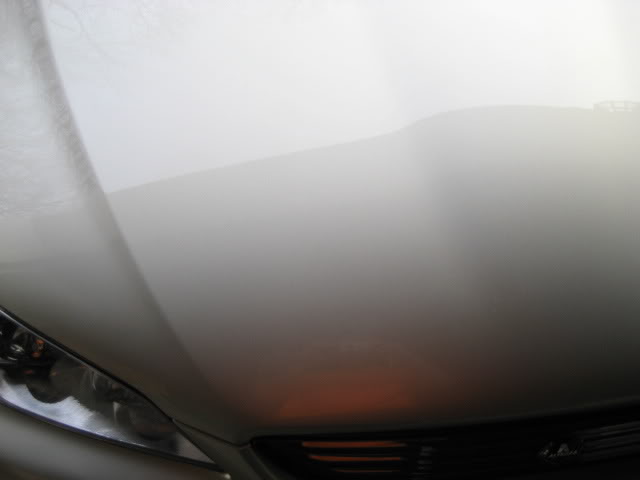
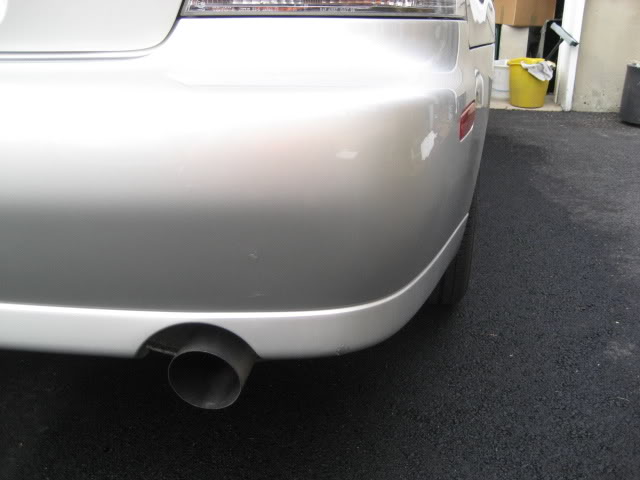
once i came back out. i used the blender/sealant on a clean, old tshirt....again following the instructions which told me to moisten a small piece of the cloth so i can start buffing away. this part took me forever because i did such a large area ***this is also the reason why you should try and keep your smears flat... it takes some time for the blending agent to kick in...which when buffing removes the excess paint on the clear coat while leaving the paint on the chip. i rubbed it gently...too hard and the paint in the chip starts to come out and you basically have to start over again. i would say it took me about 2 hours and a little bit to buff all the excess paint away. here are the results:

03-07-09, 07:05 PM
#5
Intermediate
Thread Starter
iTrader: (2)
Join Date: Jul 2008
Location: NJ
Posts: 309
Likes: 0
Received 0 Likes
on
0 Posts
REVIEW:
here is my review on the Dr. Colorchip system. Honestly, when I first got it I thought it was going to fill in the chips and make it smooth like how it came from the factory. as i progressed i realized that wasnt the case, what it basically does is paint the chip like touch-up paint would do and blend it in with the rest of the hood so it looks like there was no damage. the process, in general, was pretty simple. no tricks or secrets to anything. just dab the paint smear it in and wait for it to dry. once it was dry buff the painted area with the blender/sealant and its good to go. for the smaller rock chips as you can see from my pics it does an excellent job of blending it in with the rest of the paint. the larger scratches, not so much. even some of the larger rock chips came out pretty nice...there's a good part and a bad part about it though. the good part is from about one or two steps away it looks perfect...the bad news is once you get up close and personal you can still see all the chips...except theyre painted, so i guess its not that bad. some of the basic tips i already spoke about...like not putting globs of paint everywhere...the reason..it makes it harder to buff because you gotta use more effort and time to get those off the car. also...the next time i do it i would probably do smaller areas at a time...since doing a larger area consumes a lot of time. all in all i was pretty happy with the results and i saved the glove and brush because i still have a bunch of paint and sealer left for another job. on a scale of 1-10 on how effective it was...i would probably give it an 8/8.5....my only problem with it was...i wish it would fill the chip in haha but i still yielded some real good results. if you have any questions just post them up and ill answer them when i get a chance. thanks guys.
here is my review on the Dr. Colorchip system. Honestly, when I first got it I thought it was going to fill in the chips and make it smooth like how it came from the factory. as i progressed i realized that wasnt the case, what it basically does is paint the chip like touch-up paint would do and blend it in with the rest of the hood so it looks like there was no damage. the process, in general, was pretty simple. no tricks or secrets to anything. just dab the paint smear it in and wait for it to dry. once it was dry buff the painted area with the blender/sealant and its good to go. for the smaller rock chips as you can see from my pics it does an excellent job of blending it in with the rest of the paint. the larger scratches, not so much. even some of the larger rock chips came out pretty nice...there's a good part and a bad part about it though. the good part is from about one or two steps away it looks perfect...the bad news is once you get up close and personal you can still see all the chips...except theyre painted, so i guess its not that bad. some of the basic tips i already spoke about...like not putting globs of paint everywhere...the reason..it makes it harder to buff because you gotta use more effort and time to get those off the car. also...the next time i do it i would probably do smaller areas at a time...since doing a larger area consumes a lot of time. all in all i was pretty happy with the results and i saved the glove and brush because i still have a bunch of paint and sealer left for another job. on a scale of 1-10 on how effective it was...i would probably give it an 8/8.5....my only problem with it was...i wish it would fill the chip in haha but i still yielded some real good results. if you have any questions just post them up and ill answer them when i get a chance. thanks guys.
 03-08-09, 12:35 PM
#7
I've been told that you need to go slow with the paint and re-apply untill the chip is full of paint and the surface is flat. Is there something special to the gloves that came with the kit?
Trending Topics
03-08-09, 05:44 PM
#8
Driver
Join Date: Nov 2008
Location: NY
Posts: 180
Likes: 0
Received 0 Likes
on
0 Posts
It looks good from the work you did, but is it possible that you need to repeat the process? If after using the blender/sealant there are still bumps of paint, perhaps trying a compound or heavy duty polish to flatten out? Just a suggestion.
I give you a lot of credit for trying and I like the results of your work.
I give you a lot of credit for trying and I like the results of your work.
03-08-09, 08:40 PM
#9
Lexus Fanatic

I have been interested in Dr. Colorchip as my hood and front bumper are covered in rock chips(love that ridiculously fragile Lexus paint) and scratches but I have not read too many reviews on Dr. Colorchip or Lanka and from what I read results are mixed. Some say it sucks and is a waste of time and money and others are very pleased so it is kind of tough to know if this stuff is good or not. It is pretty expensive to just give it a shot and hope for the best but it seems your results turned out fairly well and maybe doing another coat will give you better results. I may try this to hold me off until I can get my hood and bumper repainted or repaint it myself if I have enough courage.
Did you add clearcoat to the touchup marks or is it not recommended. Does it say you can safely polish those touchup spots with a Porter Cable or wetsand or will that take the touch up paint off.
Thanks for the review and steps, they are definitely appreciated.
Did you add clearcoat to the touchup marks or is it not recommended. Does it say you can safely polish those touchup spots with a Porter Cable or wetsand or will that take the touch up paint off.
Thanks for the review and steps, they are definitely appreciated.
03-09-09, 07:30 AM
#10
Intermediate
Thread Starter
iTrader: (2)
Join Date: Jul 2008
Location: NJ
Posts: 309
Likes: 0
Received 0 Likes
on
0 Posts
It looks good from the work you did, but is it possible that you need to repeat the process? If after using the blender/sealant there are still bumps of paint, perhaps trying a compound or heavy duty polish to flatten out? Just a suggestion.
I give you a lot of credit for trying and I like the results of your work.
I give you a lot of credit for trying and I like the results of your work.
I have been interested in Dr. Colorchip as my hood and front bumper are covered in rock chips(love that ridiculously fragile Lexus paint) and scratches but I have not read too many reviews on Dr. Colorchip or Lanka and from what I read results are mixed. Some say it sucks and is a waste of time and money and others are very pleased so it is kind of tough to know if this stuff is good or not. It is pretty expensive to just give it a shot and hope for the best but it seems your results turned out fairly well and maybe doing another coat will give you better results. I may try this to hold me off until I can get my hood and bumper repainted or repaint it myself if I have enough courage.
Did you add clearcoat to the touchup marks or is it not recommended. Does it say you can safely polish those touchup spots with a Porter Cable or wetsand or will that take the touch up paint off.
Thanks for the review and steps, they are definitely appreciated.
Did you add clearcoat to the touchup marks or is it not recommended. Does it say you can safely polish those touchup spots with a Porter Cable or wetsand or will that take the touch up paint off.
Thanks for the review and steps, they are definitely appreciated.
03-09-09, 08:56 AM
#11
thanks for the pics and review. I have tried the lanka product and it works ok but in some spots it didnt work too well. My car is alpine silver and I think the metallic is the hardest part about getting things to match. I am probably going to order this and give it a shot on some of the rock chips on my front end for practice, my front will be repainted at the end of april so I can use this as practice.
03-09-09, 10:25 AM
#12
Intermediate
Thread Starter
iTrader: (2)
Join Date: Jul 2008
Location: NJ
Posts: 309
Likes: 0
Received 0 Likes
on
0 Posts
^^ from what ive read and heard... dr. colorchip does an excellent job at color matching. they did a great job for my silver....it blends in like oem paint. really impressed by that.
03-09-09, 10:34 AM
#13
Lexus Fanatic
Maybe the question to ask is if the Dr. Colorchip or Lanka is really better or gives better results then just buying OEM touch up paint and applying it to paint chips, scratches, road rash, and then doing a little wet sanding buffing to try to smooth it out and blend it in? Does this blending/softening agent you get with Dr. Colorchip and rubbing it into the recently touched up spots really work better, look better, takes less time, and worth spending the extra money on over trying to wetsand/buff OEM touchup paint you get at the dealer?
03-09-09, 01:19 PM
#14
Intermediate
Thread Starter
iTrader: (2)
Join Date: Jul 2008
Location: NJ
Posts: 309
Likes: 0
Received 0 Likes
on
0 Posts
^^^i dunno ive never really used the oem touchup paint even though i have it. i used it once to cover something up and it just globs on there...and you cant really blend it in. honestly...id rather spend the extra cash for the dr. colochip kit...ive heard good things about the lanka kit but ive never tried it.
03-09-09, 08:52 PM
#15
Pole Position

Join Date: Nov 2007
Location: MD
Posts: 234
Likes: 0
Received 0 Likes
on
0 Posts
looks good....might ahve to another layer or so like everyone said...
anyone use or have reviews for paintscratch? I bought the color and clearcoat pens and it does match the paint for my other car, but not smooth...this seems like a better wat to smooth out the "blobs"
anyone use or have reviews for paintscratch? I bought the color and clearcoat pens and it does match the paint for my other car, but not smooth...this seems like a better wat to smooth out the "blobs"